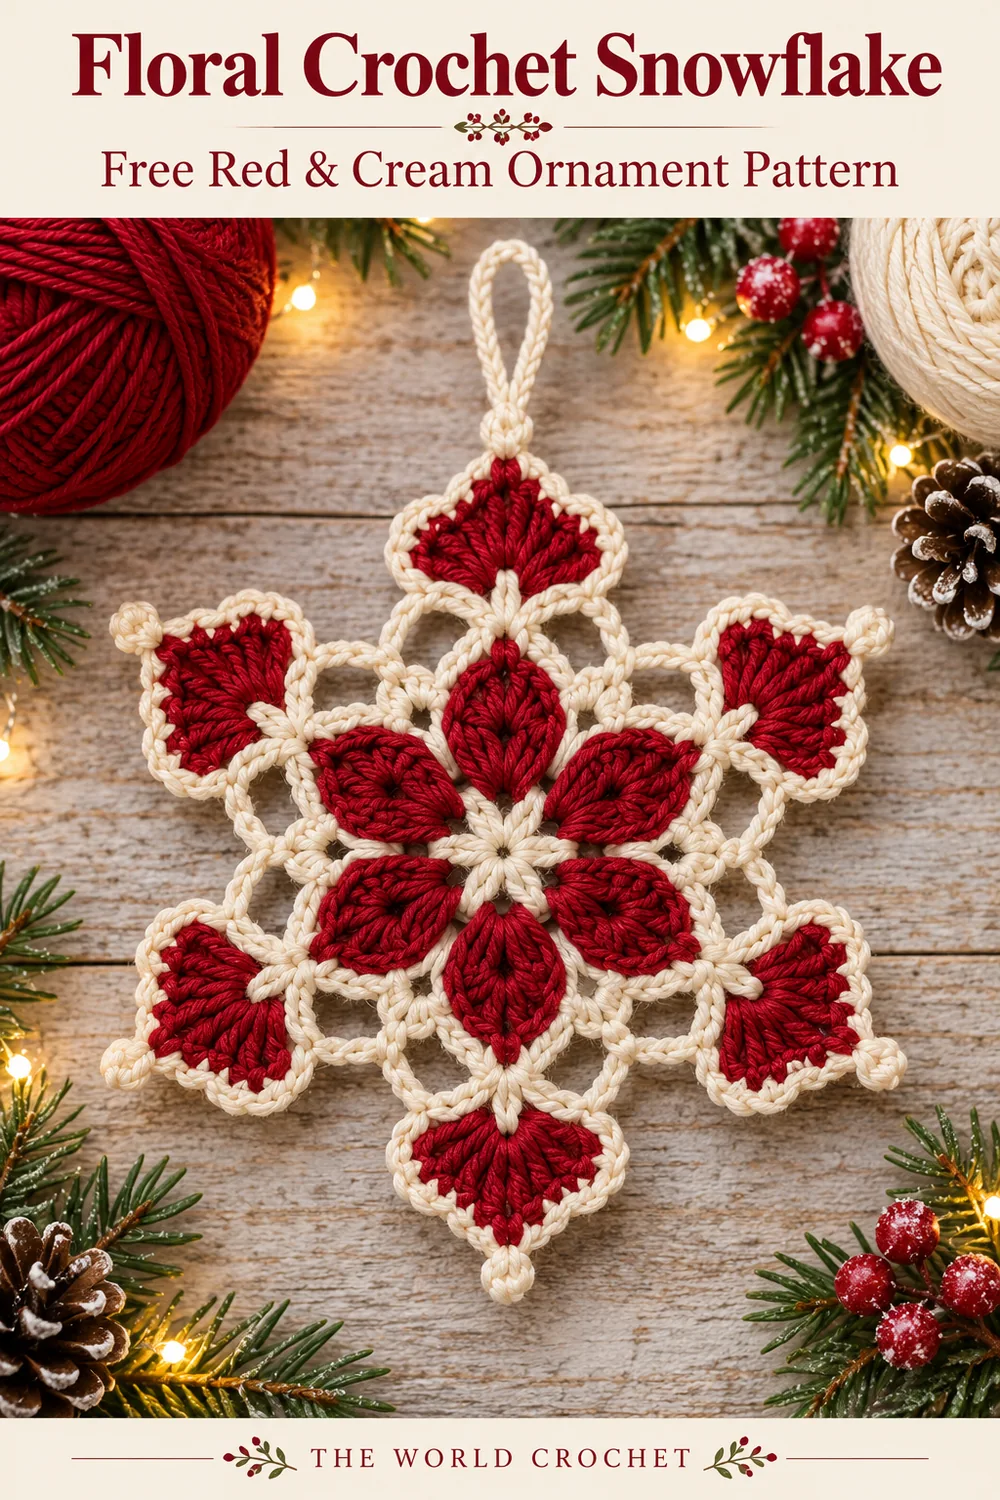
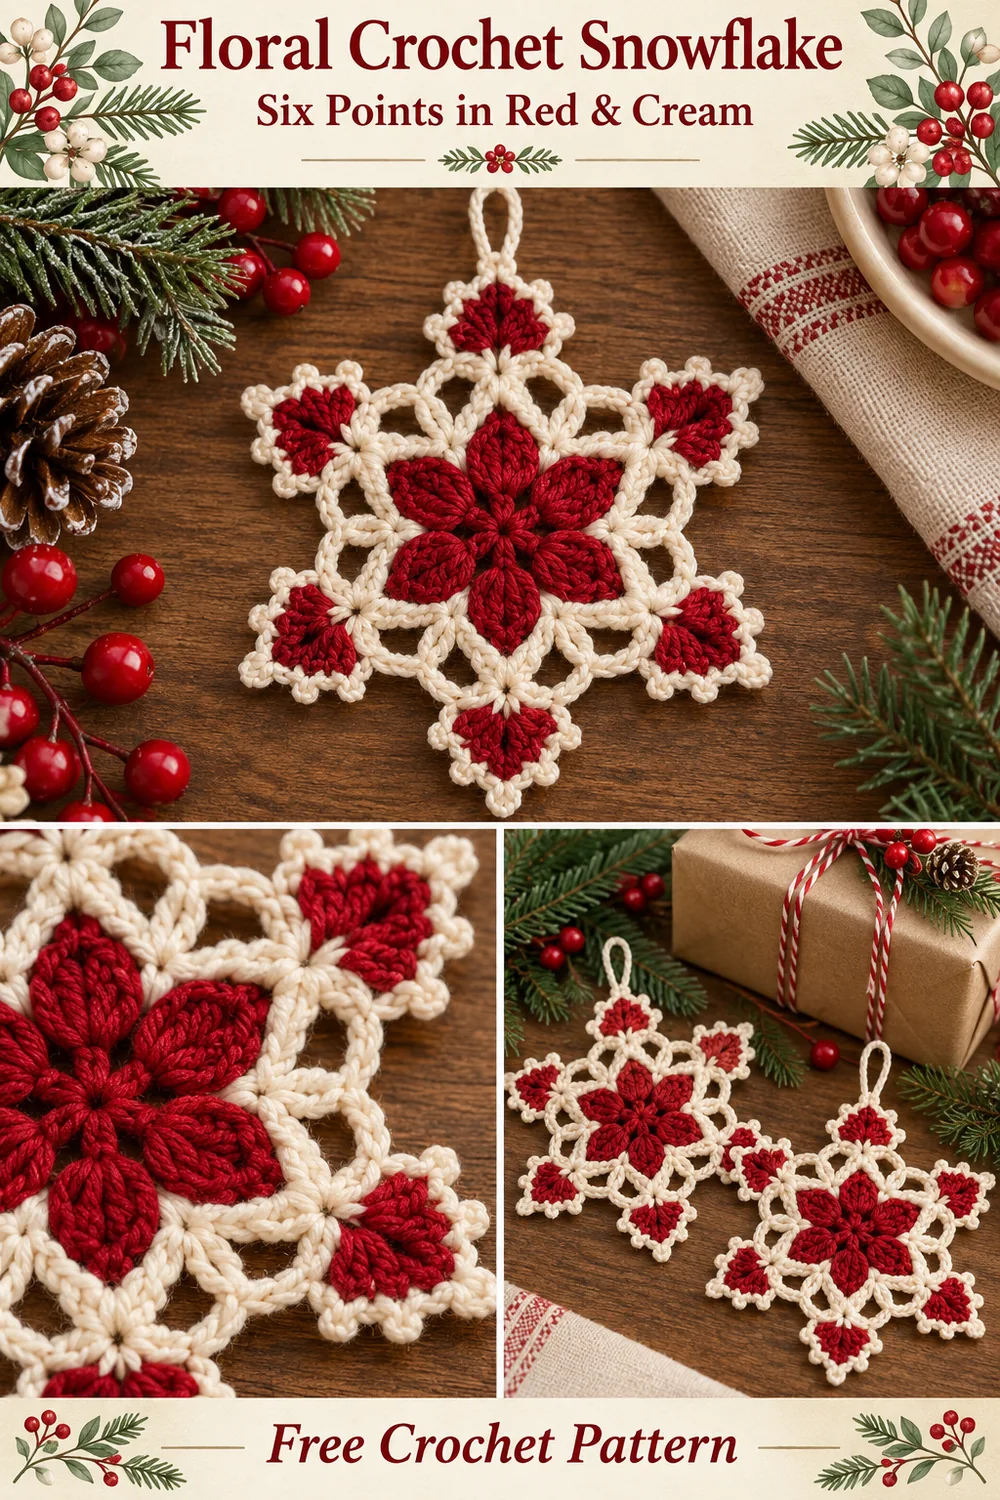
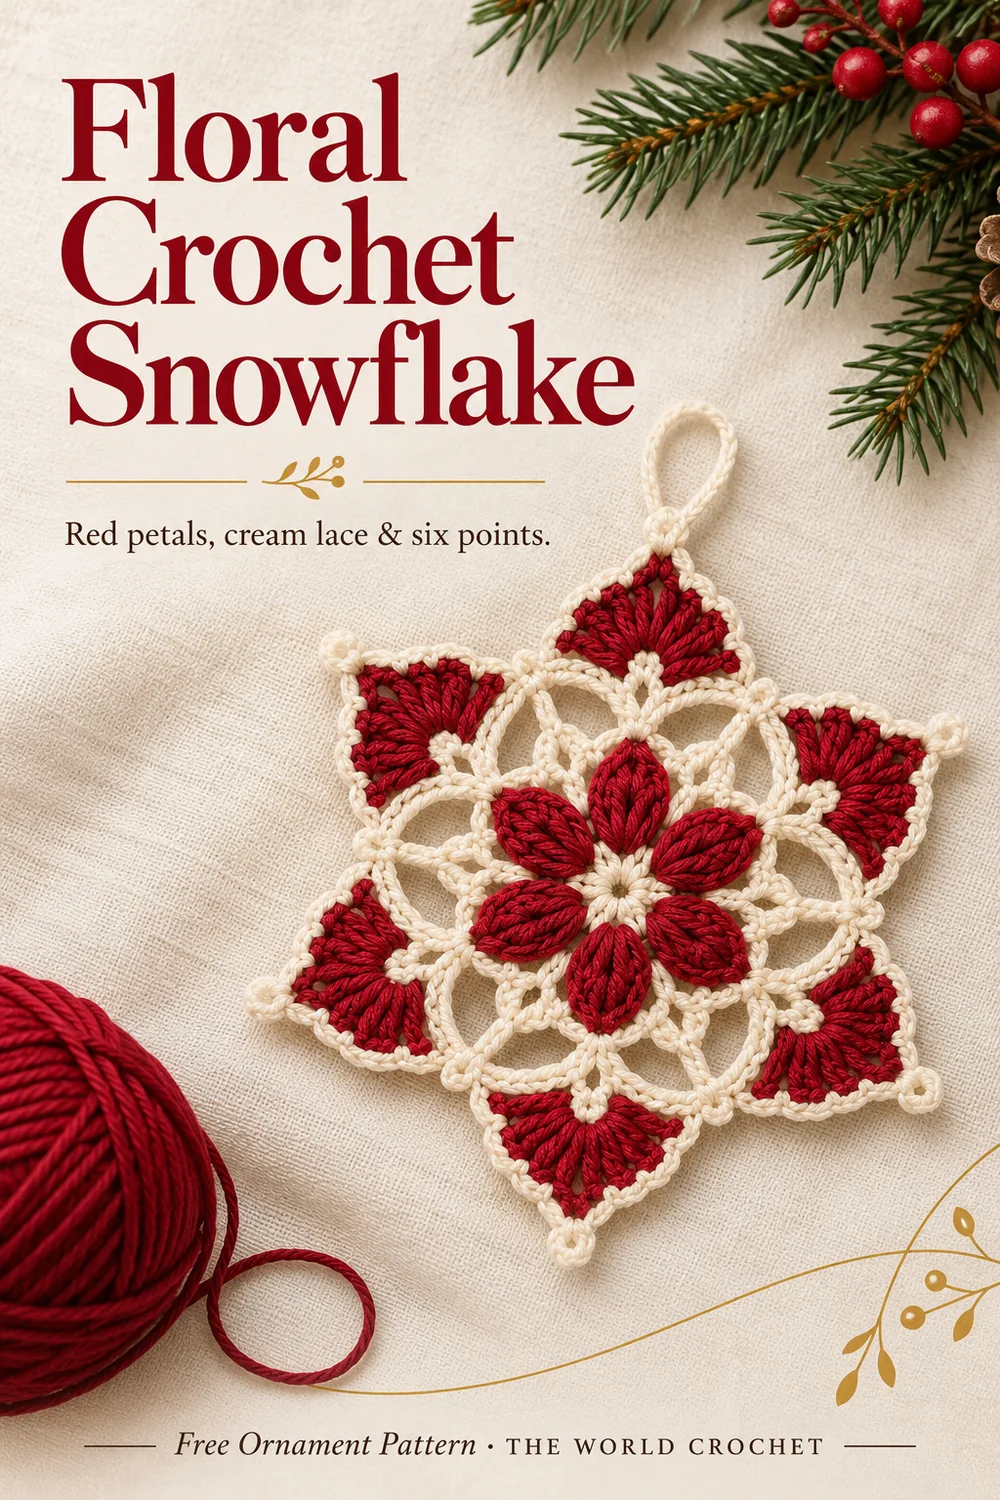
This floral crochet snowflake combines six red center petals, cream chain arches and six red fan-shaped points. A narrow cream outline and a small picot at each tip give the open ornament a crisp, contrasting finish.
The free pattern is an original interpretation inspired by the reference image, not the exact recipe in that photograph or its accompanying chart. The stitch arithmetic has been checked, but the design has not been physically crocheted or tested. Make one ornament first and adjust your materials and blocking to the fabric you produce.
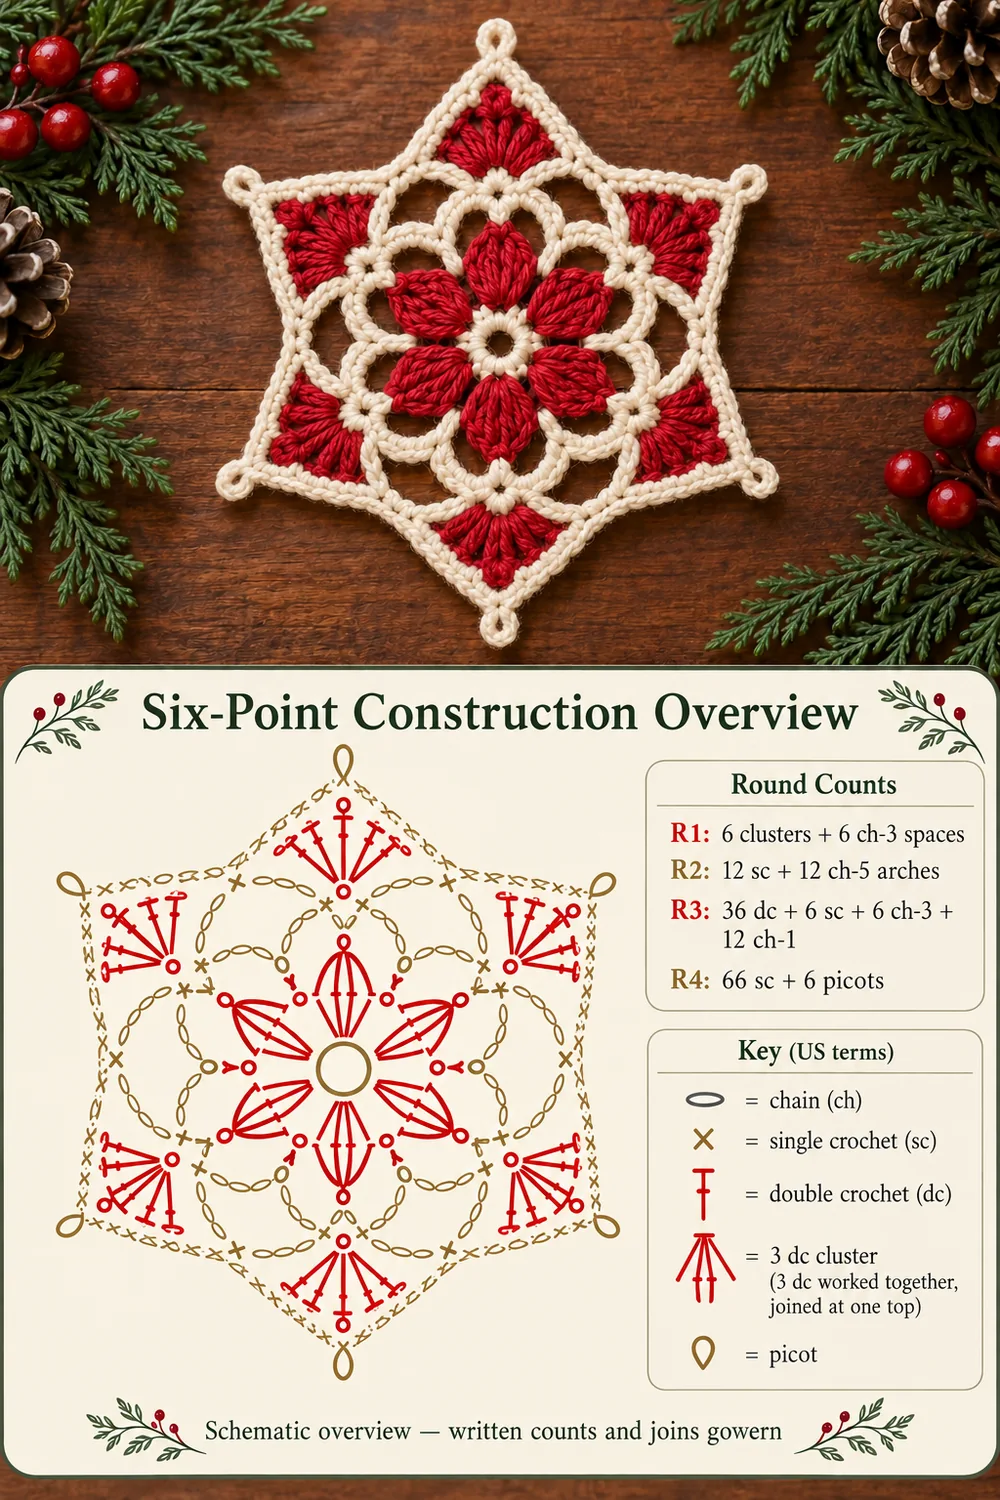
Four joined rounds build the motif. The center has six clusters; the second round creates twelve arches, and the third uses alternate arches for the six points. The fourth round outlines every fan and valley, with one picot at each main tip.
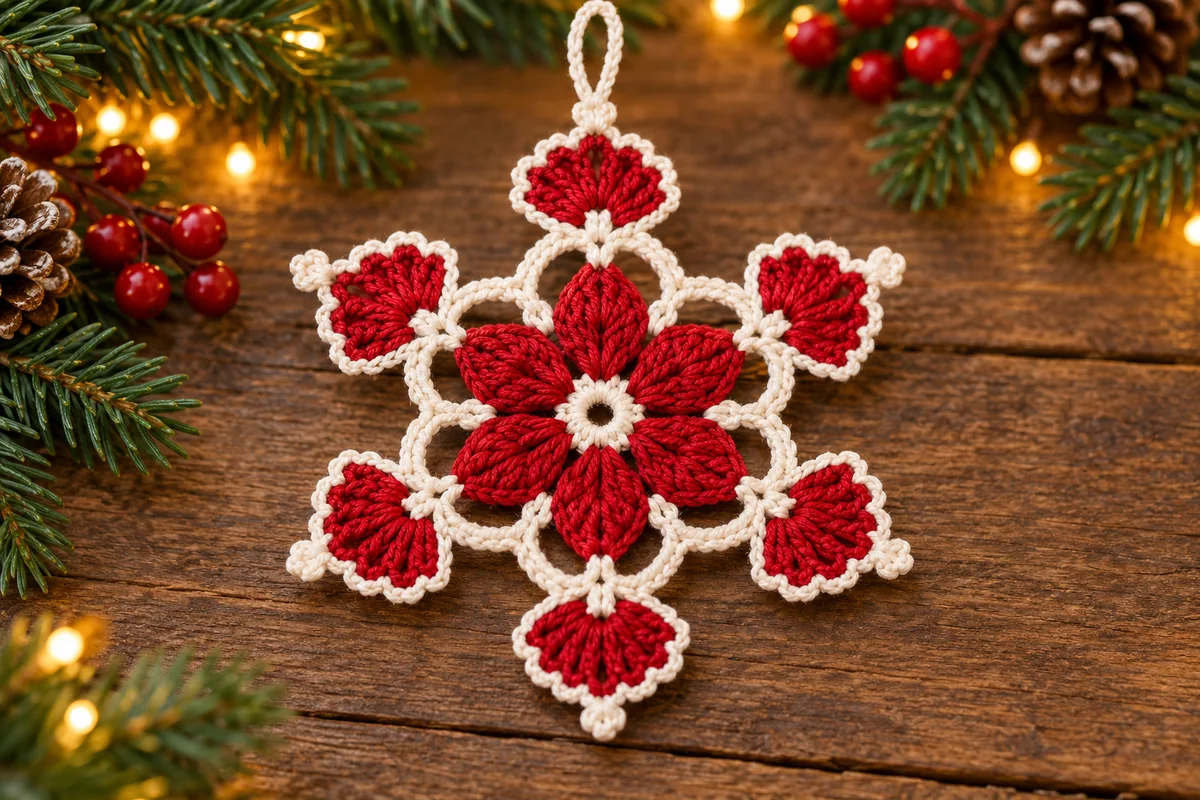
Materials for a floral crochet snowflake
- Smooth DK cotton in red and ivory or warm cream, both of the same weight.
- A 3 mm hook as a starting point, adjusted for clear stitches and relaxed chains.
- A yarn needle, scissors and removable stitch markers.
- A blocking surface and rustproof pins, if the yarn allows damp blocking.
- A separate narrow cord for hanging; optional fabric stiffener compatible with your yarn.
No measured gauge, finished diameter or yarn consumption is supplied for this untested interpretation. The yarn, hook and chain tension determine the size. Use the first motif to decide whether it suits your tree branch, gift package or garland.
The project suits a confident beginner familiar with joined rounds and unfinished double crochet stitches. Avoid changing yarn thickness between red and cream: a much thinner cream strand can pull the openwork inward, while a bulky strand can hide the red tips.
US abbreviations and special stitches
ch = chain; sl st = slip stitch; sc = single crochet; dc = double crochet; st/sts = stitch/stitches; sp = space; MR = magic ring; 3-dc cl = three-double-crochet cluster. Consult the Craft Yarn Council crochet abbreviations guide for standard US stitch names.
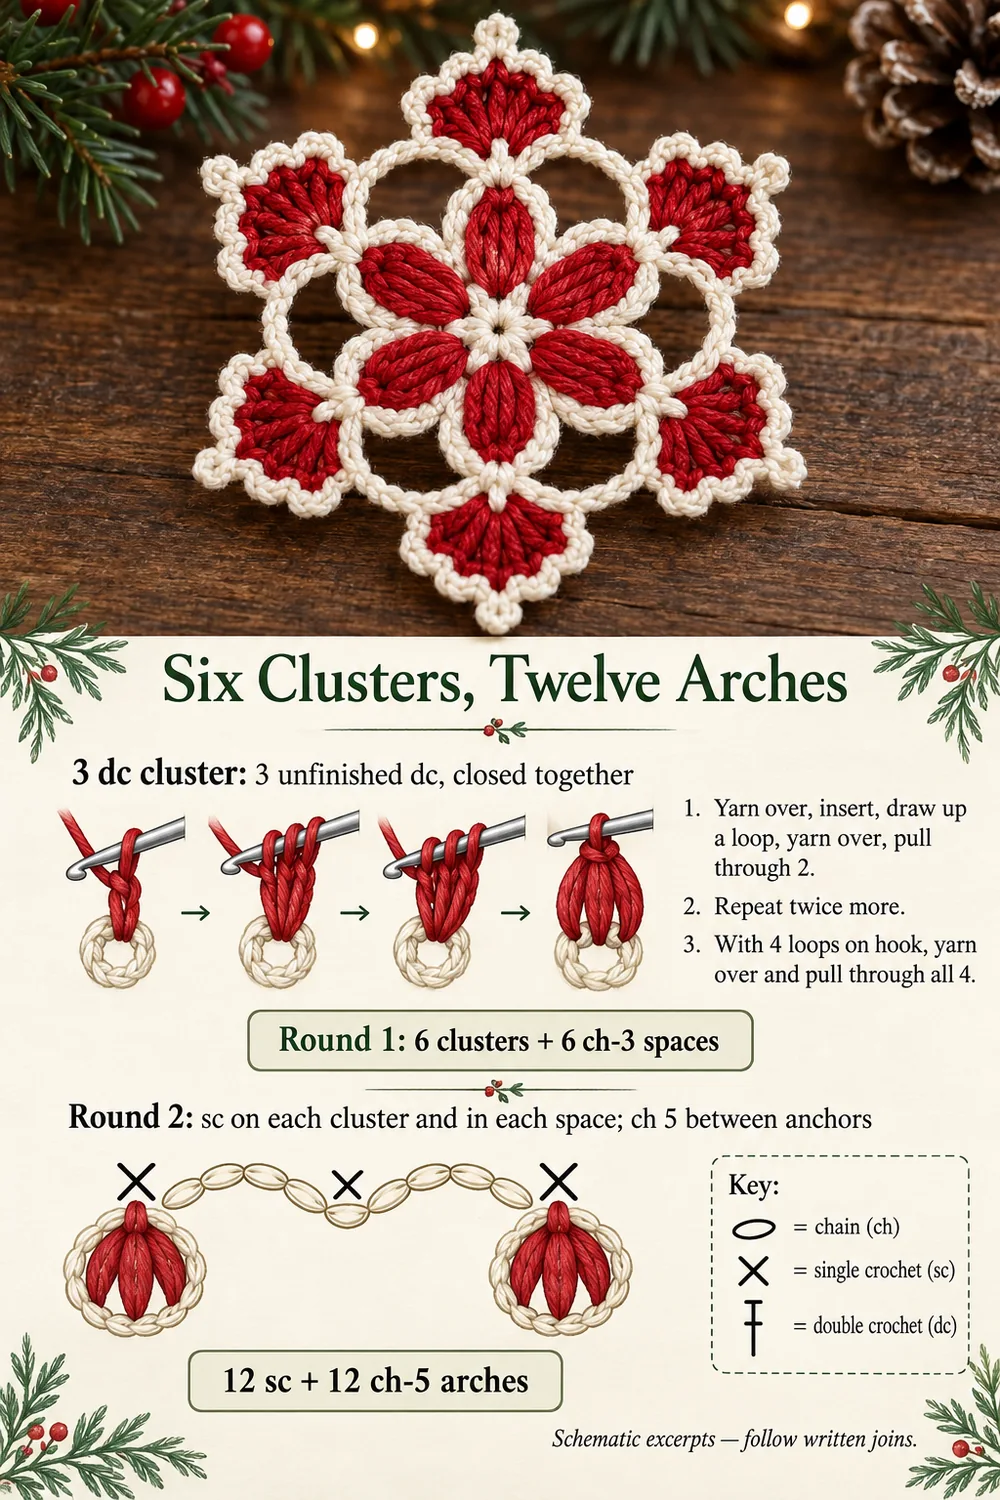
Three-double-crochet cluster
Yarn over, insert the hook into the indicated location, yarn over and draw up a loop, then yarn over and pull through two loops. Leave the remaining loops on the hook. Repeat this unfinished dc twice more into the same location. Four loops remain; yarn over and pull through all four. The three legs have one closed top, counted as one cluster.
Beginning cluster
Ch 2 to replace the first unfinished dc leg. Work two unfinished dc into the ring, leaving the final loop of each on the hook. With three loops remaining, yarn over and pull through all three. This makes the first cluster; the ch 2 is part of that cluster, not an additional stitch.
Fan and picot
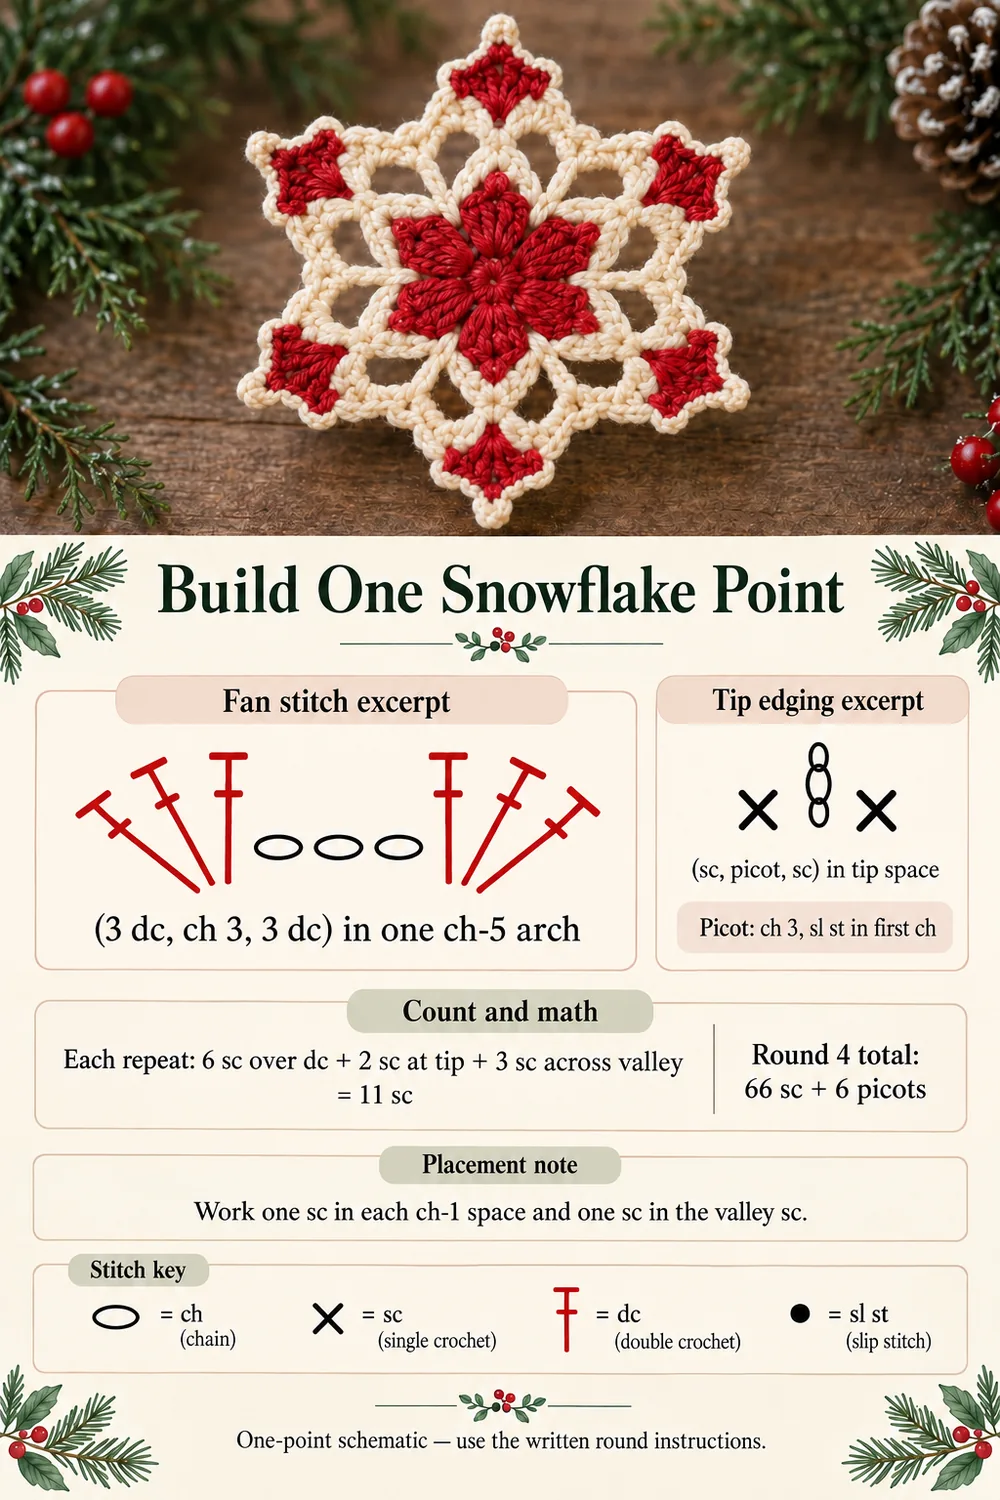
A fan is (3 dc, ch 3, 3 dc) in one indicated arch. Its six dc have separate tops; they are not closed together. A picot is ch 3, then sl st in the first of those three chains. The picot does not add another sc to the edging count.
Work in joined rounds without turning. Fasten off at the end of each round and attach the next color where stated. A beginning ch 1 never counts; the beginning ch 3 in Round 3 counts as the first dc. Color-attachment and final joining slip stitches are excluded from the round totals.
Floral crochet snowflake: the four rounds
Round 1: six red cluster petals
With red, make a MR. Work the beginning cluster described above, then ch 3. Repeat [3-dc cl in the ring, ch 3] five times. Close the ring gently and join with a sl st to the closed top of the beginning cluster. Fasten off red.
Count: 6 clusters and 6 ch-3 spaces. The last ch 3 makes the sixth space. Do not add another space after joining. Spread the clusters around the ring without pulling the chain arches tight.
Round 2: twelve cream arches
Join cream with a sl st in the top of any cluster. Ch 1 and sc in that same top, then ch 5. Sc around the following ch-3 space and ch 5. Repeat [sc in the next cluster top, ch 5, sc in the next ch-3 space, ch 5] five times. Join to the first sc and fasten off cream.
Count: 12 sc and 12 ch-5 arches. Six sc sit on cluster tops; the other six sit in the spaces between clusters. Each original petal section therefore contributes two new arches, not one. Mark the first arch if you need help tracking them.
Round 3: place six red fan points
Join red with a sl st in any ch-5 arch. Ch 3 and work 2 dc, ch 3 and 3 dc in that same arch. Ch 1, sc in the next ch-5 arch, then ch 1. Repeat [(3 dc, ch 3, 3 dc) in the next arch, ch 1, sc in the next arch, ch 1] five times. Join to the top of the beginning ch 3 and fasten off red.
Count: 36 dc, 6 sc, 6 ch-3 tip spaces and 12 ch-1 valley spaces. Every pair of cream arches receives one fan and one sc anchor. Work around the arches themselves, leaving the Round 2 sc tops unworked; they support the arches rather than receiving new stitches in this round.
Count six fans before starting the edging. Each fan has three dc on one side of its ch-3 tip and three on the other. A fan placed in every cream arch would give twelve points and would not follow this pattern.
Round 4: outline the six points in cream
Join cream with a sl st in the first dc of any fan. Ch 1 and sc in that same dc, then sc in the next 2 dc. In the following ch-3 tip space, work (sc, picot, sc). Sc in the next 3 dc, sc in the next ch-1 space, sc in the following red sc anchor, and sc in the next ch-1 space.
Repeat [sc in the next 3 dc, (sc, picot, sc) in the tip space, sc in the next 3 dc, sc in the next ch-1 space, sc in the red sc anchor, sc in the next ch-1 space] five times. Join to the first cream sc and fasten off.
Count: 66 sc and 6 picots. Each repeat has 6 sc over the fan’s dc, 2 sc in the tip space and 3 sc across the valley: 11 sc. Six repeats give 66. Only the main ch-3 tips receive picots; the valley spaces receive plain sc.
Check the count progression
| Round | Color | Finished count |
|---|---|---|
| 1 | Red | 6 clusters + 6 ch-3 spaces |
| 2 | Cream | 12 sc + 12 ch-5 arches |
| 3 | Red | 36 dc + 6 sc + 6 ch-3 + 12 ch-1 spaces |
| 4 | Cream | 66 sc + 6 picots |
The six-repeat structure remains constant even when the number of arches doubles. Round 2 has twelve arches because each repeat has two. Round 3 consumes them in pairs. Keep a marker at the first fan rather than adding an extra fan or valley at the join.
Finish, block and add the hanging cord
Weave tails through the backs of matching-color stitches, changing direction before trimming. Secure the MR tail through several red stitches so the center cannot loosen. Keep tails away from exposed cream arches where they might show through the openings.
If your yarn allows damp blocking, dampen the motif and arrange it on a flat surface. Pin the six main tips evenly, then open the cream arches without stretching them into long loops. Let it dry completely. Blocking can settle mild unevenness, but cannot replace a missing arch or correct an extra fan.
For a firmer decoration, test a compatible stiffener on a separate scrap first and follow its product directions. Check that the red yarn does not bleed onto the cream. Do not apply heat or a cleaning treatment that the yarn label does not permit.
Pass a separate hanging cord through sturdy cream stitches just below one picot and tie a secure loop. Support the cord across the two sc in that tip space rather than relying on the tiny picot alone. Lift the ornament gently to check the attachment before putting it on a branch.
Troubleshooting the floral crochet snowflake
- The center has separate dc instead of petals: check the cluster method. Leave each dc unfinished until all three legs are ready, then close the group together.
- Round 2 has six arches: add the missing anchor in each original ch-3 space. You need one sc on every cluster and one sc in every space, with ch 5 between anchors.
- The points look crowded: confirm you used alternate arches for fans. The arches between fans receive one sc each.
- The final count is 60 sc: check the red sc anchors in the valleys. They each receive one cream sc, in addition to the sc in the chain spaces on either side.
- The arches pull the motif into a cup: check their chain counts first. If those are right, remake tight chains more loosely or adjust your hook on a new sample.
- A tip has extra bumps: the written version has one picot per point. Styled images may show fuller decorative outlines; follow the six-picot count for this interpretation.
Coordinate the red and cream decorations
Make one ornament and check its shape before crocheting a set. Use the same yarn weight and hook throughout, and keep all twelve cream arches similar in tension. Store finished snowflakes flat so the points and hanging cords do not become tangled.
For a different point construction, try the Leaf Point Crochet Star. The Christmas Granny Star offers a five-point motif, and Christmas crochet bows add a separate ribbon-style accent to a coordinated tree.
Photo layouts and crochet diagrams
Below are three Pin designs, followed by a photograph with an overall six-point symbol schematic and two detail guides. The overview shows how the sections relate; it is not a tested, stitch-for-stitch chart. Use the written counts and joins for every round. The detail guides explain the cluster and arch sequence and the six-dc fan with its cream tip.