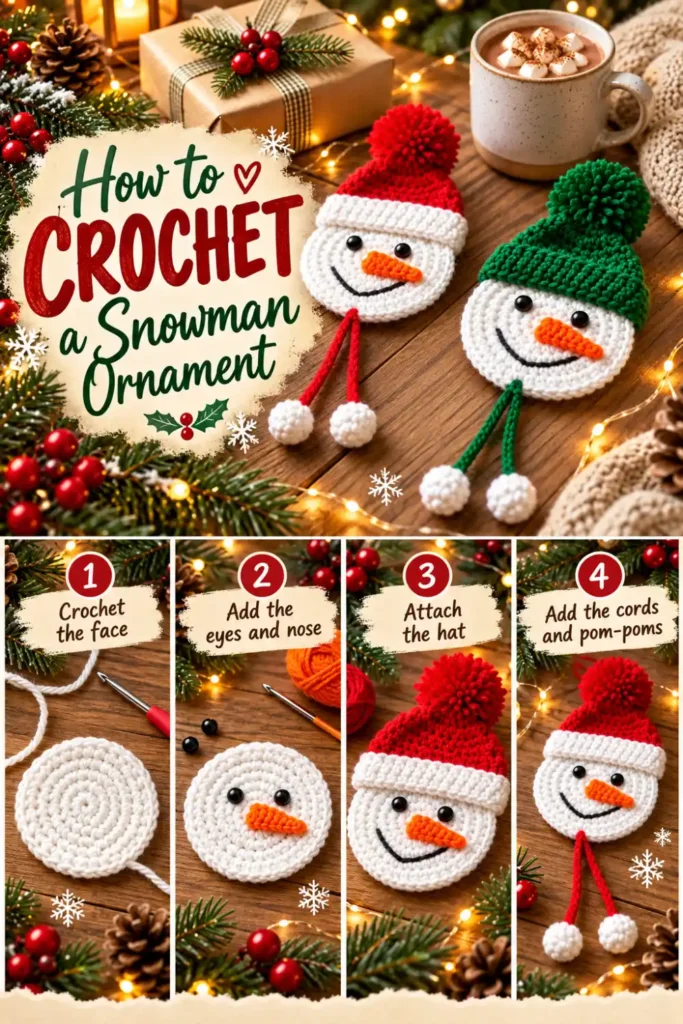
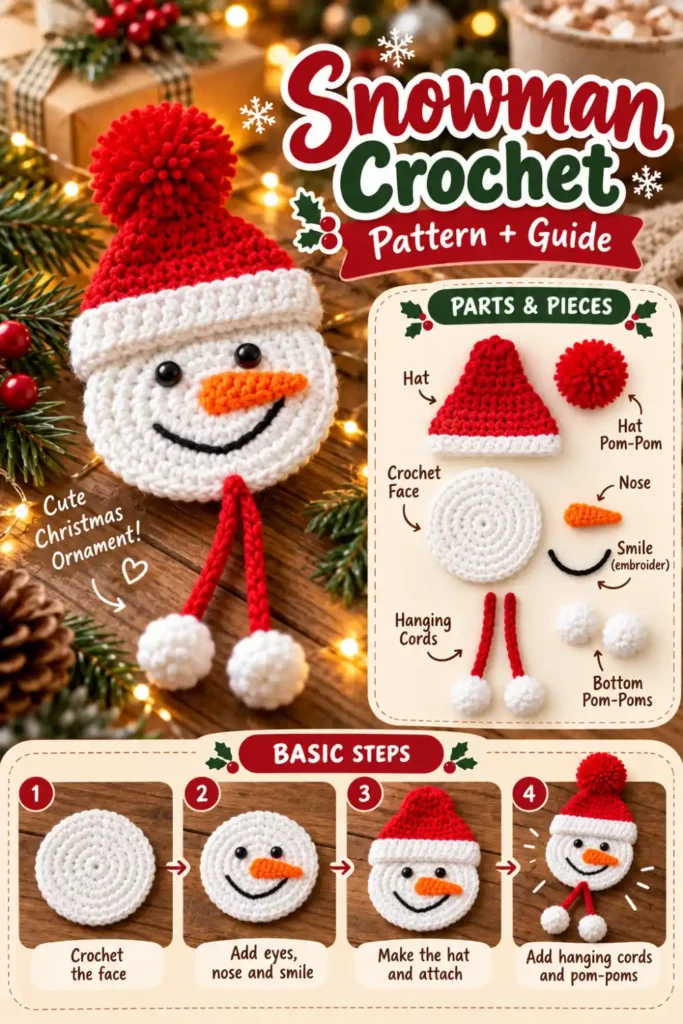
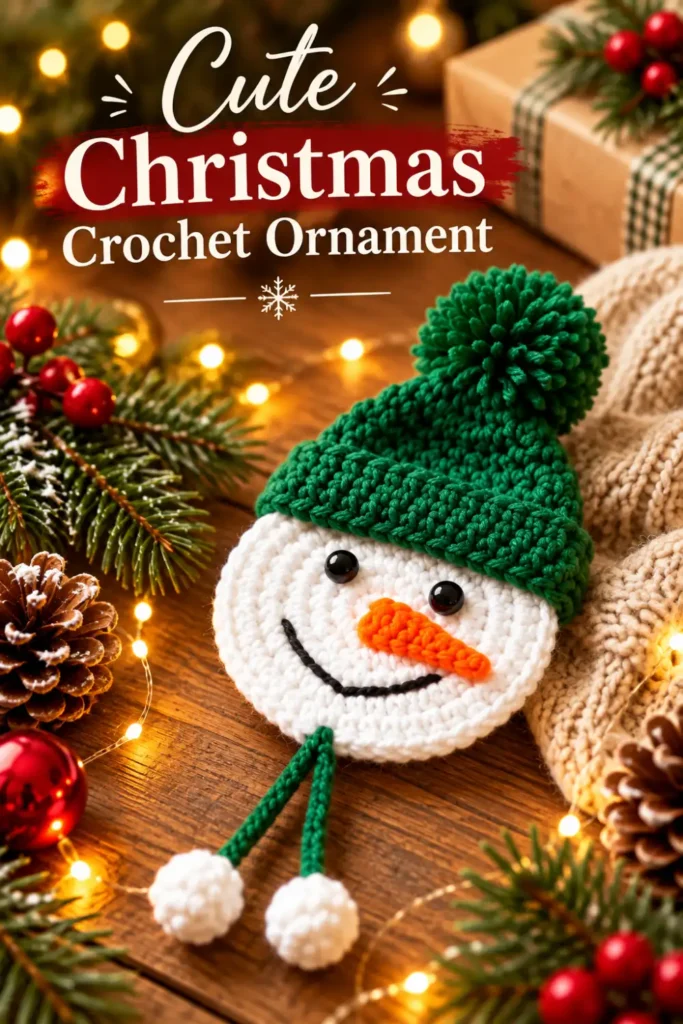
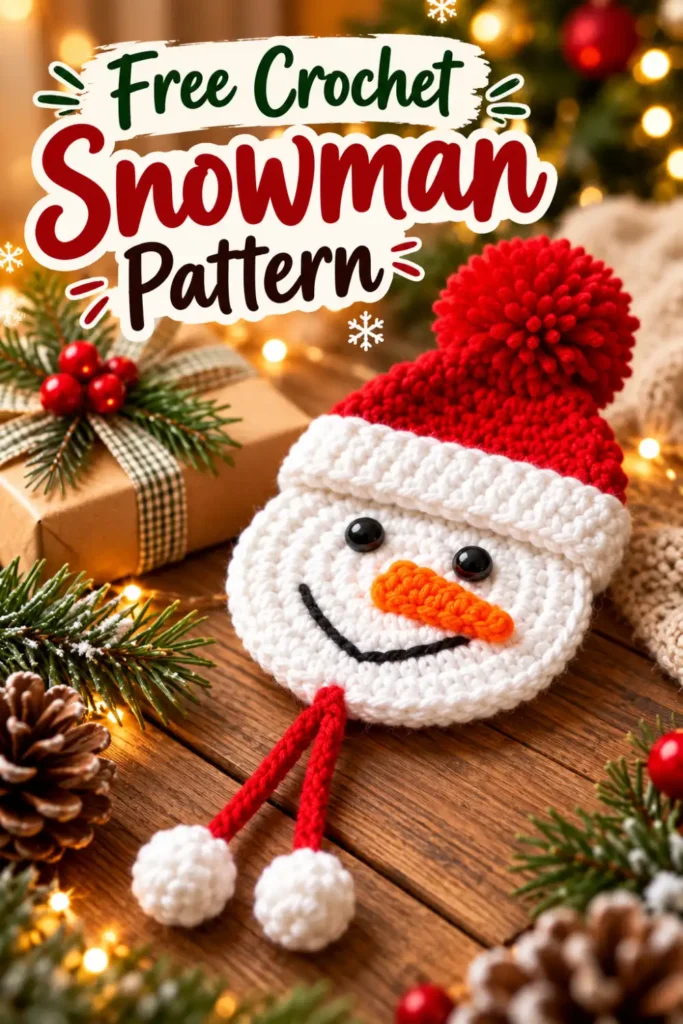
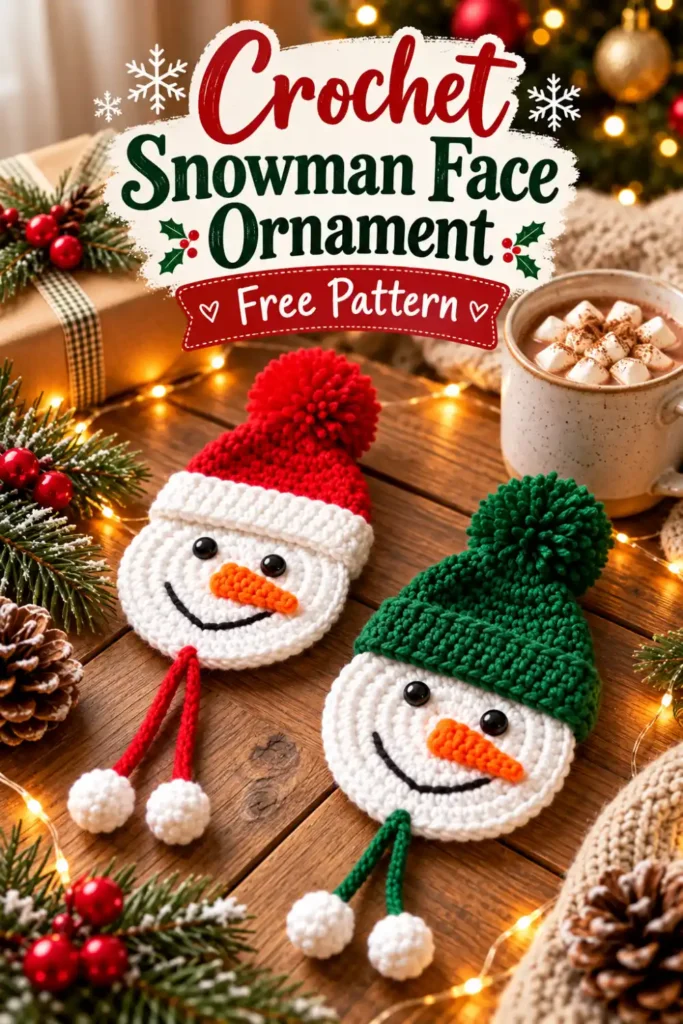
This crochet snowman face ornament is a fun little Christmas project with a flat round face, a cozy ribbed winter hat, a carrot nose, and playful pom-pom details.
The finished ornament is lightweight enough for a Christmas tree but also works beautifully as a gift topper, garland decoration, wreath accent, or small handmade holiday gift.
This free crochet pattern is written using US crochet terms and uses mostly basic stitches, making it a comfortable project for advanced beginners.
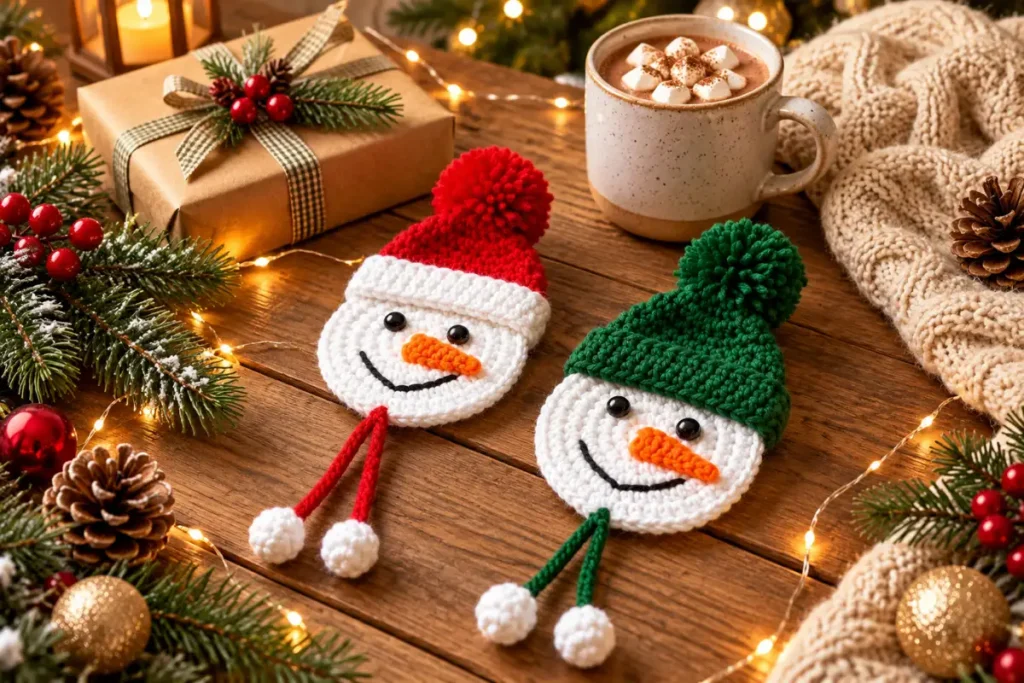
Tutorial / Pattern: Crochet Snowman Face Ornament
If you’re building a collection of handmade Christmas decorations, you may also enjoy the Crochet Christmas Bell Ornament, another lightweight holiday project that pairs nicely with this snowman.
Crochet Snowman Face Ornament Pattern Information
Pattern: Crochet Snowman Face Ornament
Terminology: US Crochet Terms
Skill Level: Advanced Beginner
Yarn Weight: Worsted Weight #4
Crochet Hook: 4.0 mm (G/6)
Construction: Separate pieces assembled at the end
Gauge: Not critical for this project
Finished Width: Approximately 4–4.5 in (10–11.5 cm)
Finished Height: Approximately 6–7 in (15–18 cm), including the hat and decorative pom-poms
The finished measurements may vary slightly depending on your yarn, hook size, and crochet tension.
How the Snowman Is Constructed
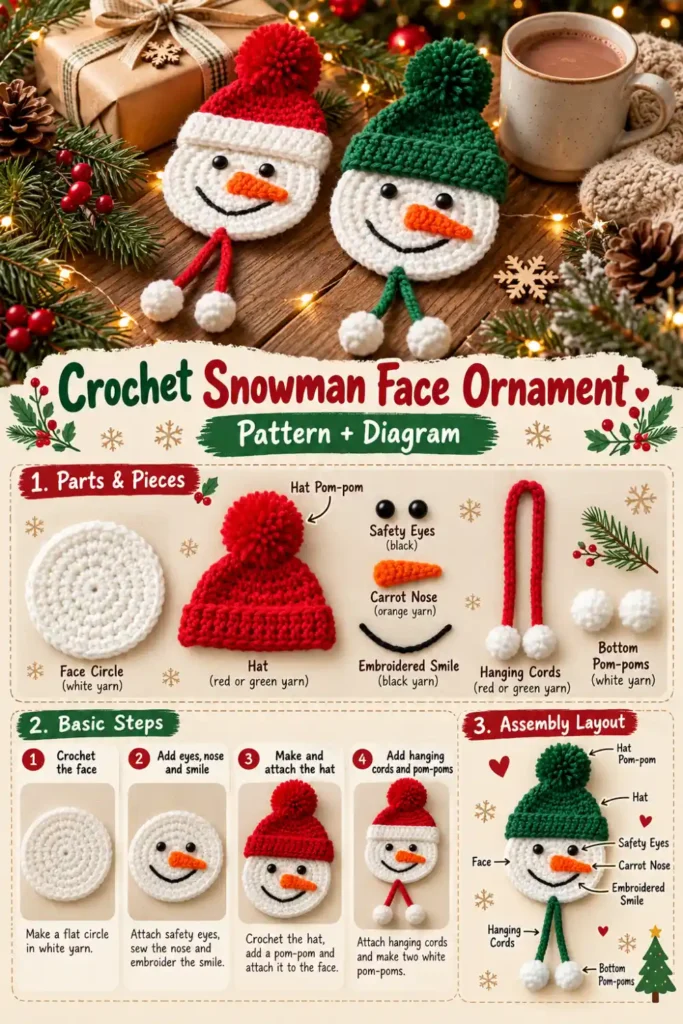
The ornament is made from several simple pieces:
- Two white circles for the snowman face
- One ribbed crochet hat
- One small crochet carrot nose
- Embroidered smile
- Eyes
- Two decorative cords
- Three small pom-poms
- One optional hanging loop
The two face circles are joined together at the end. This creates a clean back and helps the finished snowman keep its shape.
You can leave the ornament completely flat or add a very small amount of stuffing for a slightly padded finish.
Materials
You will need:
- Worsted Weight #4 white yarn
- Worsted Weight #4 red, green, or another color for the hat
- Small amount of orange yarn
- Small amount of black yarn or embroidery thread
- 4.0 mm (G/6) crochet hook
- Yarn needle
- Scissors
- Two 8–10 mm safety eyes or black yarn for embroidered eyes
- Pom-pom maker or a small piece of cardboard
- Small amount of fiberfill, optional
This pattern uses only small amounts of colored yarn, making it a useful project for leftover yarn from other Christmas crochet projects.
Safety note: If the finished ornament may be handled by a baby or young child, use embroidered eyes instead of plastic safety eyes.
Crochet Abbreviations – US Terms
MR – magic ring
ch – chain
sl st – slip stitch
sc – single crochet
hdc – half double crochet
dc – double crochet
dec – decrease
st – stitch
sts – stitches
rnd – round
BLO – back loop only
Pattern Notes
- The face is worked in rounds.
- Make two identical white face circles.
- The hat brim is worked in rows.
- The hat body is worked directly from one long edge of the brim.
- Unless otherwise noted, stitch counts are shown at the end of each round or row.
- Keep your tension even so the snowman face stays flat.
- Do not overstuff the ornament if you choose to add fiberfill.
Snowman Face
Make two identical white circles.
One circle will become the front of the snowman. The second circle creates a clean backing and hides the reverse side of the embroidery and facial details.
Round 1
Make a MR.
Work 8 hdc into the ring.
Pull the ring closed.
8 sts
Round 2
Work 2 hdc in each st around.
16 sts
Round 3
Repeat around:
1 hdc in next st, 2 hdc in next st.
24 sts
Round 4
Repeat around:
1 hdc in next 2 sts, 2 hdc in next st.
32 sts
Round 5
Repeat around:
1 hdc in next 3 sts, 2 hdc in next st.
40 sts
Round 6
Repeat around:
1 hdc in next 4 sts, 2 hdc in next st.
48 sts
Round 7
Hdc in each st around.
48 sts
Fasten off.
Make the second circle using the same instructions.
Add the Eyes
Before joining the two white circles, add the eyes to the front face piece.
Position the eyes slightly above the center of the circle, leaving enough room between them for the carrot nose.
Before permanently attaching the eyes, place both eyes and the nose on the face to check the expression.
Moving the eyes by only one or two stitches can noticeably change the snowman’s appearance.
For a completely yarn-based ornament, embroider small black eyes instead of using plastic safety eyes.
Crochet Carrot Nose
Using orange yarn:
Ch 8.
Starting in the second ch from the hook, work:
- sl st in next ch;
- sc in next ch;
- hdc in next ch;
- hdc in next ch;
- dc in next ch;
- dc in next ch;
- hdc in final ch.
Fasten off, leaving a long tail for sewing.
The stitches gradually increase in height, creating a small tapered carrot shape.
Position the wider end close to the center of the snowman’s face and point the narrower end slightly upward or sideways.
Sew the nose securely in place.
Embroider the Smile
Thread black yarn or embroidery thread onto a yarn needle.
Embroider a small curved smile beneath the carrot nose.
You can create the mouth using one curved line or several short stitches.
Avoid pulling the embroidery too tightly, as this may distort the crochet circle.
Join the Face Pieces
Place the two white circles together with the wrong sides facing each other.
Join white yarn anywhere along the outer edge.
Work sc through both layers around the entire face.
Join with a sl st.
Fasten off and weave in the ends.
Flat Version
For a lightweight Christmas tree ornament, leave the face completely unstuffed.
The two crochet layers will still provide enough structure for the ornament to hold its shape.
Slightly Padded Version
If you prefer a little extra dimension, stop before closing the final few stitches.
Add a very small amount of fiberfill.
Finish crocheting the opening closed.
Do not overstuff. The snowman should remain mostly flat.
Crochet the Hat Brim
Choose your hat color.
Traditional Christmas red and dark green work especially well, but blue, pink, beige, burgundy, or other colors can create completely different styles.
Ch 19.
Row 1
Starting in the second ch from the hook:
Hdc across.
18 sts
Ch 1 and turn.
Rows 2–4
Work hdc in BLO across.
18 sts
Ch 1 and turn after Rows 2 and 3.
Fasten off after Row 4.
Working through the back loops creates the ribbed texture of a classic winter hat.
Crochet the Hat Body
Join the same hat-color yarn evenly along one long edge of the brim.
Row 1
Work 18 sc evenly across.
18 sts
Ch 1 and turn.
Row 2
Sc across.
18 sts
Ch 1 and turn.
Row 3
Repeat across:
sc in next 4 sts, dec.
15 sts
Ch 1 and turn.
Row 4
Sc across.
15 sts
Ch 1 and turn.
Row 5
Repeat across:
sc in next 3 sts, dec.
12 sts
Ch 1 and turn.
Row 6
Sc across.
12 sts
Ch 1 and turn.
Row 7
Repeat across:
sc in next 2 sts, dec.
9 sts
Ch 1 and turn.
Row 8
Repeat across:
sc in next st, dec.
6 sts
Ch 1 and turn.
Row 9
Work:
dec 3 times.
3 sts
Fasten off, leaving a long tail.
Thread the yarn tail through the remaining stitches and gently pull them together.
Secure the yarn.
Make the Hat Pom-Pom
Using the same yarn as the hat, make one small pom-pom.
Trim the yarn evenly until the pom-pom looks round and compact.
Attach it securely to the top of the hat.
Attach the Hat
Position the ribbed brim across the upper section of the snowman’s face.
Allow the brim to overlap the white crochet circle slightly.
Before sewing, check that the hat is centered and that it does not pull or distort the face.
Using matching yarn, sew the hat securely to the snowman.
Attach:
- the lower edge of the brim;
- the sides of the hat;
- any additional areas that need support.
The finished hat should rest naturally across the snowman’s forehead.
Decorative Hanging Cords
The two small cords at the bottom add movement and another decorative detail to the snowman.
Using the same yarn color as the hat, join yarn near the lower edge of the face.
Ch 18–22.
Fasten off.
Make a second cord beside the first.
You can make one cord slightly longer than the other for a relaxed handmade look.
White Mini Pom-Poms
Make two small white pom-poms.
Trim them until they are compact and evenly shaped.
Attach one white pom-pom securely to the end of each decorative cord.
Add the Hanging Loop
To turn your snowman into a Christmas tree ornament, add a hanging loop near the top of the hat.
Join yarn securely.
Ch 20–25.
Sl st back into the same attachment point to form a loop.
Fasten off and weave in the yarn ends securely.
Instead of yarn, you can also use:
- ribbon;
- cotton cord;
- twine;
- decorative metallic thread.
Crochet Snowman Color Ideas
One advantage of this pattern is that you can use the same construction while changing only the hat color.
Classic Christmas Snowman
White face + red hat
Traditional Christmas Snowman
White face + dark green hat
Winter Snowman
White face + light blue hat
Neutral Christmas Snowman
White face + beige, cream, or oatmeal hat
Pastel Christmas Snowman
White face + dusty pink or soft lavender hat
Making several snowmen in different colors is an easy way to create a coordinated handmade ornament collection.
For another quick project to mix into the same Christmas set, try these Quick & Charming Christmas Crochet Stars.
Tips for a Better Finished Ornament
Keep the Face Flat
If the crochet circle begins to cup noticeably, check your tension.
Very tight stitches can prevent the circle from lying flat. Relaxing your tension slightly may help.
Test the Hat Before Sewing
Different yarns can behave differently even when they are labeled as the same weight.
Place the completed hat against the face before attaching it permanently.
The brim should cover the upper part of the circle without pulling the edges inward.
Position the Facial Features First
Before permanently sewing the nose or embroidering the mouth, temporarily position the main facial features.
Check the snowman from a short distance.
Small adjustments to the eyes or nose can completely change the finished expression.
Use Very Little Stuffing
If you choose the padded version, add only enough fiberfill to create a little dimension.
Too much stuffing can turn the flat ornament into a rounded shape and distort the outer edge.
Ways to Use Your Crochet Snowman Face Ornament
Although this pattern was designed as a Christmas ornament, there are several other ways to use the finished snowman.
Try it as a:
- Christmas tree ornament;
- gift topper;
- handmade gift;
- wreath decoration;
- Christmas garland piece;
- stocking decoration;
- holiday package embellishment.
You can also make several snowmen with different hat colors and combine them into a matching Christmas garland.
If you’d like another snowman style for your holiday collection, take a look at the Crochet Snowman Ornament Pattern, which uses a different construction and decorative edge.
Crochet Snowman Face Ornament FAQ
Is this crochet snowman face ornament suitable for beginners?
The pattern uses basic crochet stitches, simple increases and decreases, embroidery, and basic assembly.
A crocheter who is comfortable with single crochet, half double crochet, double crochet, and simple decreases should be able to follow the project.
Can I use cotton yarn?
Yes.
Cotton yarn produces clear stitch definition and usually creates a firmer ornament.
Acrylic yarn can give the snowman a softer finish.
Can I make the snowman smaller?
Yes.
Use a lighter-weight yarn and an appropriately smaller crochet hook while following the same stitch counts.
The exact finished measurement will depend on your yarn, hook, and tension.
Can I make the ornament larger?
Yes.
Use thicker yarn with the hook size recommended for that yarn.
Keep in mind that changing yarn weight will also change the size of the hat, nose, and other details.
Do I need to make two face circles?
No.
You can use only one face circle if you want an especially lightweight ornament.
However, using two layers gives the back a cleaner finish and hides the reverse side of embroidered features.
Do I need to add stuffing?
No.
The snowman works well as a completely flat ornament.
If you want a little more dimension, add only a small amount of fiberfill before closing the two face layers.
Can I leave off the decorative cords?
Yes.
The cords and lower white pom-poms are decorative.
Leaving them off creates an even simpler snowman face ornament.
Can I embroider the eyes instead of using safety eyes?
Yes.
Small embroidered eyes work especially well on this project and create a completely yarn-based ornament.
They are also the better choice if the finished item may be handled by a young child.
More Christmas Crochet Ideas
Small crochet ornaments are useful projects when you want handmade Christmas decorations without using a large amount of yarn.
After finishing your snowman, you can continue your holiday collection with the Crochet Christmas Bell Ornament or make several Christmas Crochet Stars in colors that coordinate with your snowman’s hat.
Whether you choose classic red and green or softer winter colors, small changes can make every snowman look a little different while keeping the same basic pattern.
That makes this crochet snowman face ornament an easy design to personalize for your own tree, holiday decorations, or handmade Christmas gifts.