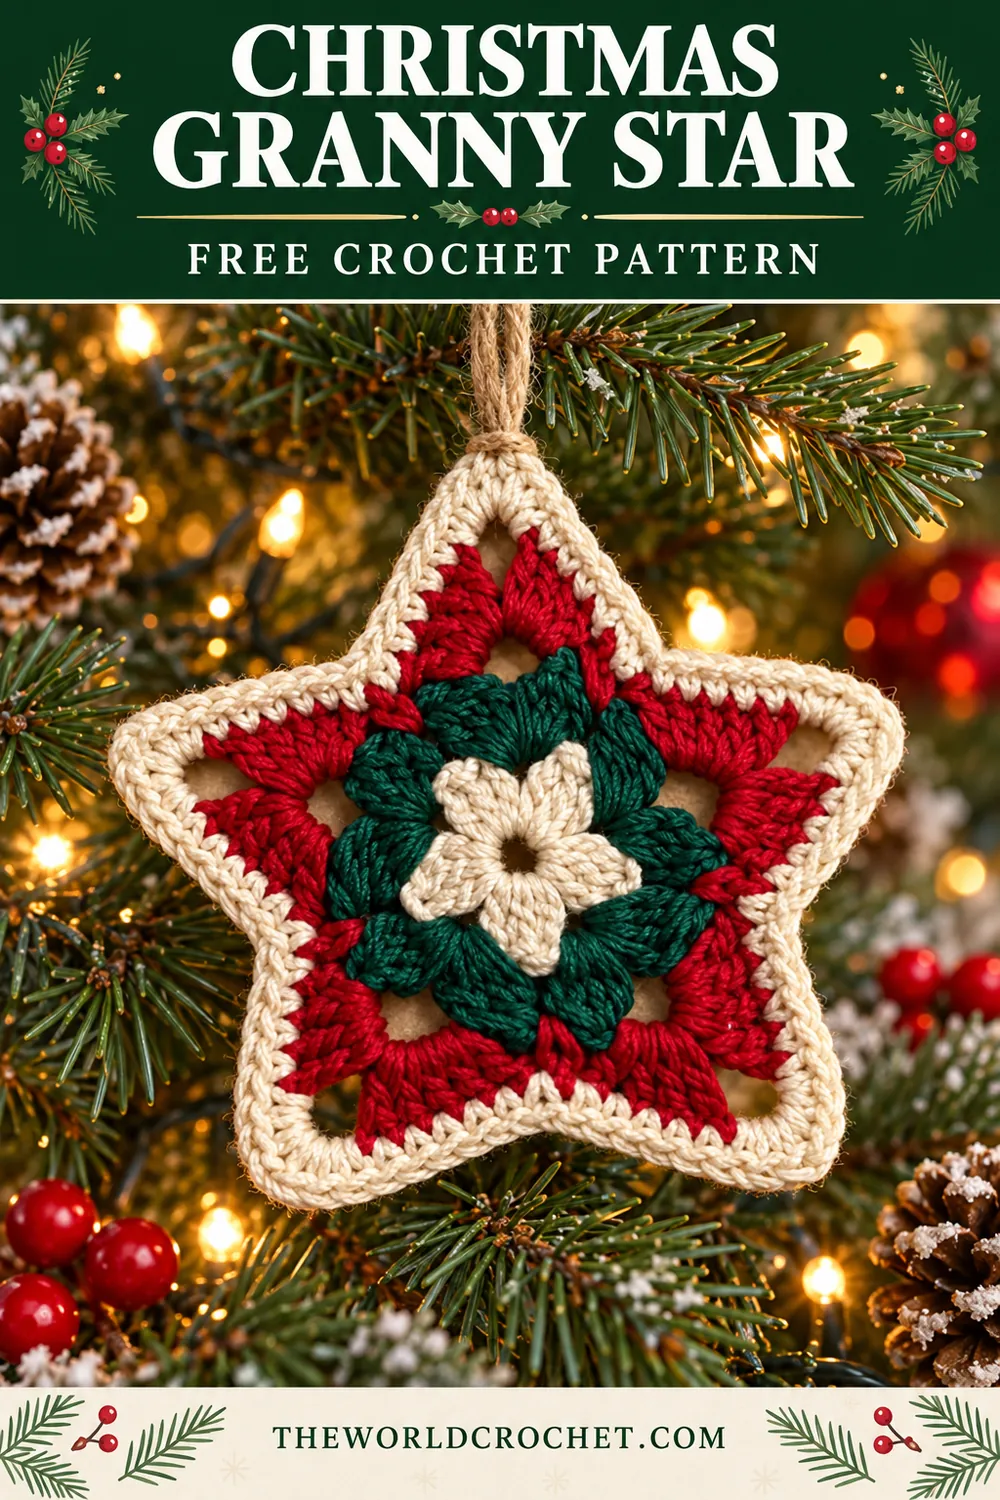
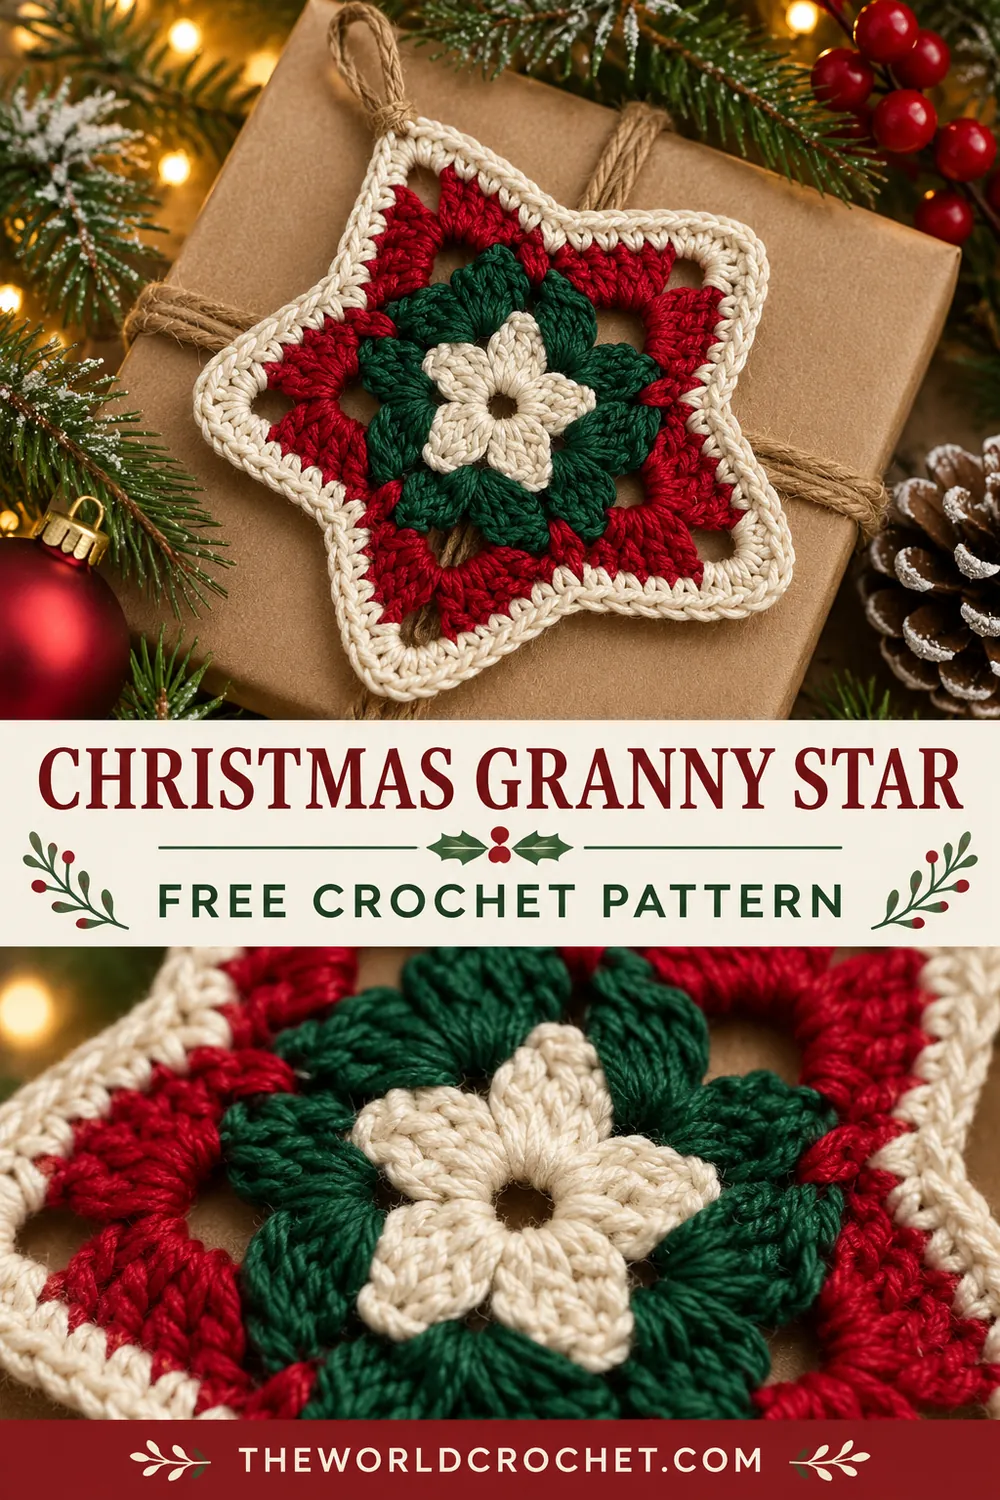
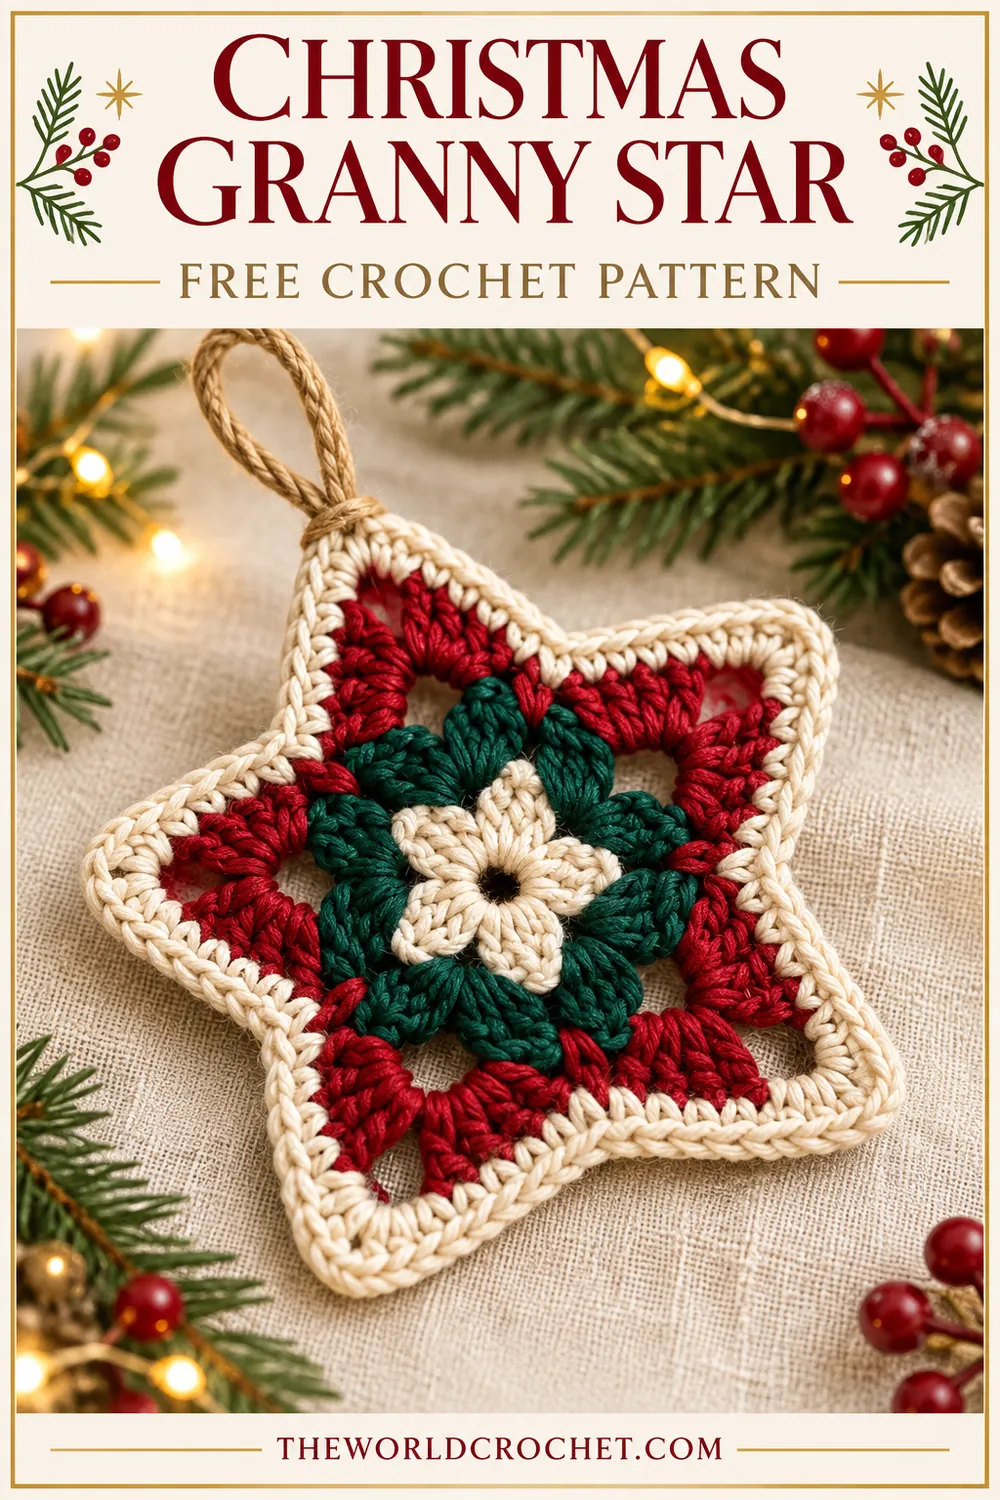
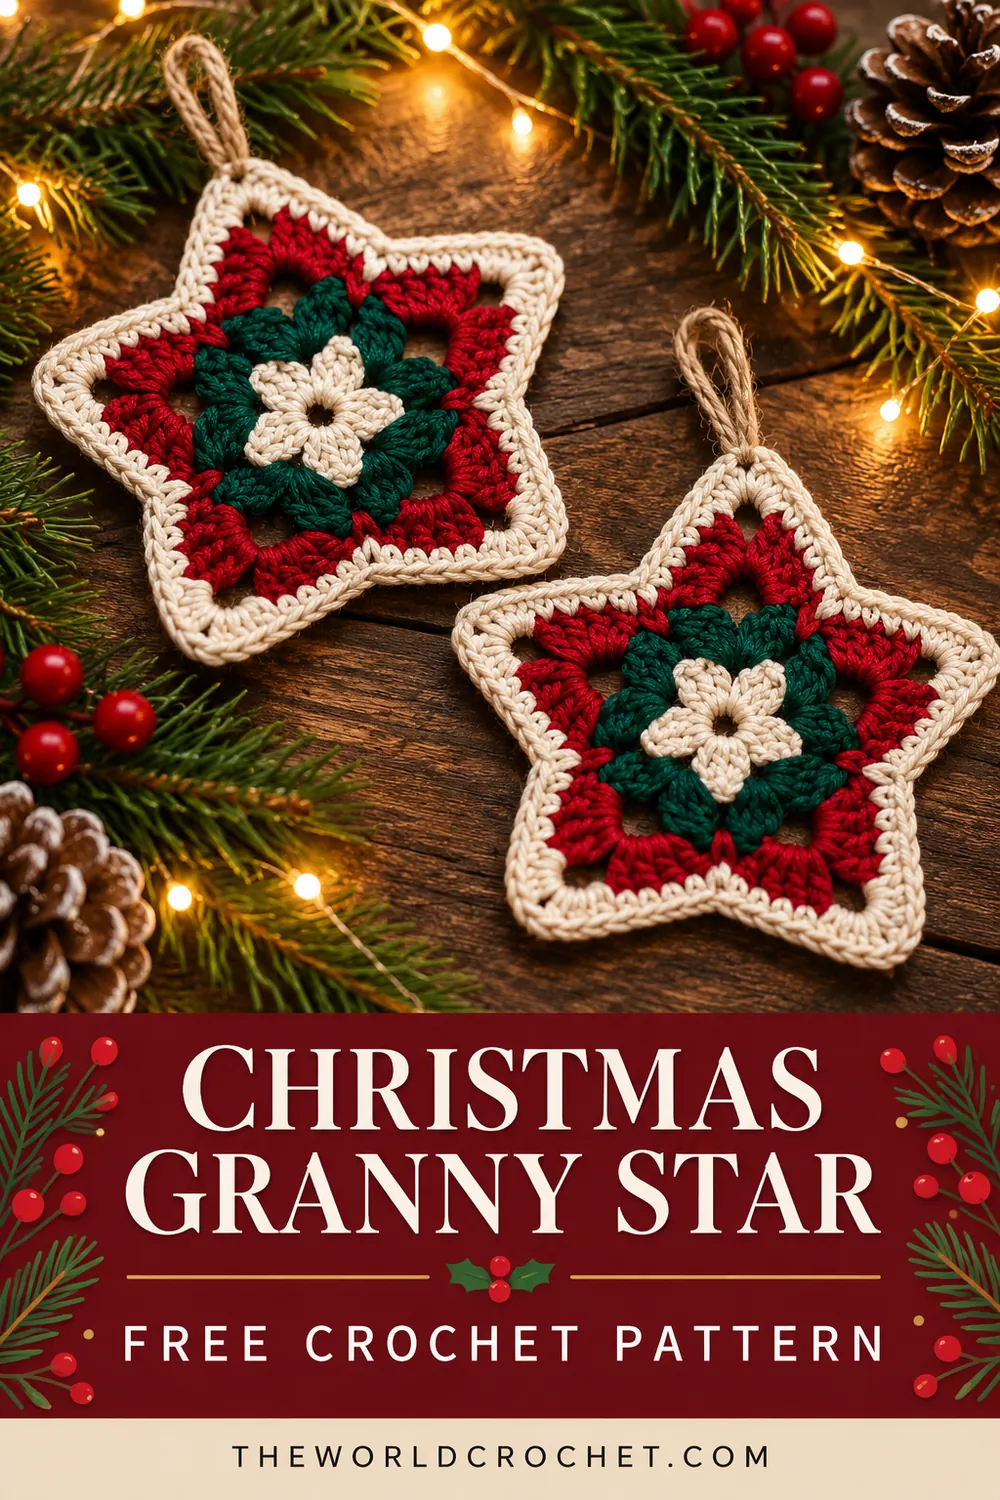
A Christmas granny star brings a small flower center and familiar three-stitch groups into a five-point ornament. Cream, forest green and deep red give the openwork a traditional holiday palette, while a final cream border makes the outline easy to see.
This photo-inspired version starts with five cream clusters, adds green corner groups, then uses red fans to establish the points. A single crochet edging finishes the tips and draws the valleys inward. The star is worked flat in four joined rounds.
Hang it from a simple cord, tie it onto a wrapped present or make several for a small garland. For a different star shape in the same colors, the eight point crochet star offers another seasonal motif to pair with this one.
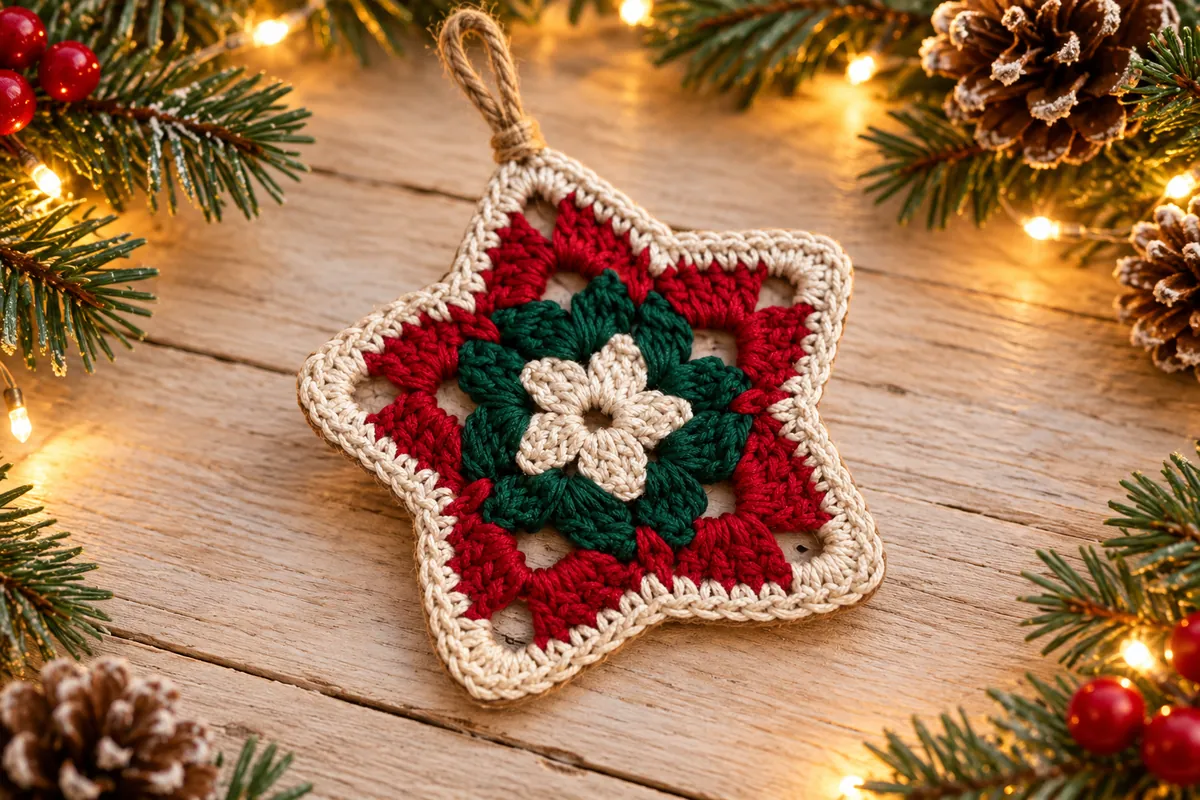
Choose yarn that lets the colors show
- DK-weight cotton in cream, forest green and red.
- A 3 mm crochet hook as a starting point, adjusted to your yarn.
- A blunt yarn needle, scissors and a removable stitch marker.
- A short length of strong cord or yarn for the hanging loop.
- A flat blocking surface and rustproof pins, if your yarn can be damp-blocked.
Use similar yarn thicknesses for all three colors. A fine cream thread beside a heavier red yarn can pull the edging tight, while a bulky green yarn may crowd the center. Smooth cotton helps the open spaces keep a clear shape.
This Christmas granny star pattern suits a confident beginner who knows how to work into chain spaces and close a cluster. The instructions use US terms. Finished size and yarn use depend on your materials; no measured sample gauge is supplied for this interpretation. Make one motif before starting a matching set.
The stitches used in the flower and points
ch = chain; sc = single crochet; dc = double crochet; sl st = slip stitch; sp = space; st/sts = stitch/stitches; MR = magic ring; 3-dc cl = three-double-crochet cluster. The Craft Yarn Council crochet abbreviation guide is useful when checking standard stitch names.
Three-double-crochet cluster
Yarn over, insert into the indicated space, yarn over and pull up a loop, then yarn over and pull through two loops. Leave the final two loops on the hook. Repeat that unfinished dc twice more into the same space. Four loops remain; yarn over and pull through all four to close the cluster.
The three legs share one closed top. Count a cluster as one unit, rather than three separate top stitches. In Round 1, all the cluster legs go into the magic ring.
Beginning cluster
Ch 2 to replace the first leg. Make two unfinished dc in the ring, leaving the last loop of each on the hook. Three loops remain. Yarn over and pull through all three. This beginning cluster counts as one of the five cream petals.
Point group
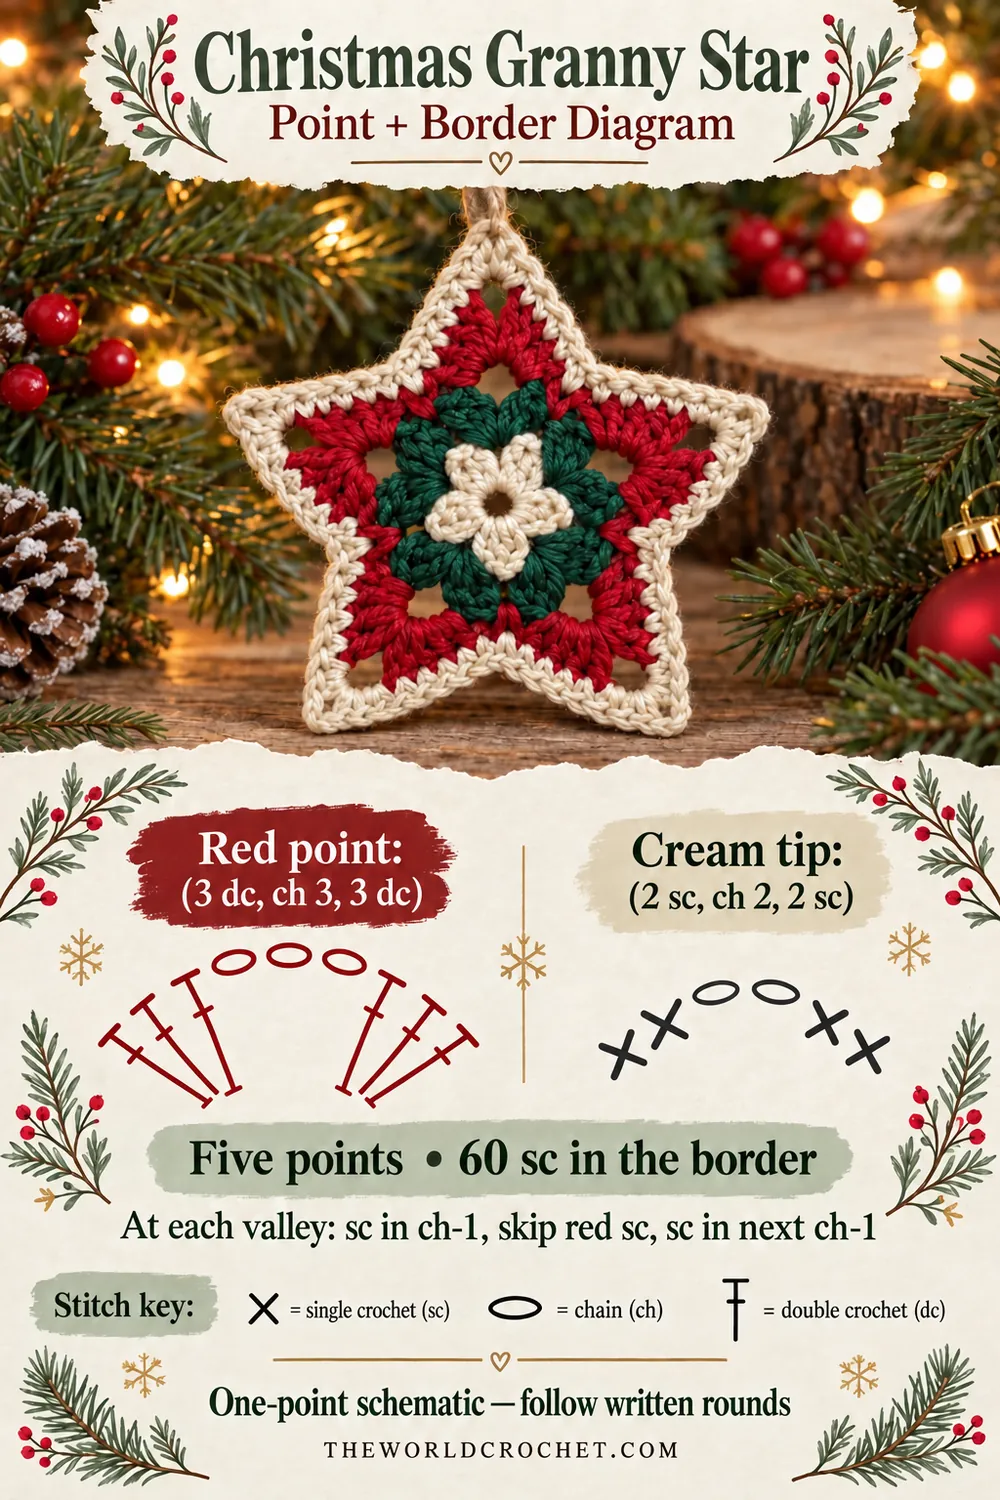
A red point group is (3 dc, ch 3, 3 dc), all worked into one green ch-2 space. The ch-3 opening becomes the tip. The cream border later works (2 sc, ch 2, 2 sc) into that same tip space.
Christmas granny star: four-round pattern
Work in joined rounds without turning. Fasten off after each color round and join the next color where stated. Joining slip stitches do not count as working stitches. Keep the chain spaces relaxed enough to receive the next group.
Round 1: the cream flower center
With cream, make a magic ring. Work the beginning cluster described above, then ch 3. Repeat (3-dc cl in the ring, ch 3) four more times. Join with a sl st to the closed top of the beginning cluster. Fasten off cream.
Count: 5 clusters and 5 ch-3 spaces. Gently tighten the ring while keeping the cluster tops visible. The final ch 3 is the fifth space; do not add another chain space after joining. Weave the ring tail securely through the back of the stitches later.
Round 2: green granny groups
Join green with a sl st in any cream ch-3 space. Ch 3 to count as the first dc, work 2 dc into the same space, ch 2, then work 3 dc into that space. Ch 1.
In each remaining cream ch-3 space, work (3 dc, ch 2, 3 dc), then ch 1. Join with a sl st to the third chain of the starting ch 3. Fasten off green.
Count: 30 dc, 5 ch-2 corner spaces and 5 ch-1 spaces between groups. Each cream space receives two groups of three dc separated by ch 2. The smaller ch-1 spaces sit between these paired groups and will become the valleys.
Round 3: five red points
Join red with a sl st in any green ch-2 corner space. Ch 3 to count as the first dc, work 2 dc into that same space, ch 3, then work 3 dc into the same space. Ch 1, sc in the next green ch-1 space, then ch 1.
Repeat [(3 dc, ch 3, 3 dc) in the next green ch-2 space, ch 1, sc in the next green ch-1 space, ch 1] four more times. Join with a sl st to the third chain of the starting ch 3. Fasten off red.
Count: 30 dc, 5 sc, 5 ch-3 tip spaces and 10 ch-1 spaces. Each repeat has one point group and one valley sc. Keep the red sc in the green ch-1 space rather than in a green dc. Count five large tip openings before adding the edging.
Round 4: cream edging
Join cream in the first dc of any red point group: choose the first of its three dc before the tip space. Ch 1 without counting it. Starting in that stitch, sc in each of the three dc leading up to the tip.
In the red ch-3 tip space, work (2 sc, ch 2, 2 sc). Sc in each of the next three red dc. Sc in the next red ch-1 space, skip the red valley sc, then sc in the following red ch-1 space.
Repeat that complete sequence around the remaining four points: 3 sc along the first side, the tip group, 3 sc along the second side, and 1 sc in each of the two valley chain spaces while skipping the red sc between them. Join to the first cream sc with a sl st and fasten off.
Count: 60 sc and 5 ch-2 tip spaces. Each point-and-valley repeat contains 3 + 4 + 3 + 1 + 1 = 12 sc. Five repeats give 60 sc. The ch-2 tips and final joining slip stitch are separate from that count.
Check the five-repeat structure
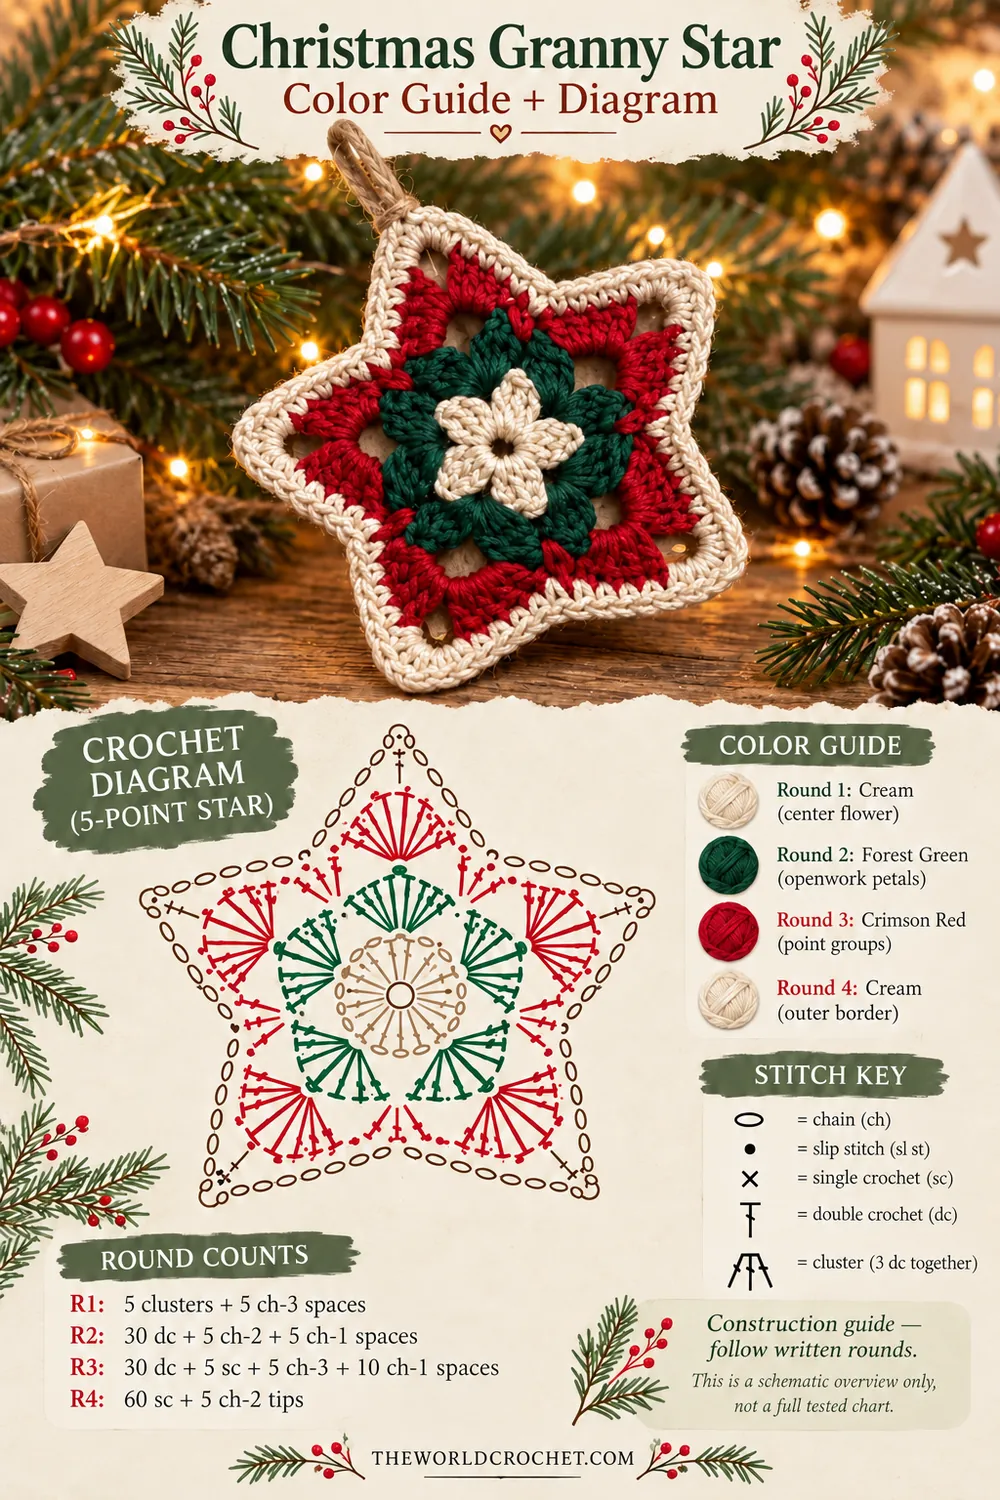
| Round | Color | Finished count | Work into |
|---|---|---|---|
| 1 | Cream | 5 clusters + 5 ch-3 spaces | Magic ring |
| 2 | Green | 30 dc + 5 ch-2 + 5 ch-1 spaces | Cream ch-3 spaces |
| 3 | Red | 30 dc + 5 sc + 5 ch-3 + 10 ch-1 spaces | Green corner and valley spaces |
| 4 | Cream | 60 sc + 5 ch-2 tips | Red dc and chain spaces |
The Christmas granny star keeps five sections throughout. The small center clusters and green paired groups prepare those sections; the red round gives them a point and a valley. Mark the first tip space if it is difficult to see where the round begins.
The diagrams at the end show the color sequence and one point with its cream tip. Use the written counts to check the work. These construction drawings help explain placement rather than replacing the full round instructions.
Open the points gently, then add a loop
Weave each yarn end through the backs of matching-color stitches, changing direction before trimming. Keep red and green tails out of the cream edging so they do not show through the open spaces. Avoid a bulky knot near a tip.
If the yarn label permits damp blocking, lightly dampen the motif and lay it on a flat surface. Arrange the five points evenly, then pin through the cream tip spaces. Ease the valleys inward without pulling hard on the red groups. Let the star dry completely before removing the pins.
Pass a cord through one cream ch-2 tip space. Tie it into a closed loop and secure the knot on the back. Keep the knot small enough that the star hangs upright. For a garland, attach each star separately so one motif does not pull the next out of shape.
If a tip or valley does not look right
The star cups in the center
First count five cream clusters and five spaces. Then check that every green space has two groups of three dc. A missed group makes the next round too small. If the counts are correct, check the tension of the cream ch-3 arches and green corner chains before remaking the affected round.
The cream border looks crowded
Count four sc in each tip space, six sc across the red dc on its two sides, and two sc in the valley chain spaces. There is no sc in the red valley stitch. Adding that extra stitch at all five valleys changes the count to 65 and makes the outline fuller.
One point is wider than the others
Count three red dc on each side of its ch-3 opening. The starting ch 3 already counts as the first dc; adding three more dc after it creates an extra stitch at the first point. Check that joining point before stretching the motif into shape.
Make the colors work as a set
The cream-green-red-cream sequence follows the reference closely. Burgundy and olive make a softer variation, while white and icy blue suit a winter palette. Change the colors while keeping the same stitch counts and yarn thickness.
For a matching set, finish the first star before starting the others. Compare the space at each tip and the depth of the valleys, then use the same hook and chain tension for the rest. The border should frame the colors without hiding the red point openings.
Pair the star with the crochet snowman ornament for a handmade tree. A crochet wreath coaster carries the red-and-green palette onto a holiday table.
Store the finished stars flat, with the cords tucked loosely behind them. Clean according to the yarn label and dry them fully before putting them away. A gentle reshape is usually more useful than pulling sharply on a single point.
Christmas granny star images and diagrams
These four vertical designs show the five-point ornament in different festive settings. The two photo-and-diagram guides below explain the colored rounds and the point edging. Read their labels with the pattern; they are schematic construction guides rather than a complete stitch-by-stitch chart.