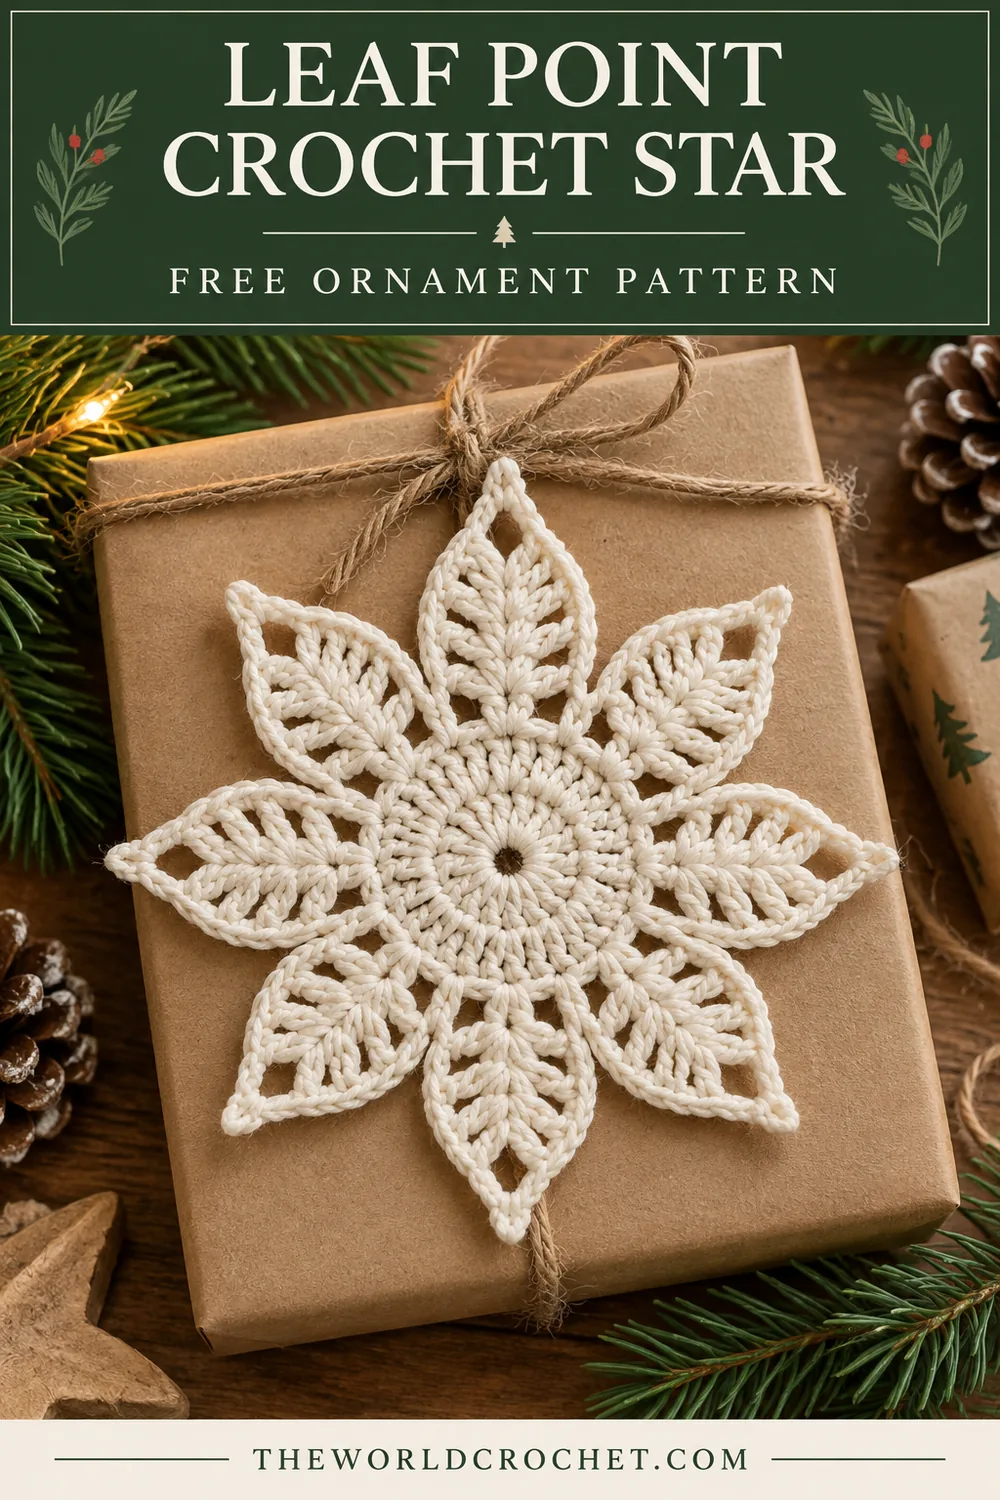
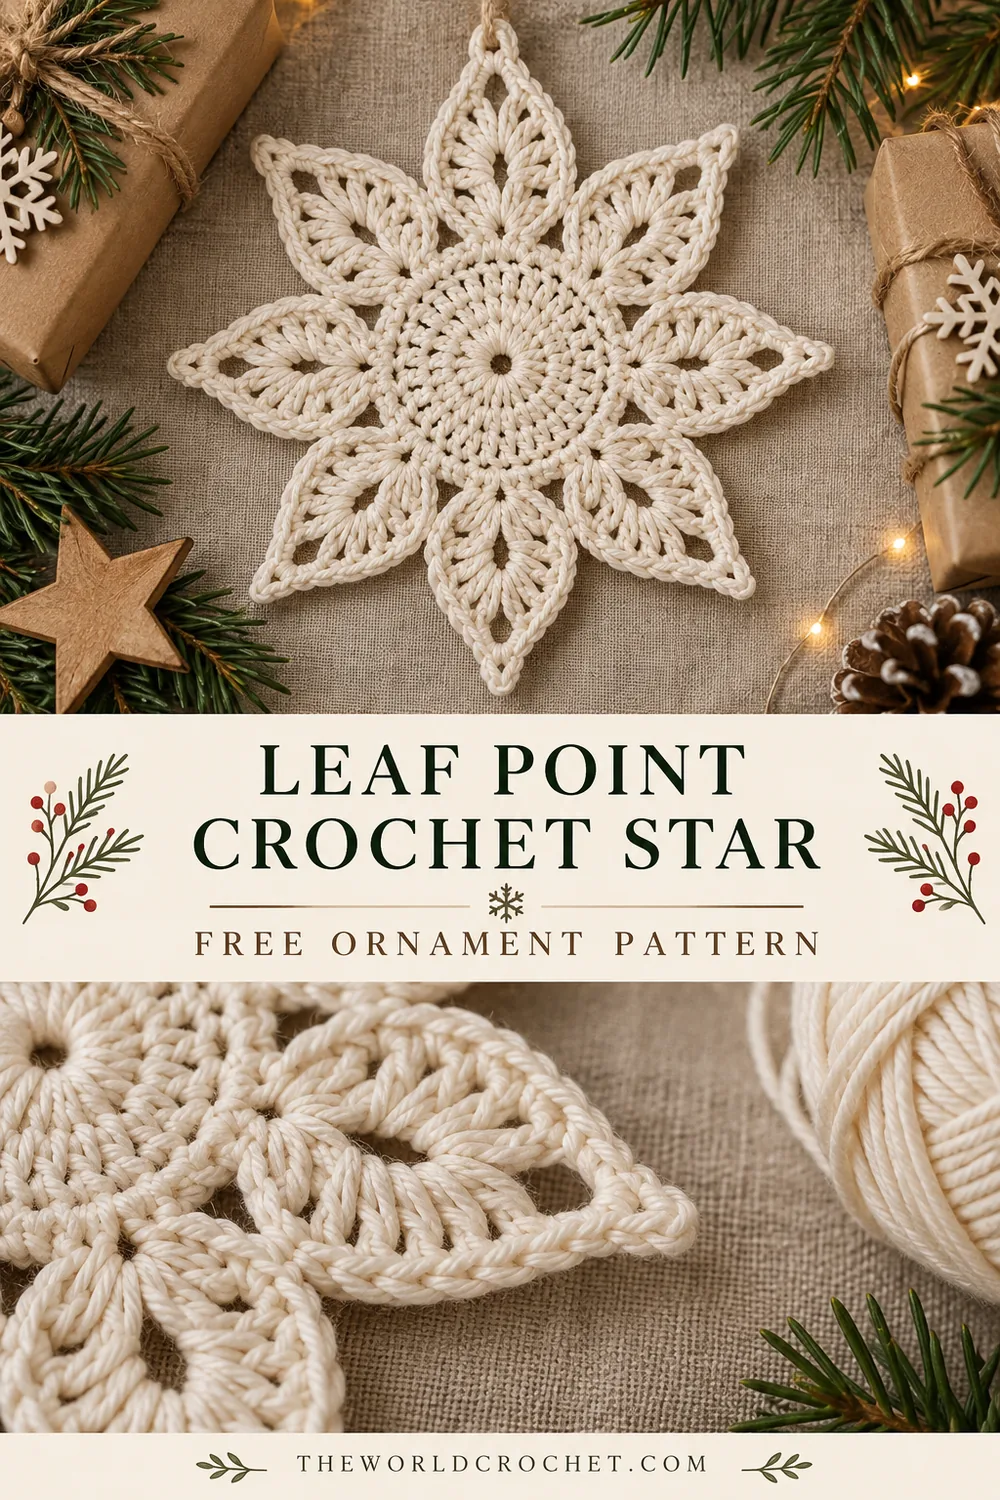
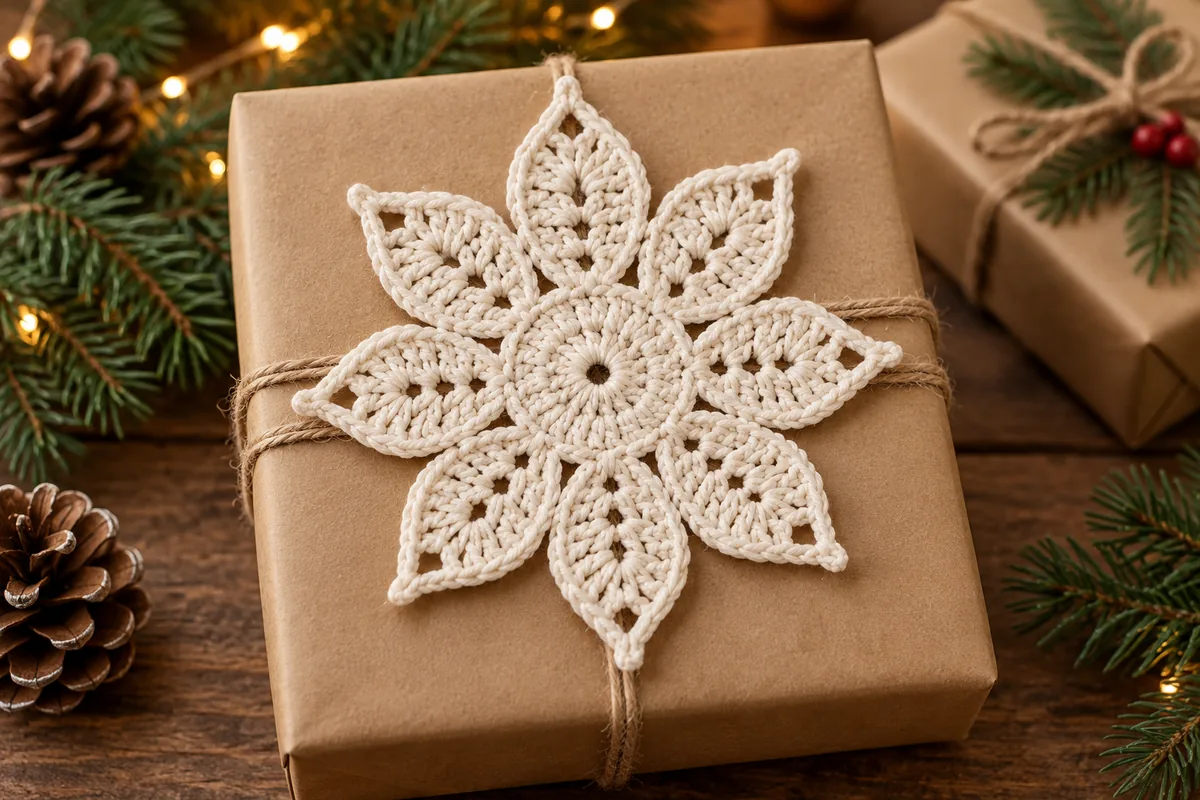
A leaf point crochet star adds a soft, handmade finish to a wrapped gift. Its eight pointed petals surround a small circular center, and the spaces between the leaves let the wrapping paper show through. An ivory cotton yarn keeps the stitch texture at the heart of the design.
This photo-inspired ornament uses five rounds: two for the center, one for the supporting arches, one for the leaves and one for the edging. Each leaf grows taller toward its tip, then returns to shorter stitches. That change in height creates the outline without sewing separate pieces together.
Tie one onto a kraft-paper parcel, hang it from a branch or use several along a simple cord garland. If you prefer a colorful motif worked in granny groups, the Christmas granny star makes a cheerful companion to this neutral ornament.
What gives the leaves their shape
The center is a small disc of double crochet stitches. Eight chain arches sit around its edge. Each arch receives one complete leaf, with single crochet at the base and treble crochet beside the tip. A final single crochet round outlines all eight leaves.
The reference has a rounded flower center and broad, open points. This original interpretation follows that structure; it is not a transcription of the exact photographed pattern. No measured sample size, gauge or yarn usage is supplied. Check the motif as you work, especially before making a matching set.
Yarn and tools for a leaf point crochet star
- Smooth cotton yarn in ivory, cream or an unbleached shade; DK weight is a useful starting choice.
- A 3.5 mm hook as a starting point, adjusted to the yarn label and your tension.
- A blunt yarn needle and scissors.
- Eight removable stitch markers.
- A short length of cord or matching yarn for a hanging loop.
- A blocking surface and rustproof pins, if damp blocking suits the yarn.
A smooth yarn makes the shorter stitches at the bases easier to find. Very fluffy yarn can hide the slip stitches between leaves. Choose a hook that gives clear stitches without a stiff center; the yarn should move freely through the larger leaf groups.
Keep the first ornament as your size reference. Use the same yarn, hook and chain tension for the rest of a set. Thicker yarn will make a larger motif, but it can also crowd the ten stitches worked into each supporting arch.
Stitches, terms and starting chains
The instructions use US crochet terms: ch = chain; sc = single crochet; hdc = half double crochet; dc = double crochet; tr = treble crochet; sl st = slip stitch; st/sts = stitch/stitches; sp = space; MR = magic ring. The Craft Yarn Council abbreviation guide is a useful reference for these standard names.
A starting ch 3 counts as one dc in Rounds 1 and 2. A starting ch 1 does not count as a stitch in Rounds 3, 4 or 5. Joining slip stitches do not count toward the working stitch totals. Work in joined rounds without turning.
Half double crochet
Yarn over, insert the hook into the indicated space, yarn over and pull up a loop. Yarn over and pull through all three loops. This stitch bridges the height difference between the single and double crochet stitches at each leaf base.
Treble crochet
Yarn over twice, insert the hook into the indicated space, yarn over and pull up a loop. Yarn over and pull through two loops three times. The two treble stitches in each leaf sit on either side of its ch-2 tip.
The complete leaf sequence
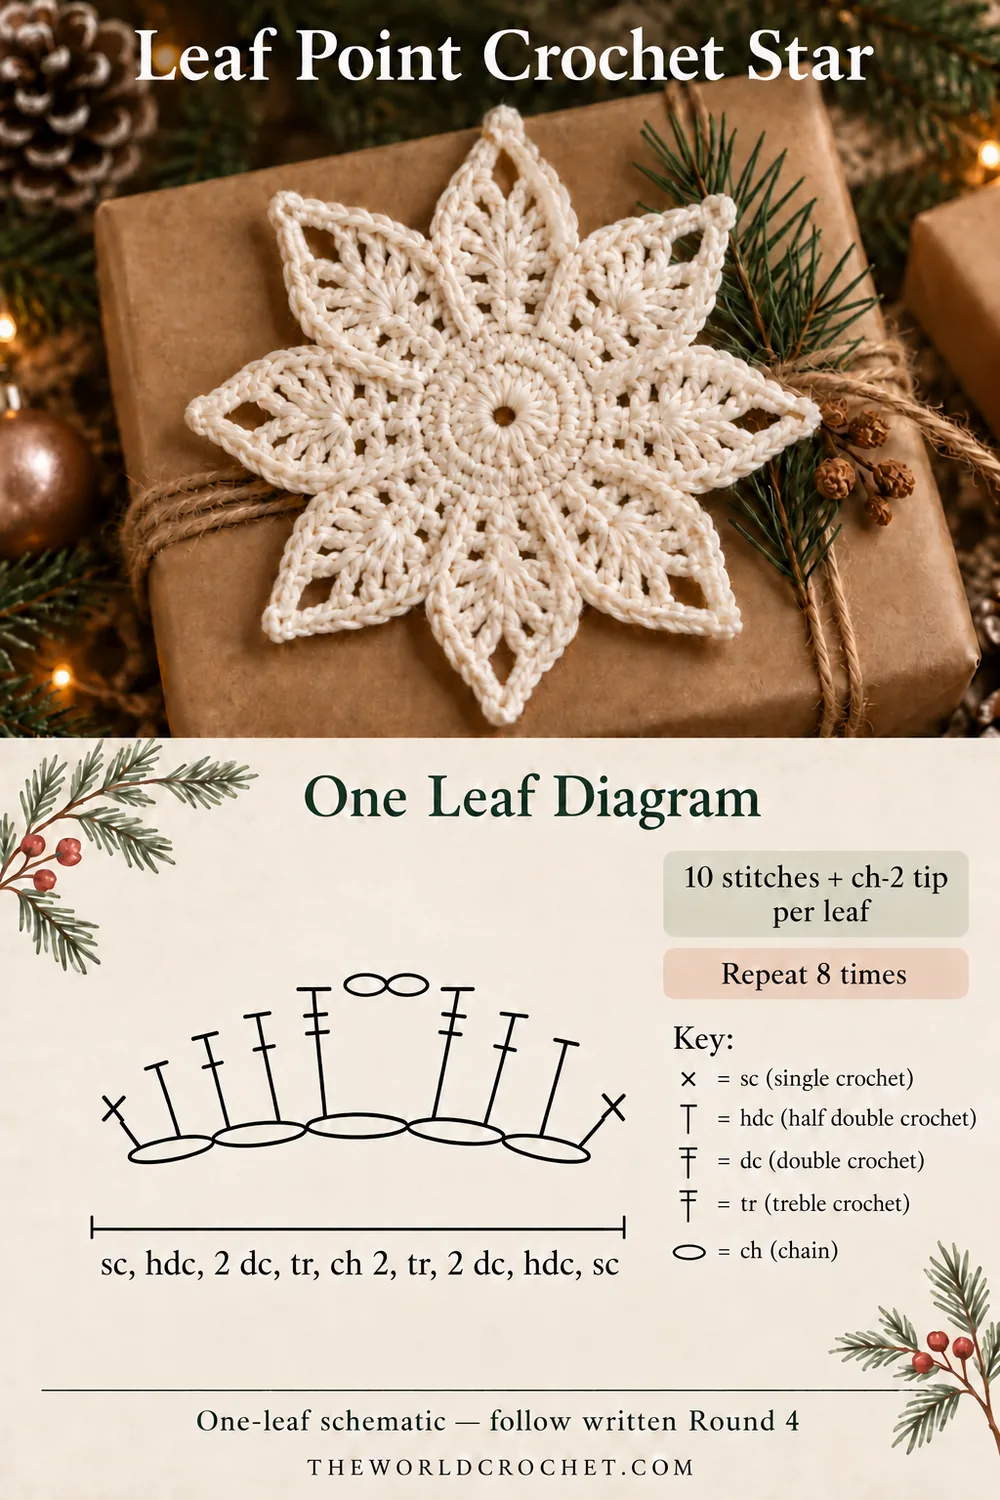
Work (sc, hdc, 2 dc, tr, ch 2, tr, 2 dc, hdc, sc) into one ch-5 arch. That is ten stitches plus one ch-2 tip. Five stitches lead up to the tip and five lead away from it. Both ends of the leaf are worked into the same arch.
Leaf point crochet star: five-round pattern
Round 1: a small circular center
Make a magic ring. Ch 3 to count as the first dc, then work 15 dc into the ring. Join with a sl st to the third chain of the starting ch 3. Tighten the ring gently.
Count: 16 dc. Count the starting chain as one of those sixteen stitches. Keep the ring tail available for weaving in securely once the star is finished.
Round 2: double the center stitches
Ch 3 to count as the first dc. Work 1 dc in the same stitch at the base of that chain. Work 2 dc in each of the remaining 15 stitches. Join to the third chain of the starting ch 3.
Count: 32 dc. Every stitch from Round 1 receives two dc. The first pair is the starting ch 3 and the dc at its base, so do not work a third stitch there.
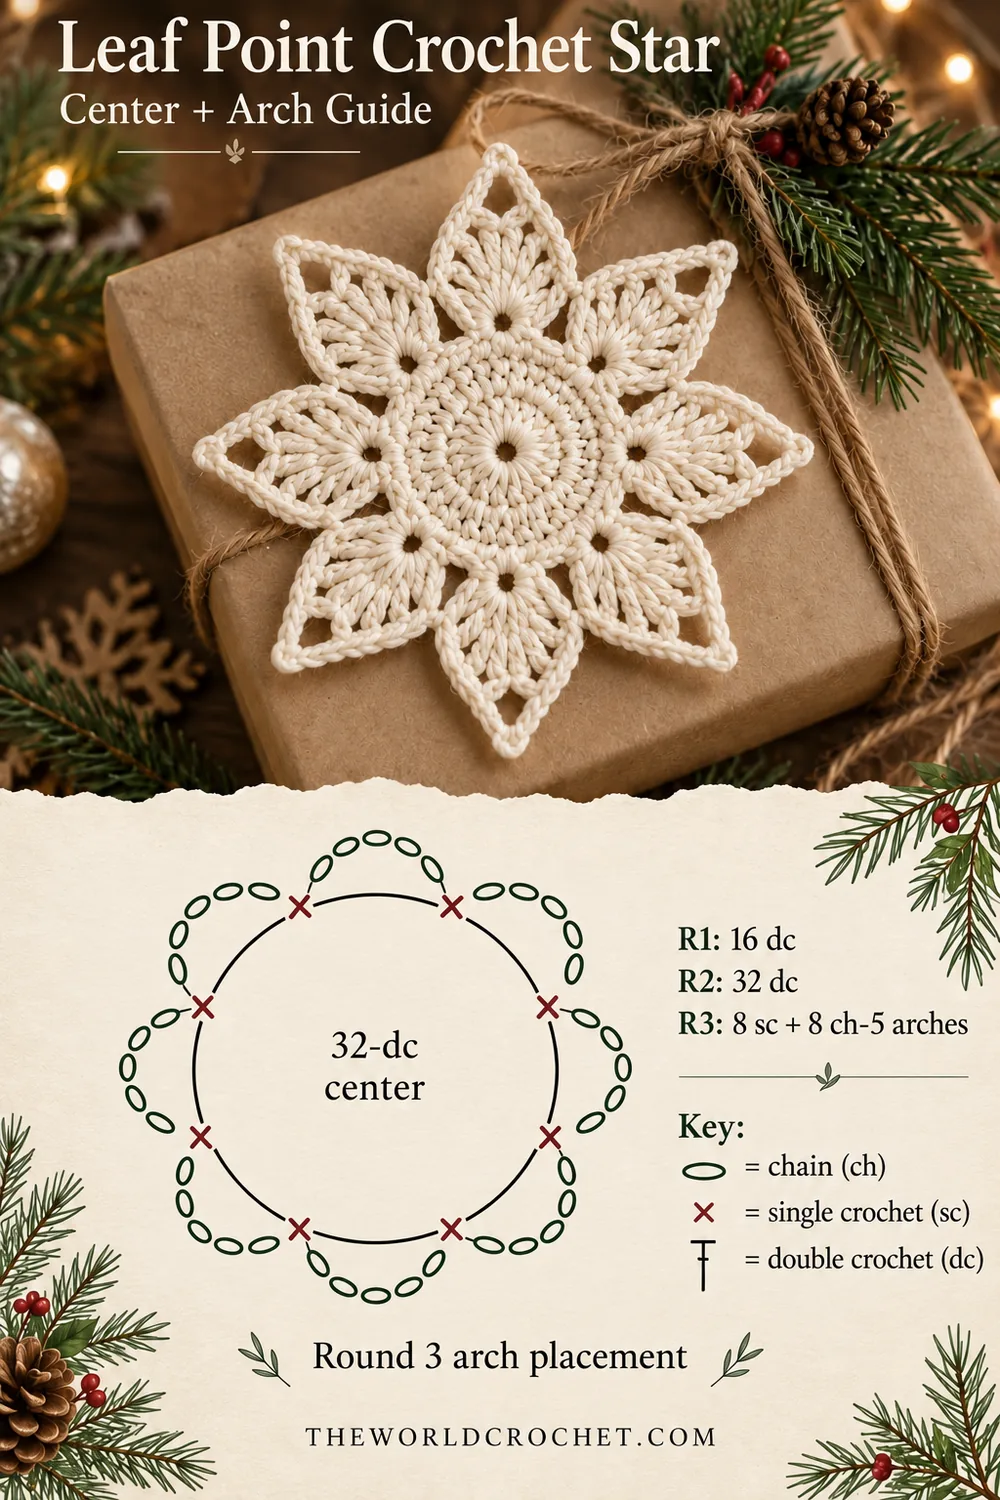
Round 3: make eight supporting arches
Ch 1 without counting it, then sc in the same stitch as the join. Ch 5, skip the next 3 dc and sc in the next dc. Repeat (ch 5, skip 3 dc, sc in the next dc) six more times. Ch 5, skip the final 3 dc and join with a sl st to the first sc.
Count: 8 sc and 8 ch-5 arches. The last arch ends at the first sc; do not add a ninth anchor. Each arch spans a section of four underlying dc: one anchoring stitch and three skipped stitches.
Place a marker in each arch if the spaces are hard to distinguish. Count eight marked spaces before moving on. These are the supports for the eight leaves, not separate hanging loops.
Round 4: work the eight leaves
Sl st into the first ch-5 arch. Ch 1 without counting it. Work (sc, hdc, 2 dc, tr, ch 2, tr, 2 dc, hdc, sc) into that arch. Sl st in the next Round 3 sc anchor.
In each of the next seven ch-5 arches, work the same complete leaf sequence, then sl st in the following Round 3 sc anchor. After the eighth leaf, the following anchor is the first Round 3 sc. Join with a sl st to the first sc of the first leaf.
Count: 80 leaf stitches and 8 ch-2 tip spaces. There are eight valley slip stitches, one into each anchor, plus the final joining slip stitch. None of those slip stitches belongs to the eighty-stitch leaf count.
Each leaf contains 2 sc, 2 hdc, 4 dc and 2 tr. Move the markers from the supporting arches to the eight ch-2 tip spaces. The bases should meet at the anchors without an extra chain between leaves.
Round 5: outline the leaves
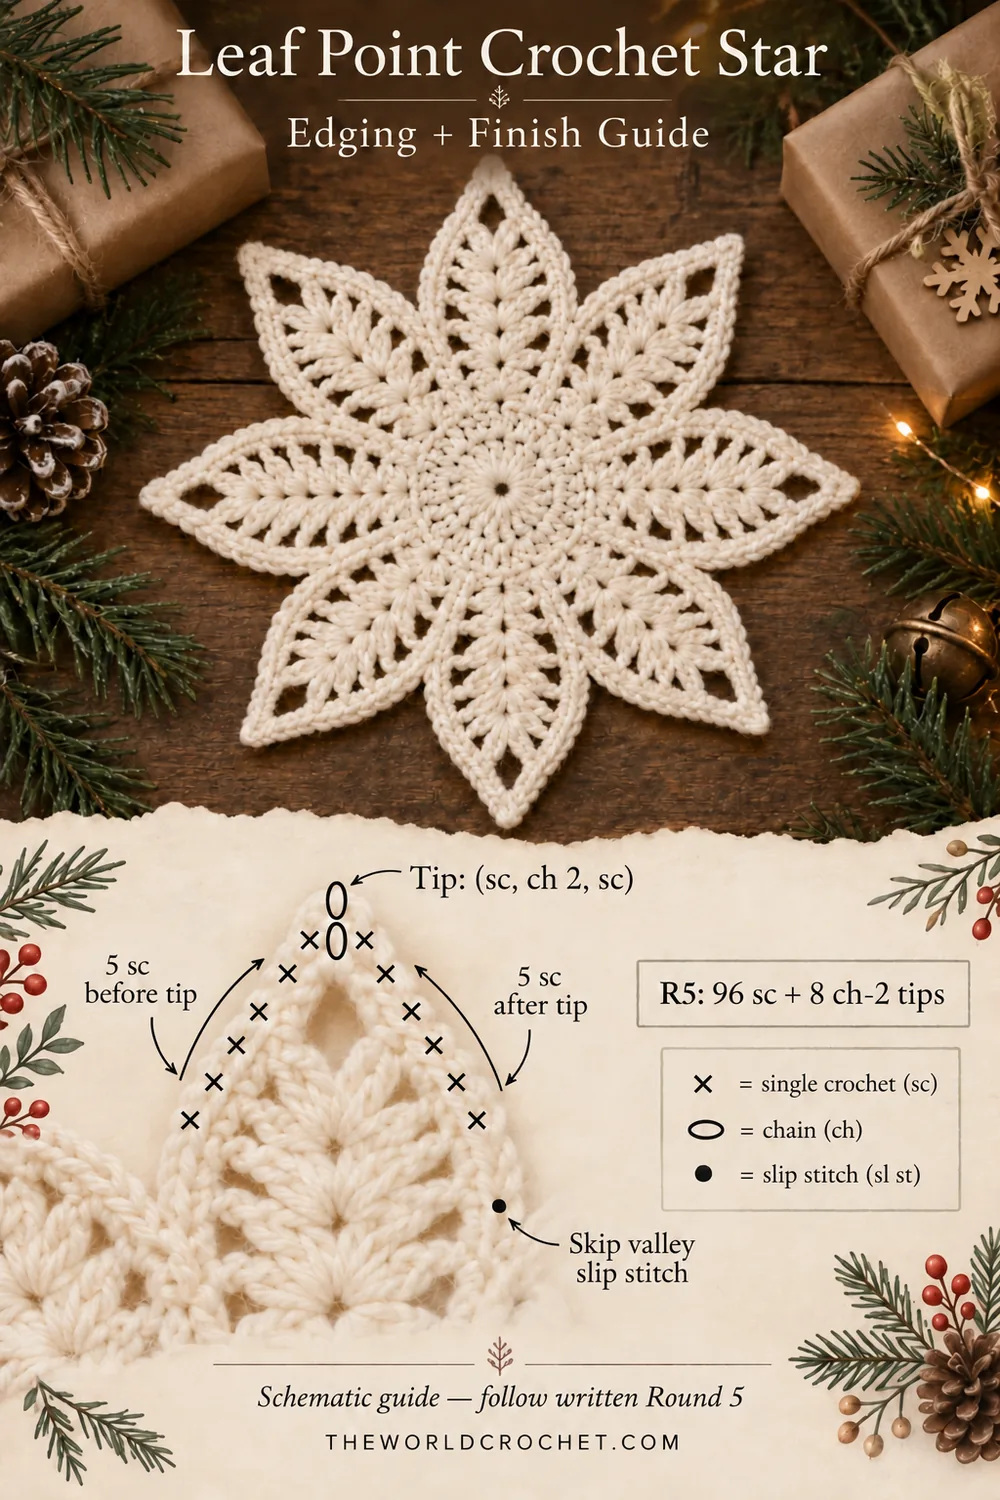
Ch 1 without counting it. Beginning in the first sc of the first leaf, sc in each of its first five stitches: the sc, hdc, two dc and tr. In its ch-2 tip space, work (sc, ch 2, sc).
Sc in each of the next five stitches down the other side: the tr, two dc, hdc and sc. Skip the valley slip stitch, then begin the next leaf directly in its first sc. Repeat this edging around all eight leaves. Join to the first edging sc with a sl st and fasten off.
Count: 96 sc and 8 ch-2 tip spaces. Each leaf receives ten sc across its stitches and two more sc in its tip space: 12 × 8 = 96. Do not work into either the valley slip stitches or the final joining slip stitch from Round 4.
Check the counts before finishing
| Round | Working count | Main check |
|---|---|---|
| 1 | 16 dc | Starting ch 3 counts as one dc |
| 2 | 32 dc | Two dc in every previous stitch |
| 3 | 8 sc + 8 ch-5 arches | Skip three dc between anchors |
| 4 | 80 leaf stitches + 8 ch-2 tips | Ten stitches in each arch |
| 5 | 96 sc + 8 ch-2 tips | Twelve sc per leaf; skip valley slip stitches |
A leaf point crochet star should keep eight repeats from the supporting-arch round onward. If the count changes, check the final arch and the join first. An extra anchor or an extra leaf near the start can be easy to overlook.
The three diagrams at the end explain the center and arches, one leaf sequence, and the edging. They are schematic construction guides. Follow the written instructions and counts for the complete rounds.
Shape the points and secure the ends
Weave the center tail through the backs of several stitches, changing direction before trimming. Weave the final tail through the edging without pulling a tip inward. Keep any join on the back so the front remains neat.
If the yarn label allows damp blocking, lightly dampen the ornament and lay it flat. Arrange the eight leaves around the center with similar gaps between them. Pin through the tip spaces and let the piece dry fully. Ease the shape into place rather than stretching one leaf farther than the others.
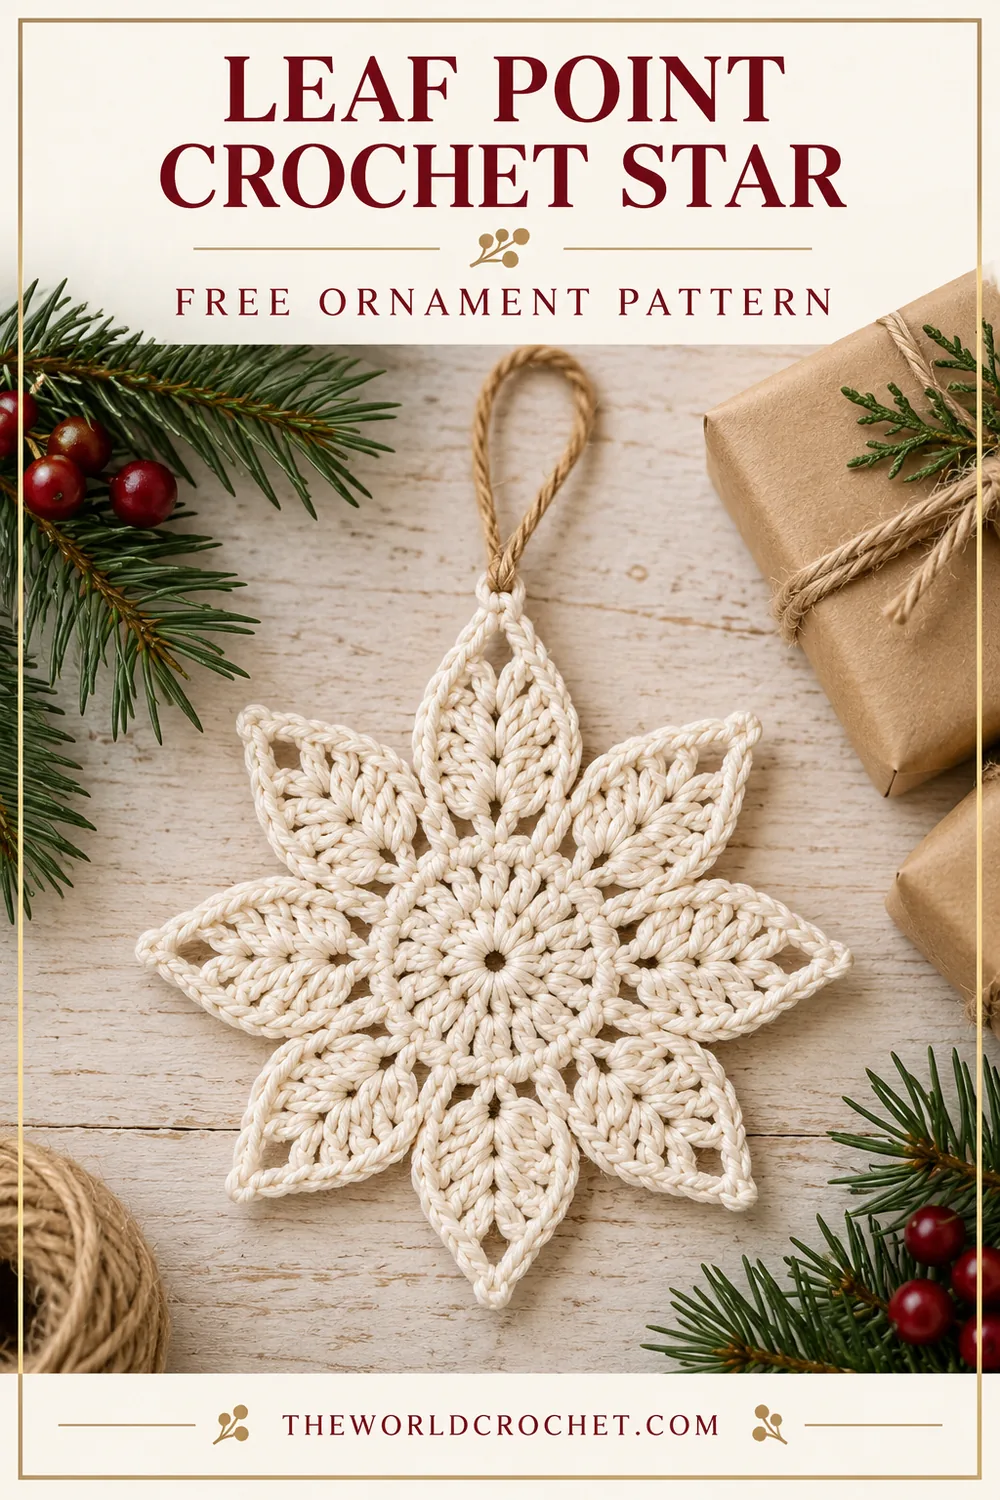
For a hanging loop, pass a short cord through one finished ch-2 tip space and tie the ends securely. A soft matching yarn loop suits a tree ornament; jute cord follows the rustic wrapping style in the reference. Keep the knot behind the tip.
When an arch or leaf needs another look
There are seven or nine arches
Recount the 32 dc in Round 2, then check the skip-three sequence in Round 3. The final ch-5 arch joins to the first sc. It does not need another sc beside the starting anchor.
A leaf leans to one side
Count five stitches before its ch-2 tip and five after it. The two dc on each side are individual stitches, while the treble sits directly beside the tip opening. A missed hdc or dc can make one side shorter.
The border has extra stitches
Find the small slip stitch at each valley and leave it unworked. Adding one sc there at every valley raises the total to 104 rather than 96. Also check that the tip has two sc separated by ch 2, rather than two sc on each side.
The leaves are crowded
Check that each supporting arch contains five chains and one leaf. Tight chains can make it difficult to fit all ten stitches. If the center and arch counts are correct, compare hook size and chain tension before remaking a section; blocking should not be used to force a badly crowded motif flat.
Use the neutral star with holiday wrapping
Kraft paper, plain twine and one evergreen sprig make a quiet setting for an ivory leaf point crochet star. Tie the parcel first, then attach the ornament at a tip so the cord can be removed without cutting the crochet. Keep the motif clear of adhesive tape.
For a garland, attach every ornament to its own short loop. That lets each one hang freely instead of pulling the next star out of shape. Work one complete motif before choosing the spacing for a longer garland.
A pale cream version pairs well with the crochet snowman ornament. For a brighter holiday table, try the crochet wreath coaster alongside your gift decorations.
Store the stars flat with the loops tucked loosely behind them. Follow the yarn label when cleaning, and let the ornaments dry completely before packing them away. A light reshape helps protect the open leaf tips between seasons.
Leaf point crochet star images and diagrams
The three Pin designs below show different ways to style the finished shape. The three photo-and-diagram guides explain the arches, the leaf stitches and the final edging. Read the stitch keys with the written rounds when checking placement.