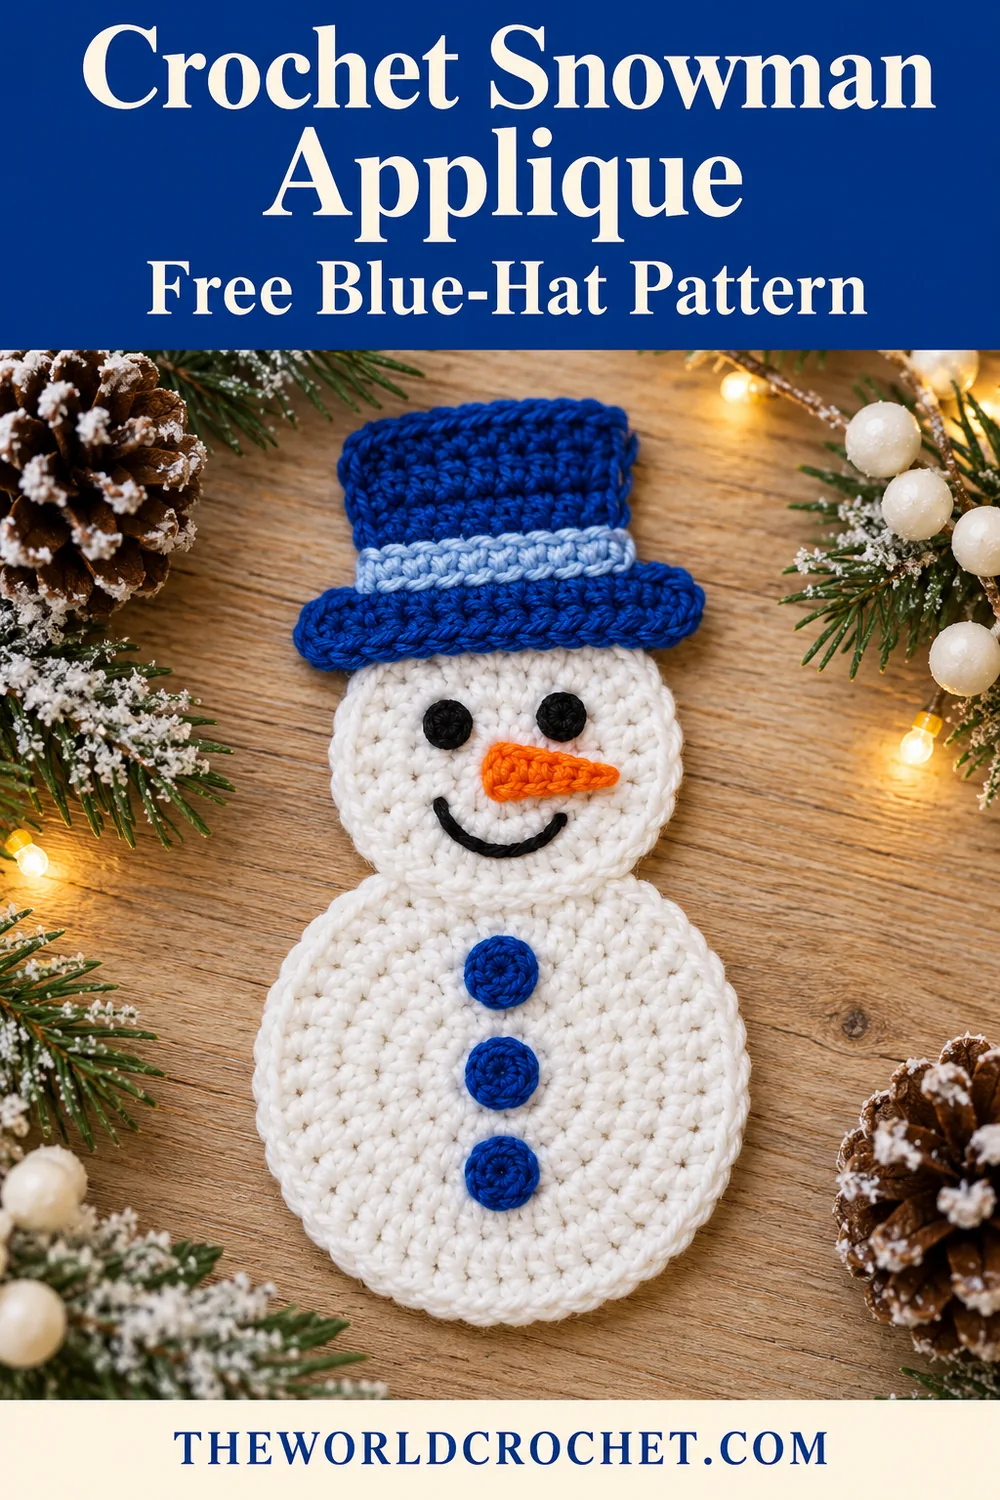
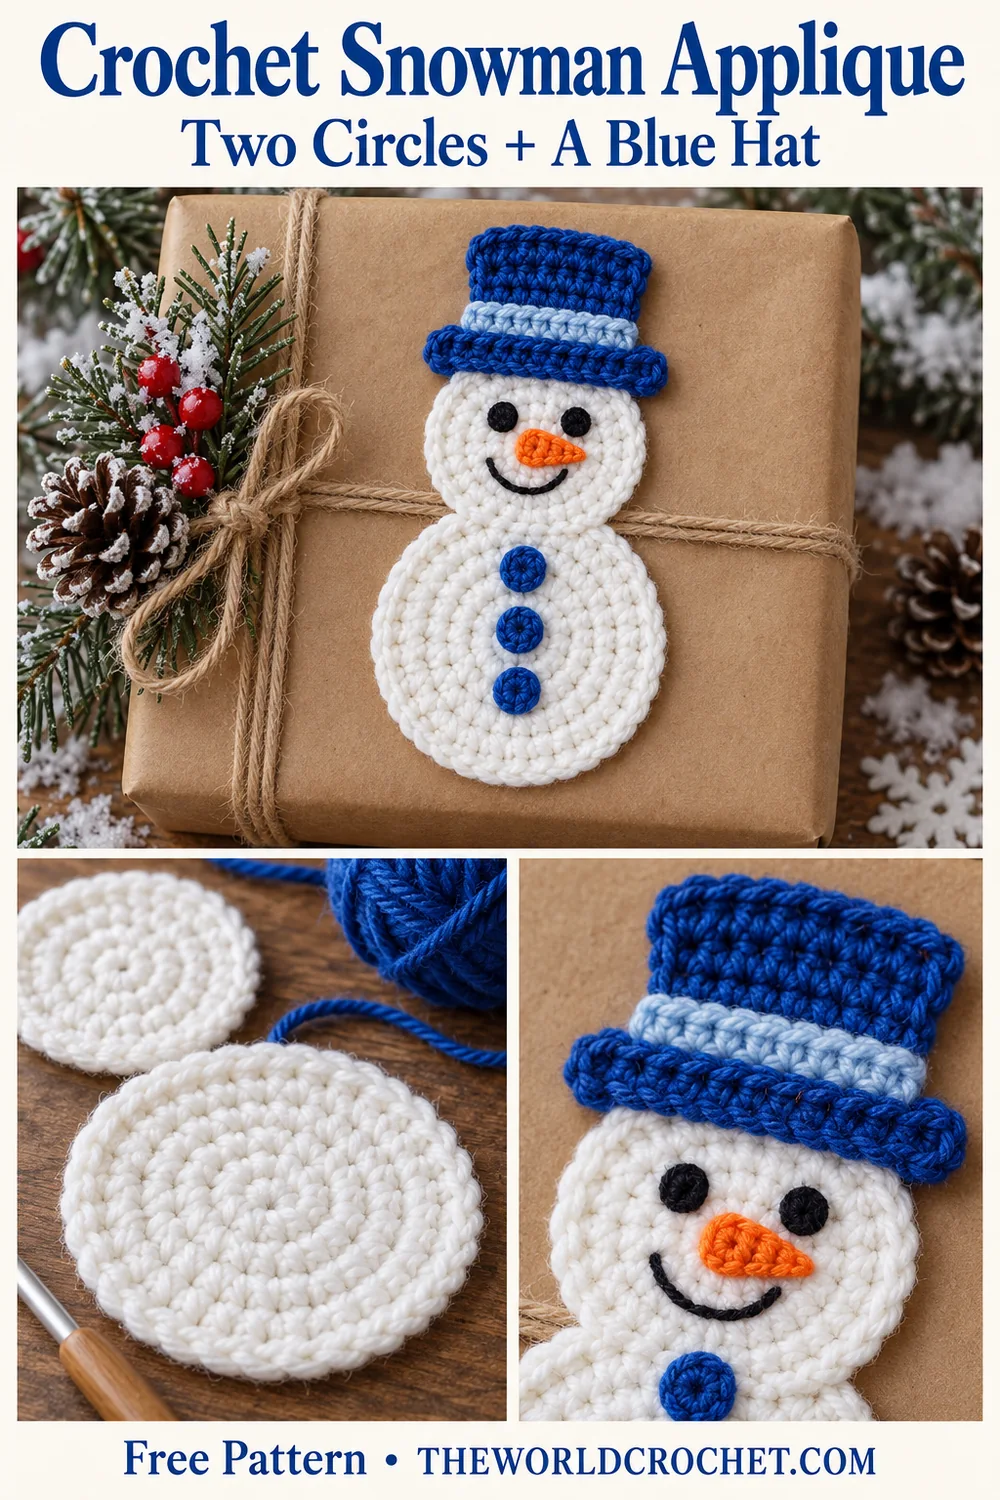
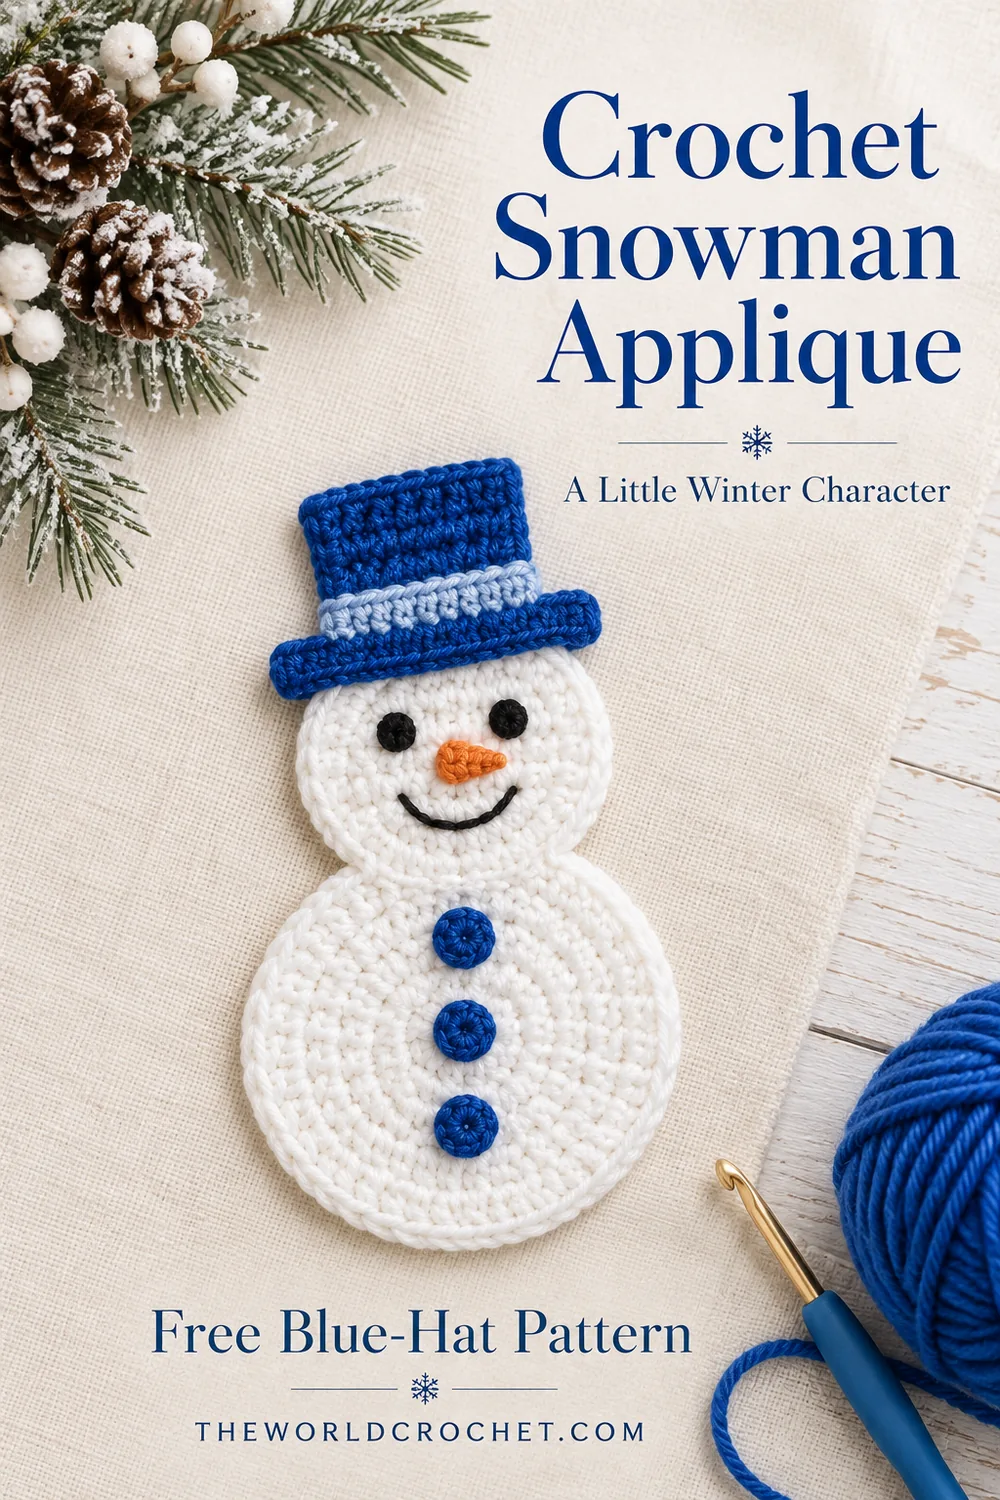
A crochet snowman applique turns two white circles into a cheerful winter character. A royal blue top hat, pale blue band and three matching buttons give this version its color, while a small orange carrot and a stitched smile keep the face easy to read.
The head and body are separate flat disks worked in half double crochet. You sew them together at the neck, then add the hat and small details. There is no stuffing or back panel, so the snowman can sit against a gift bag, fabric project or wreath base.
This original interpretation takes its two-circle shape and blue details from the reference. If you prefer a decoration made only from a face and hat, the crochet snowman ornament has a different, lightly padded construction.
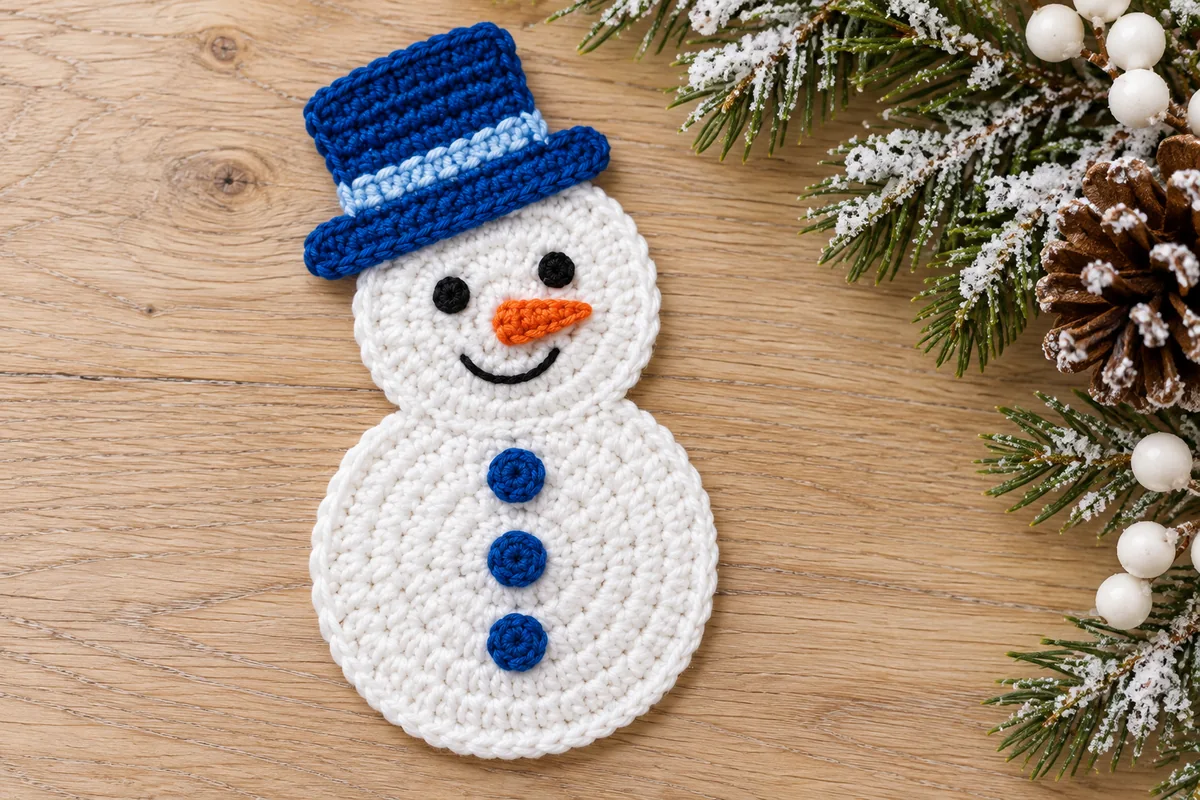
Two circles, one flat winter character
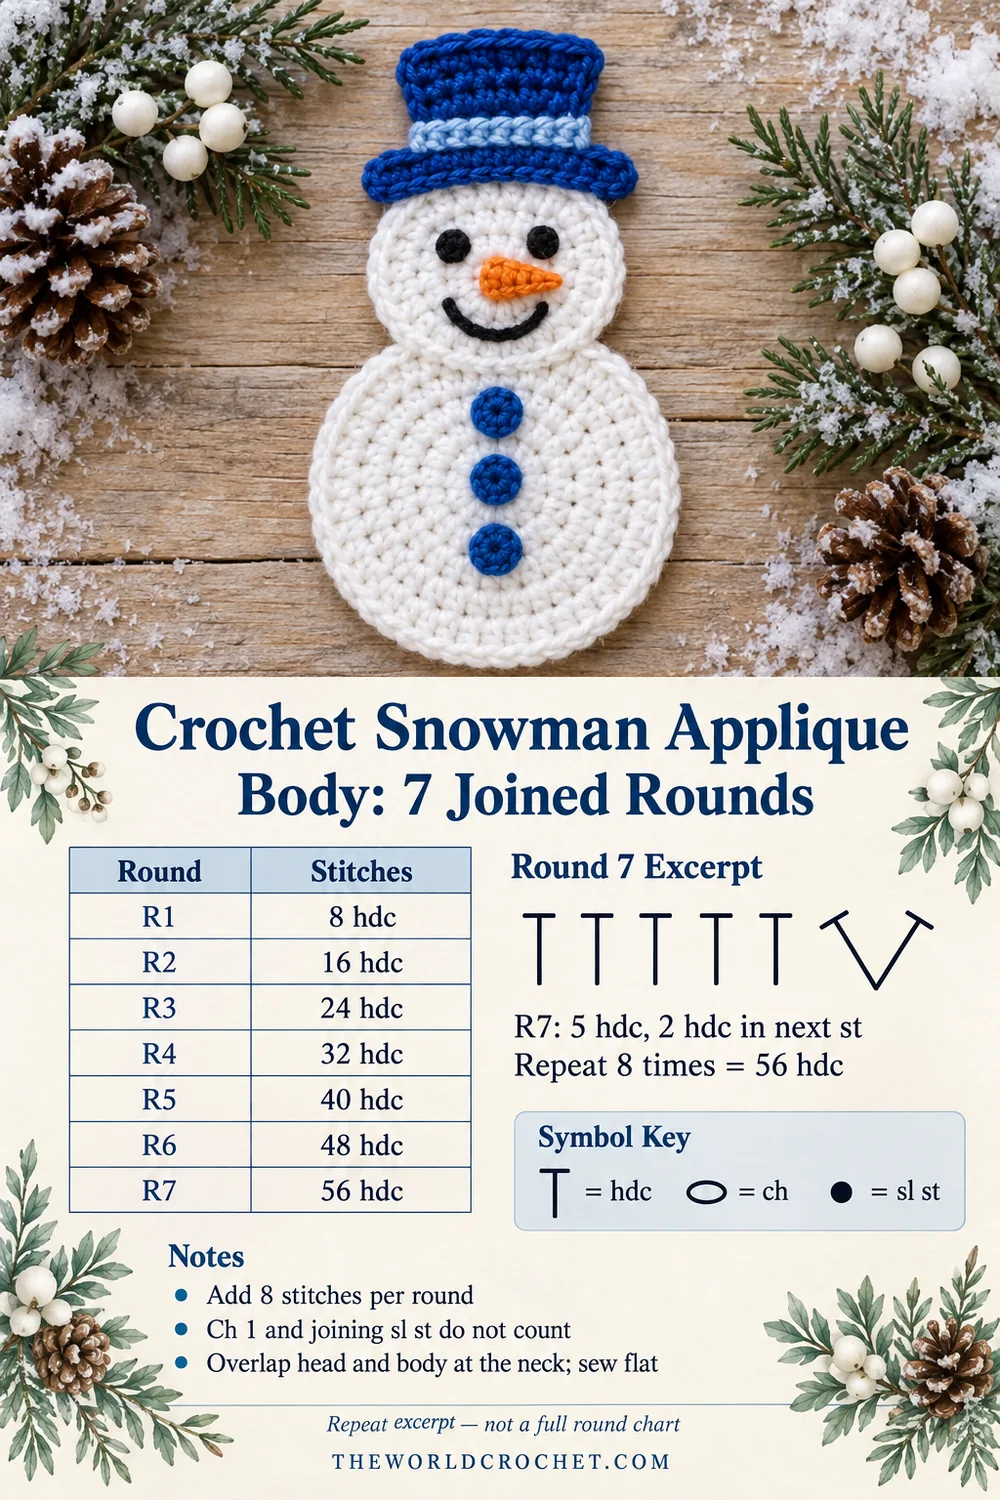
The head stops after five rounds at 40 stitches. The body follows the same increases for two more rounds, ending at 56 stitches. Using the same yarn and hook keeps the relationship between the circles consistent: the larger disk makes room for a vertical line of three buttons.
This is a photo-inspired pattern, not a transcription of the charts or exact stitches in the supplied image. The arithmetic has been checked, but the design has not been physically crocheted or tested. No measured gauge, finished dimensions or yarn consumption is provided. Check each disk as you work before making several matching appliques.
Yarn and tools for a crochet snowman applique
- Smooth DK-weight yarn in white, royal blue and pale blue.
- Orange yarn for the nose and black yarn for the eyes and smile.
- A 3 mm hook as a starting point, adjusted to your yarn and tension.
- A blunt yarn needle, scissors and removable stitch markers.
- Matching sewing thread and a needle if you prefer finer attachment stitches.
- A suitable fabric or wreath base if you plan to attach the applique to another project.
Use similar yarn thicknesses for the white disks and blue hat. A much heavier hat can fold the top of the head forward. For the tiny eyes and buttons, a smooth yarn makes the six stitches easier to count and the sewing tails easier to hide.
The finished fabric needs enough flexibility to lie against a backing without large gaps between stitches. Work one head first and lay it on a flat surface. If it cups or ripples strongly, check the counts and your tension before making the larger body.
US abbreviations and joining rules
ch = chain; sc = single crochet; hdc = half double crochet; sl st = slip stitch; st/sts = stitch/stitches; MR = magic ring. An hdc increase means 2 hdc in the same stitch. The Craft Yarn Council crochet abbreviation guide explains the standard US terms.
Half double crochet
Yarn over, insert the hook into the indicated stitch, yarn over and pull up a loop. Yarn over again and pull through all three loops on the hook. Work through both top loops unless a different placement is specifically given.
Joined rounds without turning
For the white circles, begin each round with ch 1 and join to its first hdc with a sl st. Neither the ch 1 nor the joining sl st counts as a stitch. The first working stitch goes into the same stitch as the join. Mark that first hdc and move the marker at every round.
Do not turn the circles between rounds. The hat pieces are different: they are worked back and forth in rows, with ch 1 and a turn between rows. Their turning chains also do not count.
Crochet snowman applique: the white head
With white, make one head using the following five rounds.
- Round 1: Make a MR, ch 1 and work 8 hdc into the ring. Close the ring gently and join with a sl st to the first hdc. 8 hdc.
- Round 2: Ch 1. Work 2 hdc in each of the 8 stitches. Join. 16 hdc.
- Round 3: Ch 1. Repeat (hdc in the next stitch, 2 hdc in the next stitch) 8 times. Join. 24 hdc.
- Round 4: Ch 1. Repeat (hdc in each of the next 2 stitches, 2 hdc in the next stitch) 8 times. Join. 32 hdc.
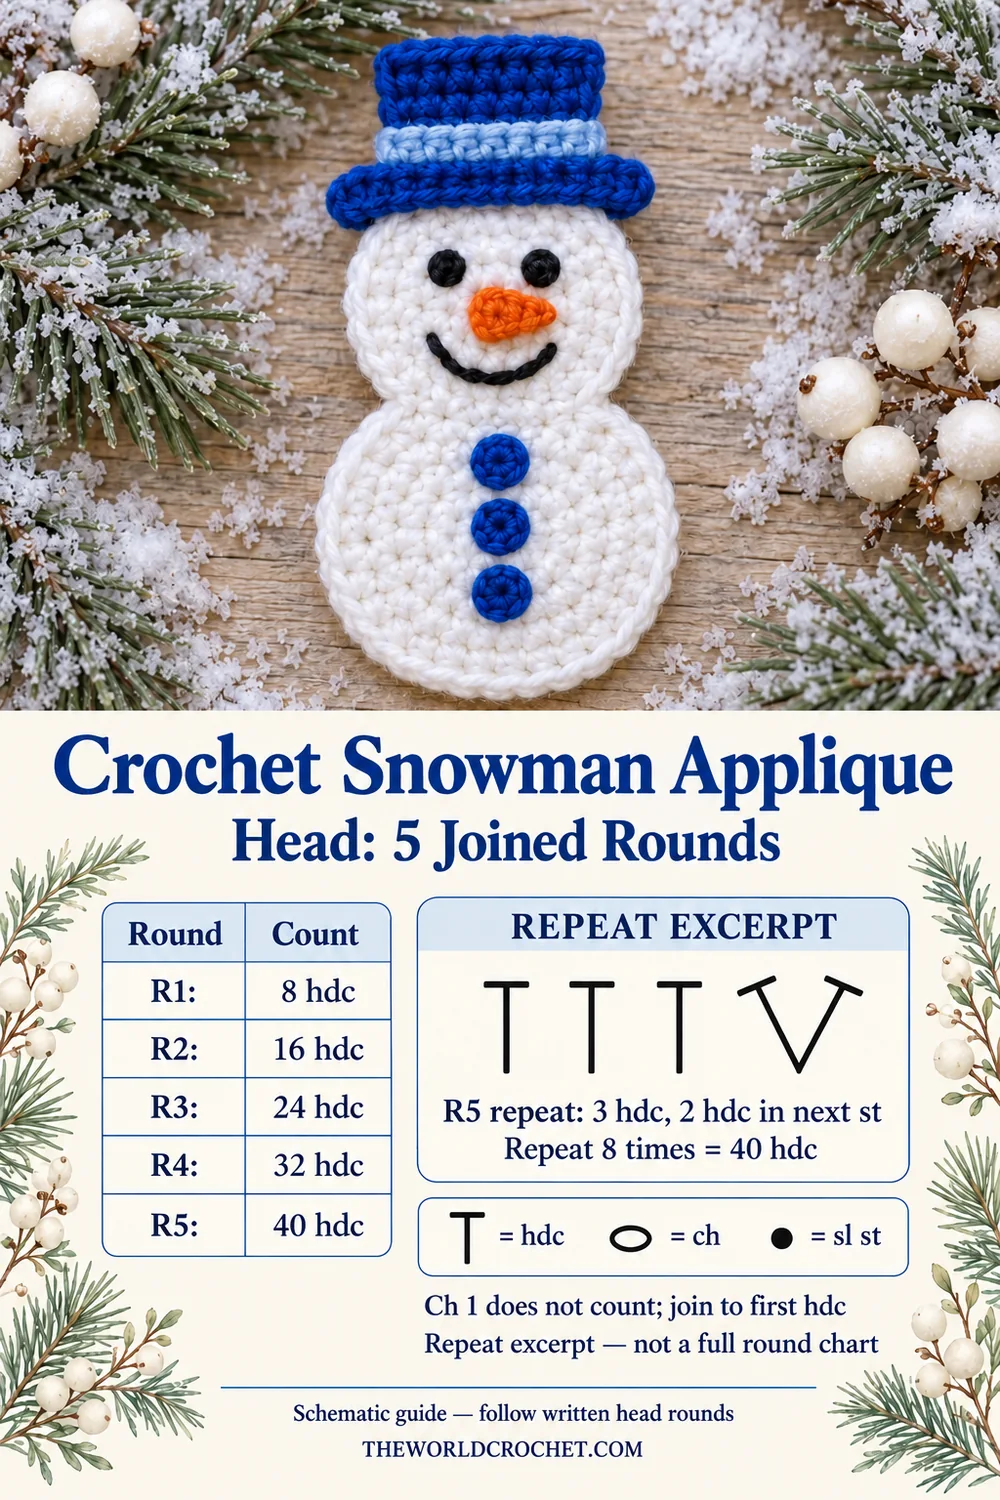
- Round 5: Ch 1. Repeat (hdc in each of the next 3 stitches, 2 hdc in the next stitch) 8 times. Join. 40 hdc.
Fasten off, leaving a tail for joining the neck. Weave the magic-ring tail through the backs of several stitches, change direction and secure it before trimming. Do not add an extra edging round to this version.
Round 5 uses four old stitches per repeat and produces five new stitches. Eight repeats consume all 32 stitches from Round 4 and produce 40. The diagram at the end shows that one-repeat relationship rather than a complete circular chart.
Make the larger white body
Start a new white magic ring. Work Rounds 1–5 exactly as for the head, then continue with the two rounds below.
- Round 6: Ch 1. Repeat (hdc in each of the next 4 stitches, 2 hdc in the next stitch) 8 times. Join to the first hdc. 48 hdc.
- Round 7: Ch 1. Repeat (hdc in each of the next 5 stitches, 2 hdc in the next stitch) 8 times. Join to the first hdc. 56 hdc.
Fasten off and weave in both ends on the back. Each increase round adds eight stitches overall. In Round 7, every repeat uses six old stitches and makes seven new ones: 6 × 8 = 48 consumed and 7 × 8 = 56 produced.
| Round | Repeat after starting chain | Count | Used for |
|---|---|---|---|
| 1 | 8 hdc in MR | 8 | Head and body |
| 2 | 2 hdc in every stitch | 16 | Head and body |
| 3 | (1 hdc, increase) × 8 | 24 | Head and body |
| 4 | (2 hdc, increase) × 8 | 32 | Head and body |
| 5 | (3 hdc, increase) × 8 | 40 | Finish head; continue body |
| 6 | (4 hdc, increase) × 8 | 48 | Body only |
| 7 | (5 hdc, increase) × 8 | 56 | Finish body |
A blue top hat made in flat rows
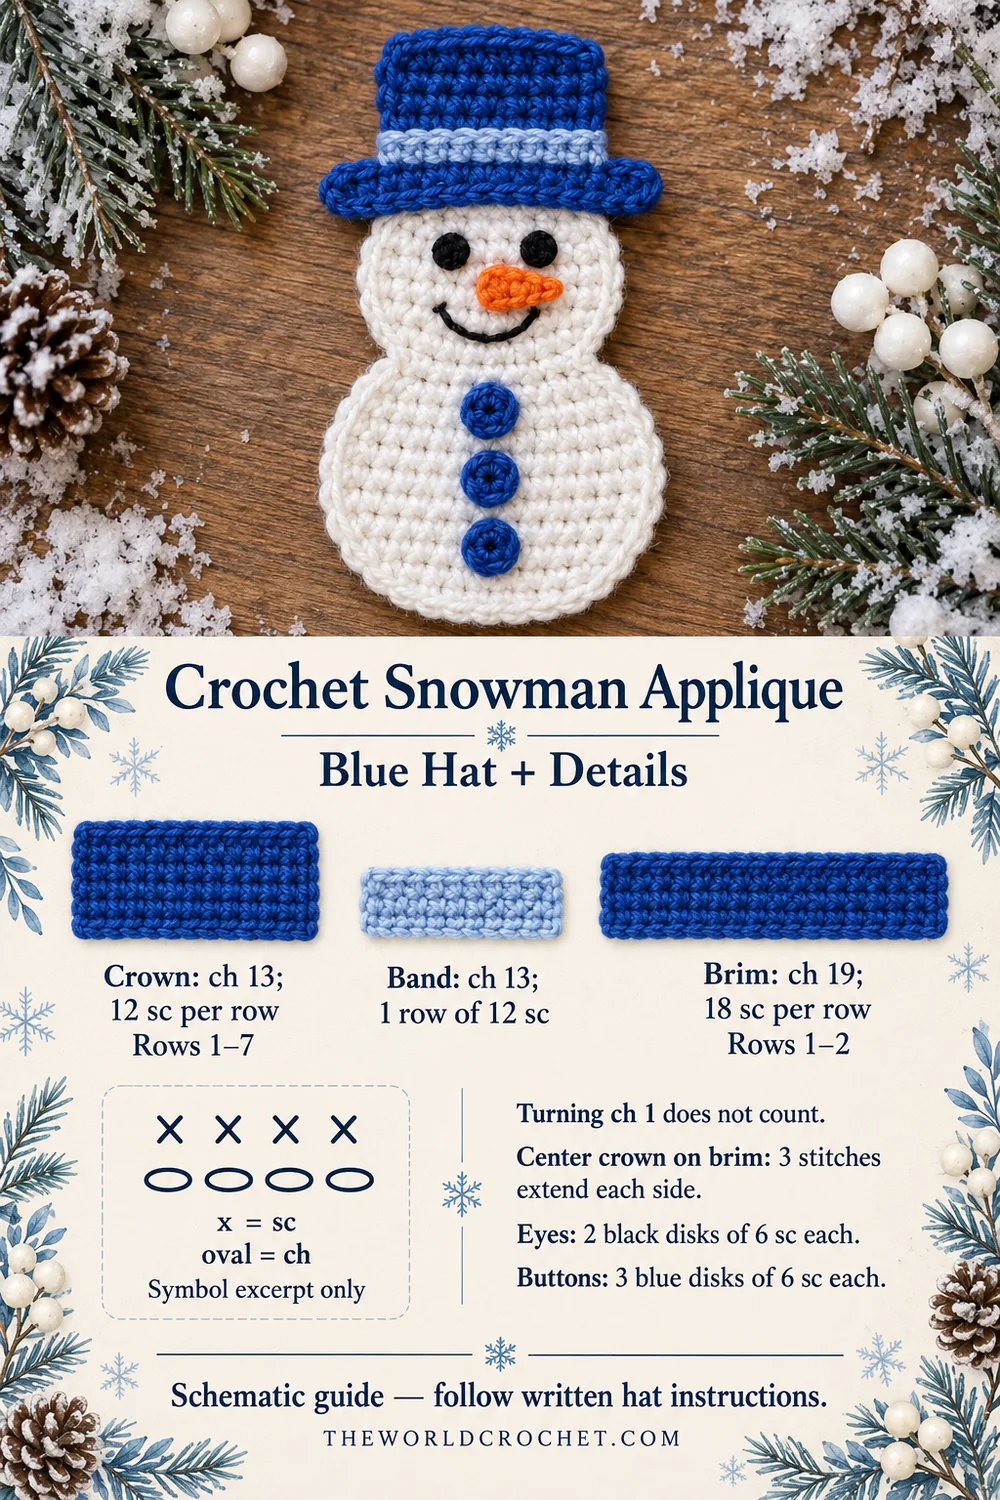
Royal blue crown
Ch 13. Row 1: Sc in the second chain from the hook and each remaining chain. 12 sc. For Rows 2–7, ch 1, turn and sc in each of the 12 stitches. Every row has 12 sc. Fasten off with a sewing tail.
Pale blue band
Ch 13. Sc in the second chain from the hook and each remaining chain. One row of 12 sc. Fasten off with a sewing tail. Sew this strip across the bottom of the crown, aligning its ends with the crown edges. The band overlays the crown rather than adding another row to its height.
Royal blue brim
Ch 19. Row 1: Sc in the second chain from the hook and each remaining chain. 18 sc. Row 2: Ch 1, turn and sc in all 18 stitches. Fasten off with a sewing tail.
Center the crown on the brim. The difference between 18 brim stitches and 12 crown stitches leaves three brim stitches extending on each side. Sew the lower crown edge to the upper brim edge, keeping the band visible just above the seam. Hide the sewing stitches in matching blue stitches.
Eyes, carrot nose and three buttons
Two black eyes
Make two identical disks. For each, make a MR, ch 1 and work 6 sc into the ring. Pull closed and join to the first sc with a sl st. 6 sc per eye. Fasten off with a sewing tail. The joining sl st is not a seventh stitch.
Three blue buttons
With royal blue, make three disks using the same one-round instructions as the eyes. 6 sc per button. Keep them flat and leave sewing tails. These are crocheted decorations, not plastic buttons.
A small tapered carrot
With orange, ch 4. Starting in the second chain from the hook, work sl st in the first available chain, sc in the next chain and hdc in the last chain. Fasten off with a sewing tail. This gives 3 worked stitches: 1 sl st, 1 sc and 1 hdc. The narrow slip-stitch end becomes the carrot tip.
Sew the carrot flat rather than stuffing or rolling it. If the orange yarn is much thicker than the black yarn, check that the nose does not crowd the eyes before you secure it.
Arrange the face before sewing the neck
Lay the head above the body with their fronts facing up. Overlap the lower edge of the head slightly over the upper body edge so there is a short stable neck rather than one point of contact. Mark an attachment section spanning about four head-edge stitches, centered at the bottom.
Using the white head tail, sew through both layers across that short overlap, then return through neighboring stitches to secure the join. Keep the seam relaxed so it does not pucker either circle. The join is a sewn attachment, not another crochet round.
Place the hat along the top of the head with a slight tilt, leaving enough face below its brim for both eyes and the smile. Arrange the eyes on either side of the face center, the carrot between and slightly below them, and the three buttons in a straight line down the body. Check the whole character before sewing any small piece permanently.
Sew around the edges of the eyes and buttons, catching several stitches of the white disk below each one. Attach the carrot with its tip pointing to one side. With black yarn, embroider a shallow smile below the nose using several short backstitches rather than one loose strand.
Sew the brim to the head, then secure the lower crown to the head wherever they overlap. Avoid stitches that pull the face upward. Weave all sewing ends into the backs of the pieces so they will be hidden against the final backing.
When a circle or detail needs another look
The white disk forms a bowl
Check for missed increases and confirm that the starting chain was not counted as a stitch. Each round after the first needs eight increases. If the counts are correct but the disk cups strongly, assess your yarn and hook combination before continuing. Gentle blocking can refine the edge; it should not force a distorted disk flat.
The circle has a wavy edge
Count the final round and look for stitches worked into the joining sl st. That adds an unwanted stitch at the seam. Also compare the height and tension of your hdc stitches. Yarn and individual tension affect whether this untested interpretation lies flat.
The hat leans forward
Check that the crown, band and brim use similar-weight yarn, and that the brim is attached along a section of the head rather than a single point. If using the snowman on fabric, sew the hat directly to that backing as well so its top does not need to support itself.
The face looks crowded
Move the hat slightly higher before attaching it. Leave a clear white gap between the eyes, carrot and mouth. With bulky yarn, embroider small filled circles for the eyes instead of using the six-sc disks; the head and body counts remain the same.
Use and finish the crochet snowman applique
If the yarn label permits damp blocking, shape the undecorated disks first and let them dry flat. After assembly, smooth the outline without stretching the neck or pulling one side of the brim. Keep the pieces unstuffed for this flat version.
For a fabric attachment, use matching thread to sew around the head, body and hat edges with small stitches. Catch the backing without drawing it tight. For a wreath or gift cord, attach through several sturdy back stitches at the hat and neck rather than suspending the entire snowman from one small stitch.
A row of Christmas crochet bows makes a simple companion garland. For another flat seasonal shape, pair the snowman with the leaf point crochet star and repeat the same blue and ivory palette.
Follow the yarn label when cleaning and let the applique dry completely before storing. Keep the hat flat and support the neck when lifting it. This pattern is for a decorative applique, with securely sewn details and no loose plastic eyes.
Crochet snowman applique images and construction guides
The three Pin layouts below show the blue-hat character in different settings. The three photo-and-diagram guides explain the head increases, body increases and flat hat pieces. Symbol excerpts and piece outlines are schematic aids, not complete tested stitch charts; follow the written instructions and counts for every full round and row.