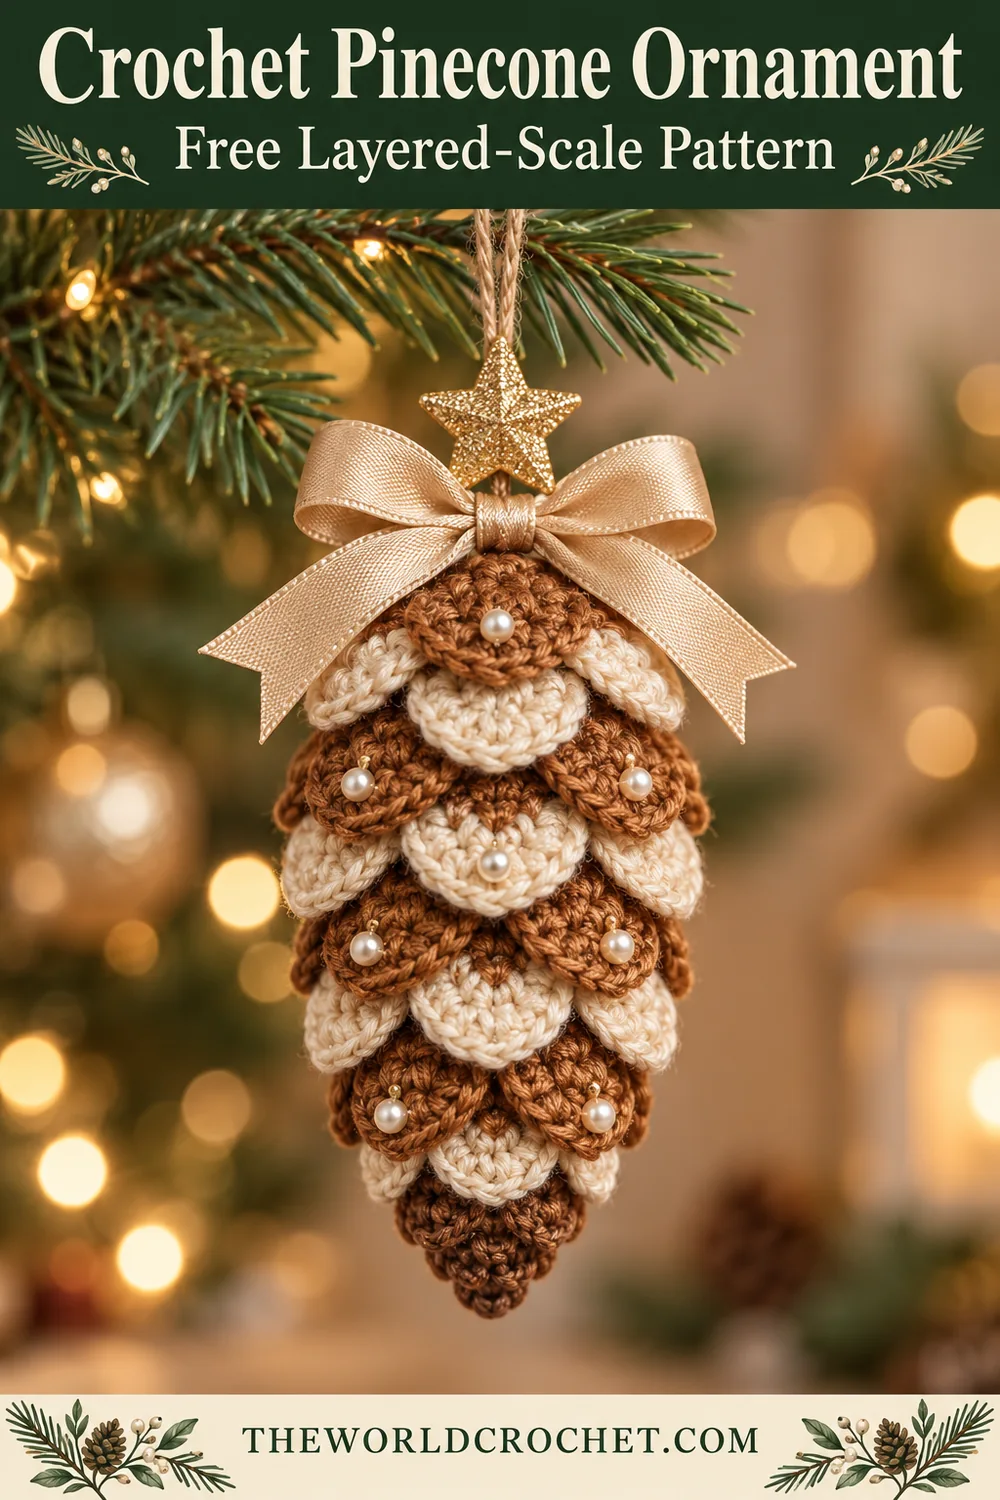
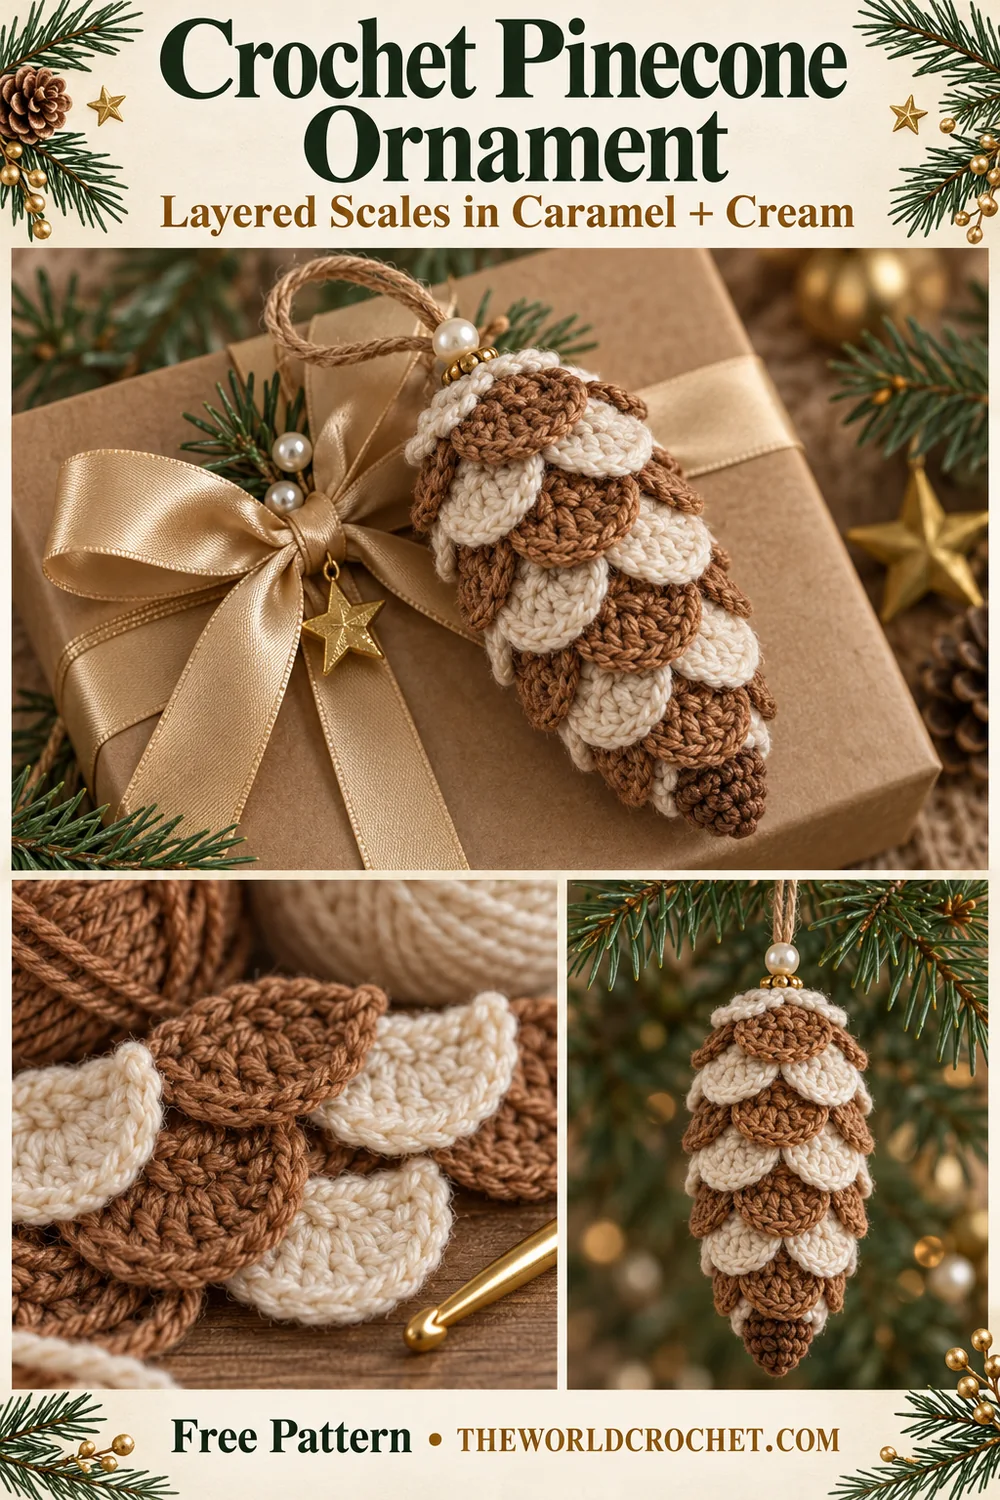
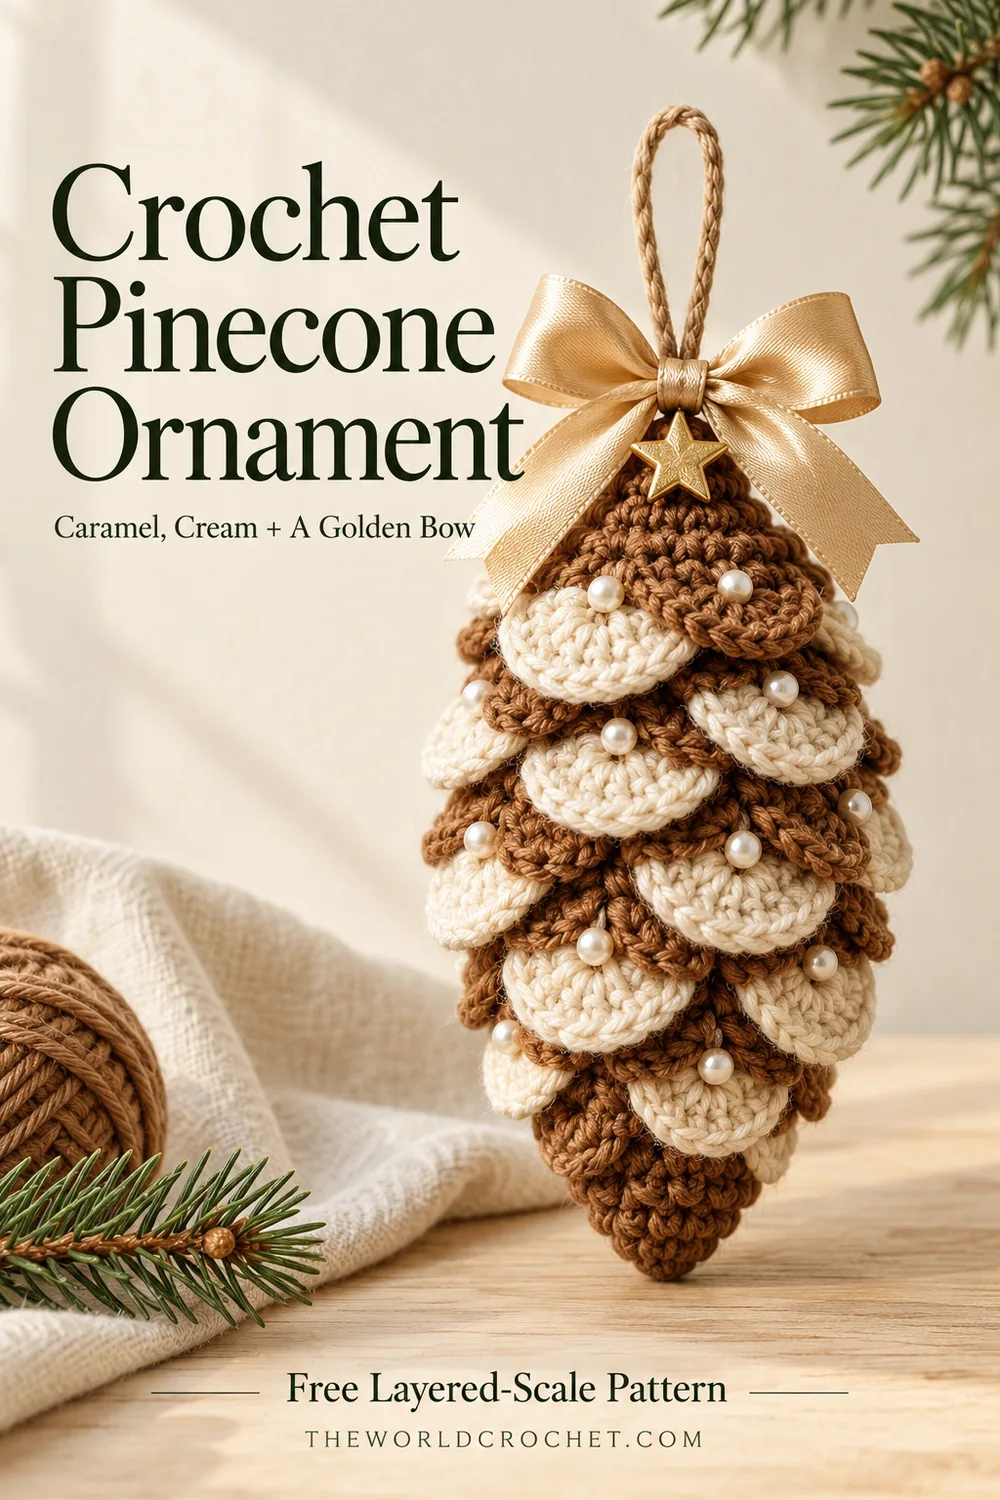
This crochet pinecone ornament builds its woodland shape from overlapping caramel and cream fan scales. A soft oval core supports the layers, while a champagne bow, optional pearls and a small gold star echo the warm details of the reference.
The pattern is an original interpretation of that inspiration, rather than the exact recipe behind the photograph. The stitch arithmetic has been checked, but the design has not been physically crocheted or tested. The seven-tier arrangement below is a starting layout: pin the scales to your own core and adjust the overlap before sewing.
Begin with one core and one scale, using the same yarn and hook for both. This lets you check how the fan sits against the stuffing before making the full batch. The styling images suggest the finished look; use the written rows and assembly table for the construction.

Plan your crochet pinecone ornament
The core is worked in continuous single-crochet rounds, from the lower tip to the top. Separate scales are made in two flat rows and sewn around the core from bottom to top. Only each scale’s straight edge is attached, leaving the curved edge free to overlap the tier beneath it.
This is a small assembly project for someone comfortable with a magic ring, increases, decreases and sewing crochet pieces together. No measured gauge, finished dimensions or yarn consumption are available. Your yarn, hook, stuffing and overlap determine the finished size and the number of scales needed for full coverage.
Materials
- Smooth DK cotton in caramel and cream. Keep both colors the same yarn weight so the scales behave similarly.
- A 3 mm hook as a starting point; adjust to make a firm core that holds stuffing without large gaps.
- A small amount of fiberfill, a yarn needle, scissors, stitch markers and pins or removable clips.
- A sturdy hanging cord and champagne satin ribbon for the bow.
- Optional sew-on pearl beads, strong sewing thread and a suitable needle; embroidered dots can replace the beads.
- Optional lightweight ready-made gold star charm. The star and ribbon are separate embellishments, not crocheted components of this pattern.
Make decorative choices before closing the core. The hanging cord must be secured to the core itself; a bow or a loose scale should never carry the ornament’s weight. If you prefer an all-yarn finish, the Christmas crochet bows pattern offers a separate bow project.
US abbreviations and stitch notes
All instructions use US terms. The Craft Yarn Council crochet abbreviations guide is a useful reference for the standard stitch names.
- MR: magic ring
- ch: chain
- sc: single crochet
- dc: double crochet
- st/sts: stitch/stitches
- inc: 2 sc in the same stitch
- dec: single crochet 2 stitches together (sc2tog)
- R: round in the core instructions; scales use rows.
Single crochet: insert the hook, yarn over and draw up a loop; yarn over and pull through both loops. Double crochet: yarn over, insert the hook and draw up a loop; yarn over and pull through two loops twice. Decrease: insert the hook into the next stitch and draw up a loop, repeat in the following stitch, yarn over and pull through all three loops. One decrease consumes two stitches and makes one.
The core has no joining slip stitches or turning chains. Move a marker into the first sc of each new round. For the scales, the opening ch 3 counts as one dc; the ch 1 before Row 2 does not count. Those two chain rules are different, so keep them beside you while making the first fan.
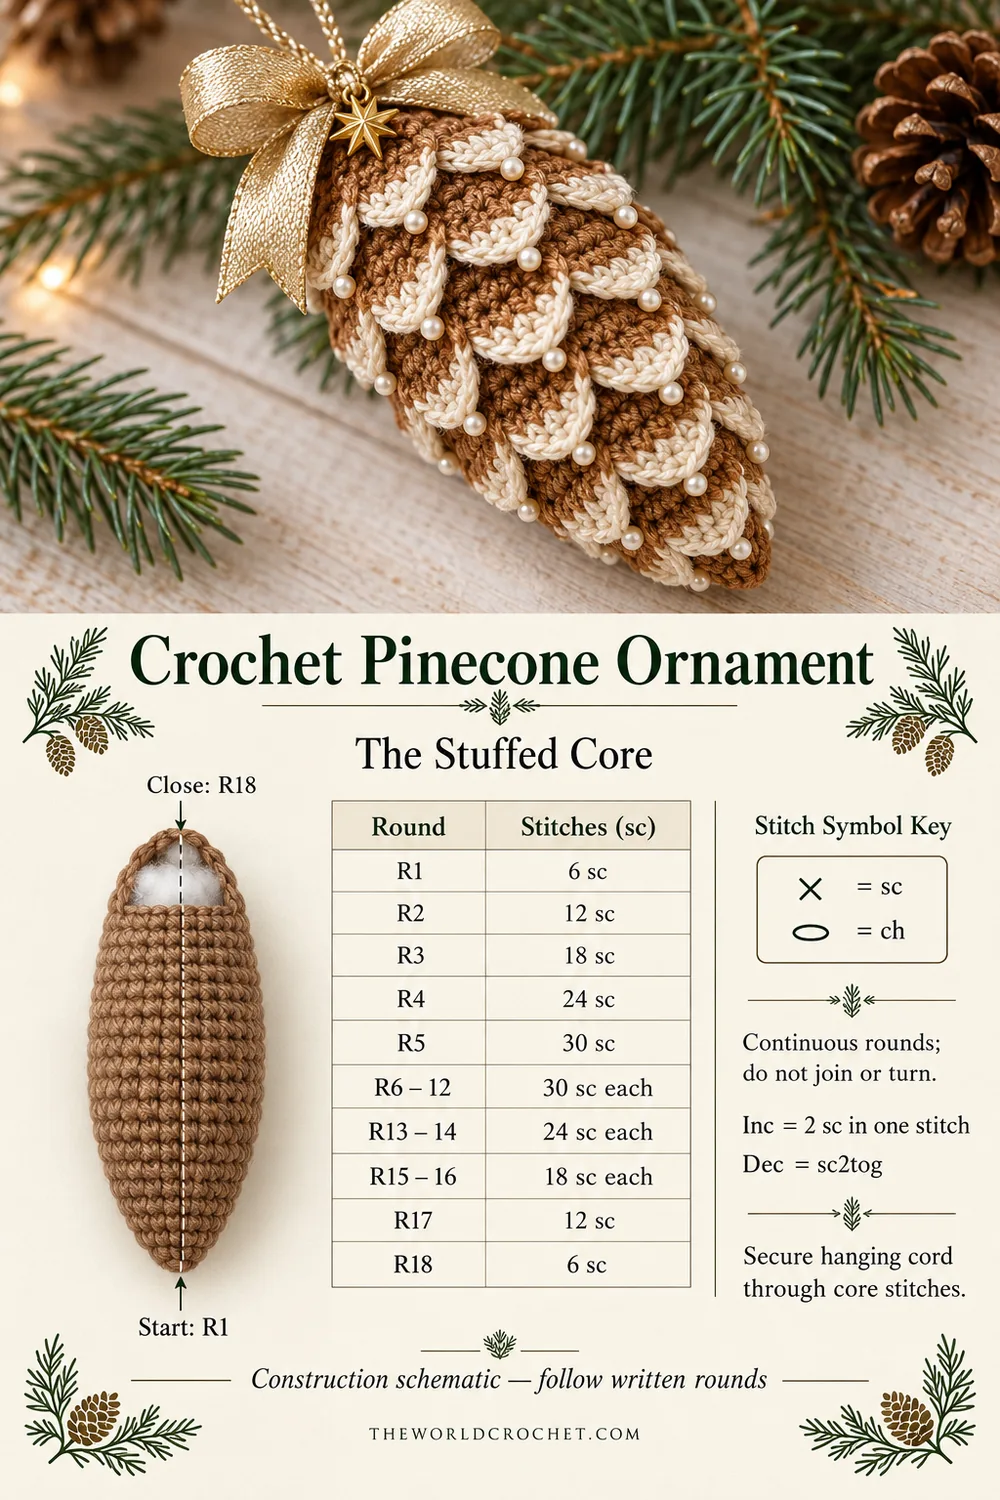
Crochet pinecone ornament: the stuffed core
Use caramel throughout. Work through both loops unless specified. Bracketed repeats are repeated six times; the count at the end is the total number of stitches in that round.
- Round 1: Make a MR and work 6 sc into it. Pull the ring closed. 6 sc.
- Round 2: Inc in every stitch. 12 sc.
- Round 3: [Sc in the next st, inc in the next st] 6 times. 18 sc.
- Round 4: [Sc in each of the next 2 sts, inc in the next st] 6 times. 24 sc.
- Round 5: [Sc in each of the next 3 sts, inc in the next st] 6 times. 30 sc.
- Rounds 6–12: Sc in every stitch for seven rounds. 30 sc in each round.
- Round 13: [Sc in each of the next 3 sts, dec over the next 2 sts] 6 times. 24 sc.
- Round 14: Sc in every stitch. 24 sc.
- Round 15: [Sc in each of the next 2 sts, dec over the next 2 sts] 6 times. 18 sc.
- Round 16: Sc in every stitch. 18 sc.
- Round 17: [Sc in the next st, dec over the next 2 sts] 6 times. 12 sc.
- Round 18: Dec 6 times. 6 sc.
Add small pieces of stuffing during Rounds 13–17, spreading them down toward Round 1. Keep the core gently oval and compressible, rather than packing it into a hard ball. Round 1 is the lower tip; the final closure is the top.
Before Round 18, pass the two ends of a hanging cord through opposite sturdy stitches near Round 16, leaving the loop outside at the top. Knot the ends together securely inside and check the anchor with a gentle pull. Finish Round 18, fasten off and thread the tail through the front loops of the six remaining stitches. Draw closed and bury the tail inside.
Count check: each increase round adds six stitches. The reductions go 30 → 24 → 18 → 12 → 6. Plain Rounds 14 and 16 preserve the count from the preceding decrease round; they are not additional decrease rounds.
Make the fan scales in two flat rows
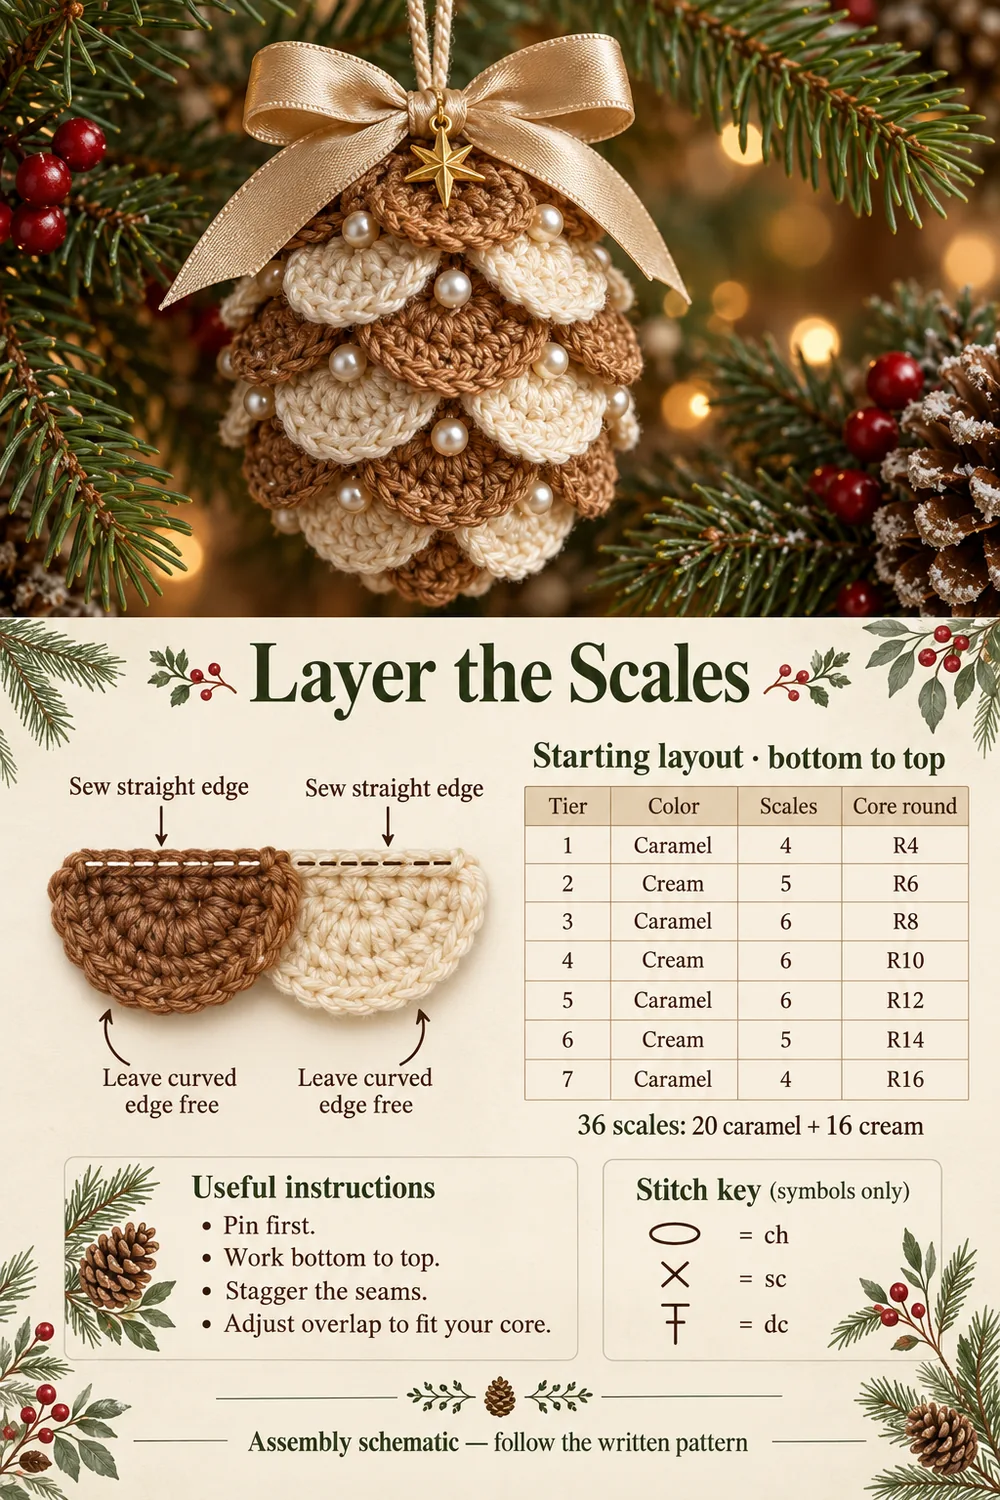
Make one scale and pin it onto the core first. Its straight edge should bend around the core without the curved edge being pulled taut. The starting layout uses 20 caramel scales and 16 cream scales, but make the remaining fans after checking this first fit.
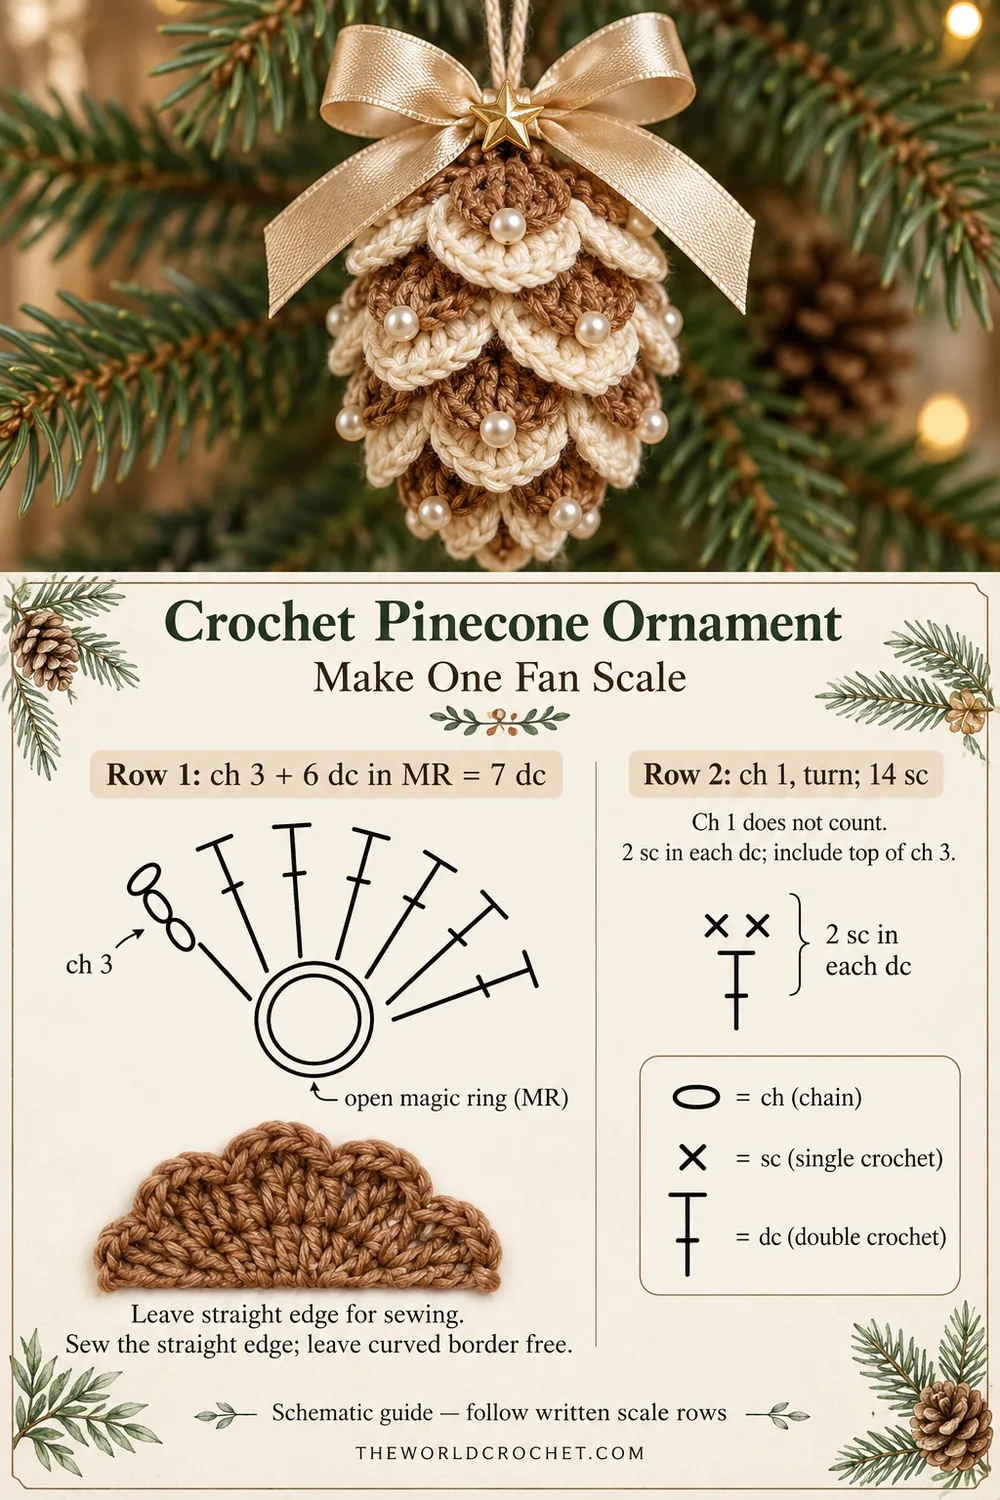
Row 1: Make a MR. Ch 3, then work 6 dc into the ring. Pull the ring closed and arrange the stitches as an open semicircular fan. 7 dc, including the beginning ch 3. Do not join the last dc to the top of the ch 3.
Row 2: Ch 1 and turn. Work 2 sc in every dc across, including the top of the beginning ch 3 at the far end. 14 sc. Fasten off with a tail long enough to sew the straight edge to the core. Secure the MR tail and weave it through the back of the fan.
The 14-sc edge is the rounded outer edge. The straight edge runs between the two row ends, through the base of the fan. That straight diameter is the sewing edge. Do not sew the curved border down: it needs to lift slightly and cover the seam below it.
If the MR pulls the fan into a tiny cup, ease the dc stitches into an arc instead of forcing them into a full circle. The fan is made in rows, even though all its first-row stitches share a ring. Seven dc doubled into fourteen sc is the complete scale; there is no third row.
Arrange seven tiers from bottom to top
Place the core with Round 1 downward. Pin the first tier near Round 4, with the curved borders directed toward the lower tip. The table locates each scale’s straight sewing edge, not its lowest rounded point.
| Tier, bottom to top | Color | Starting scale count | Sewing line near core round |
|---|---|---|---|
| 1 | Caramel | 4 | R4 |
| 2 | Cream | 5 | R6 |
| 3 | Caramel | 6 | R8 |
| 4 | Cream | 6 | R10 |
| 5 | Caramel | 6 | R12 |
| 6 | Cream | 5 | R14 |
| 7 | Caramel | 4 | R16 |
Total: 36 scales. Caramel tiers use 4 + 6 + 6 + 4 = 20; cream tiers use 5 + 6 + 5 = 16. These quantities describe the starting arrangement, not a guaranteed fit for every yarn and tension. Shift the sewing lines slightly, vary the overlap, or add or remove a fan if your own core needs it.
- Pin the lower tier: distribute four caramel fans around the core. Let neighboring edges overlap slightly. Check that the tip is covered without pulling the fans downward.
- Offset the next tier: position cream fans above the caramel tier, centering their rounded edges over the gaps between the lower fans.
- Dry-fit all tiers: repeat the arrangement up to Round 16. Look around the whole ornament for exposed seams and excessive bulk before sewing anything permanently.
- Sew from the bottom: remove only the upper fans needed to reach Tier 1. With each fan’s tail, make small stitches through its straight edge and the core fabric. Catch the core stitches without tightening the fabric into a groove.
- Restore and sew successive tiers: the next tier hides the straight seams of the previous one. Leave all rounded edges free and keep the hanging cord clear at the top.
Turn the ornament between attachments. If every seam falls in one vertical line, the layers can look like stacked columns. Staggering the fans makes the overlap look more like a natural pinecone and helps conceal the core.
Add pearls, a bow and the gold star
For optional pearls, sew each bead near the center of a selected fan, passing the thread several times through the bead and crochet fabric. Secure the thread on the back of that fan. You can do this before attaching the scales, when their backs are easy to reach. Avoid tightening the thread so much that the fan folds around the bead.
Tie the satin bow separately and sew its center to the top of the core, above the final tier. Adjust the tails so they do not cover the whole cream band. Attach a lightweight star to the hanging cord or to a secure top attachment, keeping the cord as the load-bearing part.
For an alternative tree decoration using yarn points, try the Leaf Point Crochet Star. A matching holiday table project is the crochet wreath coaster, which uses a flat center and scalloped border.
Hide every sewing tail inside the core or securely through the back of its fan. Lift the finished ornament by its cord and check the bow, star and bead attachments. This embellished version is a hanging decoration, not a toy; omit small accessories if they are unsuitable for where it will be displayed.
Troubleshooting the layered shape
- The core shows between fans: pin a wider overlap, offset the next tier, or add another scale to that tier. Do not stretch an existing scale across a large gap.
- The ornament looks too round: redistribute or remove some stuffing before closing. During assembly, direct the lower fans toward the tip rather than spreading them horizontally.
- A fan has 12 sc instead of 14: check whether you missed the beginning ch 3, which counts as the seventh dc of Row 1. Its top receives two sc in Row 2.
- The scales look like closed disks: remove any join at the end of Row 1. Turn after ch 1 and work back across the seven dc.
- The upper tiers are bulky: reduce overlap there or remove a fan, then redistribute the remaining fans evenly before sewing. Do not force the starting count around a smaller core.
- The top pulls sideways: check that the cord is anchored across the core and that the bow is centered. A cord attached to one loose scale will distort it.
Keep the crochet pinecone ornament looking neat
Brush away dust gently and follow the care directions for your yarn and embellishments. Remove detachable ribbon or star accessories before any cleaning that could damage them. Store the ornament loosely so the free scale edges and satin loops are not crushed under heavier decorations.
Save the design and use the construction guides
The three Pin designs below offer different views of the same woodland idea. The final three images explain the core counts, the two-row fan and the starting seven-tier layout. They are construction schematics, not tested stitch charts; follow the written instructions and fit the pinned layers to your own core.