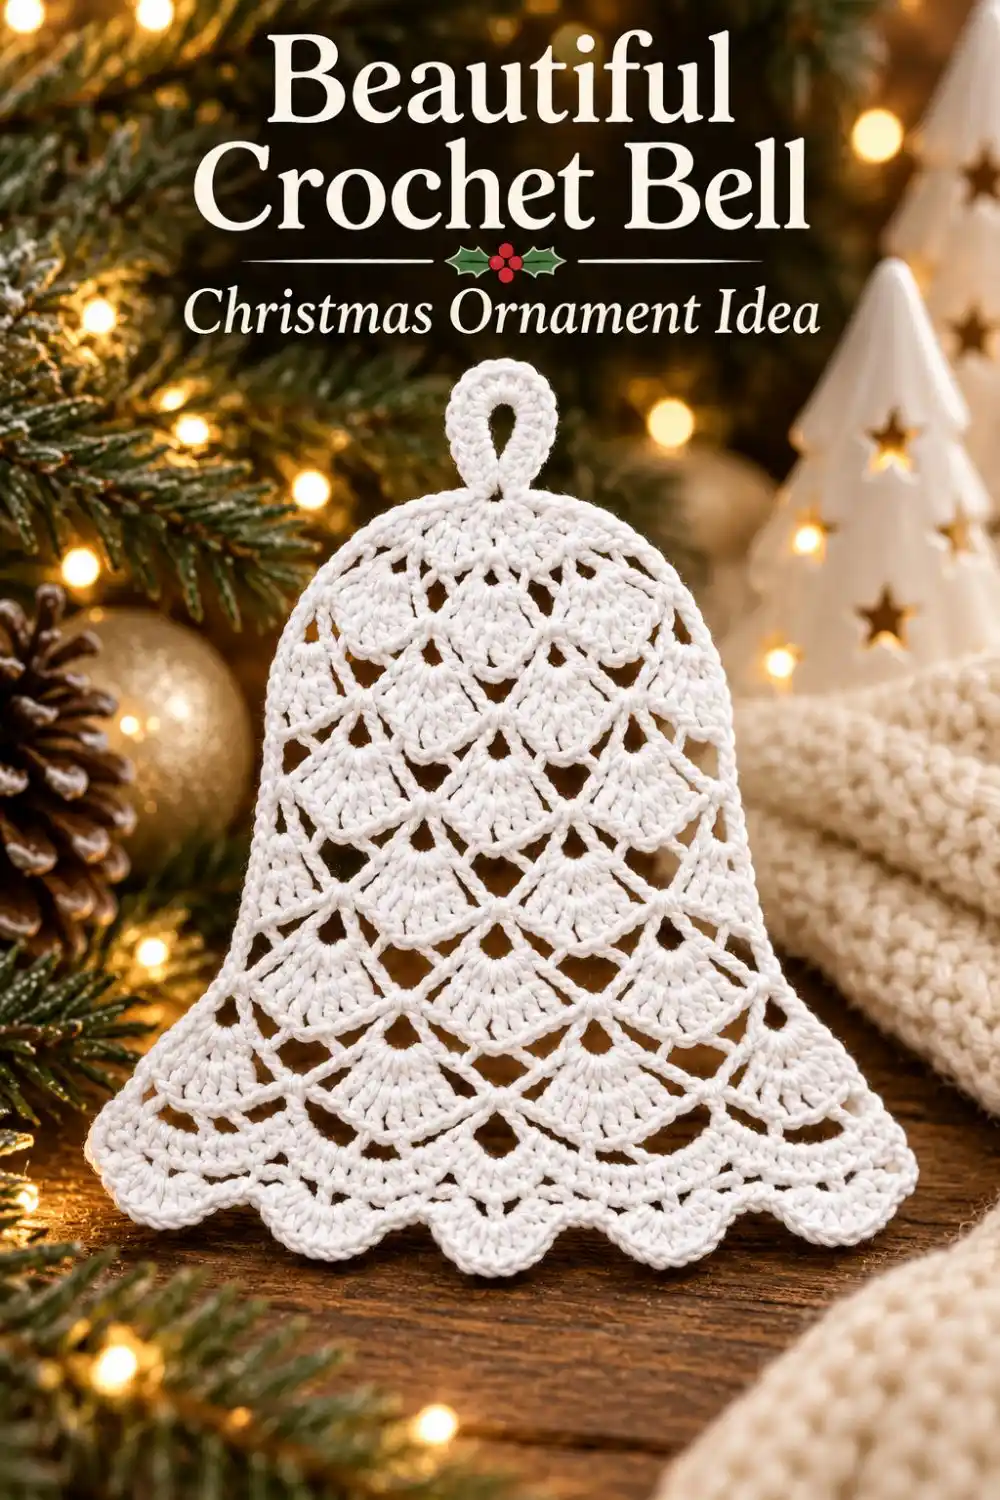
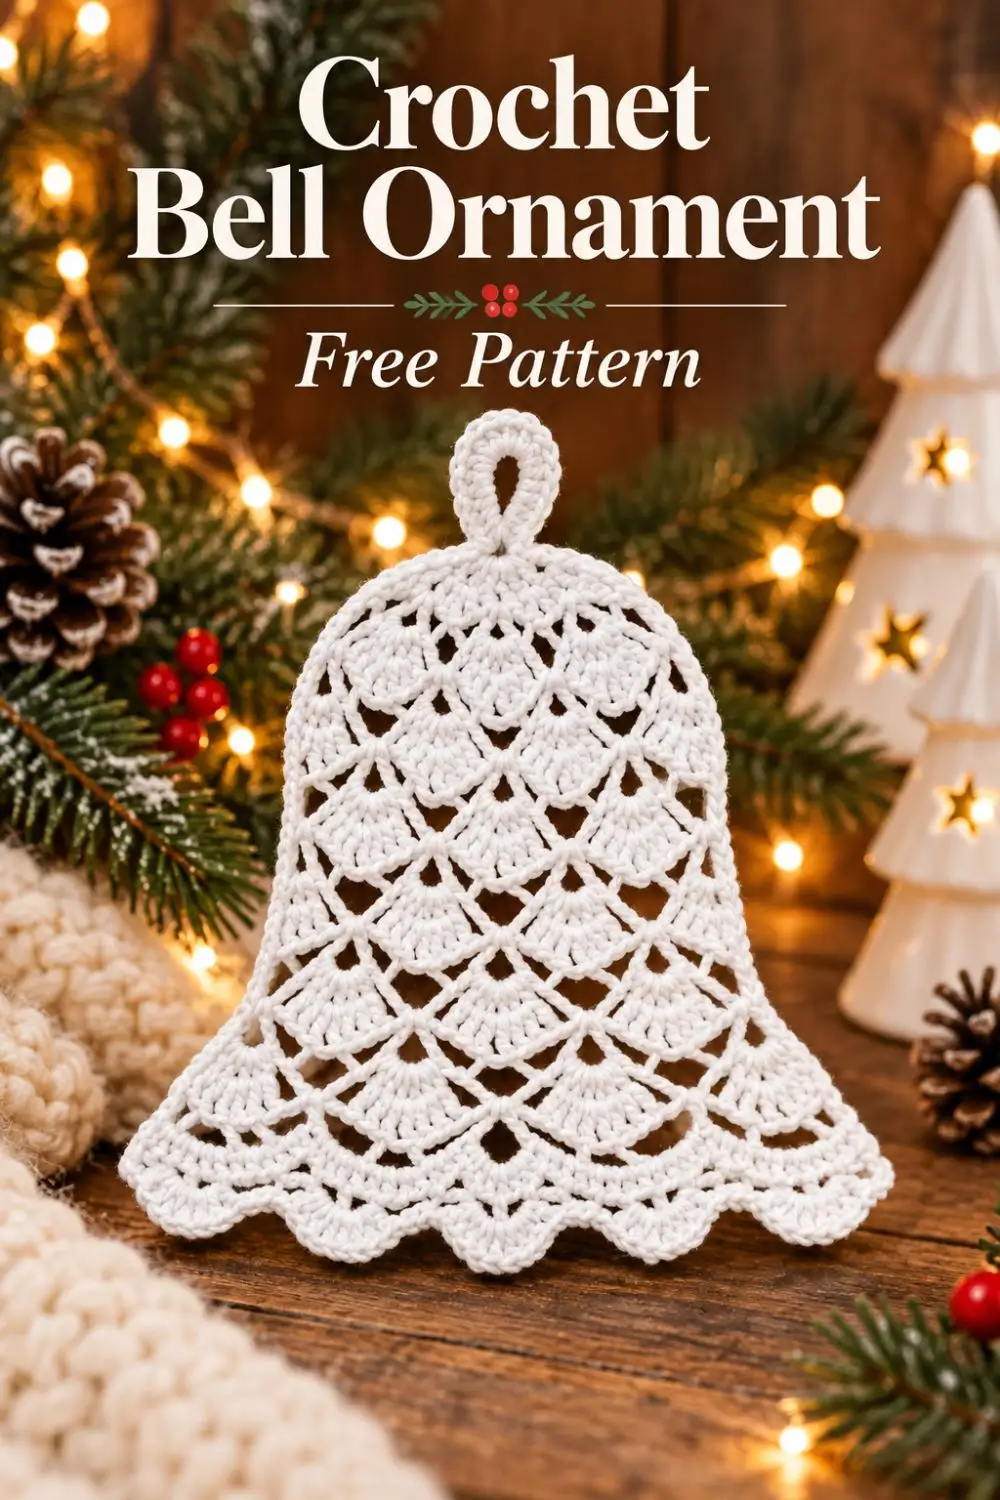
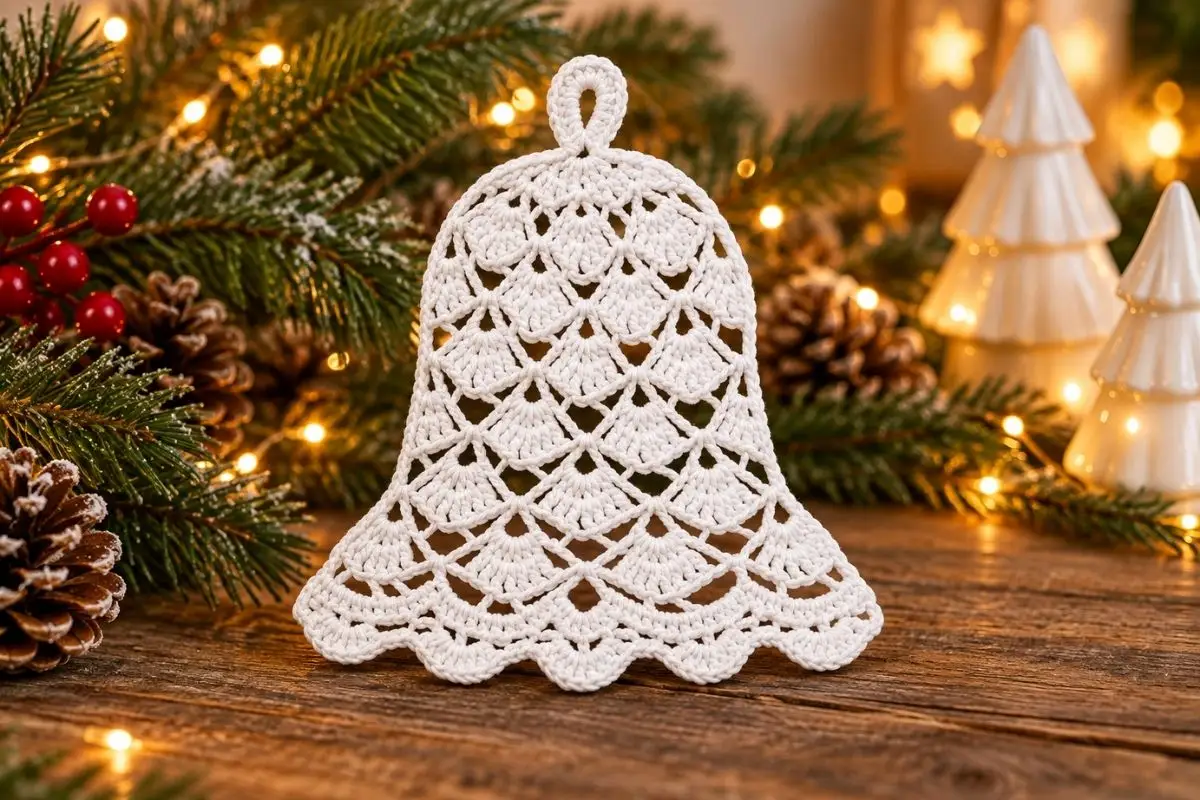
A shell stitch crochet bell gets its character from the spaces between the fans: light passes through the body while the wider scalloped rim gives the ornament its familiar bell outline. The white reference pairs that open texture with a simple loop and warm Christmas greenery.
This free pattern is an original interpretation of those features, worked as a hollow ornament in joined rounds. It is not the exact pattern used for the photograph. The instructions and repeat counts have been reviewed for internal consistency, but the design has not been physically crocheted or tested.
The construction has three distinct parts: a small crown, six repeating lace panels and a flared twelve-shell rim. A separate crocheted loop finishes the top. Shaping over a covered form helps the lace hold a rounded bell silhouette rather than collapsing when it hangs.
Planning the lace and the finished shape
Choose a smooth cotton that lets you see the middle stitch of each shell. That stitch is the anchor for the next mesh round, so a fuzzy yarn can make the repeat harder to follow. Sport-weight cotton and a 3 mm hook are a starting combination; adjust the hook to your yarn and tension.
- White or cream sport-weight cotton; allow roughly 60–90 yards as a planning estimate, not measured sample usage.
- A 3 mm crochet hook, or an appropriate size for your yarn.
- Scissors, yarn needle and a removable stitch marker.
- A smooth, tapered shaping form covered with plastic, plus a drying surface.
- Optional fabric stiffener suitable for the chosen fiber.
This is an intermediate project: the stitches are familiar, but the joins, shell centers and change from six to twelve repeats need attention. All terminology is U.S. Gauge is not prescribed for this decorative piece. A tentative size target is 4–6 inches tall excluding the loop, with the rim wider than the body; actual measurements must come from your first completed sample.
The open shell fabric distinguishes this design from our crochet Christmas bell ornament with a contrasting band. For an ornament that lies against a gift or card, the flat crochet bell pattern is a different construction worth considering.
Reading the shells before you begin
For a reference to the U.S. stitch names used here, consult the Craft Yarn Council crochet abbreviations guide. Special stitches are explained in this pattern.
- ch: chain
- sl st: slip stitch
- sc: single crochet
- dc: double crochet
- st/sts: stitch/stitches
- sp: space
- rnd: round
- Shell: 5 dc in the same indicated space.
The third dc is the center of a five-dc shell. Count only the five dc, not the separating chain, when finding it. Beginning ch 3 counts as one dc wherever used; beginning ch 1 never counts as a stitch. Joining and positioning slip stitches are not included in the round totals. Do not turn.
A mesh round places one sc in each shell center and chains across to the next center. The following shell round fills those chain spaces. The shell placement shifts around the body as you alternate the two rounds; do not add extra stitches to make the shells line up vertically.
Shell Stitch Crochet Bell: Crown and Body
Rounds 1–3: A small rounded crown
Round 1: Make a magic ring. Ch 1, work 6 sc into the ring. Close the ring and sl st in the first sc. Count: 6 sc.
Round 2: Ch 3 and dc in the same stitch as the join. Work 2 dc in each of the next 5 sc. Sl st in the top of the beginning ch 3. Count: 12 dc.
Round 3: Ch 3 and dc in the same stitch, then dc in the next stitch. Repeat [2 dc in the next stitch, dc in the next stitch] 5 times. Sl st in the top of the beginning ch 3. Count: 18 dc.
Rounds 4–5: Establish six lace panels
Round 4: Ch 1, sc in the same stitch as the join. Ch 3, skip the next 2 dc. Repeat [sc in the next dc, ch 3, skip the next 2 dc] 5 times. Sl st in the first sc. Count: 6 sc and 6 ch-3 spaces. Each repeat uses three of the eighteen dc below.
Round 5: Sl st into the first ch-3 space. Ch 3 and work 4 dc in that space, then ch 1. Repeat [5 dc in the next ch-3 space, ch 1] 5 times. Sl st in the top of the beginning ch 3. Count: 6 shells (30 dc) and 6 ch-1 spaces.
Rounds 6–11: Alternate mesh and fans
Round 6: Sl st in each of the next 2 dc to reach the center of the first shell. Ch 1, sc in that center dc. Ch 5, then repeat [sc in the center dc of the next shell, ch 5] 5 times. Skip all intervening stitches and spaces. Sl st in the first sc. Count: 6 sc and 6 ch-5 spaces.
Round 7: Sl st into the first ch-5 space. Ch 3 and work 4 dc in that space, then ch 1. Repeat [5 dc in the next ch-5 space, ch 1] 5 times. Sl st in the top of the beginning ch 3. Count: 6 shells (30 dc) and 6 ch-1 spaces.
Rounds 8 and 10: Repeat Round 6. Count each round: 6 sc and 6 ch-5 spaces.
Rounds 9 and 11: Repeat Round 7. Count each round: 6 shells (30 dc) and 6 ch-1 spaces.
After Round 11, the body has four shell rounds: 5, 7, 9 and 11. Keep the six chain arches relaxed and equal in length. This section should form a flexible hollow body; the shaping step supplies the final silhouette.
Widening the rim without losing the repeat
Round 12: Sl st in each of the next 2 dc to reach the first shell center. Ch 1, sc in that center dc. Ch 7, then repeat [sc in the center dc of the next shell, ch 7] 5 times. Sl st in the first sc. Count: 6 sc and 6 ch-7 spaces.
Round 13: Sl st into the first ch-7 space. In that space work (ch 3, 4 dc, ch 2, 5 dc), then ch 1. Repeat [(5 dc, ch 2, 5 dc) in the next ch-7 space, ch 1] 5 times. Sl st in the top of the beginning ch 3. Count: 12 shells (60 dc), 6 ch-2 spaces within the pairs and 6 ch-1 spaces between pairs.
Round 14: Sl st in each of the next 2 dc to reach the center of the first five-dc shell. Ch 1, sc in that center dc. Ch 3, then repeat [sc in the center dc of the next five-dc shell, ch 3] 11 times. Skip all intervening stitches and spaces. Sl st in the first sc. Count: 12 sc and 12 ch-3 spaces. Both shells in every pair get their own center anchor.
Round 15: Sl st into the first ch-3 space. Ch 3 and work 4 dc in that space, then sc in the next sc. Repeat [5 dc in the next ch-3 space, sc in the next sc] 11 times. Sl st in the top of the beginning ch 3. Fasten off. Count: 12 scallops (60 dc) and 12 sc. The final sc is worked in the first sc of Round 14 before the join.
A loop that sits neatly on the crown
Make the loop separately: ch 13, sc in the second chain from the hook and in each remaining chain. Count: 12 sc. Fasten off with a sewing tail. Bend the strip into a loop, sew the short ends together and attach that seam securely to the outside center of the crown. Weave in the tails before stiffening. Add a ribbon through the loop if more hanging length is needed.
Shaping the bell and keeping the lace open
Choose a covered form with a narrow rounded top and a wider base that fits the fabric without forcing it. A smooth plastic cone with a rounded cap can work; cover every contact surface so the stiffener cannot bond the ornament to the form. Check that the form can be removed through the open rim before applying stiffener.
Follow the stiffener manufacturer’s dilution, drying and fiber-compatibility directions. Work it through the cotton evenly without filling the lace holes. Position the crown over the rounded top, arrange the six panels and spread the rim gently. Support the twelve scallops at an even height while the ornament dries completely.
Do not assume damp blocking alone will make the bell stand upright. If you want a softer hanging ornament, omit stiffener and let the lace drape. For a firm display bell, use a compatible stiffener and avoid crushing the dried piece.
Checking an uneven body or brim
- A panel disappears: count six arches in every body mesh round. A skipped shell center removes a repeat.
- The rim stays narrow: check Round 13. Each of the six arches receives two complete five-dc shells, not one.
- The edging is uneven: check Round 14 for twelve separate center anchors, including both fans in each pair.
- The crown pulls sideways: check the loop attachment and the joins before stretching the fabric over a form.
- The fabric resists the form: use a smaller form. Stretching hard can distort the arches and flatten the fans.
To change scale, change yarn weight and hook size together while keeping the repeat counts. To make the body longer, add a complete mesh-and-shell pair after Round 11, then continue with the rim instructions. This adds height without changing the six body panels or twelve rim scallops.
White makes the openwork especially visible against dark greenery; cream gives a warmer look beside wooden decorations. A puff stitch crochet snowflake brings a different raised texture to the same display. For more shapes to combine, browse the seasonal crochet collection.
Store the bell upright in a small box with gentle support around the rim. Keep stiffened cotton dry and follow the stiffener’s care instructions; washing may require reshaping and another application. The defining detail of this shell stitch crochet bell is the balance between open panels and a wider rim, so protect those spaces when hanging or packing it.
Bell details and decorating inspiration
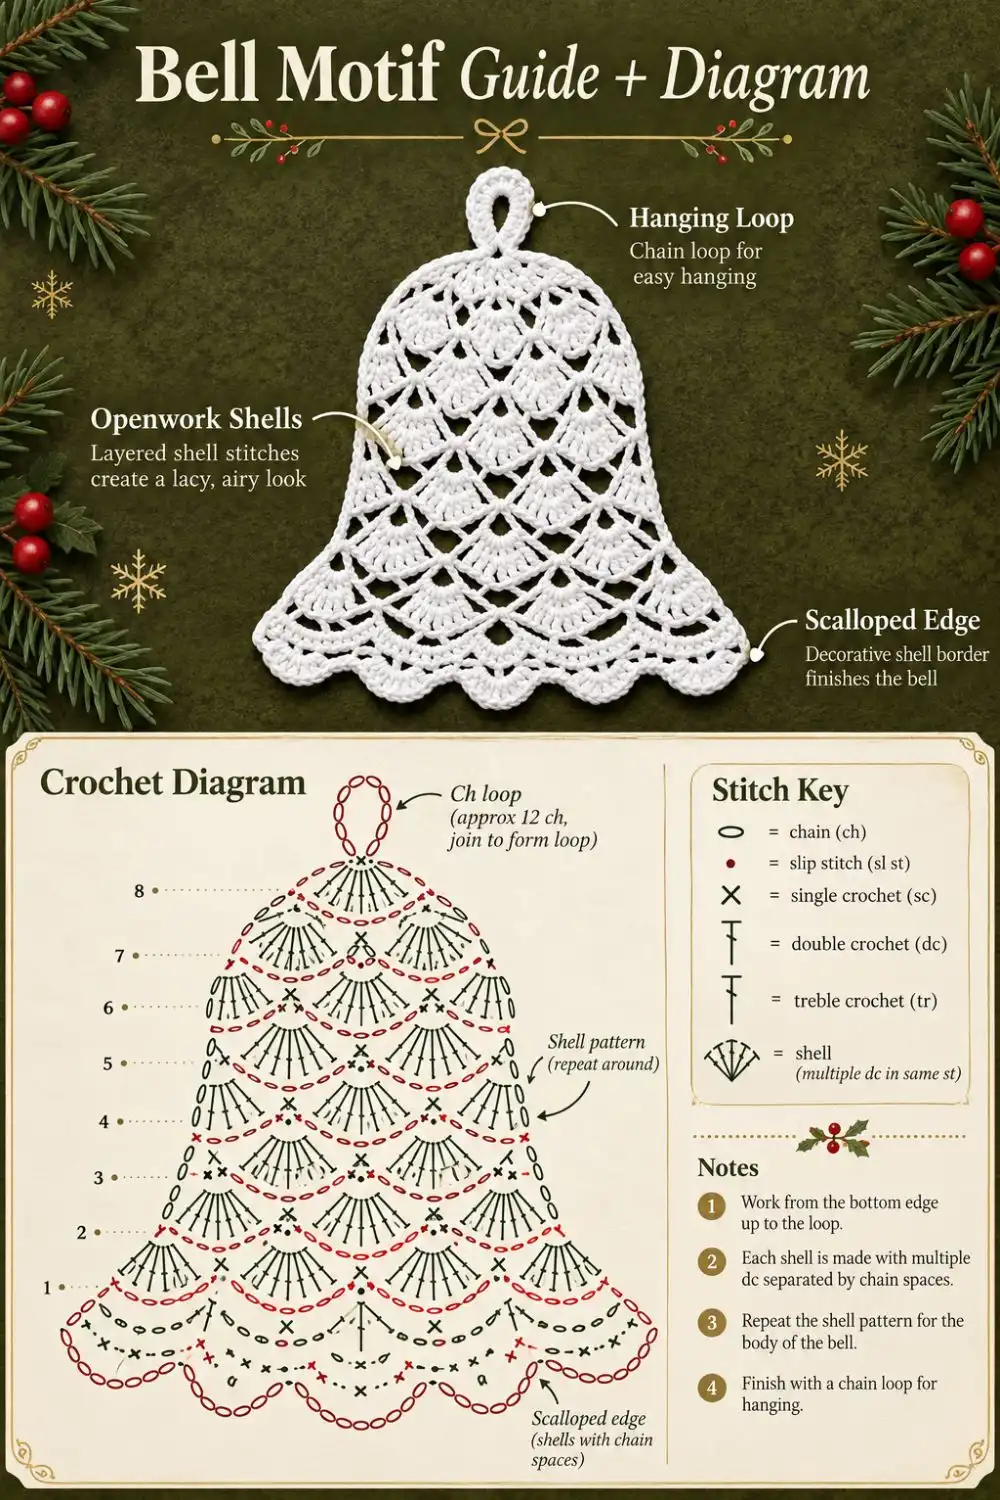
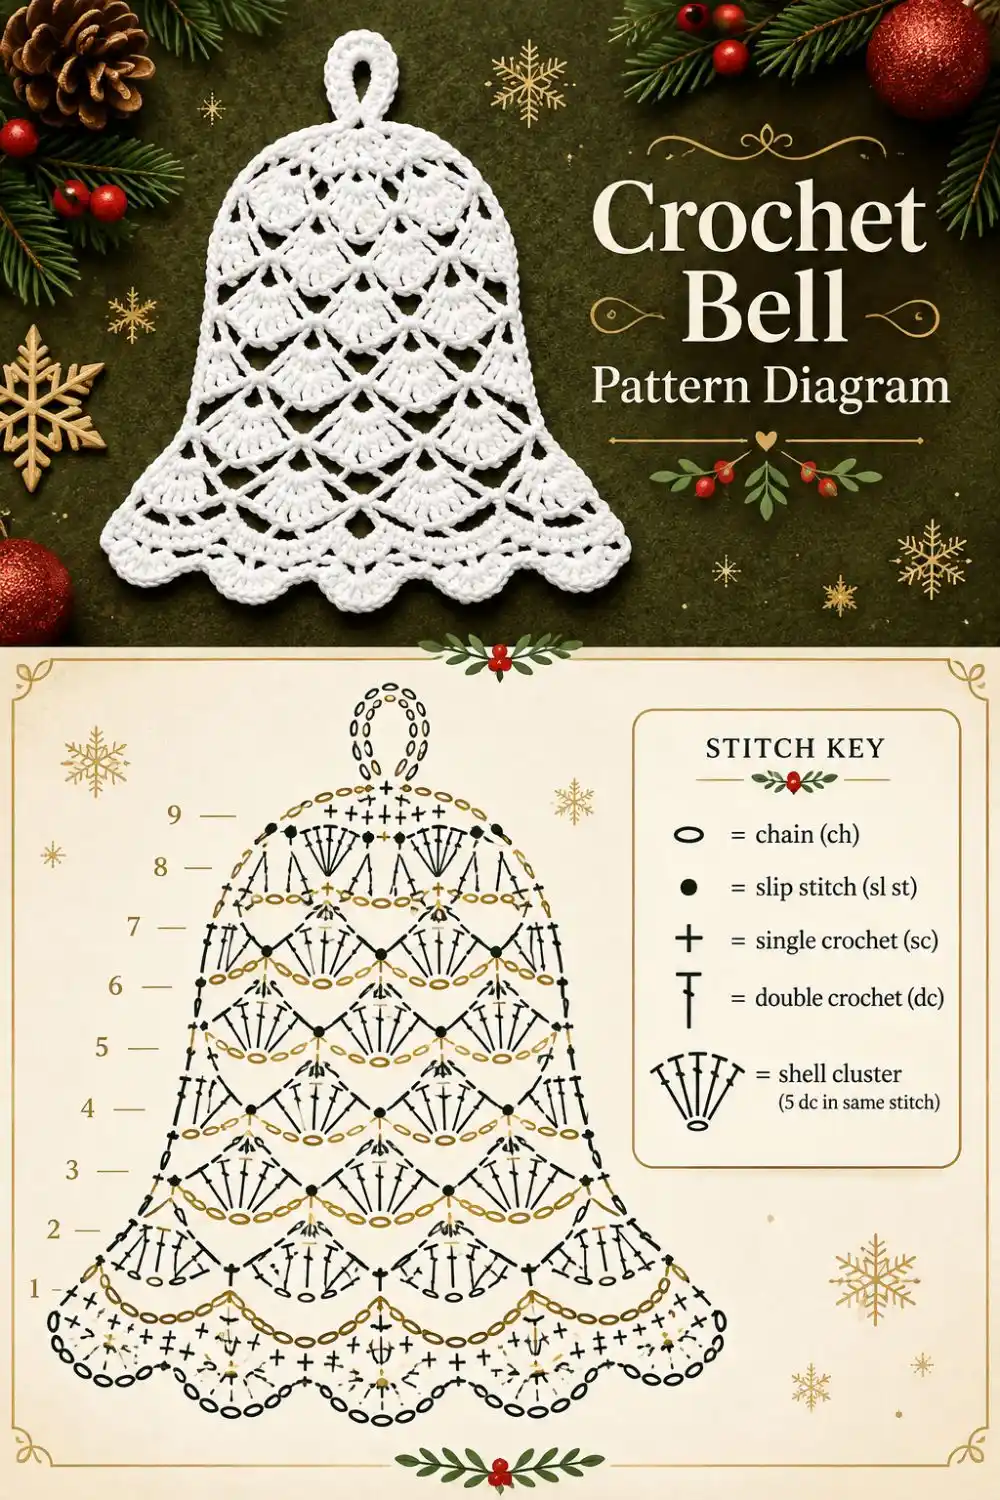
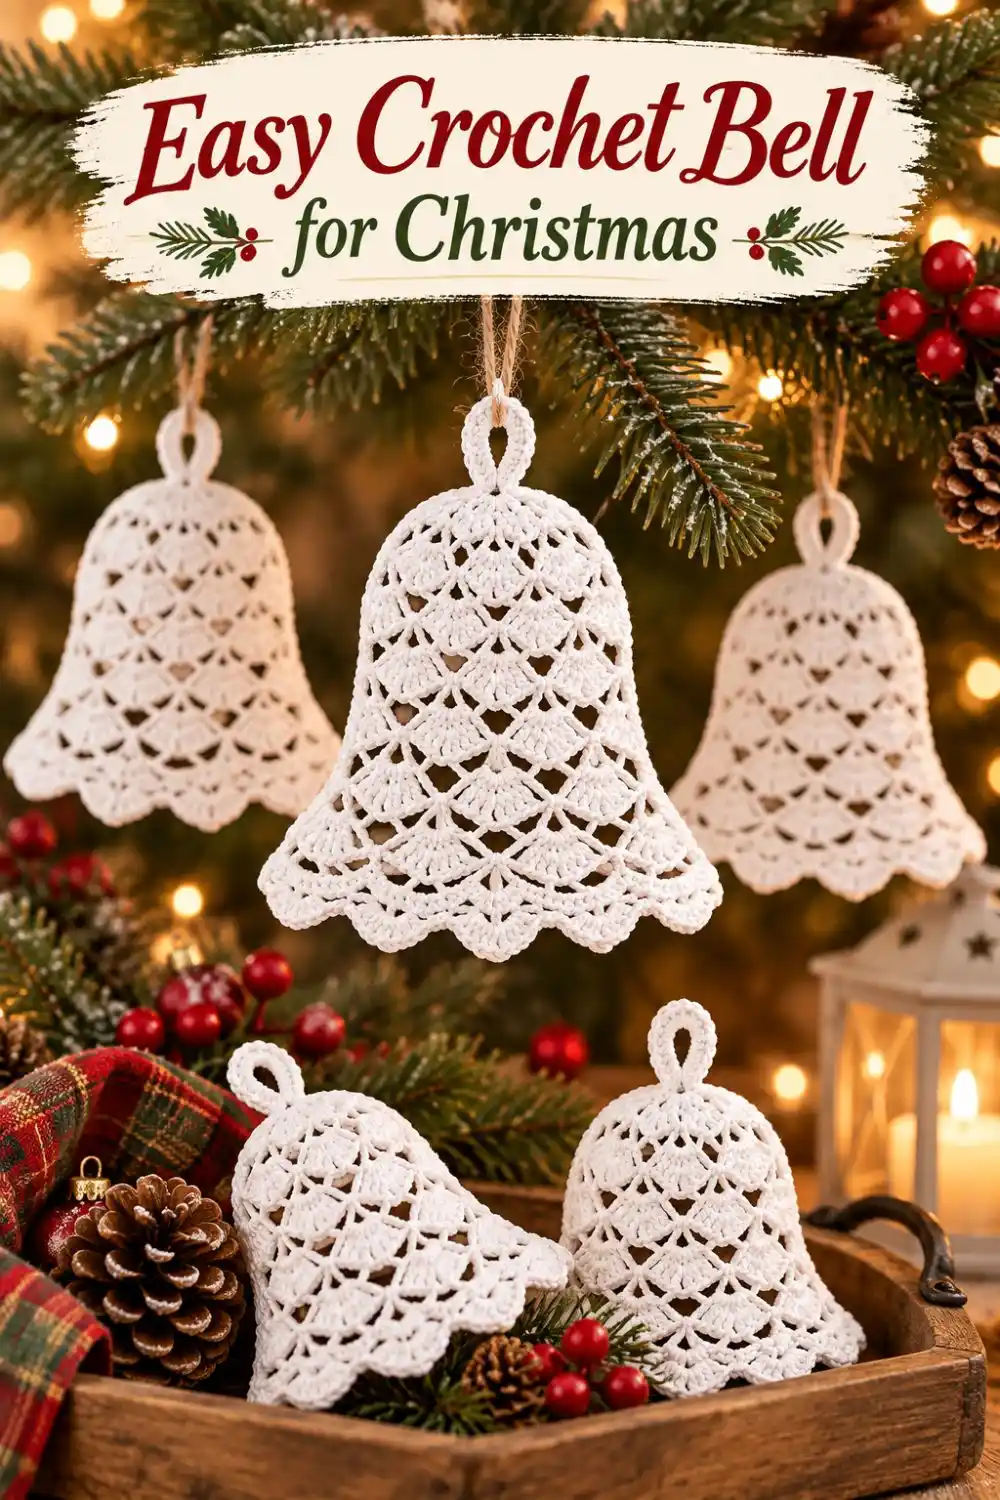
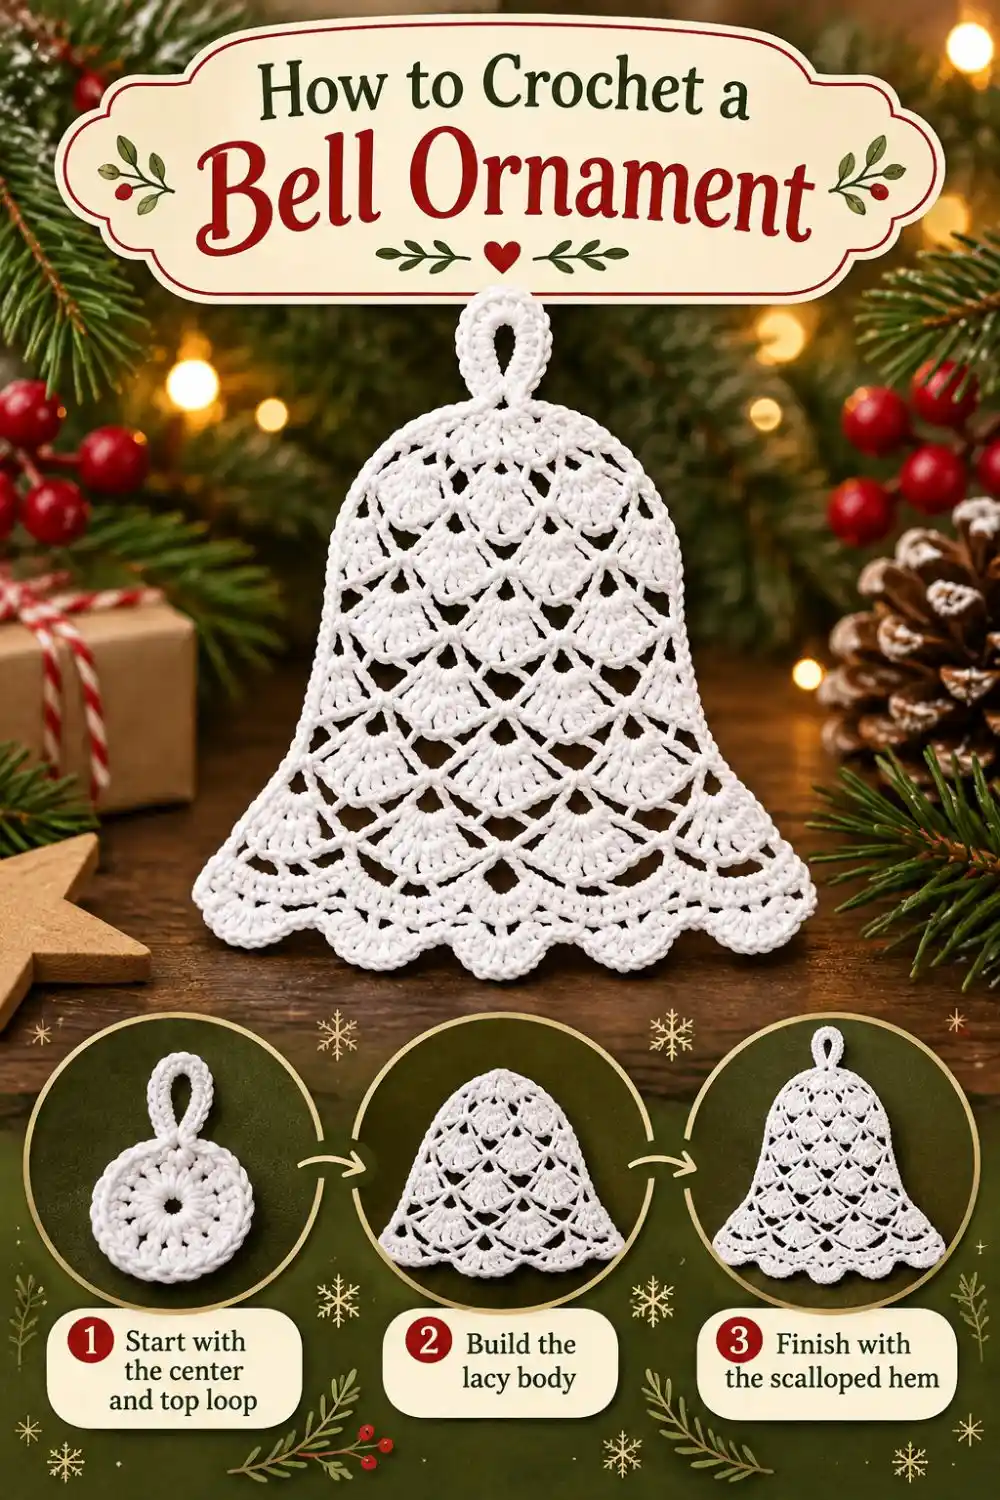
The supplied images below show similar lace bells and decorative construction illustrations. Their diagrams and stage pictures are visual inspiration, not verified charts or progress photographs for the original written pattern above. Follow the written round counts for this version.