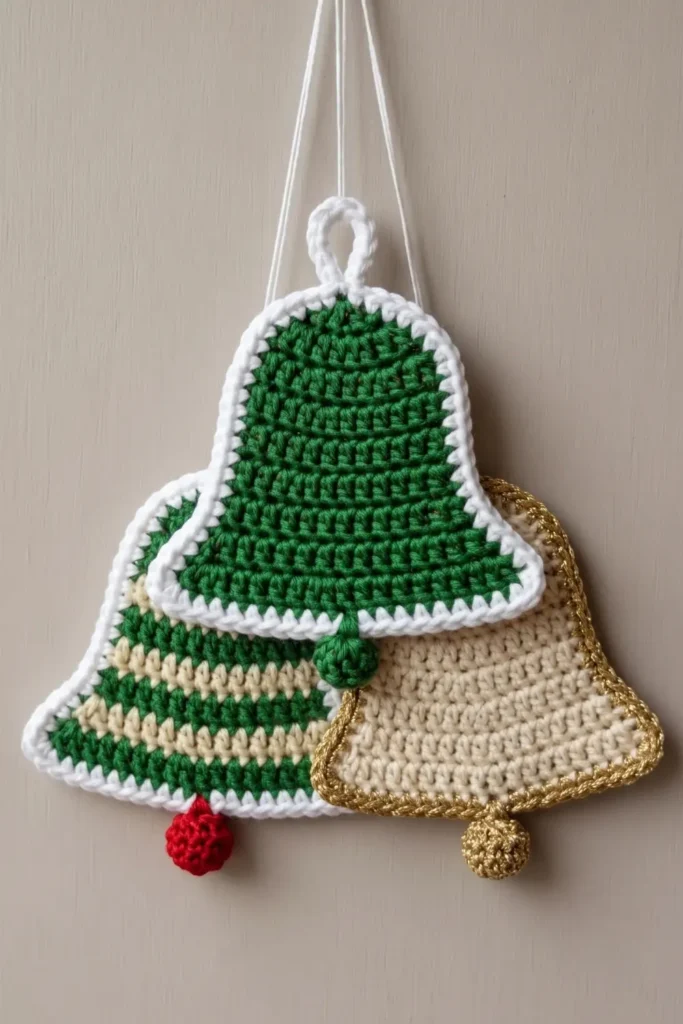
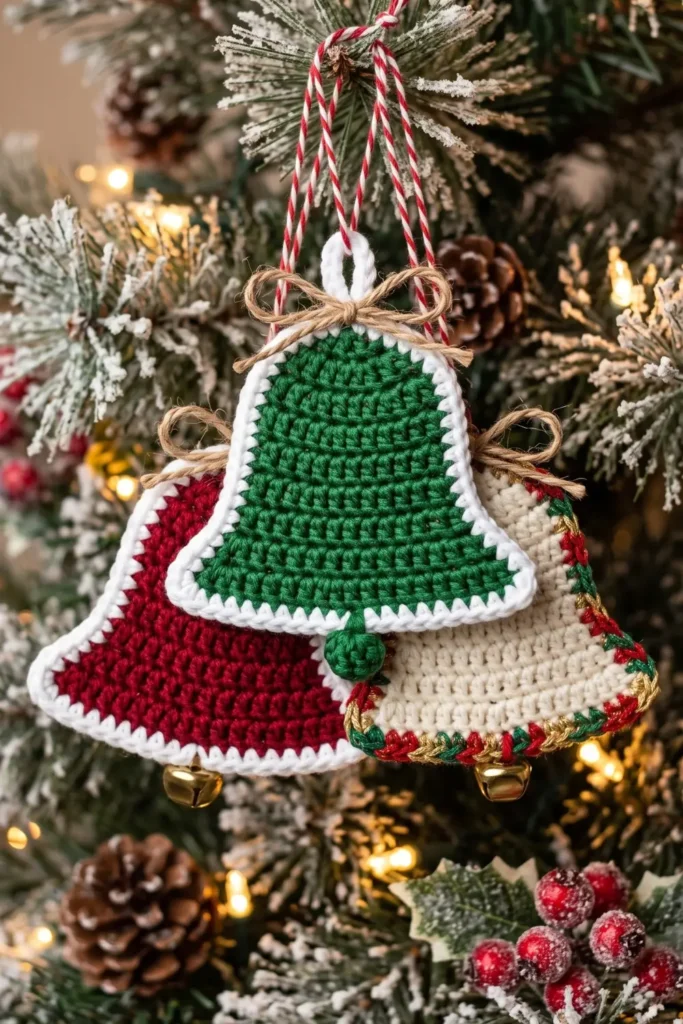
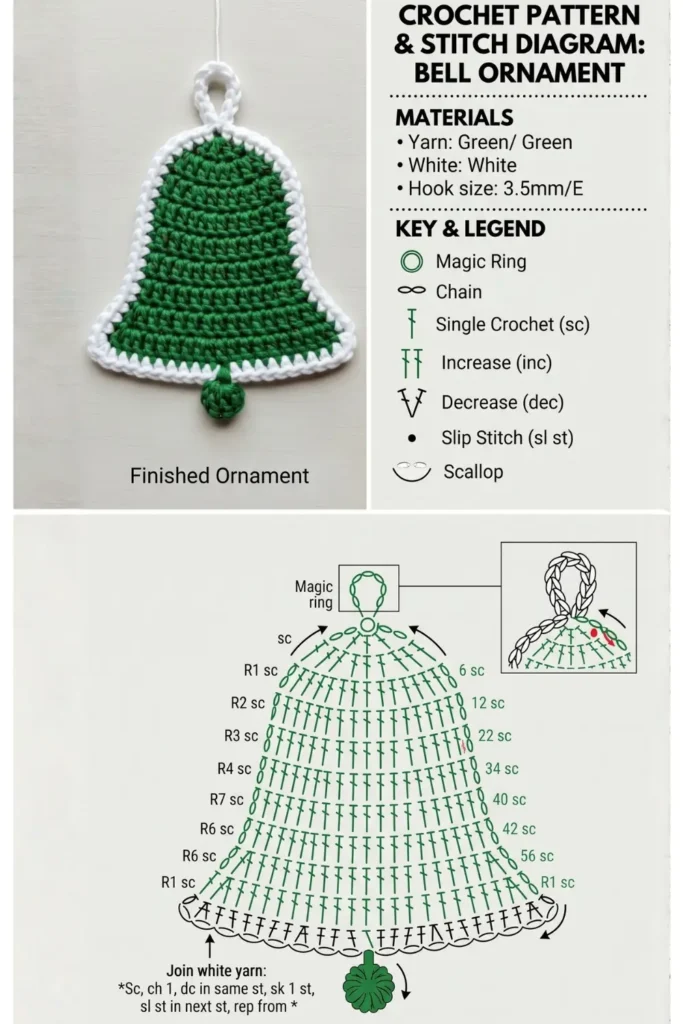
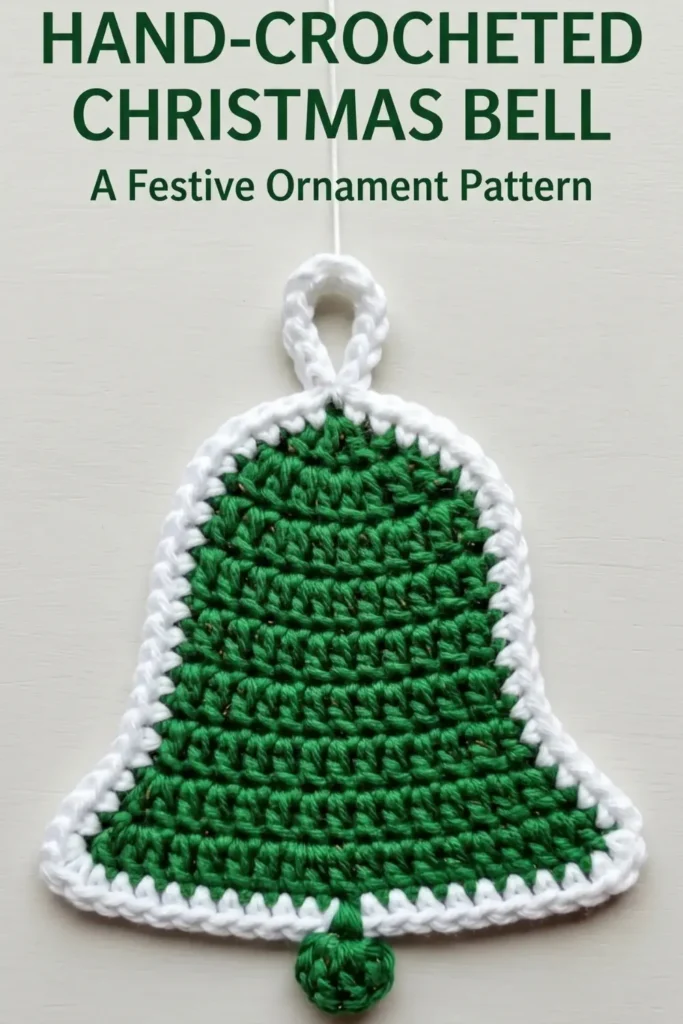
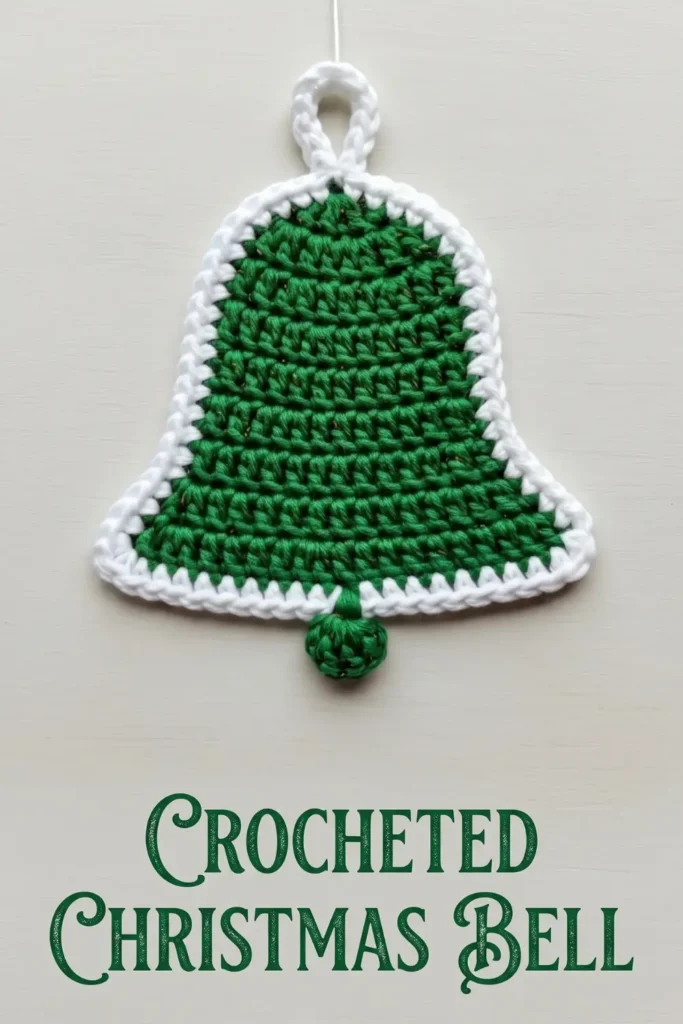
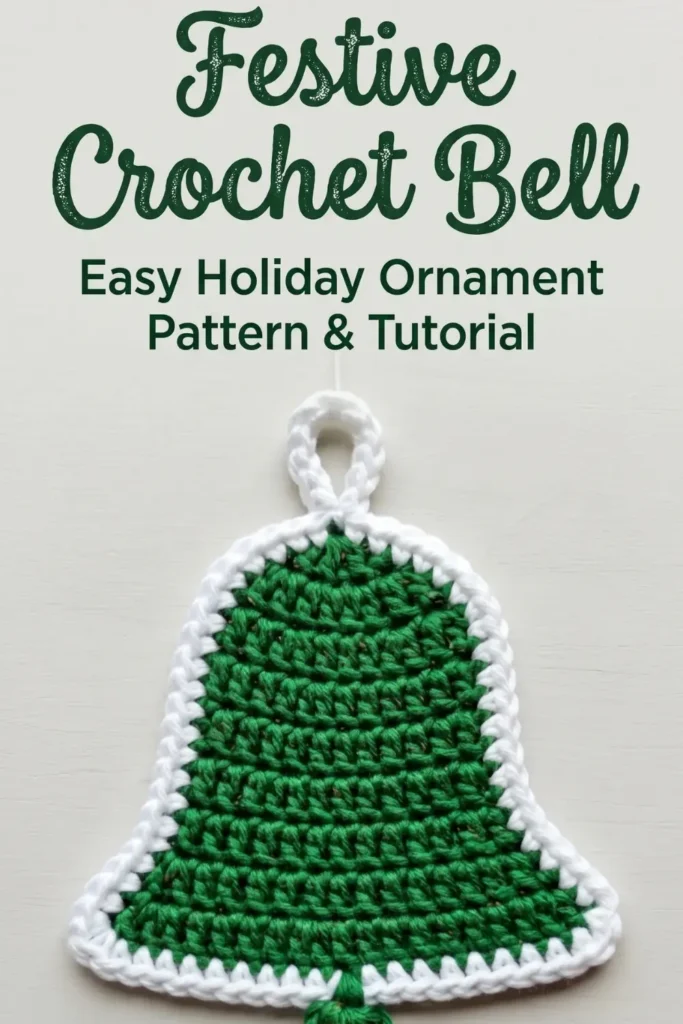
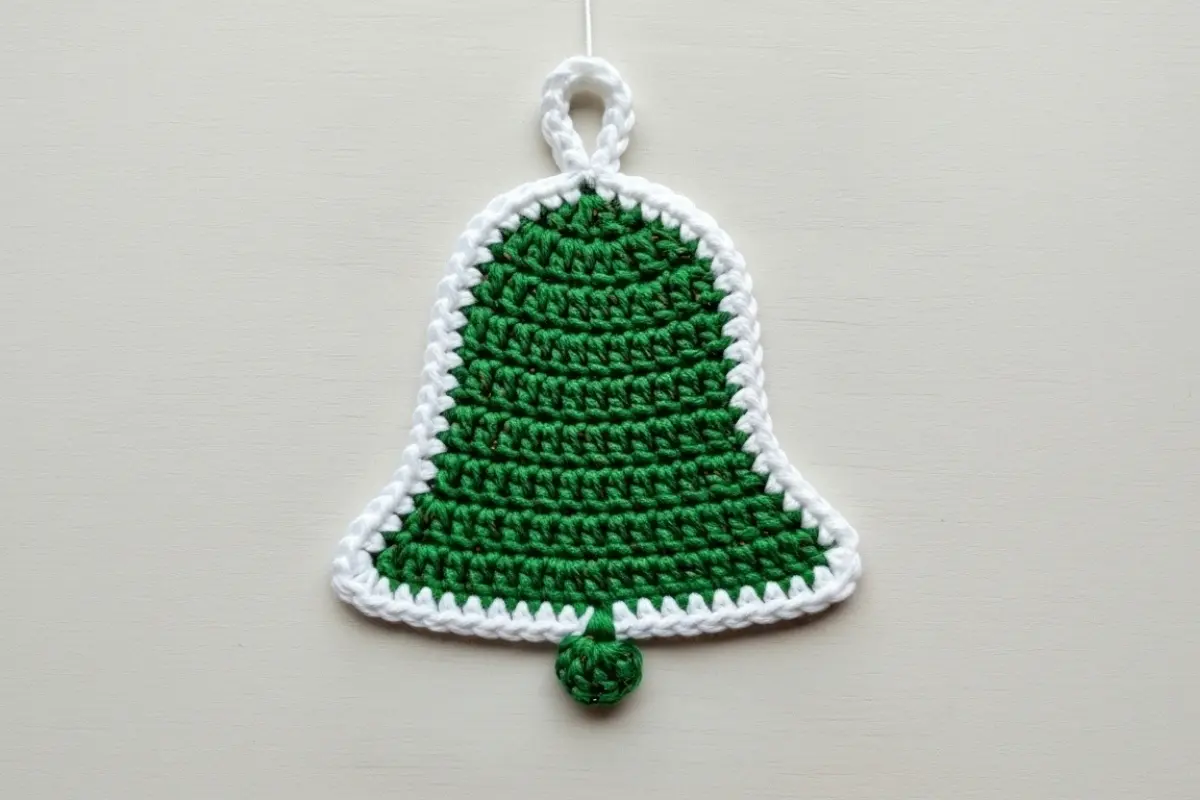
This Flat Crochet Bell Ornament combines a shaped green body with a white border, three decorative scallops, and a hanging loop. Add the optional rounded clapper beneath the center, or leave it off for a simpler appliqué-style decoration.
The bell body is worked from the bottom upward in single crochet rows. Paired decreases narrow the upper section, while the wider foundation creates the bell’s lower edge.
Once the body is complete, the contrasting border brings the outline together. Use the finished bell on a Christmas tree, attach it to a gift, or make several in coordinating colors for a garland.
Pattern Overview
- Skill level: Confident beginner
- Terminology: US crochet terms
- Construction: Flat body worked in rows, followed by a border
- Optional component: Small clapper worked in continuous rounds
- Finished size: Depends on yarn, hook, and tension
- Stuffing: Only needed if lightly filling the optional clapper
Materials
- Worsted-weight yarn in green for the body and clapper
- Worsted-weight yarn in white for the border and loop
- 4.0 mm crochet hook
- Tapestry needle
- Scissors
- Stitch marker
- Small amount of yarn scraps or stuffing for the clapper, optional
Use yarns of the same weight for the body and border. A much thicker edging yarn can change the outline or cause the edge to ripple.
Abbreviations — US Terms
| Abbreviation | Meaning |
|---|---|
| ch | Chain |
| st / sts | Stitch / stitches |
| sl st | Slip stitch |
| sc | Single crochet |
| hdc | Half double crochet |
| dc | Double crochet |
| inc | Work 2 sc in the same stitch |
| sc2tog | Single crochet 2 stitches together |
| MR | Magic ring |
Single Crochet Decrease — sc2tog
Insert the hook into the next stitch, yarn over, and pull up a loop. Insert the hook into the following stitch, yarn over, and pull up a loop.
Yarn over and pull through all three loops on the hook.
Decorative Shell
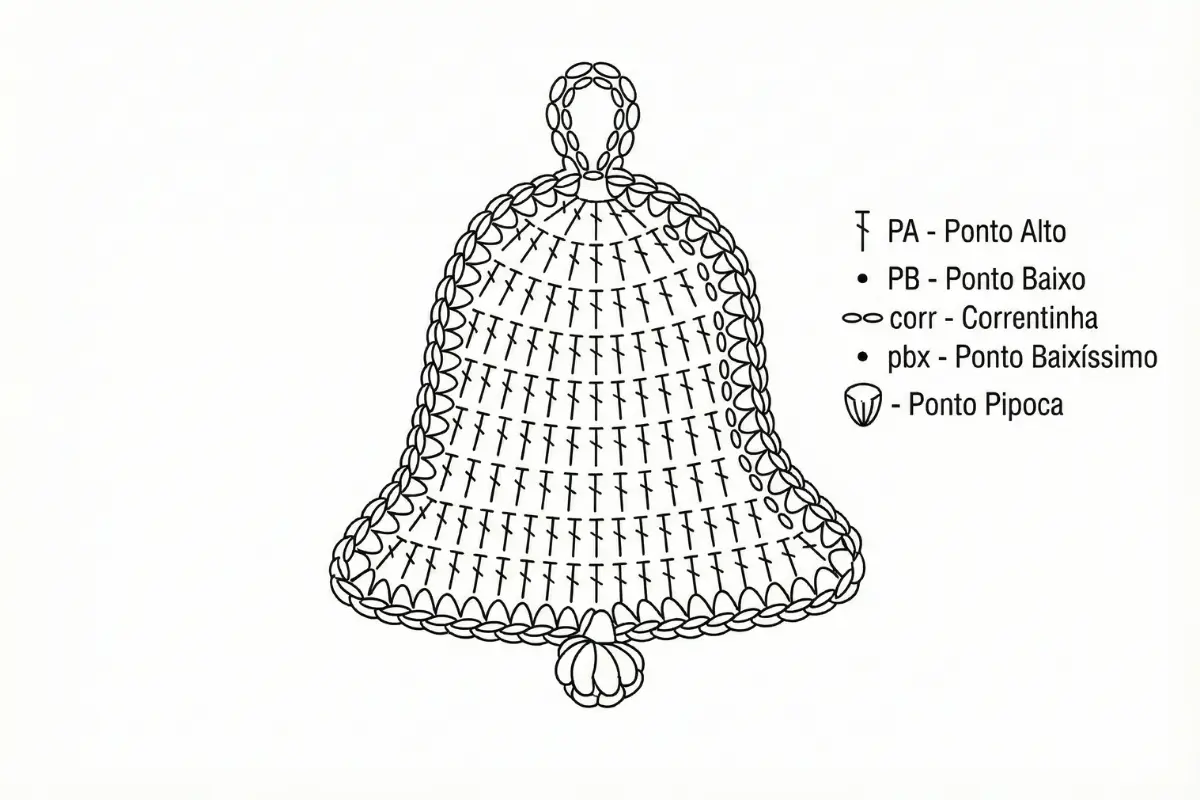
Work sc, hdc, dc, hdc, sc into the same indicated stitch.
Pattern Notes
- Work the bell body back and forth in rows.
- Beginning ch 1 does not count as a stitch.
- Turn where instructed.
- Each decrease row removes two stitches.
- The top edge contains seven stitches; its fourth stitch is the center.
- Work the bottom border into the unused foundation-chain loops.
- Work the optional clapper in continuous rounds without joining.
Flat Crochet Bell Ornament Pattern
Part 1 — Bell Body
Use green yarn.
Starting chain: Ch 16.
Row 1: Sc in the second chain from the hook and in each remaining chain. Turn. (15 sc)
Row 2: Ch 1. Sc in each stitch across. Turn. (15 sc)
Rows 3–6: Ch 1. Sc in each stitch across. Turn after each row. (15 sc per row)
Row 7: Ch 1. Sc in the first stitch, sc2tog, sc in next 9 stitches, sc2tog, sc in the last stitch. Turn. (13 sc)
Row 8: Ch 1. Sc across. Turn. (13 sc)
Row 9: Ch 1. Sc in the first stitch, sc2tog, sc in next 7 stitches, sc2tog, sc in the last stitch. Turn. (11 sc)
Row 10: Ch 1. Sc across. Turn. (11 sc)
Row 11: Ch 1. Sc in the first stitch, sc2tog, sc in next 5 stitches, sc2tog, sc in the last stitch. Turn. (9 sc)
Row 12: Ch 1. Sc across. Turn. (9 sc)
Row 13: Ch 1. Sc in the first stitch, sc2tog, sc in next 3 stitches, sc2tog, sc in the last stitch. Turn. (7 sc)
Row 14: Ch 1. Sc across. (7 sc)
Fasten off green.
Part 2 — White Border and Hanging Loop
With your chosen front side facing you, join white yarn in the first stitch at one end of the seven-stitch top edge.
Top Edge
Ch 1. Sc in the same stitch and in each of the next 3 stitches.
You have now worked four sc and reached the middle of the top edge.
Ch 10. Sl st into the same fourth sc to form the hanging loop.
Sc in each of the remaining 3 top-edge stitches.
Top-edge count: 7 sc, with the loop attached at the center.
First Side
Work down the side, placing approximately one sc into each row end.
Spread the stitches evenly. The side contains 14 row ends.
Check that the edging lies smoothly before beginning the bottom.
Scalloped Bottom Edge
Identify the 15 foundation-chain loops corresponding to Row 1.
Repeat the following sequence 3 times, using five foundation positions per repeat:
Sl st in next foundation loop, skip next loop, work a decorative shell in next loop, skip next loop, sl st in next loop.
Each shell contains sc, hdc, dc, hdc, sc.
Count: 3 shells, centered at foundation positions 3, 8, and 13.
All 15 foundation positions have now been worked or skipped as instructed.
Second Side
Work sc evenly up the other side, using approximately one sc per row end.
Use the same distribution as on the first side. Avoid adding duplicate stitches at the corners.
Join with sl st to the first top-edge sc.
Fasten off white.
Part 3 — Optional Clapper
Use green yarn.
Round 1: Make a MR. Work 6 sc into the ring and pull it closed. (6 sts)
Place a marker in the first stitch.
Round 2: Inc in each stitch around. (12 sts)
Round 3: Sc in each stitch around. (12 sts)
For a slightly taller clapper, work one additional round of 12 sc.
Add a small amount of filling if desired.
Final round: Sc2tog 6 times. (6 sts)
Fasten off, leaving a sewing tail.
Thread the tail through the front loops of the remaining six stitches and draw the opening closed.
Attach the Clapper
Position the clapper behind the middle bottom shell.
Sew it securely to the green foundation edge, leaving part of it visible below the white scallop. Attach it through several stitches rather than relying on one decorative edge stitch.
Finishing
Weave in the remaining ends on the back.
Lay the bell flat and check that the sides are balanced, the loop is centered, and the clapper hangs beneath the middle shell.
If blocking, follow the yarn’s care instructions. Gently arrange the outline without stretching the top or pulling the bottom scallops excessively.
Practical Tips for Your Flat Crochet Bell Ornament
Check Every Decrease Row
The shaping sequence is 15, 13, 11, 9, 7 stitches. Count before working the following plain row.
Keep the Edge Stitches Visible
The decreases sit inside the first and last stitches. Keeping those edge stitches distinct makes the side border easier to place.
Mark the Bottom Shell Positions
Place markers at foundation positions 3, 8, and 13 before edging. These are the centers of the three shells.
Match the Side Borders
If one side has more edging stitches than the other, the outline may look uneven. Compare the sides before fastening off.
Avoid Overfilling the Clapper
A small amount of filling is enough. Too much can stretch the stitches and make the clapper disproportionately heavy.
Color Ideas and Related Christmas Projects
Try a red body with white edging, cream with green edging, or a matching collection in traditional holiday colors.
For another shaped decoration, explore the Crochet Christmas Tree project. Pairing your bells with the Crochet Snowman Ornament Pattern adds a character ornament to the same handmade collection.
Frequently Asked Questions
Is this suitable for beginners?
A confident beginner can follow the body rows. The border requires identifying row ends and foundation loops, while the optional clapper introduces continuous rounds.
Can I leave off the clapper?
Yes. The bell works as a flat decoration without it.
Can I use cotton or acrylic?
Either can be used. Their texture and drape differ, so check how the body and edging behave together.
How can I make a smaller bell?
Using finer yarn and a suitable smaller hook changes the size without changing the stitch counts. Shortening the starting chain would require recalculating the decrease rows and border.
Can I make a straight bottom edge?
Yes. Replace the three-shell section with one sc in each of the 15 foundation loops.
Does blocking correct mistakes?
Blocking can improve the outline, but it will not correct missing decreases or uneven border placement.
Save Your Bell Pattern
Save this Flat Crochet Bell Ornament pattern for your Christmas crochet plans.
Would you choose green and white, red and white, or a neutral combination? Share your colors in the comments.