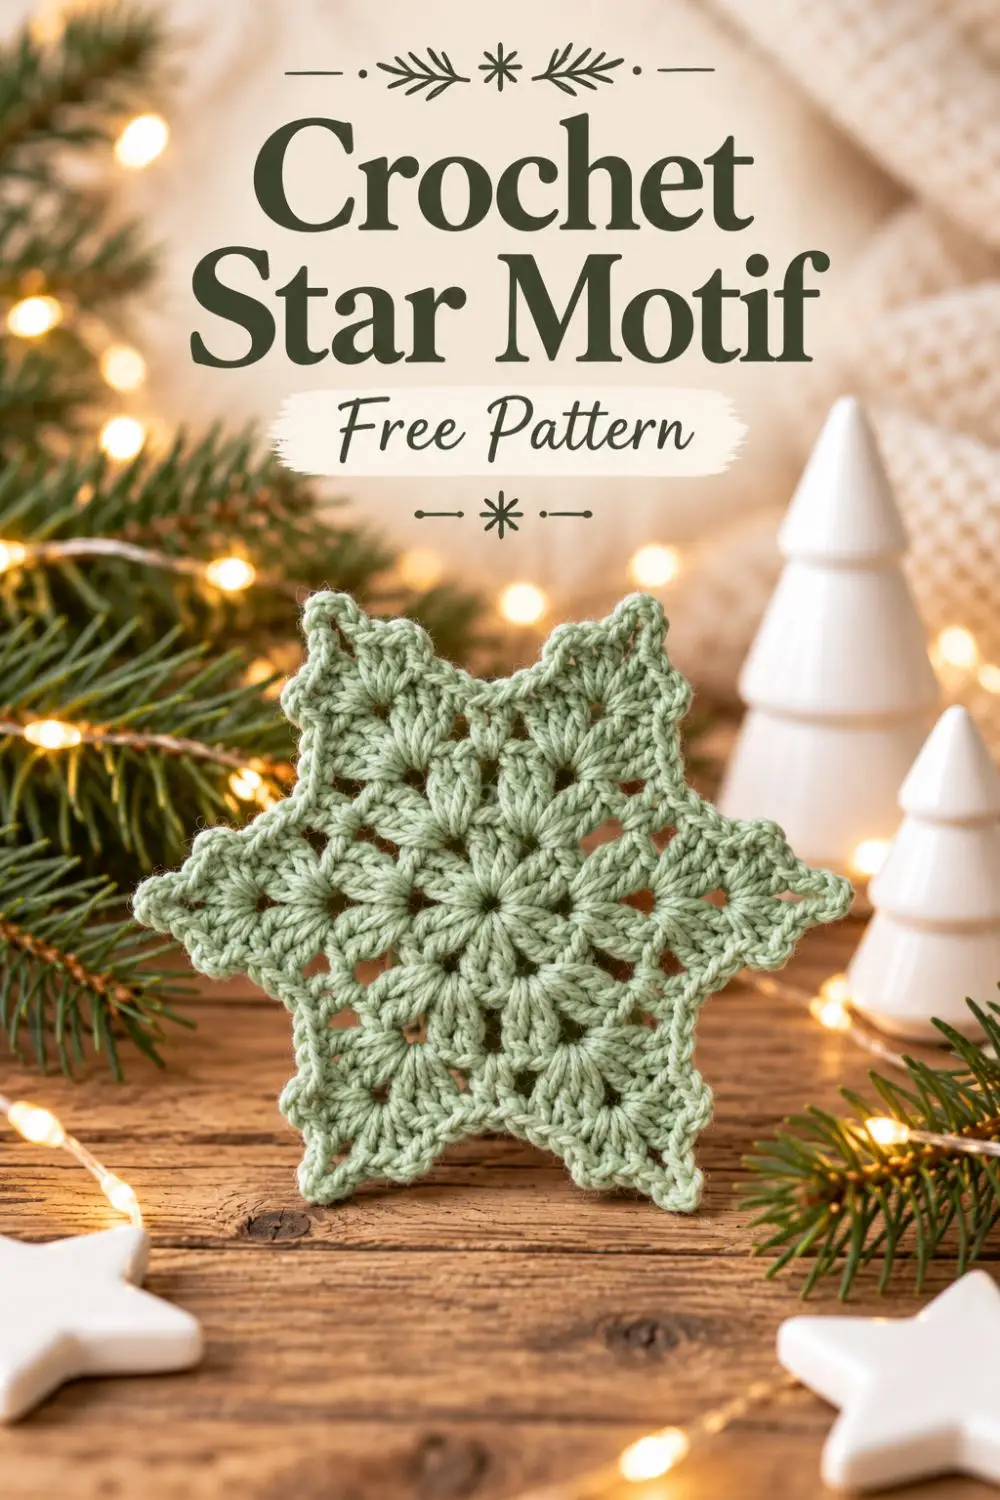
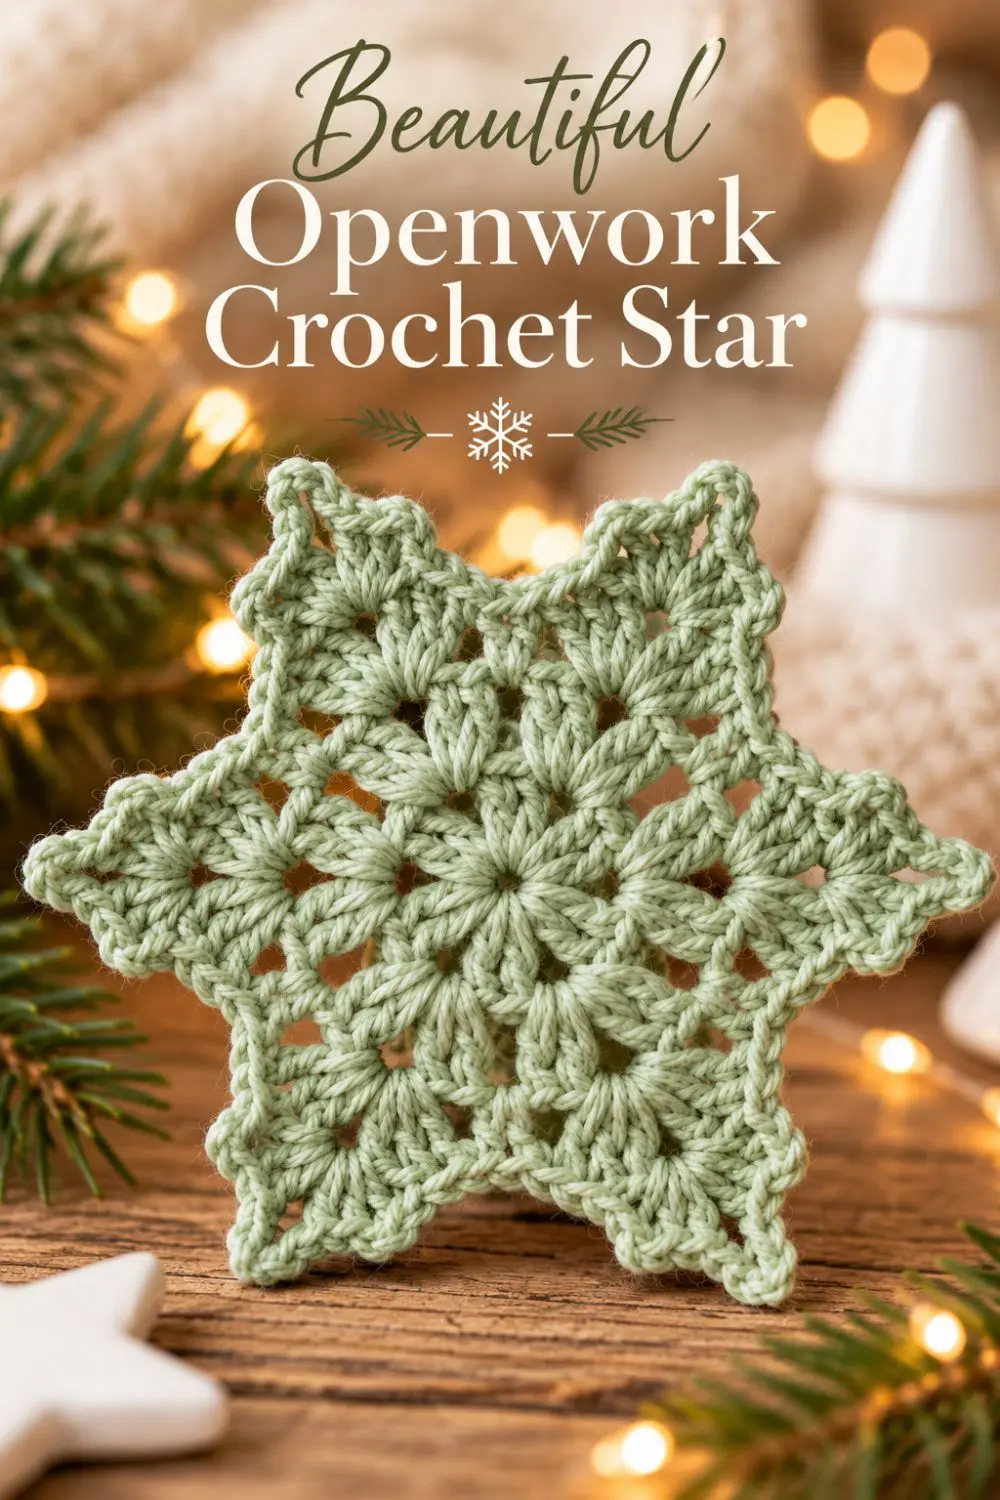
This puff stitch crochet snowflake combines a six-petal center, paired raised stitches and six pointed shells. Sage green gives the motif a soft winter look, while the open spaces let the floral structure stand out.
The free written pattern below is an original interpretation inspired by the supplied reference image. It is not the photograph’s original pattern, and the finished stitch placement may differ. The repeat counts have been checked for internal consistency; the pattern has not been physically crocheted or tested.
From a flower center to six points
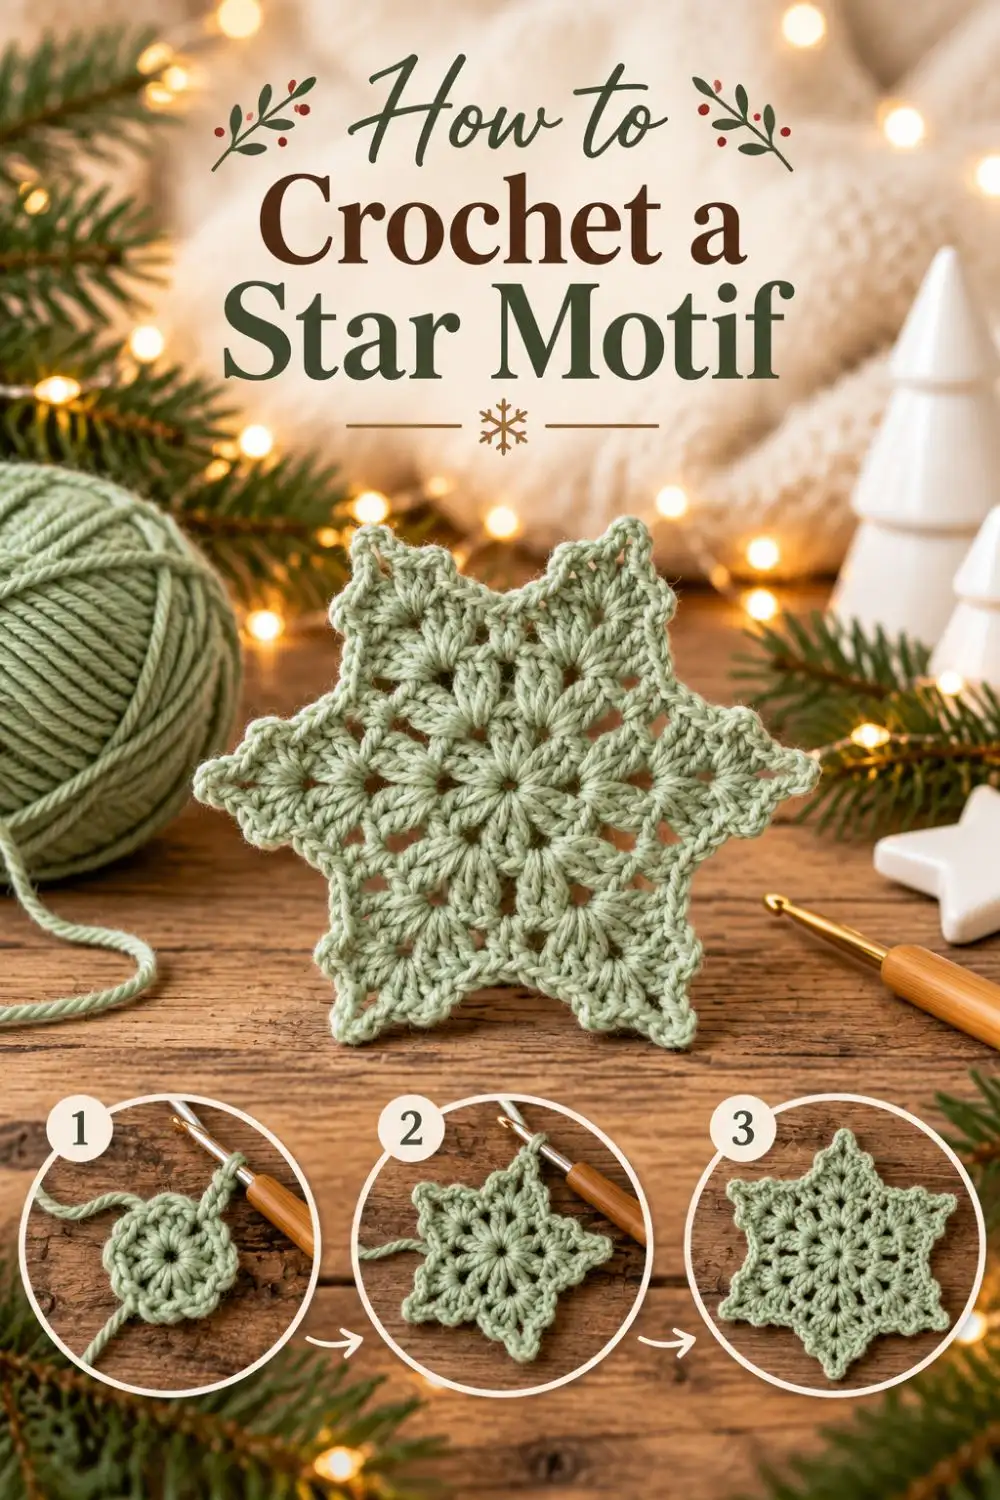
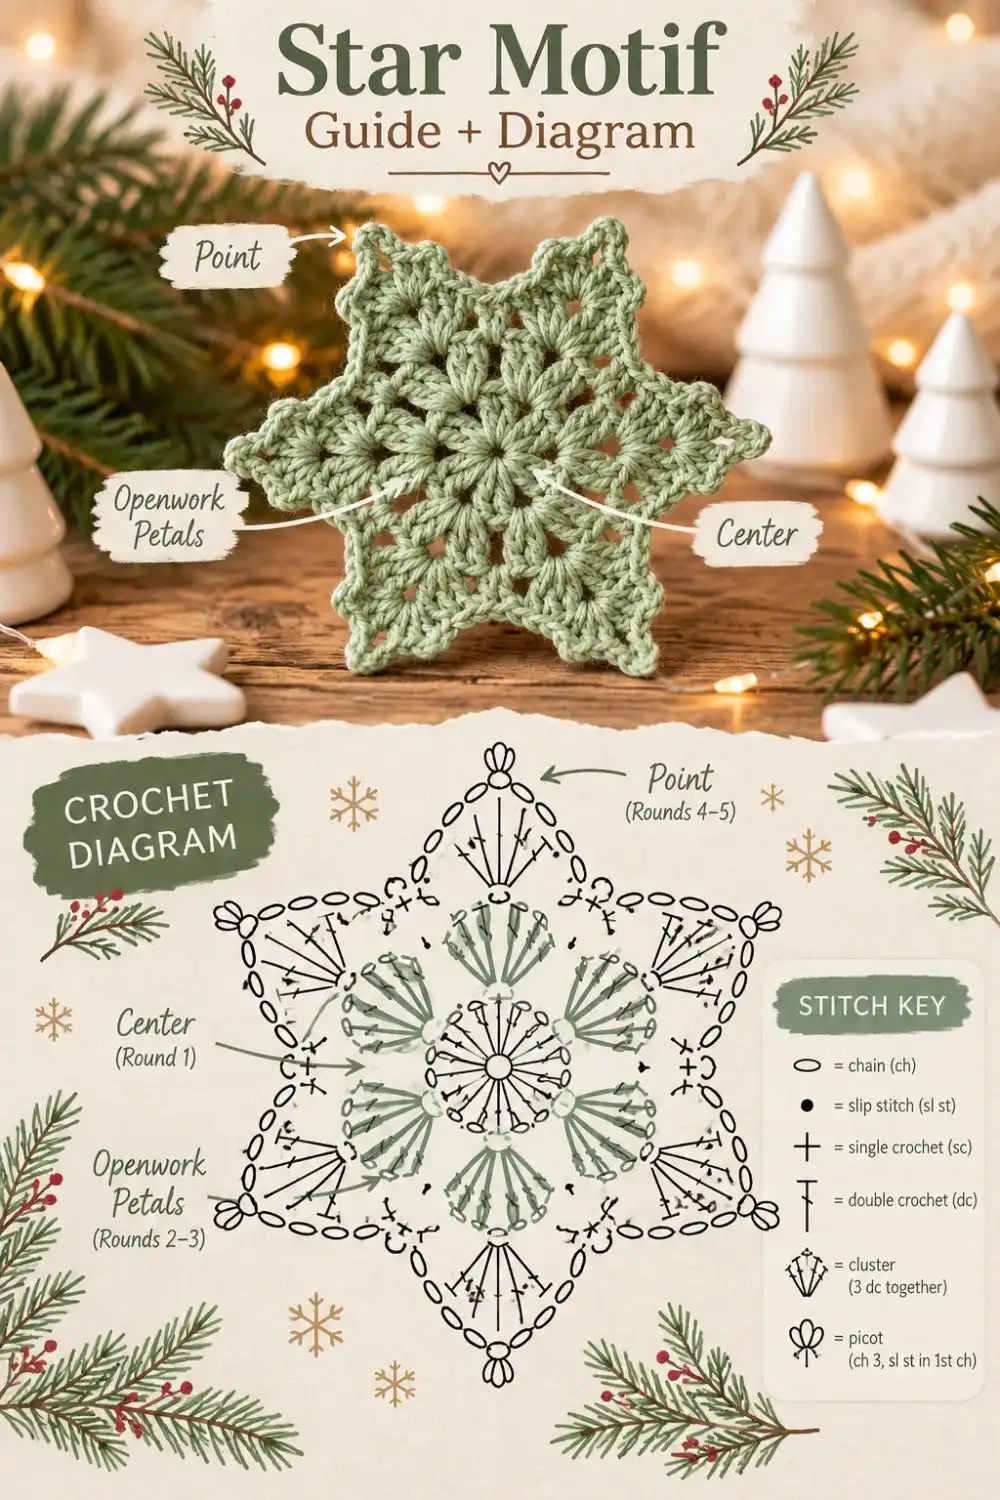
The motif is worked in five joined rounds without turning. Six single crochets establish the foundation. A puff in each foundation stitch creates six central petals. The next round puts two puffs in each chain space, giving twelve puffs arranged as six pairs. Each pair then supports one pointed shell. A final edging adds a small picot at each tip.
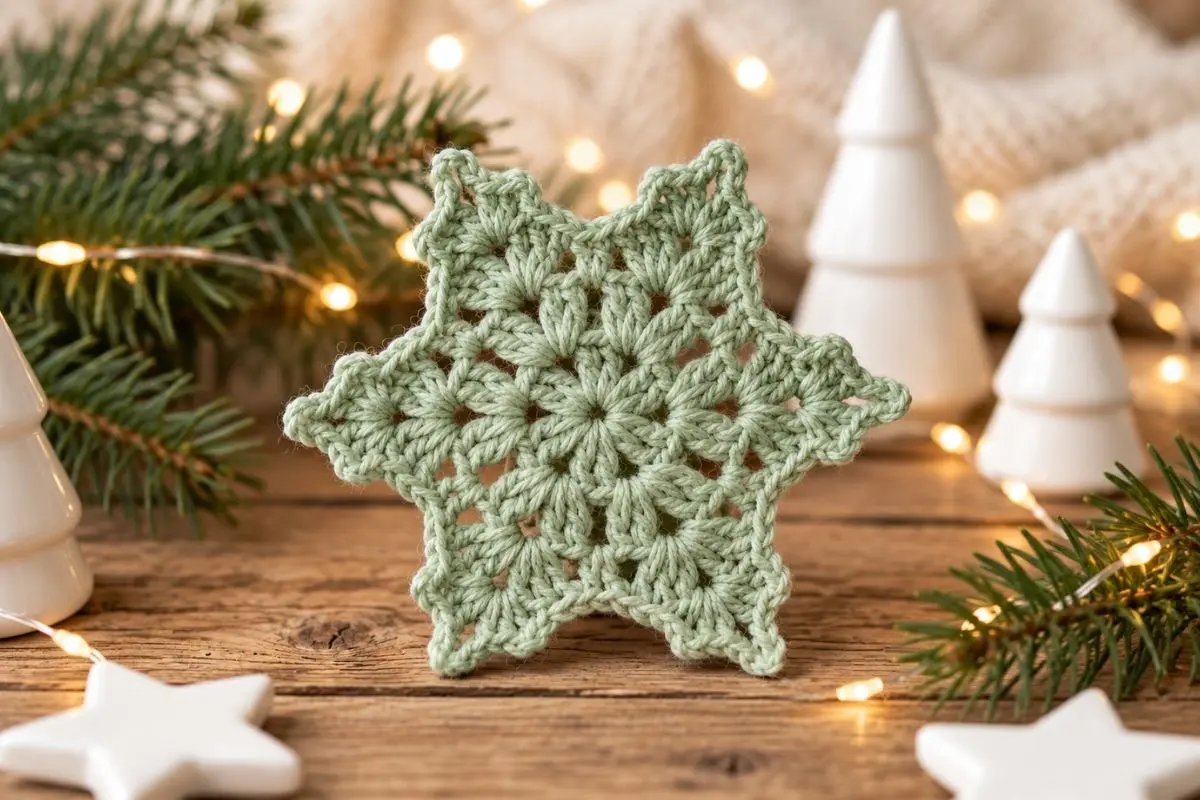
This textured construction offers a different look from the finer lace in our crochet snowflake ornament, which includes ideas for decorative embellishments. Choose the style that suits your winter display.
Yarn, hook and sizing decisions
- Smooth DK cotton yarn in sage green, cream or your preferred color; set aside approximately 20–30 yards as a planning allowance, not a measured requirement.
- A 3.5 mm crochet hook, or a hook suitable for your yarn and tension.
- Scissors and a yarn needle.
- Blocking surface and rustproof pins.
- Optional ribbon or cord for hanging.
Skill level: intermediate, or a confident beginner comfortable with puff stitches and joined rounds. All instructions use U.S. crochet terminology.
A working size target with DK yarn is about 4–6 inches (10–15 cm) across opposite tips after blocking. This is an estimate, not a measured sample size. Gauge is not prescribed because this is a decorative motif. Record your first finished motif’s measurements if you plan to make a matching set.
For a smaller ornament, use finer yarn and an appropriately smaller hook while keeping every repeat unchanged. For a larger motif, use thicker yarn with a suitable hook. Changing only the hook can alter openness and firmness more than size.
Stitch key and the puff used in this pattern
For a reference to the U.S. stitch names used here, consult the Craft Yarn Council crochet abbreviations guide. Special stitches are explained in this pattern.
- ch: chain
- sl st: slip stitch
- sc: single crochet
- hdc: half double crochet
- dc: double crochet
- st/sts: stitch/stitches
- sp: space
- rnd: round
Puff: (Yarn over, insert hook in the indicated stitch or space, yarn over and draw up a loop) three times in the same location. You now have seven loops on the hook. Yarn over and draw through all seven loops. Ch 1 to secure. This securing chain is part of the puff; it is not one of the separately instructed chain spaces.
Picot: ch 3, sl st in the first of those three chains. The picot is decorative and does not add a stitch to the edging count.
Beginning ch 1 never counts as a stitch. The ch 3 at the start of Round 4 counts as one dc. Join only where stated. Work into chain spaces rather than individual chains unless an instruction says otherwise.
Puff Stitch Crochet Snowflake: Free Written Pattern
Round 1 — Six foundation stitches
Make a magic ring. Ch 1, work 6 sc into the ring. Gently close the ring and sl st in the first sc to join.
Count: 6 sc.
Round 2 — The central flower
Ch 1. Work a puff in the same sc as the join, then ch 3. In each of the next five sc, work (puff, ch 3). Join with a sl st in the top of the first puff, just below its securing chain.
Count: 6 puffs and 6 ch-3 spaces. The last ch 3 forms the sixth space before the join; do not omit it.
Round 3 — Six pairs of raised petals
Sl st into the first ch-3 space. Ch 1. In that space work (puff, ch 2, puff), then ch 3. Repeat [(puff, ch 2, puff) in the next ch-3 space, ch 3] five more times. Join with a sl st in the top of the first puff.
Count: 12 puffs, 6 ch-2 spaces within the pairs, and 6 ch-3 spaces between the pairs.
Before continuing, distinguish the two types of spaces. The smaller ch-2 space sits between two puffs belonging to one pair. The ch-3 space connects neighboring pairs.
Round 4 — Six pointed shells
Sl st into the first ch-2 space. Ch 3 (counts as the first dc), then work (2 dc, ch 3, 3 dc) in that same space. Ch 1, sc in the following ch-3 space between puff pairs, ch 1.
Repeat [(3 dc, ch 3, 3 dc) in the next ch-2 space, ch 1, sc in the following ch-3 space, ch 1] five times. Join with a sl st in the top of the beginning ch 3.
Count: 36 dc, 6 sc, 6 tip ch-3 spaces and 12 side ch-1 spaces. Each shell has three dc on either side of its tip opening.
Round 5 — Tip picots and a defined edge
Ch 1. Starting in the same stitch as the join, work the following complete repeat six times around:
- Sc in each of the next 3 dc.
- In the tip ch-3 space, work (sc, hdc, dc, picot, dc, hdc, sc).
- Sc in each of the next 3 dc.
- Sc in the next ch-1 space, sl st in the valley sc, then sc in the next ch-1 space.
Join with a sl st in the first sc. Fasten off and weave in the ends.
Count: 60 sc, 12 hdc, 12 dc, 6 valley sl sts and 6 picots. The final joining sl st is not included in this count. Each of the six repeats contains 10 sc, 2 hdc, 2 dc and one valley sl st.
Blocking the six points evenly
Dampen the motif according to the yarn’s care label and gently press out excess water without wringing. Pin the center flat, then place the six tips at even intervals around it. Opposite tips should align through the center.
Open the spaces gently and adjust each shell until the outline is balanced. Avoid pulling a single tip much farther than the others. Let the piece dry completely before removing the pins.
For a firmer hanging ornament, use a fabric stiffener compatible with your yarn, following the product instructions and checking colorfastness first. Do not assume blocking alone will make a soft motif stand upright like the styled reference.
If the motif does not lie flat
One point is missing: check Round 3. You need six puff pairs and six internal ch-2 spaces. Round 4 places exactly one shell in each of those six spaces.
The points twist: check that each shell has three dc on both sides of the ch-3 opening. Keep the puff loops an even height, and avoid tightening the securing chain around them.
The center cups: check for tight chains, a missed puff or an incorrectly placed shell before blocking. If the counts are correct but the fabric remains tight, try a slightly larger hook in a new sample. Blocking should refine the shape, not compensate for a missing repeat.
The outer edge ruffles: verify that only one sc was added to each side ch-1 space and that the tip group was worked only once per shell. Excess stitches cannot be removed through blocking.
Hanging, displaying and storing your snowflake
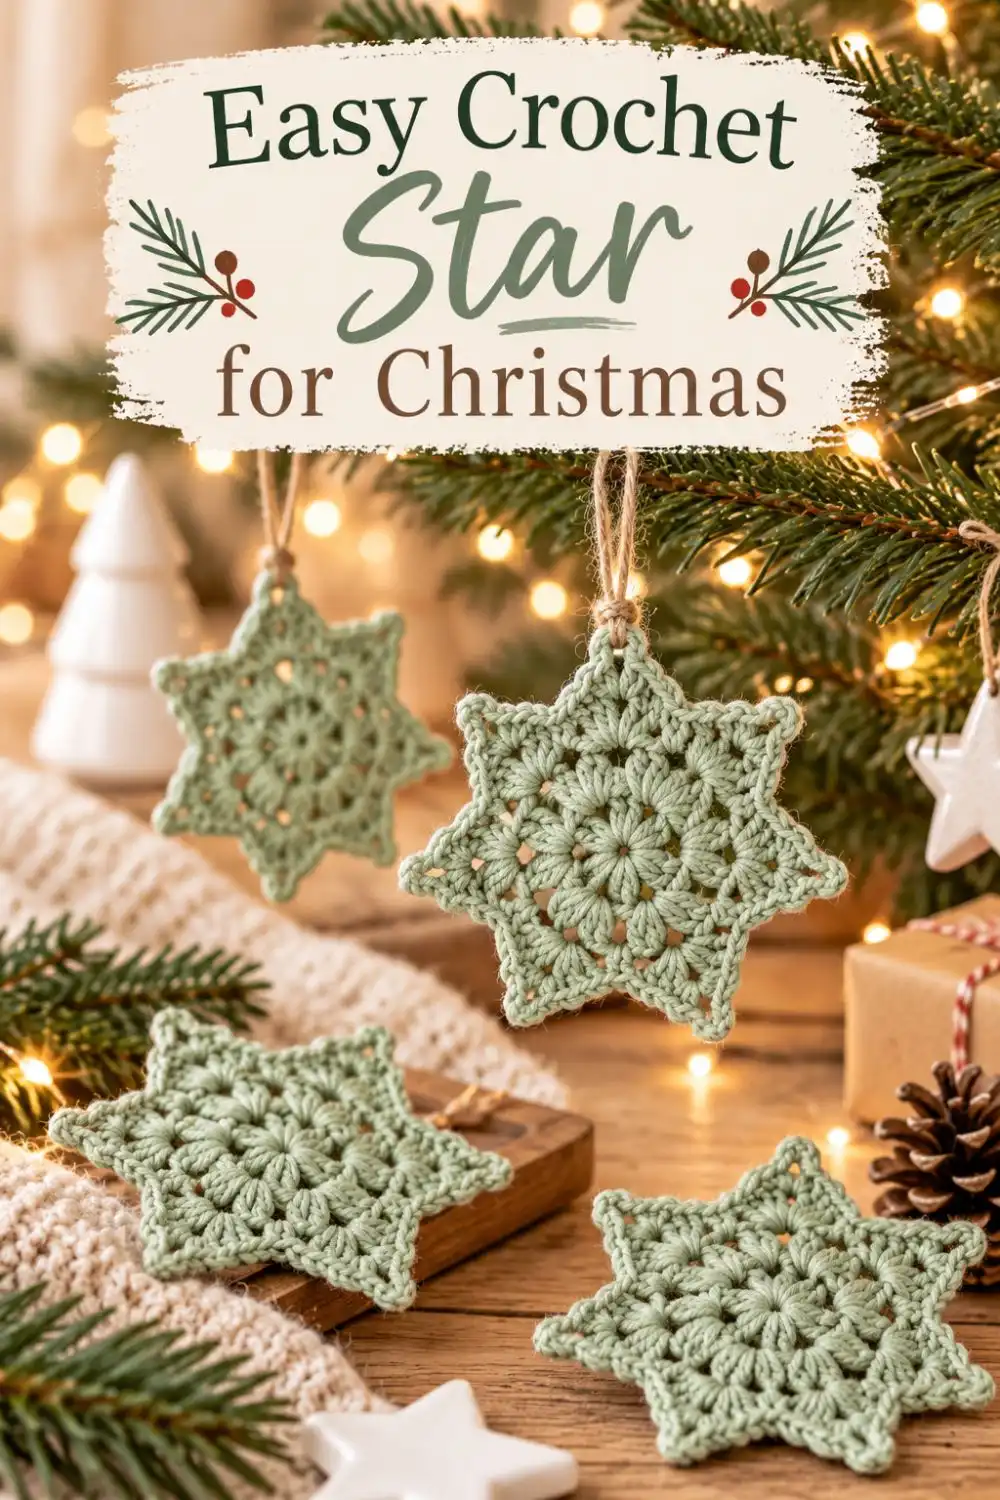
Thread ribbon or cord through one tip opening and tie it securely without compressing the stitches. For a yarn loop, join yarn to a tip opening, ch 25, then sl st back into the same opening. Fasten off and secure both ends. Adjust the chain length to suit the display.
Make several in the same yarn for a garland, or attach one to a gift ribbon as a keepsake. Sage green pairs well with cream and natural wood; white emphasizes the snowflake outline.
For another shape in the same display, our five-point lacy star ornament offers a contrasting silhouette. You can also browse the seasonal crochet collection for complementary holiday projects.
Store finished motifs flat and dry. Wash according to the yarn label, and remember that stiffened pieces may require reshaping or another application after cleaning.
This puff stitch crochet snowflake is built around six consistent repeats. Check the puff pairs before shaping the shells, keep the tip openings even, and finish with gentle blocking to bring the floral center and pointed outline together.
More Views and Crochet Motif Inspiration
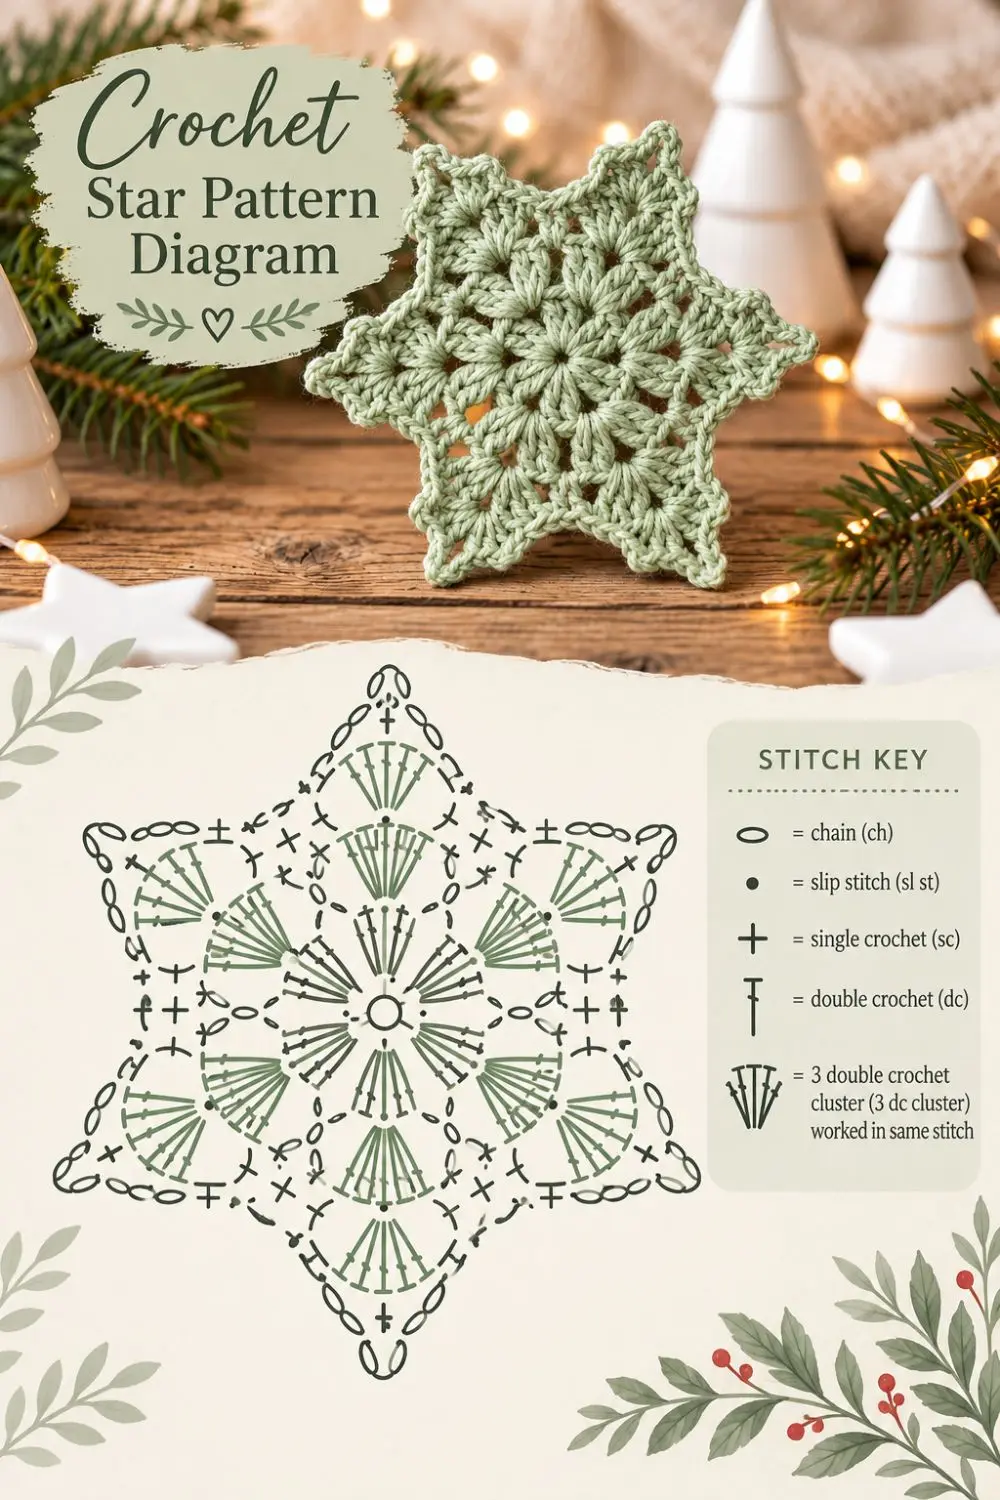
These supplied images show similar motifs and decorative construction illustrations. They are visual inspiration; the diagrams and stage illustrations are not verified charts or progress photographs for the written pattern above.