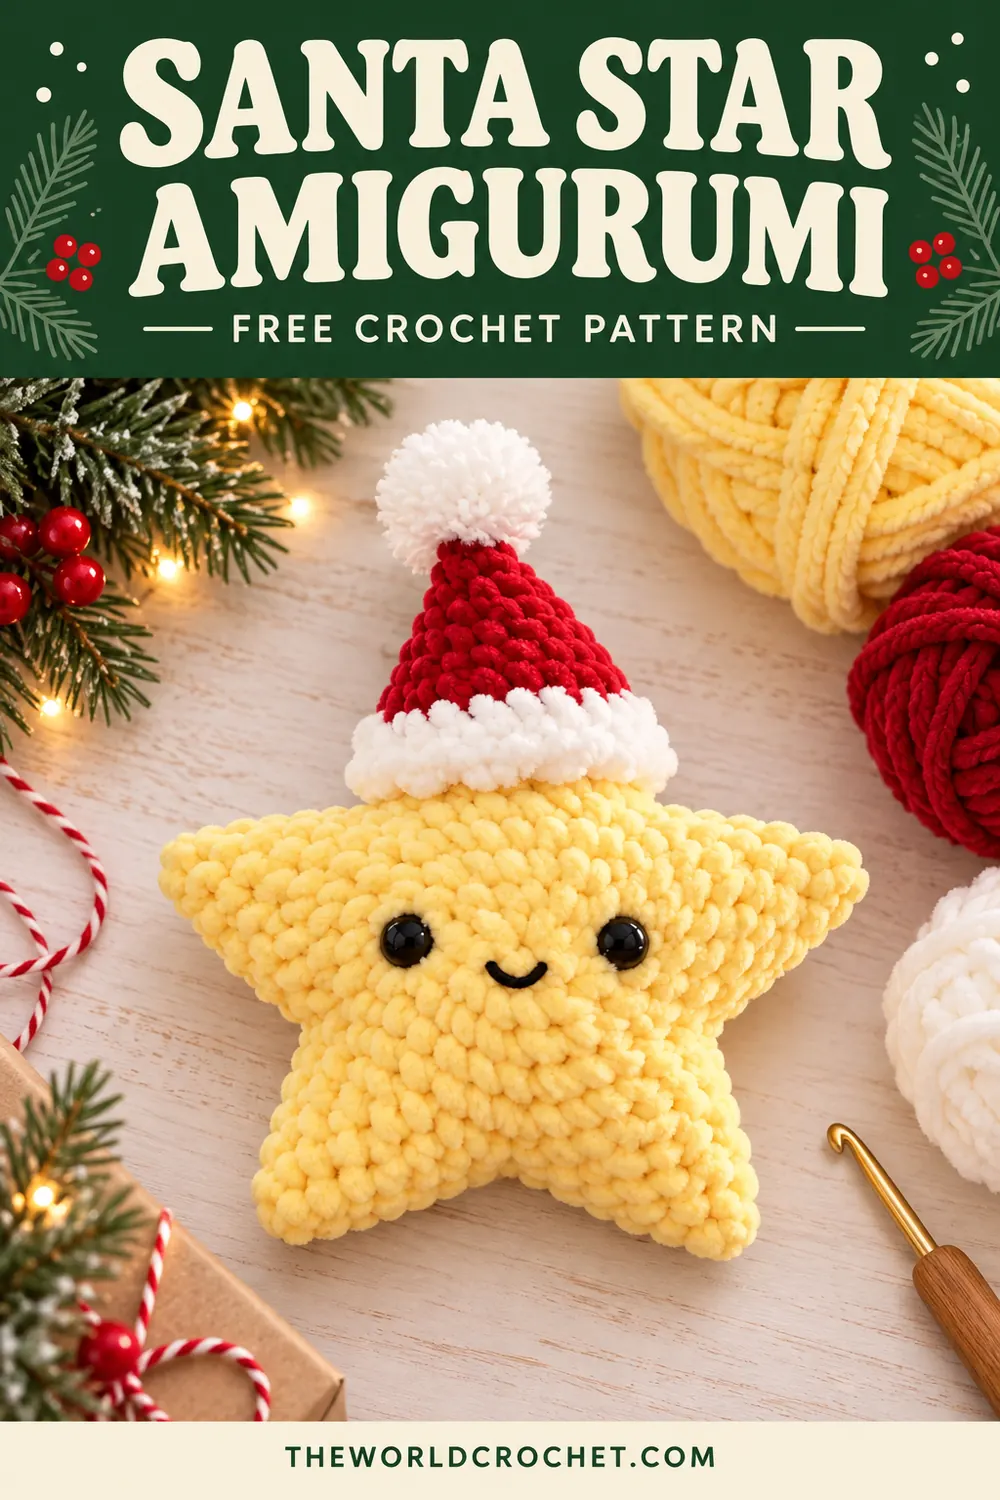
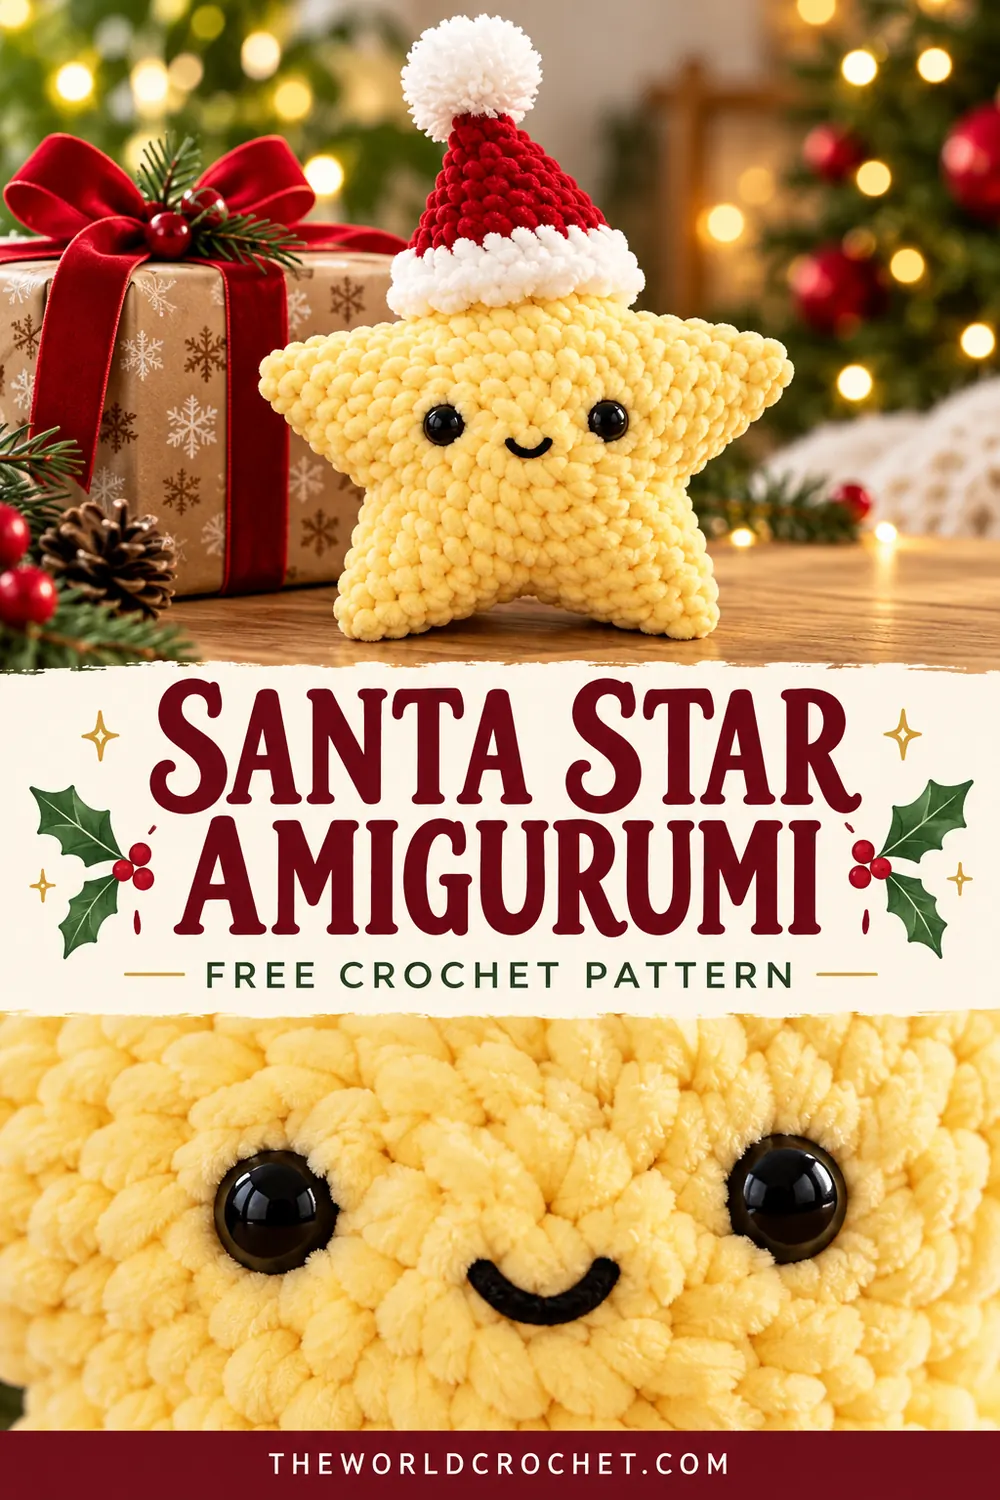
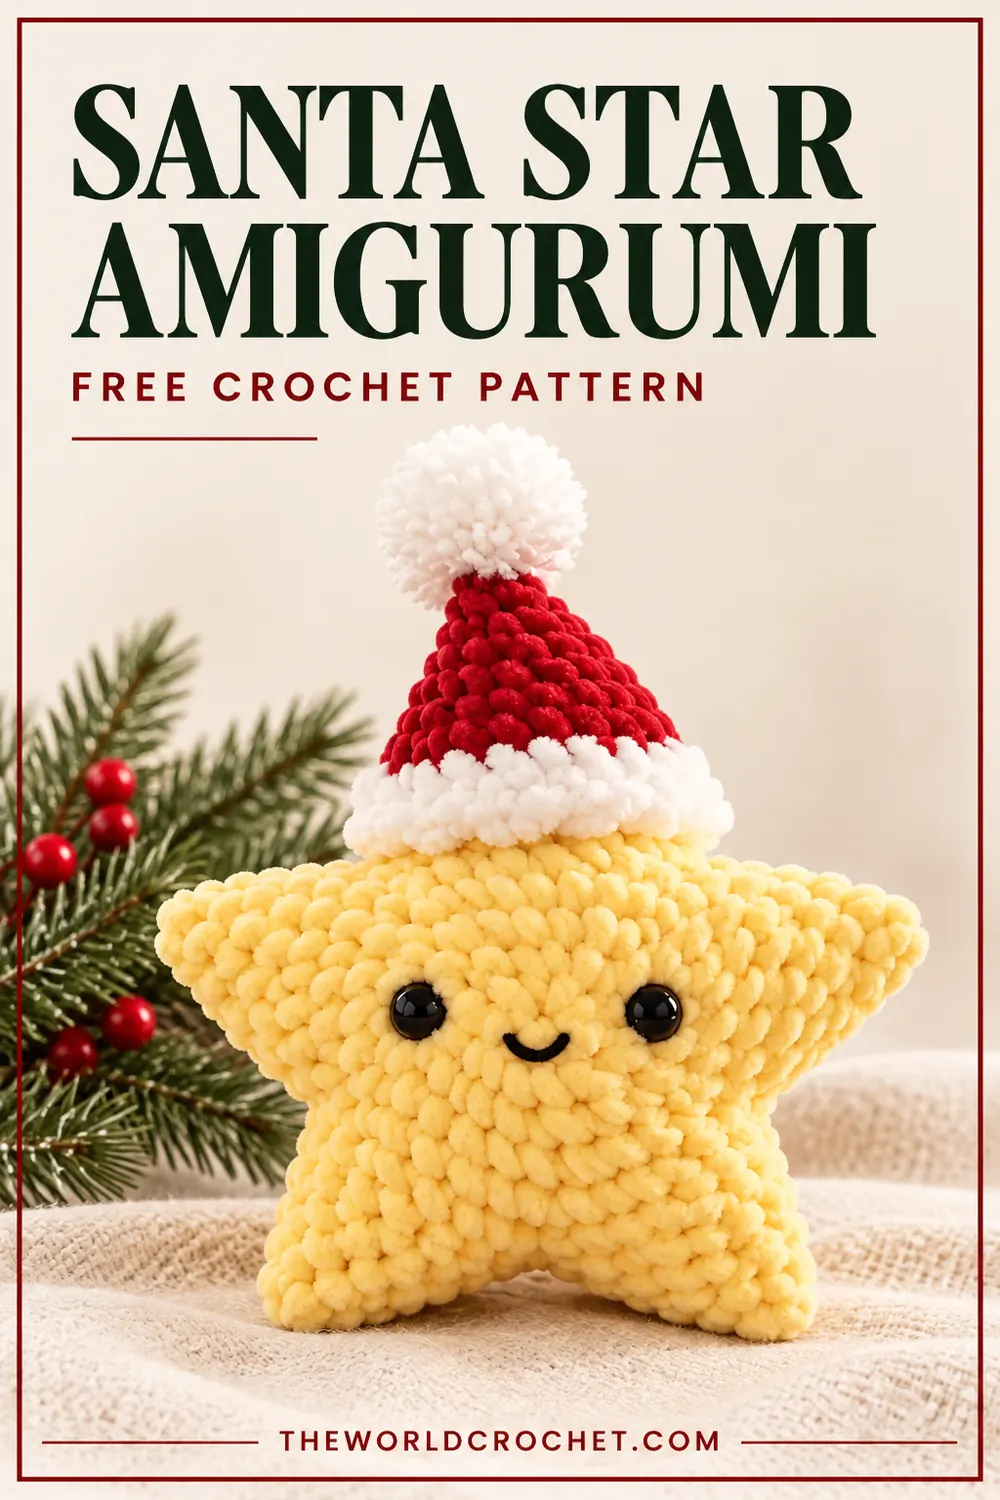
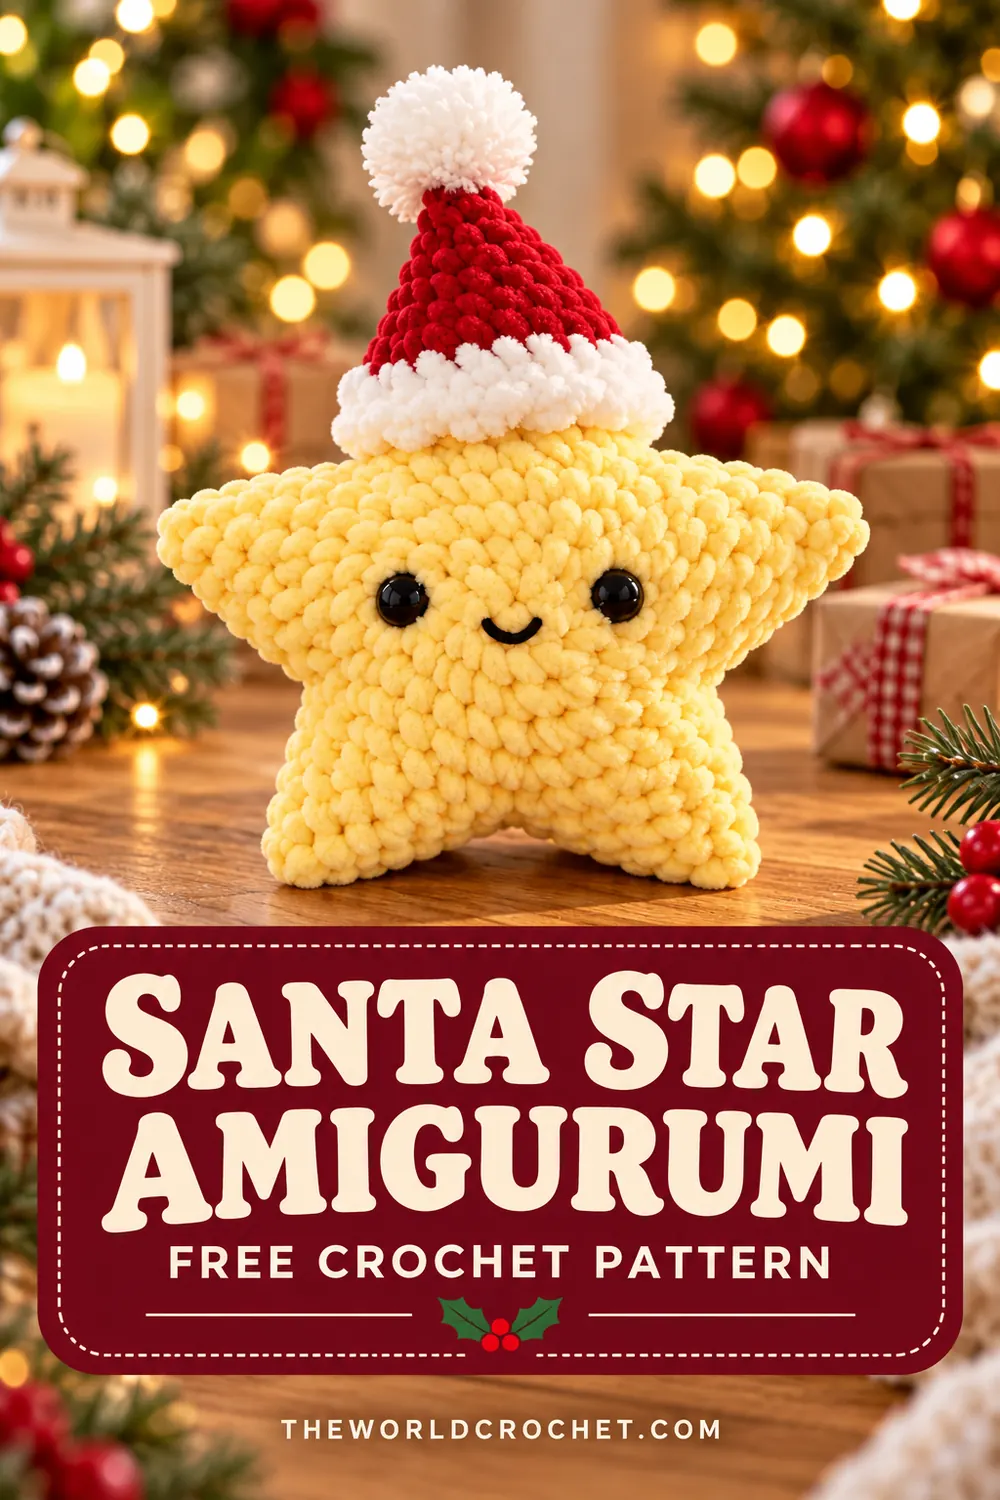
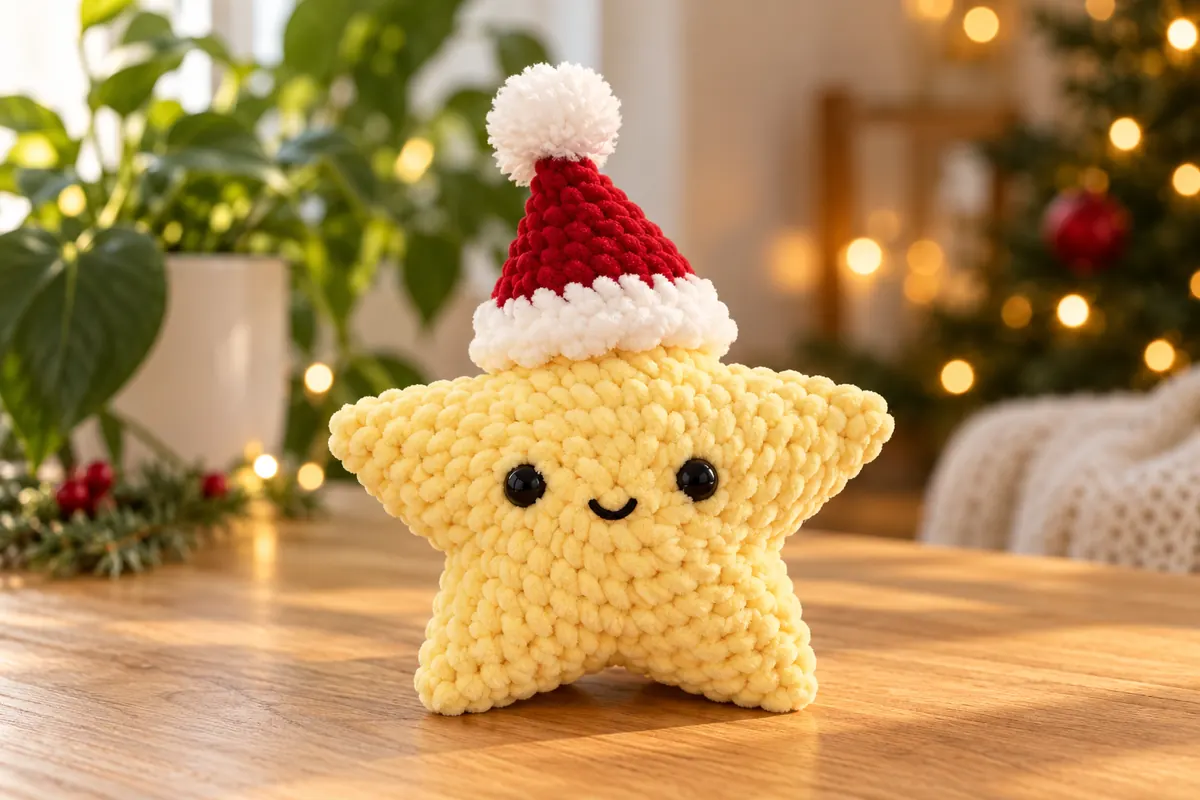
This Santa star amigurumi has a butter-yellow plush body, five soft points and a small smiling face beneath a red Christmas hat. The white brim and pom-pom give the little star the festive character seen in the reference.
The pattern below uses two matching star panels, sewn together and lightly stuffed. Each panel begins with a small center worked in rounds, then five short tapered points are added around its edge. The hat is made separately and sewn over the top point.
Display the finished star on a shelf or beside wrapped Christmas gifts. For a smaller accessory in the same holiday theme, the crochet Christmas tree keychain combines layered branches with a tiny star.
How this Santa star amigurumi is constructed
Design note: This is an original pattern inspired by the photo, not the exact instructions used for that sample. Its stitch counts have been checked mathematically, but it has not been physically crocheted or tested. The AI-generated styling images illustrate the inspiration; follow the written construction and count diagrams for this version.
- Skill level: Intermediate, or a confident beginner familiar with decreases and sewing amigurumi.
- Terminology: US crochet terms.
- Pieces: Two yellow star panels, one red-and-white hat and one white crocheted pom-pom.
- Texture: Bulky chenille or plush yarn, with a hook that makes close stitches.
- Finished size: No measured sample size is available. The diameter depends on yarn thickness, hook size, tension and stuffing.
Choose the yarn and face details
- Bulky chenille yarn in butter yellow, red and white; use comparable thicknesses for the star and hat.
- A 4.5 mm hook as a starting point, adjusted to the yarn.
- Black smooth yarn or embroidery thread for the face.
- Polyester fiberfill.
- Stitch markers, a blunt needle and scissors.
- Smooth matching yellow sewing yarn if the chenille sheds or breaks when pulled through a seam.
Make a small section before committing to your hook size. The stitches should hold the stuffing inside without making the fabric rigid. Chenille can hide stitch tops, so place a marker in the first stitch of every round and count before moving it.
The written version uses embroidered eyes. Plastic eyes like those in the inspiration are an optional detail for a decorative display piece. Avoid small hard attachments on an item intended for a child under three; the CPSC toy safety guidance explains the small-parts concern. Embroidery alone does not make an untested handmade item a certified toy.
Stitches to know before starting
MR = magic ring; ch = chain; sc = single crochet; inc = two sc in the same stitch; sc2tog = single crochet two stitches together; sl st = slip stitch; BLO = back loop only; st/sts = stitch/stitches. The Craft Yarn Council abbreviation guide is a useful reference for standard US terms.
Single crochet two together
Insert the hook into the next stitch and pull up a loop. Insert into the following stitch and pull up another loop. Yarn over and pull through all three loops. Two stitches become one. Use this decrease on the flat point rows.
Working the rounds and rows
Work the star centers, hat and pom-pom in continuous rounds without joining or turning. Work the star points in turned rows. A turning ch 1 never counts as a stitch. All slip stitches used to finish a piece are excluded from its stitch count.
Santa star amigurumi pattern: two yellow panels
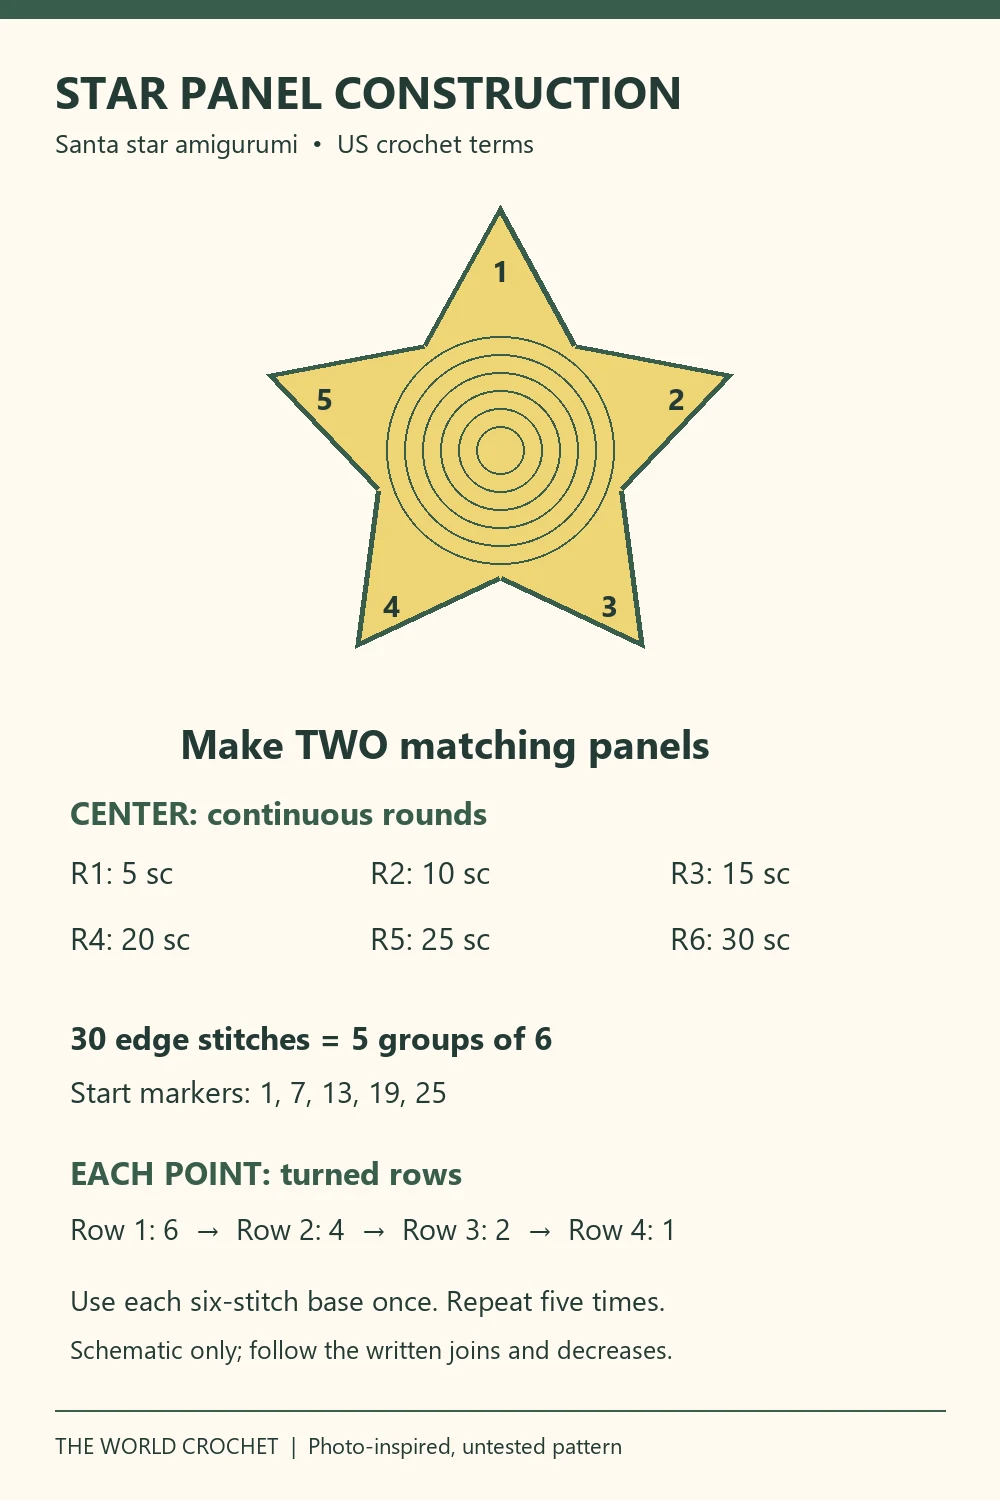
Make the following center twice, once for the front and once for the back. Each completed center has 30 edge stitches, divided into five groups of six for the points.
Center rounds
Round 1: Make an MR and work 5 sc into it. Close the ring gently. 5 sc.
Round 2: Inc in every stitch. 10 sc.
Round 3: Repeat (sc, inc) five times. 15 sc.
Round 4: Repeat (sc in next 2 sts, inc) five times. 20 sc.
Round 5: Repeat (sc in next 3 sts, inc) five times. 25 sc.
Round 6: Repeat (sc in next 4 sts, inc) five times. 30 sc. Sl st in the next stitch to finish, fasten off and weave in the end. This slip stitch does not create a new base stitch.
The center uses five increases per round to form five sections. It may cup slightly with some yarns, which can contribute to the stuffed shape. The two centers should have similar dimensions; do not stretch one panel to force it to match the other.
Mark the five point bases
Count only the 30 sc of Round 6. Place markers in stitches 1, 7, 13, 19 and 25. The groups are 1–6, 7–12, 13–18, 19–24 and 25–30. Every stitch belongs to exactly one group.
Choose the first group as the top point and keep that choice consistent on both panels. You can add a different-colored marker there so you recognize it during assembly.
Point rows — repeat five times on each panel
Join yellow in the first stitch of one unused six-stitch group.
Row 1: Ch 1, sc in the same stitch and in the next five base stitches. Turn. 6 sc.
Row 2: Ch 1, sc2tog, sc in the next two stitches, sc2tog. Turn. 4 sc.
Row 3: Ch 1, sc2tog twice. Turn. 2 sc.
Row 4: Ch 1, sc2tog once. 1 sc. Fasten off and secure the end on the inside.
Repeat Rows 1–4 on each remaining group of six unused Round 6 stitches. Do not reuse the last stitch of the previous group. Each panel ends with five points, all following the sequence 6, 4, 2, 1.
| Part | Count sequence | Quantity |
|---|---|---|
| Center | 5, 10, 15, 20, 25, 30 sc | Two centers |
| Point | 6, 4, 2, 1 sc | Five per panel |
| Base division | 5 groups × 6 stitches = 30 | Every edge stitch used once |
Add the face before closing the star
Place the front panel with its marked top point upward. Position two eye markers at the same height on opposite sides of the center, roughly between Rounds 3 and 4. Leave several visible stitches between the eyes and check the expression before embroidering.
With smooth black yarn, make a small circular patch of short overlapping stitches at each eye position. Keep both patches the same size and avoid pulling the chenille inward. Secure the ends on the inside.
Embroider a short curved smile below the midpoint between the eyes. Make two or three small backstitches in a shallow U, rather than one long loose strand. If the face puckers, loosen the embroidery and redistribute the stitches.
For a display-only version with plastic eyes, fit the eye posts and matching backs according to the manufacturer’s instructions before sewing the panels together. Do not add glue as a substitute for the required fasteners.
Sew and stuff the five-point body
- Place the panels with their inside surfaces facing each other and the face outward.
- Align the two marked top points, then match every other tip and valley. Pin or clip the layers together.
- With matching sewing yarn, whipstitch around the outline, catching corresponding stitch loops or row ends on both panels. Use small evenly spaced stitches along each point.
- At a tip, pass through the matching final-row stitches. At a valley, secure the join through both panels near the adjoining point bases.
- Leave an opening along one lower point before completing the seam.
- Add small tufts of fiberfill to the points first, then to the center. Keep the tips softly rounded and the center plump without stretching the stitches.
- Close the opening, secure the sewing yarn and bury the end inside the body.
There is no fixed seam-stitch total because you are sewing around row ends rather than adding a counted crochet border. Matching the two panel edges is more important than forcing a certain number of sewing stitches.
Make the red Santa hat
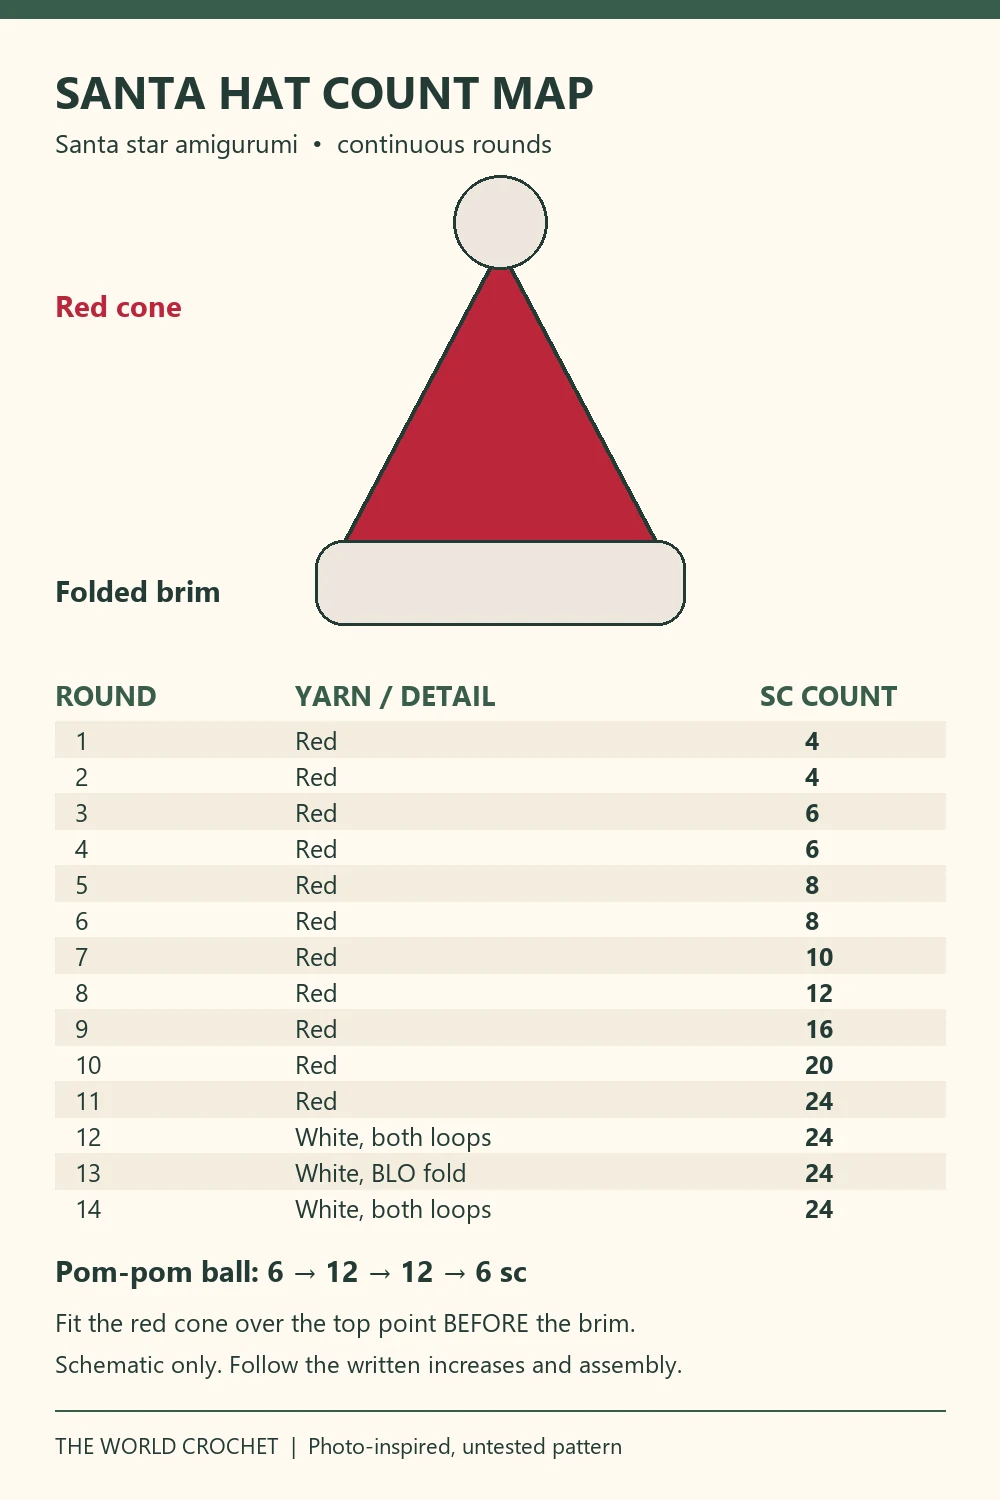
Use red yarn and work from the tip toward the open brim in continuous rounds. Move your stitch marker at the start of each round.
| Round | Instructions | Total sc |
|---|---|---|
| 1 | 4 sc in MR | 4 |
| 2 | Sc in each stitch | 4 |
| 3 | (Sc, inc) twice | 6 |
| 4 | Sc in each stitch | 6 |
| 5 | (Sc in next 2 sts, inc) twice | 8 |
| 6 | Sc in each stitch | 8 |
| 7 | (Sc in next 3 sts, inc) twice | 10 |
| 8 | (Sc in next 4 sts, inc) twice | 12 |
| 9 | (Sc in next 2 sts, inc) four times | 16 |
| 10 | (Sc in next 3 sts, inc) four times | 20 |
| 11 | (Sc in next 4 sts, inc) four times | 24 |
Keep the bottom of the cone open. Before adding the white brim, try it over the star’s top point. With an untested pattern, this fitting step matters: the opening should sit comfortably without squeezing the body or covering the eyes.
If it does not fit with your chosen yarn, pause and adjust the hat before sewing. An extra increase round would change the brim count, so record any changes and work the following brim rounds over your actual number of stitches.
White folded brim
Change to white in the final yarn-over of the last red stitch.
Round 12: Sc in every stitch. 24 sc.
Round 13: Working in BLO, sc in every stitch. 24 sc.
Round 14: Work through both loops and sc in every stitch. 24 sc. Sl st in the next stitch and fasten off with a sewing tail.
Fold the lower white edge outward at the back-loop round. Tack the fold in a few places without tightening the opening. The fold gives the brim more thickness than a single white round.
White crocheted pom-pom
This version uses a little crocheted ball instead of the cut-yarn pom-pom in the inspiration images.
Round 1: With white, work 6 sc in MR. 6 sc.
Round 2: Inc in each stitch. 12 sc.
Round 3: Sc in each stitch. 12 sc. Add a small amount of stuffing.
Round 4: Sc2tog six times. 6 sc. Fasten off with a long tail. Thread the tail through the front loops of the remaining six stitches, draw the opening closed, and sew the ball securely to the hat tip.
Attach the hat and refine the shape
Place a small amount of stuffing in the red cone if it needs support. Fit the hat over the top point with the brim above the face. Sew the hat’s lower inside edge to both the front and back of the top point, taking several evenly spaced stitches.
Check the star from the front before securing the final tail. The hat should sit over the top point, not lean across one of the side points. Keep the smile visible and avoid pulling the body flatter as you sew.
Why are my points uneven?
Check the base groups and the row counts. Every point must begin with six previously unused stitches and decrease through 4, 2 and 1. If one point is longer, check whether an extra row or turning chain was counted as a stitch.
Why can I see stuffing through the stitches?
Remove some filling first; overstuffing can stretch a fabric that was initially close enough. If gaps remain, a smaller hook may be needed for the yarn. Do not rely on more stuffing to make loose stitches look fuller.
What if the two panels do not match?
Confirm both have the same center rounds and point rows. Use similar tension on both pieces and lay them together before adding the face. A small difference can be eased into the seam, but a substantially larger panel should be remade or corrected.
Display and care
Keep the yellow and red palette for the reference-inspired look, or use cream for the star with a burgundy hat. Follow your yarn and filling labels for washing; support the hat and let the plush dry completely after cleaning.
For a holiday shelf display, combine the plush with a shell stitch crochet bell. If you want a flat star for the table, the eight point crochet star mat uses a different construction and openwork texture.
Inspiration photos and pattern diagrams
The four vertical Pins below use distinct layouts with AI-generated styling illustrations. The two diagrams summarize the panel construction and hat counts in this written Santa star amigurumi pattern. They are schematic guides, not a complete physically tested stitch-symbol chart.