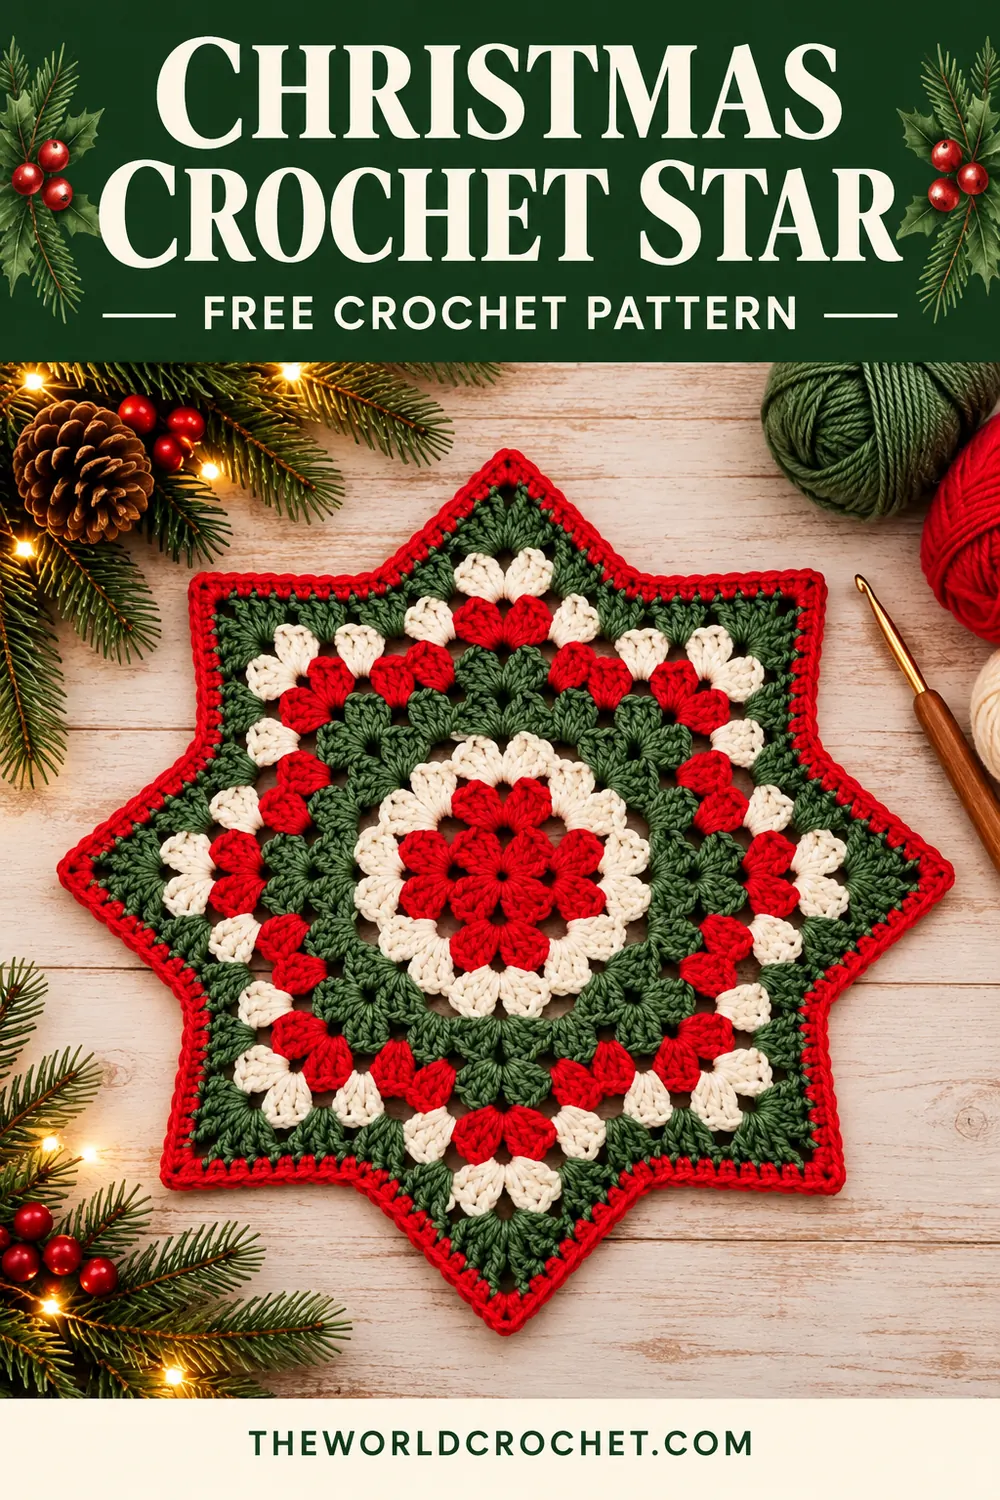
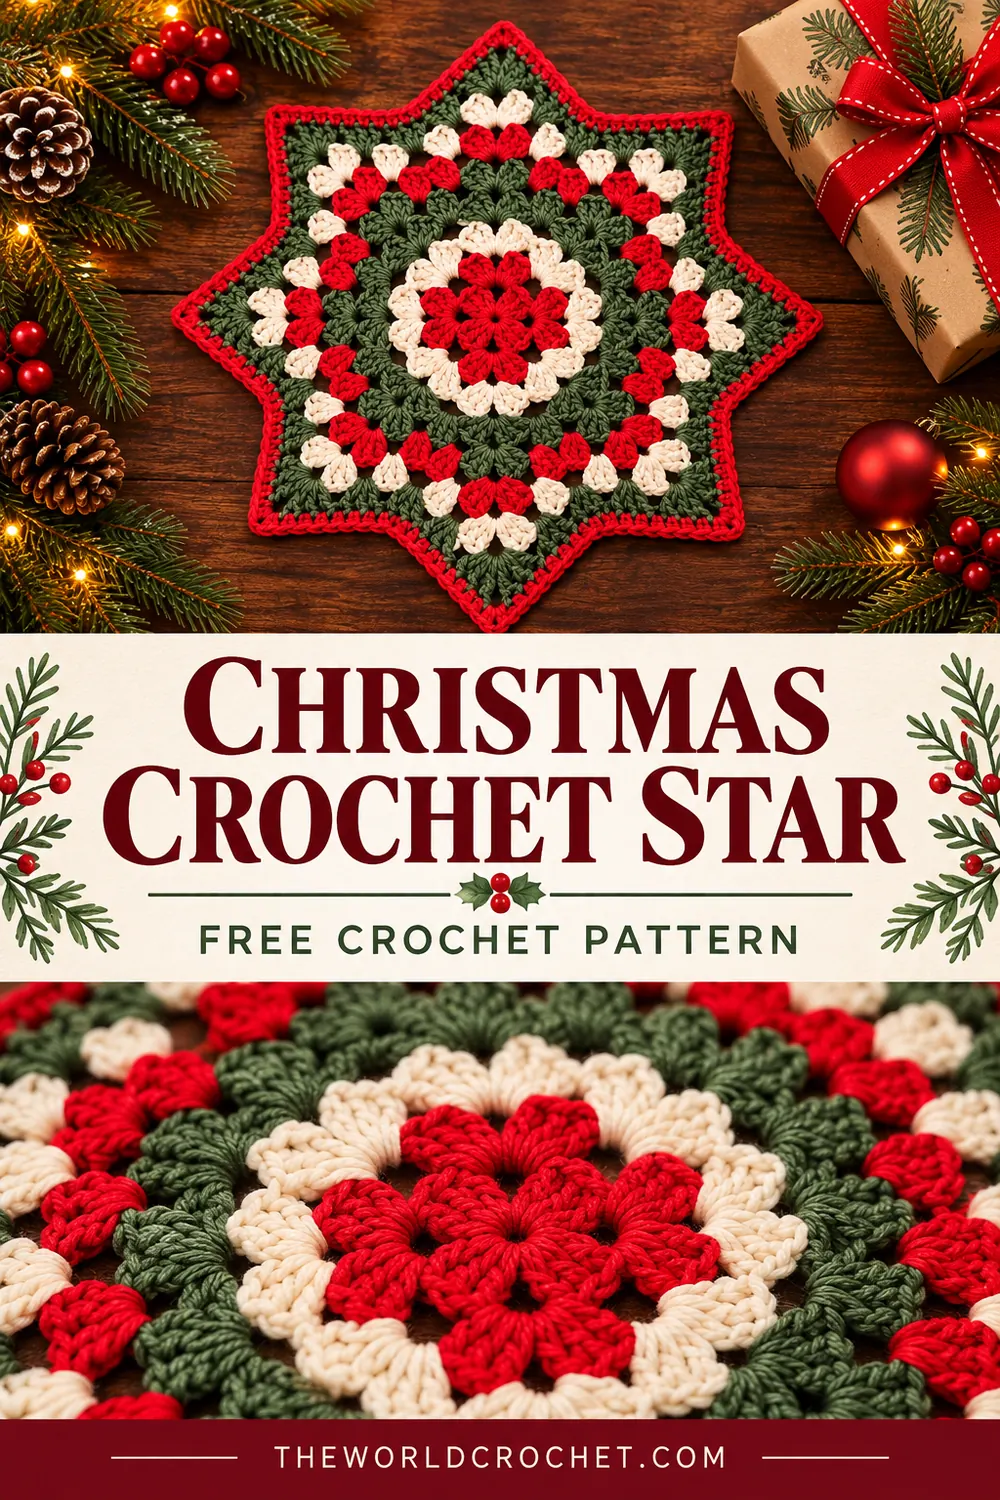
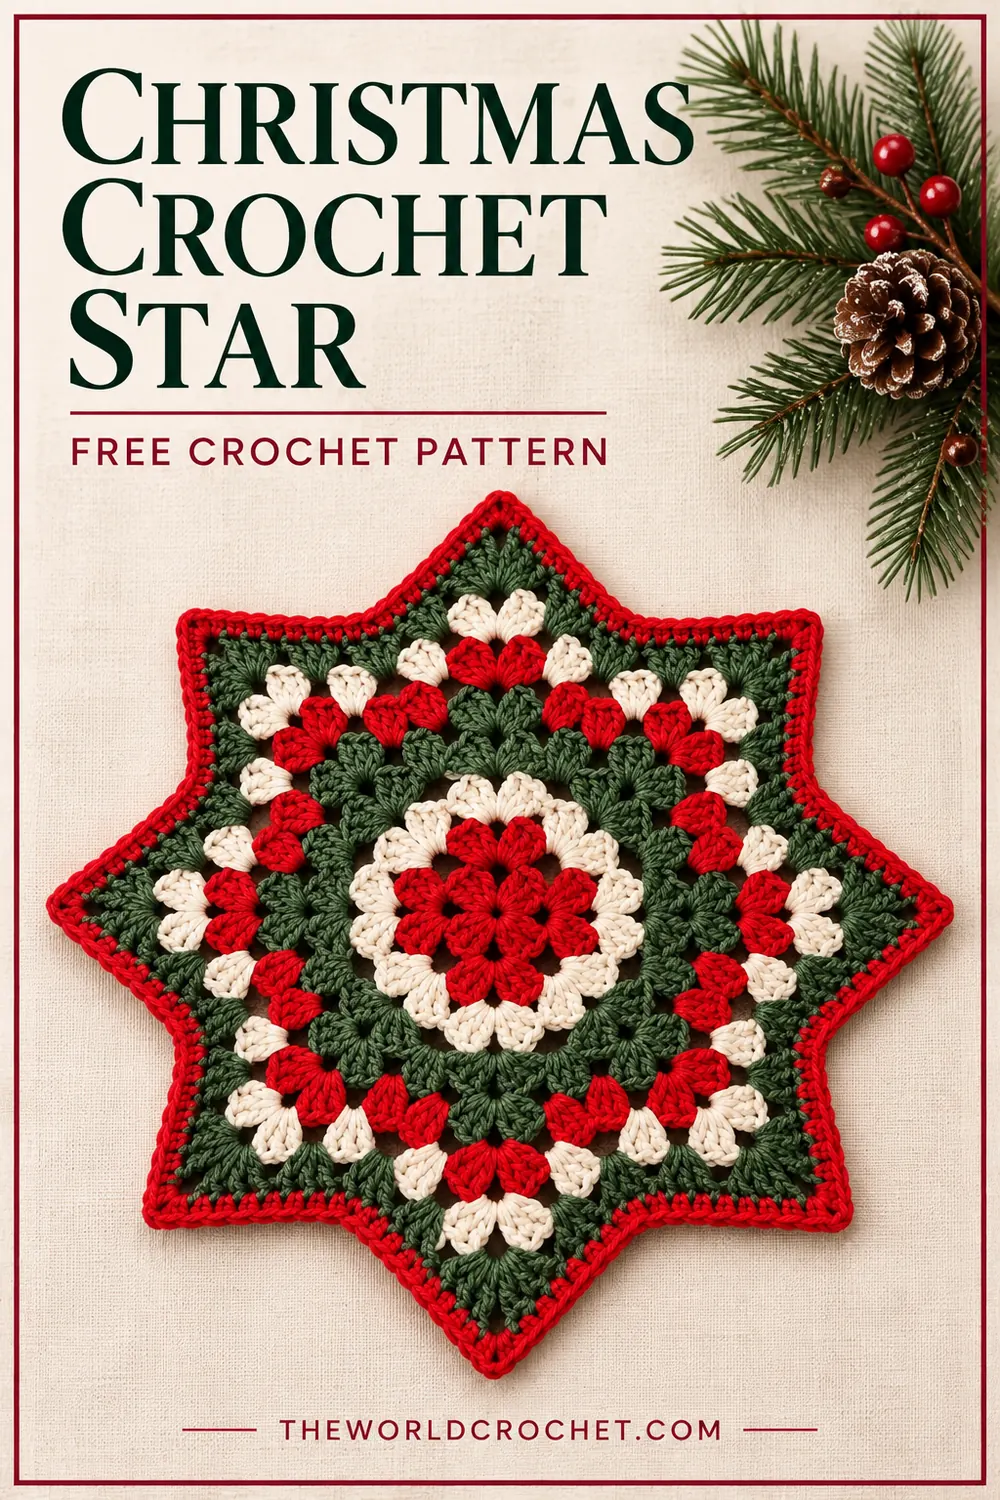
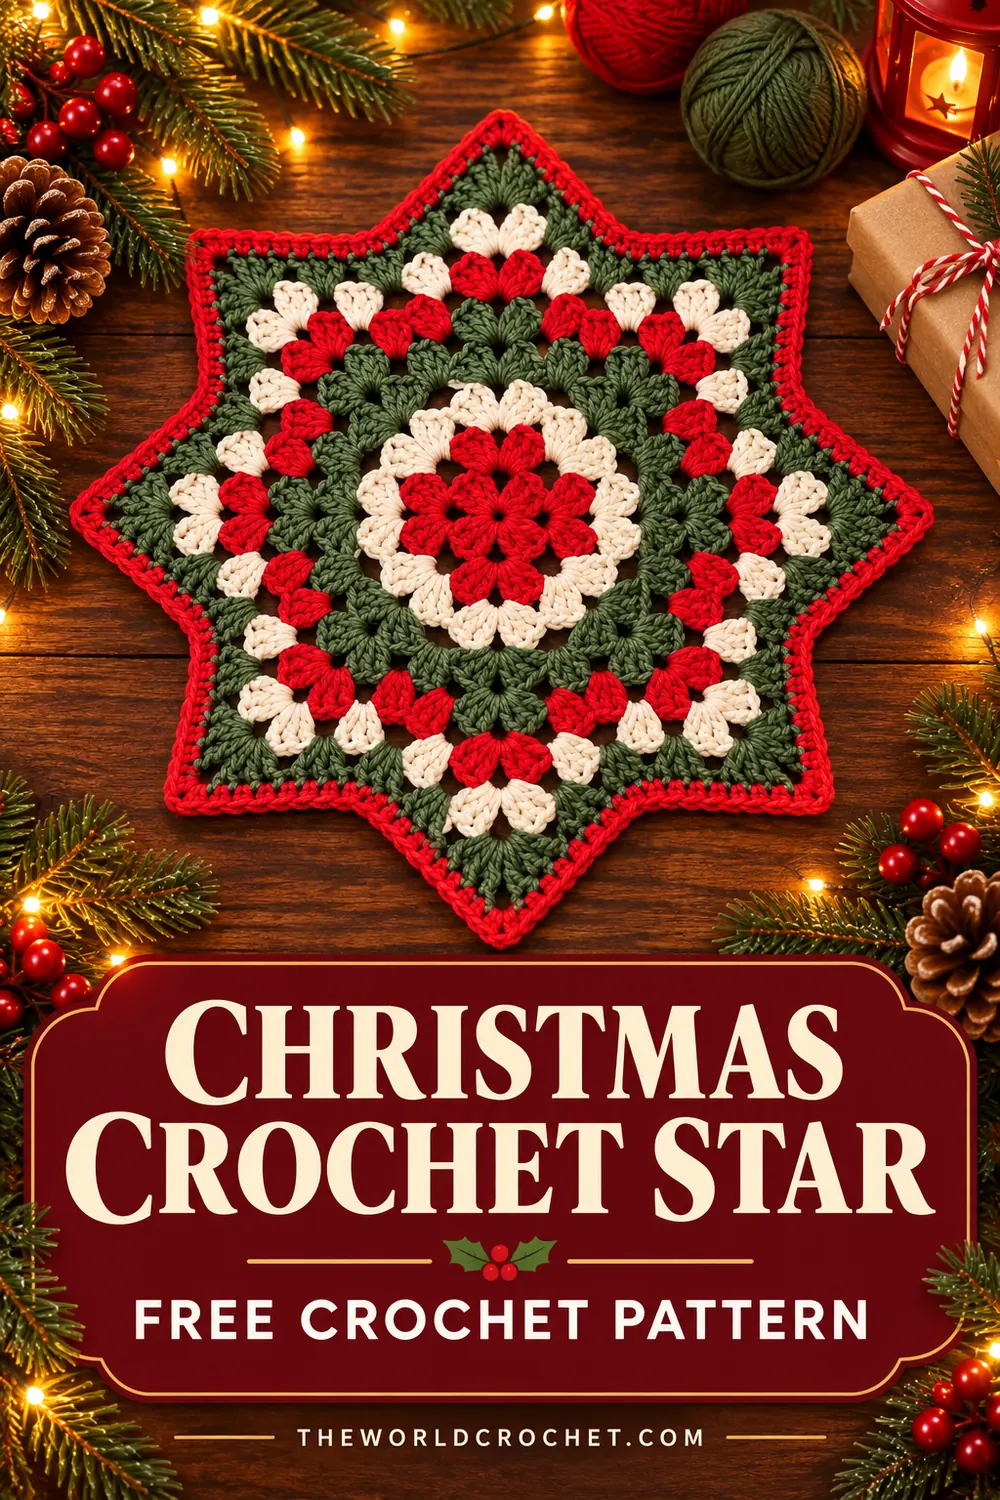
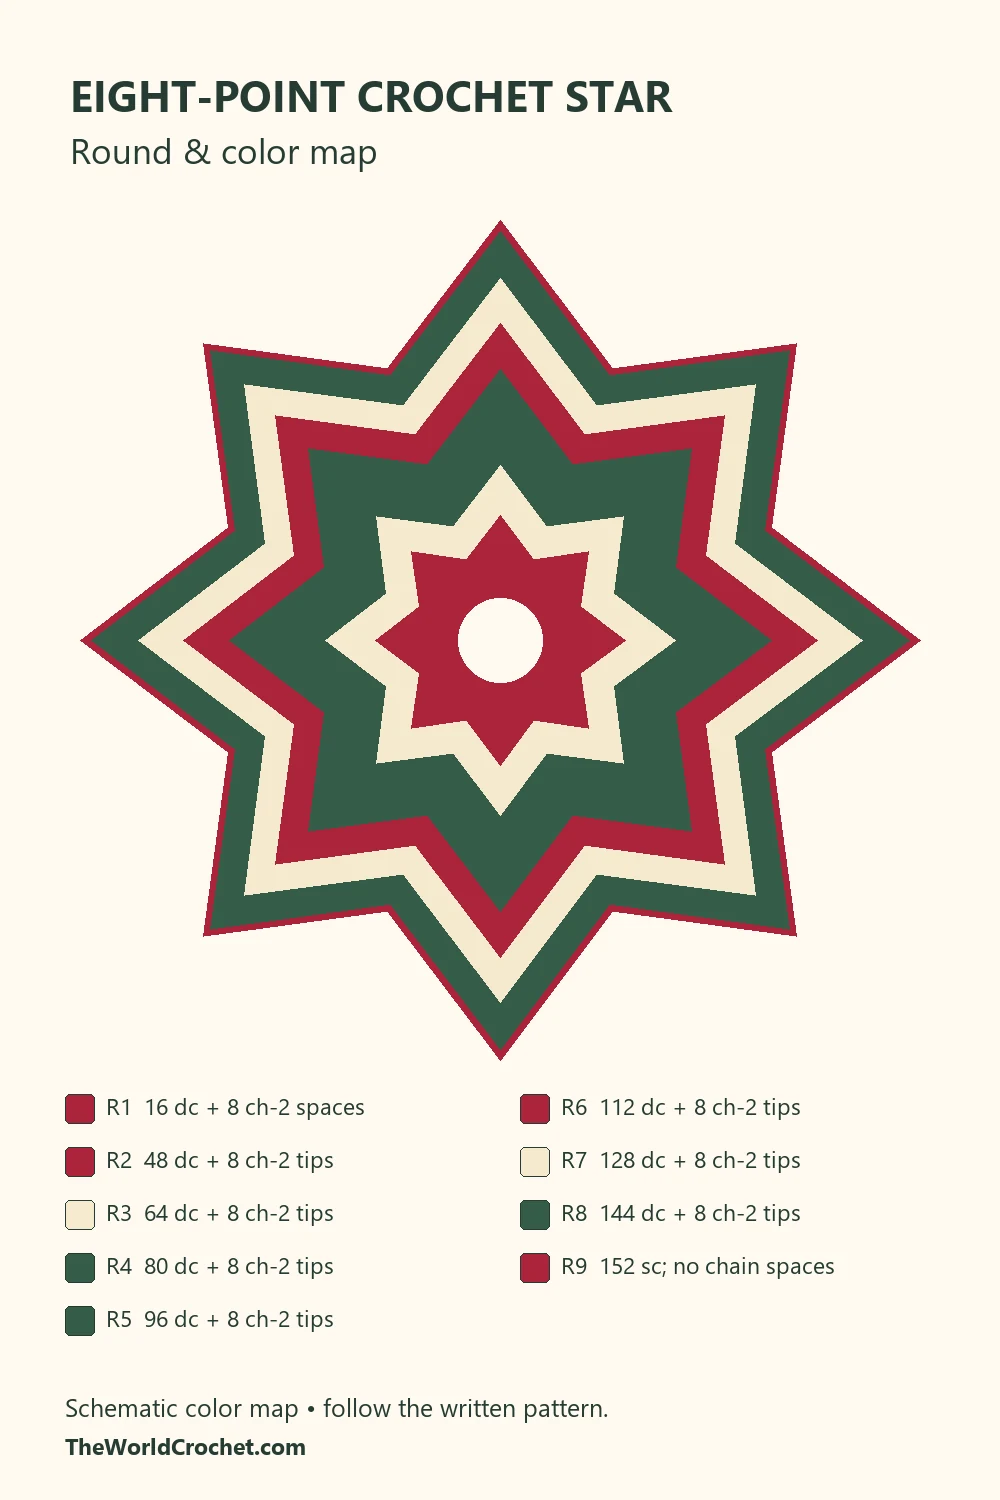
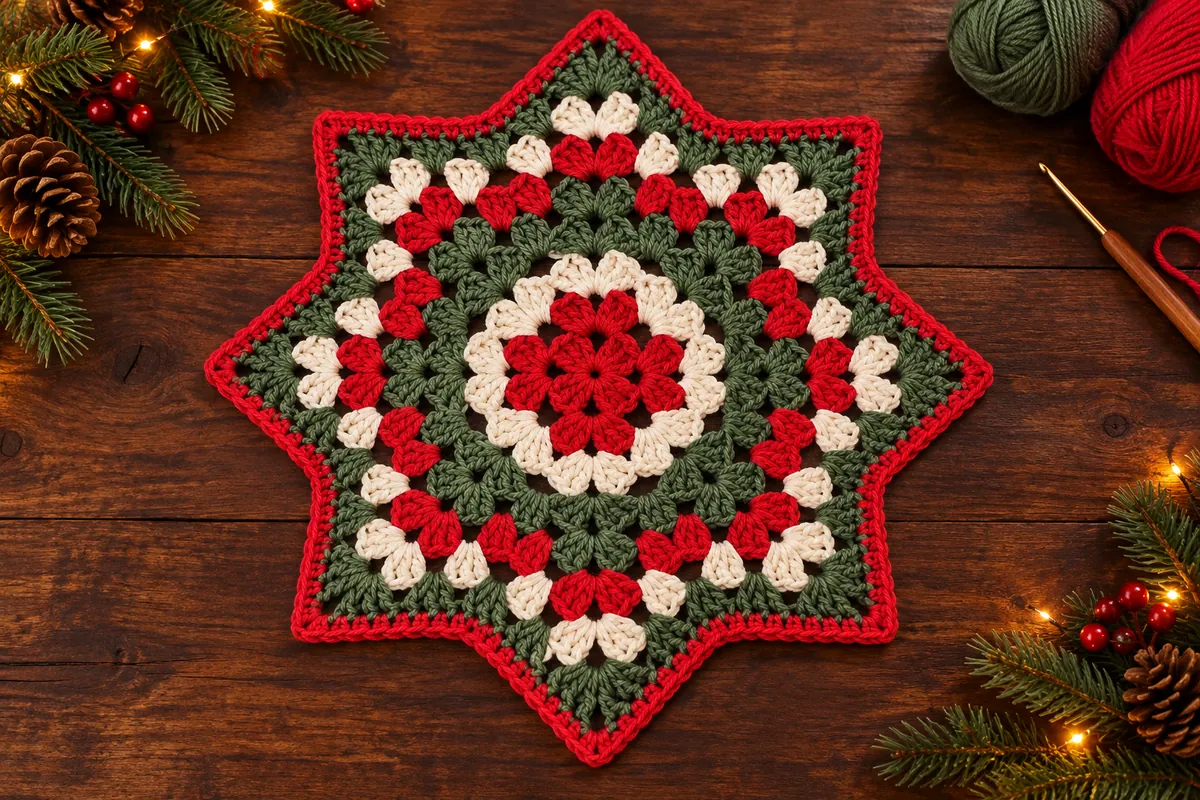
This eight point crochet star brings red, cream and forest green into a holiday table mat with a flower-like center and a pointed outline. The reference has airy stitch groups and contrasting rings that make the star stand out against dark wood.
The pattern below interprets that look with double crochet ripple rounds. Increases open each tip, while two skipped stitches shape each valley. You work all eight points together instead of attaching separate triangles.
Use it as a decorative base for a small bowl or seasonal ornament, or pair it with a crochet wreath coaster for a coordinated table. The instructions include round counts, color changes and two construction diagrams to help you follow the repeats.
About this eight point crochet star pattern
Design note: This is an original, photo-inspired interpretation, not the exact pattern used for the reference. The arithmetic has been checked, but the pattern has not been physically crocheted or tested. The AI-generated styling images illustrate the inspiration; their stitch details are not a substitute for the written instructions.
- Skill level: Intermediate, or a confident beginner comfortable with joined rounds and stitch counting.
- Terminology: US crochet terms.
- Construction: Eight-point ripple star worked in joined rounds; do not turn.
- Size: No measured finished size is available. Yarn, hook and tension determine the diameter; check your work as the star grows.
- Purpose: Decorative table mat. It is not a tested hot pad.
Yarn, hook and materials
- Worsted-weight cotton in red, cream and forest green, all the same thickness.
- Approximately 150–200 yards total as a planning estimate; actual use has not been measured.
- A 4 mm hook as a starting point, adjusted to suit your yarn and tension.
- Eight stitch markers, scissors and a yarn needle.
- A blocking mat and pins, if suitable for your yarn.
Smooth yarn makes the valleys and chain spaces easier to see. Use a hook that produces flexible fabric without very loose double crochet stitches. Keep the yarn label so you can follow its washing and drying instructions later.
Stitches and abbreviations
ch = chain; dc = double crochet; sc = single crochet; sl st = slip stitch; st/sts = stitch/stitches; sp = space; MR = magic ring. The Craft Yarn Council crochet abbreviation guide is a useful reference for standard US terms.
A double crochet is made by yarning over, inserting the hook into the stitch, pulling up a loop, then yarning over and pulling through two loops twice. For a single crochet, insert the hook, pull up a loop, yarn over and pull through both loops.
The tip and valley repeat
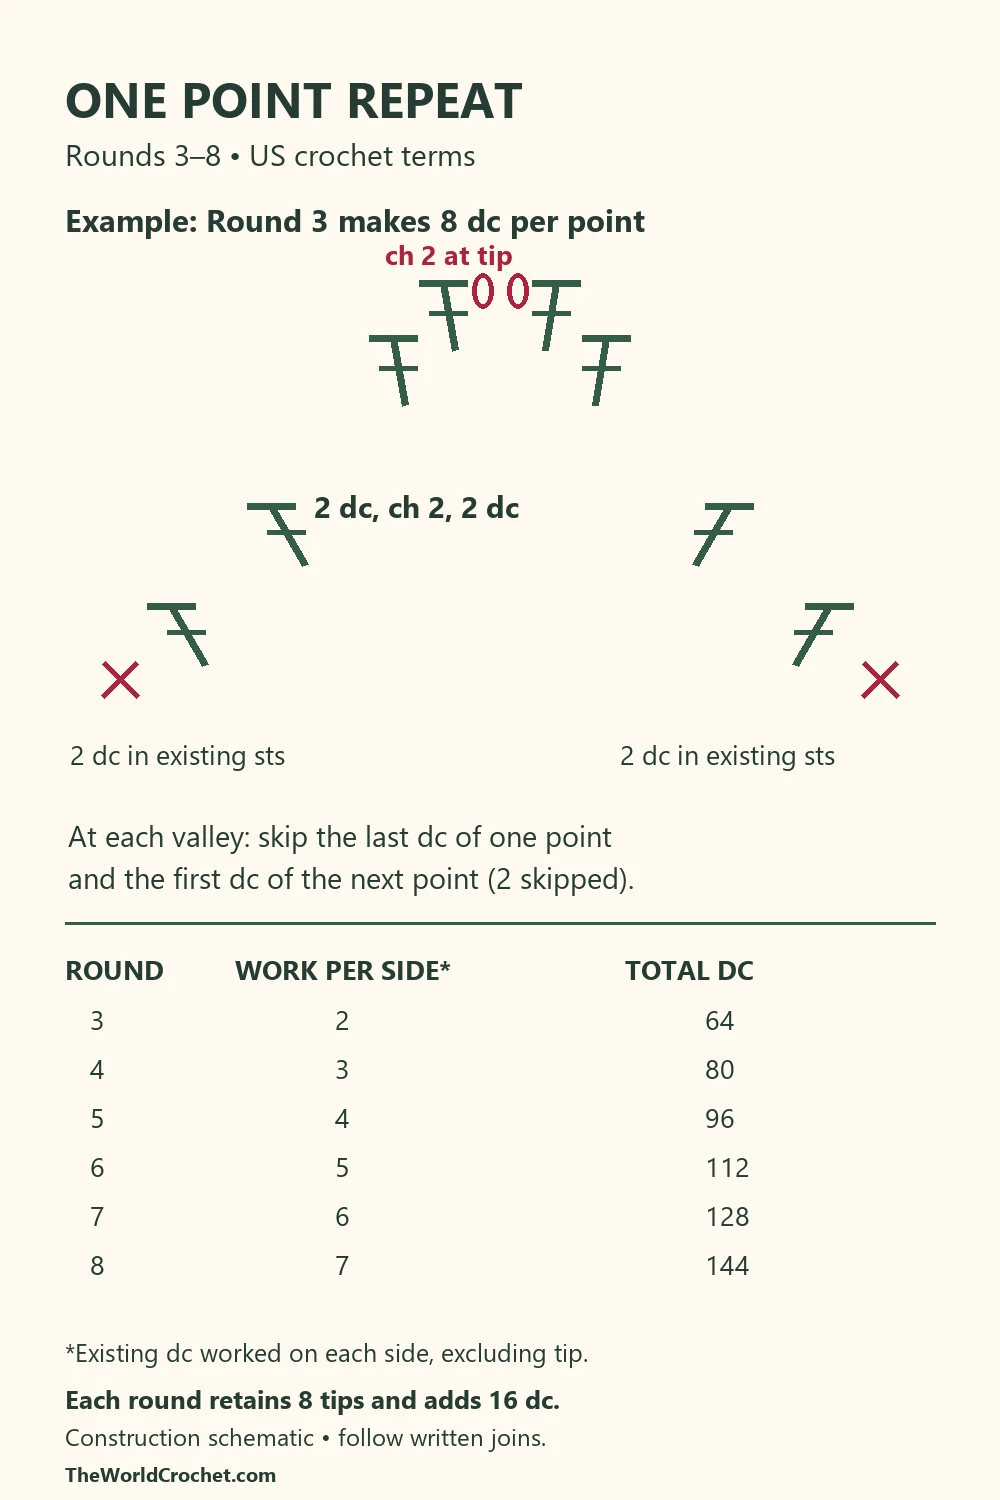
From Round 3 onward, every tip receives (2 dc, ch 2, 2 dc) in its existing ch-2 space. At every valley, skip the last dc of the current point and the first dc of the next point. These are two adjacent skipped stitches, with no chain between them.
Only work into the existing double crochet stitches and the eight tip spaces specified. There are no extra stitches between points. Each round adds 16 dc overall: four stitches added at each tip minus two skipped at each valley, repeated eight times.
Counts and color sequence
| Round | Color | Total | DC on each side of a tip |
|---|---|---|---|
| 1 | Red | 16 dc + 8 ch-2 spaces | Foundation |
| 2 | Red | 48 dc + 8 ch-2 tips | 3 |
| 3 | Cream | 64 dc + 8 ch-2 tips | 4 |
| 4 | Green | 80 dc + 8 ch-2 tips | 5 |
| 5 | Green | 96 dc + 8 ch-2 tips | 6 |
| 6 | Red | 112 dc + 8 ch-2 tips | 7 |
| 7 | Cream | 128 dc + 8 ch-2 tips | 8 |
| 8 | Green | 144 dc + 8 ch-2 tips | 9 |
| 9 | Red | 152 sc | Edging |
The beginning ch 3 counts as one dc in Rounds 1–8. Beginning ch 1 does not count as a stitch in Round 9. Tip chains are listed separately from dc counts. Slip-stitch joins never count as stitches.
For straightforward joins, fasten off after each round, including between the two green rounds. Join the next round in the exact stitch indicated. This creates more ends but keeps the start of every point repeat easy to identify.
Eight point crochet star: round-by-round instructions
Round 1 — red foundation
Make a magic ring. Ch 3, dc into the ring, ch 2. Repeat (2 dc into the ring, ch 2) seven more times. Pull the ring closed enough to secure the stitches. Join with a sl st to the top of the beginning ch 3 and fasten off.
Count: 16 dc and eight ch-2 spaces. Mark all eight spaces; each becomes a point.
Round 2 — form the eight red tips
Join red in any ch-2 space. Ch 3, 2 dc, ch 2, 3 dc in that same space. In each of the next seven ch-2 spaces, work (3 dc, ch 2, 3 dc). Do not add chains between these groups. Join to the top of the beginning ch 3 and fasten off.
Count: 48 dc and eight ch-2 tips. Each point now contains three dc before its tip and three dc after it. The junction between neighboring six-dc groups is the valley.
Round 3 — cream
Choose a point. Find its three dc before the ch-2 tip, counting from the valley toward the tip. Skip the first of those three stitches and join cream in the second.
Ch 3, then dc in the next stitch. Work (2 dc, ch 2, 2 dc) in the tip space. Dc in the first two stitches after the tip. Skip the last dc of this point and the first dc of the next point.
For each of the remaining seven points: dc in the next two stitches, work (2 dc, ch 2, 2 dc) in the tip space, dc in the next two stitches, and skip the next two valley stitches. After the eighth point, those skipped stitches are the last dc of Point 8 and the already skipped first dc of Point 1. Join to the top of the beginning ch 3 and fasten off.
Count: 64 dc and eight ch-2 tips; eight dc per point, four on each side of the chain space.
Rounds 4–8 — grow the colored bands
Follow the same construction in each round. Join the listed color in the second dc before a chosen point’s tip, counting that side from the valley toward the tip. Leave its first dc unworked.
Ch 3 to count as the first worked dc. Dc in the remaining stitches on that side, work (2 dc, ch 2, 2 dc) in the tip space, and dc down the other side until only its last dc remains. Skip that last dc and the first dc of the next point. Repeat around all eight points, join to the top of the beginning ch 3, and fasten off.
Use the table below to check how many existing stitches you work on each side. These numbers exclude the four new dc made in the tip space. On the first point, the beginning ch 3 is already included in the side count.
| Round | Yarn | Existing dc worked per side | Finished dc per point | Total dc |
|---|---|---|---|---|
| 4 | Green | 3 | 10 | 80 |
| 5 | Green | 4 | 12 | 96 |
| 6 | Red | 5 | 14 | 112 |
| 7 | Cream | 6 | 16 | 128 |
| 8 | Green | 7 | 18 | 144 |
After the final point of each round, skip its last dc and the already unworked first dc of the starting point, then join. Do not crochet into those valley stitches or create an extra dc at the join. Move your eight markers into the new tip spaces after checking the count.
Round 9 — red single crochet edging
Round 8 has nine dc on each side of every tip. Join red in the second dc on the side leading toward a tip. Ch 1 and sc in that same stitch; sc in each of the next seven dc. Work 3 sc in the ch-2 tip space, then sc in the next eight dc. Skip the last dc of that point and the first dc of the next point.
For each of the remaining seven points, sc in the next eight dc, 3 sc in the tip space, sc in the next eight dc, then skip the two valley stitches. After the final valley, join to the first sc and fasten off.
Count: 152 sc: 19 per point, made from eight sc on each side plus three at the tip. No chain spaces remain in this edging.
Finishing and checking the shape
Weave in the ends securely on the back, taking care around the color joins. Lay the mat on a flat surface and check that there are eight evenly spaced tips. The diagrams at the end show the color sequence and one point’s construction.
If your yarn allows wet blocking, dampen the piece, gently arrange the points and let it dry flat. Avoid stretching the center or pulling one tip farther than the others. Blocking can refine the shape; it cannot fix a missing repeat or an extra stitch.
Why does my star ripple or curl?
First compare each round with the count tables. An extra stitch in every valley quickly adds width; a missed tip increase can pull the fabric inward. Check that each valley skips exactly two dc and each tip receives four dc with ch 2 between them in Rounds 3–8.
If the counts are correct but the fabric remains heavily distorted, pause before adding more rounds. Yarn thickness and tension may affect this untested interpretation. Try the first three rounds with your chosen yarn and hook as a small sample; if it will not lie reasonably flat after gentle blocking, the construction needs adjustment before you continue.
Keeping the red edging even
Single crochet can tighten the outline if you pull the loops smaller than in the body. Keep the edging relaxed and check it after each point. There should be three sc in every tip space and no extra chain across a valley.
Color and display ideas
For the palette in the reference, choose a muted green, warm cream and a clear Christmas red. Burgundy, oatmeal and olive offer a softer variation. Use the same yarn type and weight for every band so the color changes do not also change the thickness of the fabric.
Place a small decorative bowl over the center while leaving the tips visible. For another motif in the same colors, the Christmas tree granny square adds a tree shape to your holiday projects.
If you prefer a circular center with individual points worked afterward, see the Christmas star table mat with separate points. Its construction differs from the continuous ripple rounds used here.
Questions before you start
Is this the exact granny stitch star in the photo?
No. The reference inspires the colors and eight-point outline. This written version uses individual double crochet stitches, tip increases and skipped valleys; it will have a different texture from the clustered photo motif.
How do I count the points?
Place one marker in each ch-2 tip from Round 2 onward. You should always have eight marked tips. Count one point from the first worked dc after a valley to the last worked dc before the next valley.
Can I use thinner yarn?
Yes, but it changes the dimensions and drape. Match the hook to the yarn and check the first three rounds before continuing. The stitch counts stay the same when following this version.
Can I make the star larger?
Additional ripple rounds would continue the same arithmetic, adding one existing dc worked on each side and 16 dc overall per round. That extension has not been tested. For a first attempt, follow the nine-round version and assess the shape before planning a larger mat.
Styling images and construction diagrams
The four vertical Pins below use distinct layouts with AI-generated inspiration based on the reference. The two diagrams correspond to the written round counts: a color map and a schematic of one point. They are construction aids, not a complete independently tested symbol chart.