There is something especially beautiful about decorating for Christmas with pieces made by hand.
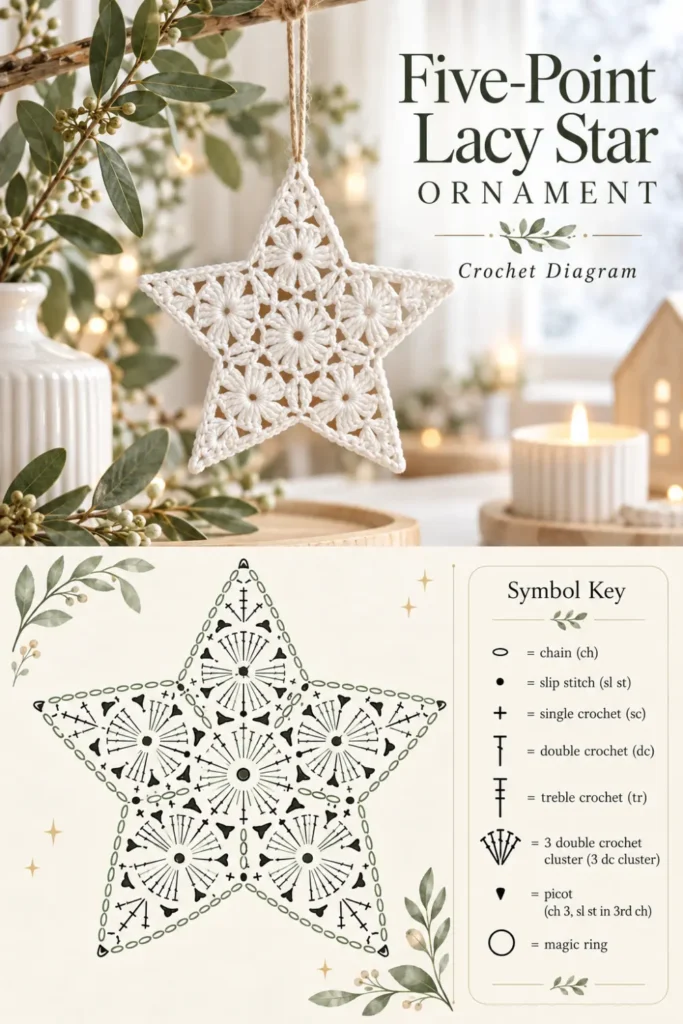
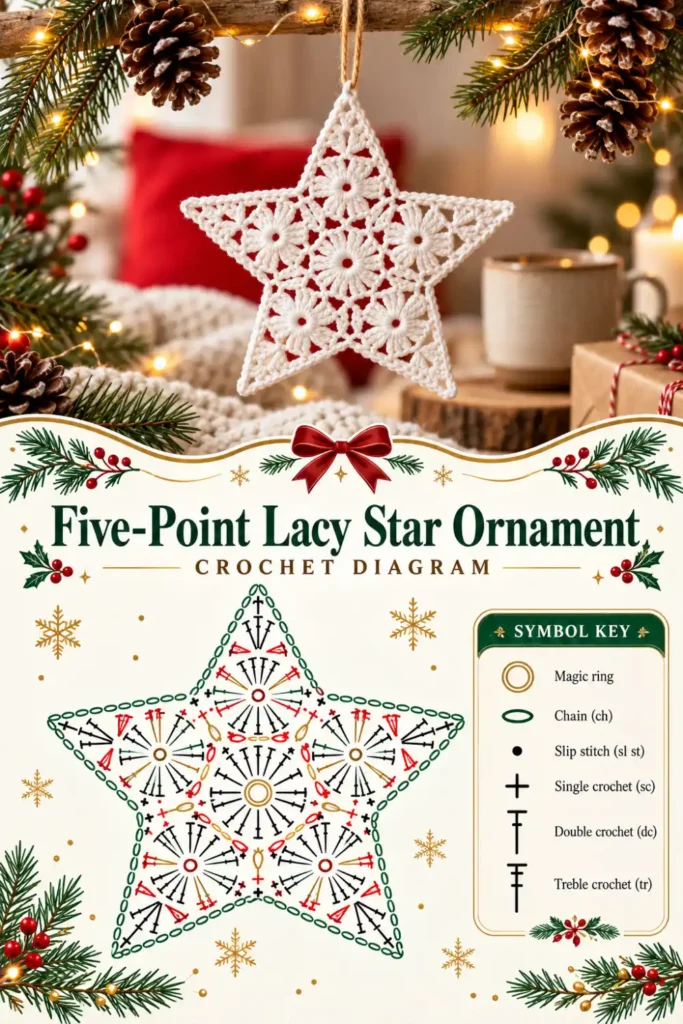
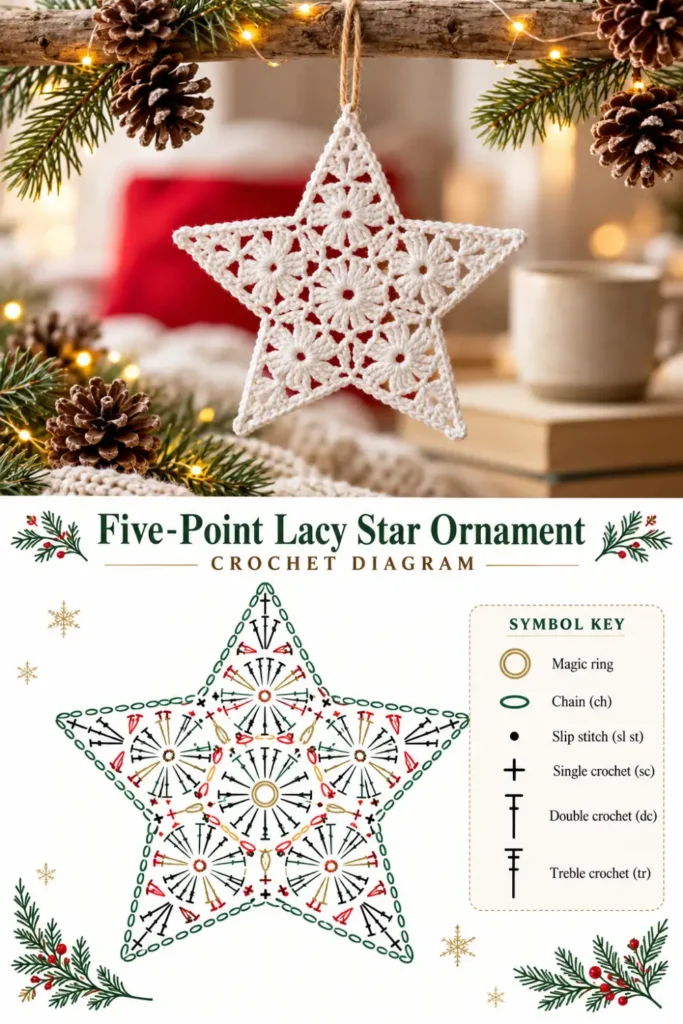
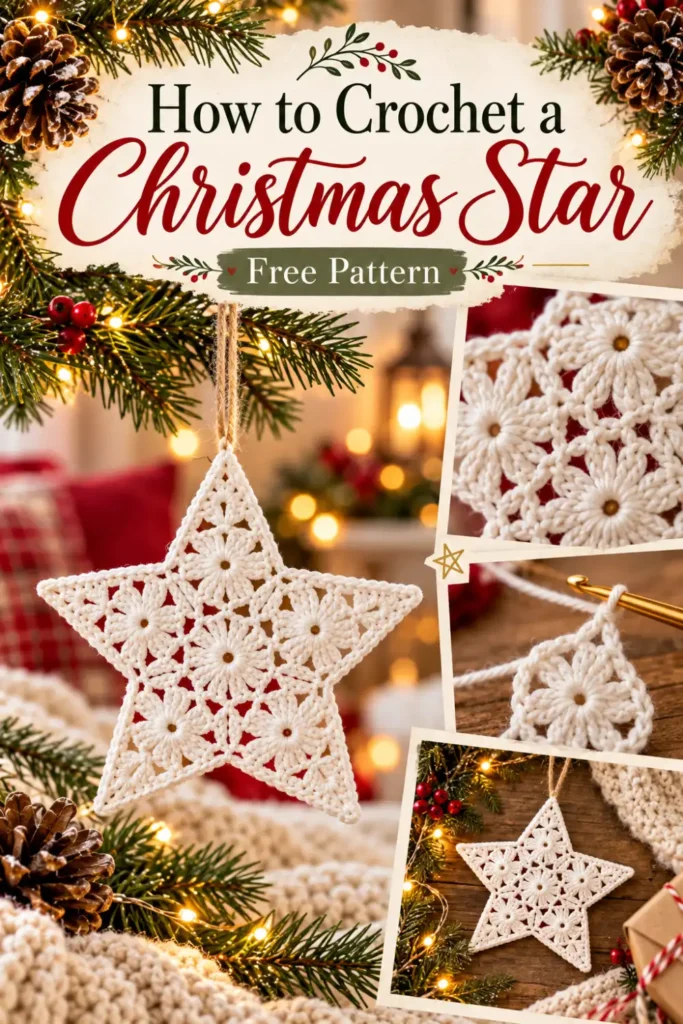
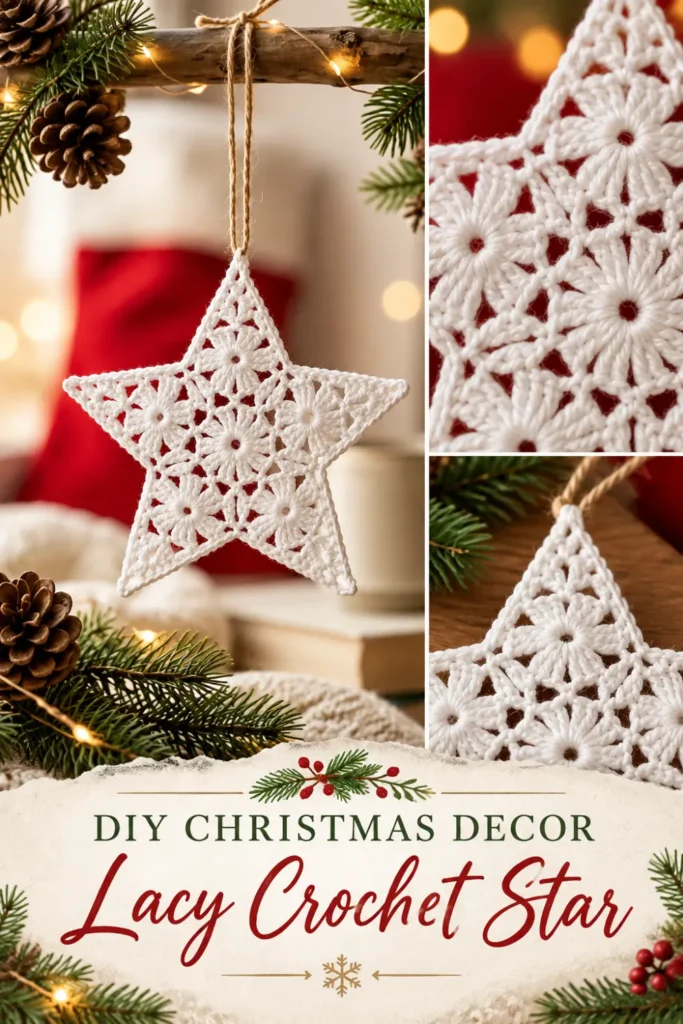
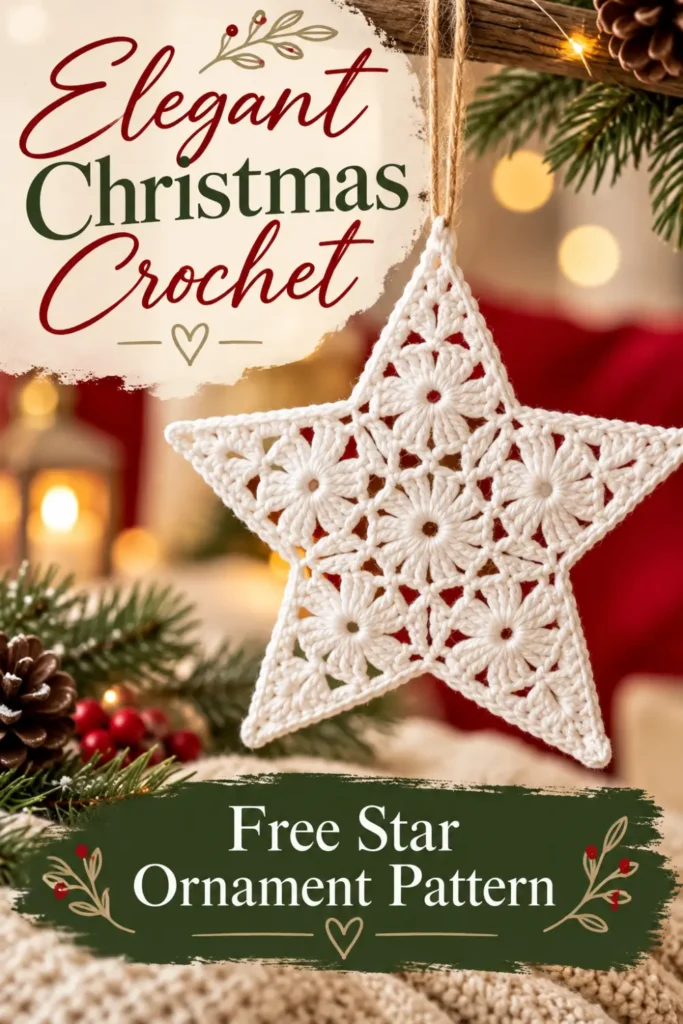
This five-point lacy star ornament combines a classic star shape with open crochet stitches that give it a light, delicate look. It is small enough to hang on a Christmas tree but decorative enough to use on wreaths, garlands, gifts, or holiday displays.
The pattern starts with a simple circular lace center. Five openwork points are then added around the outside to create the star shape.
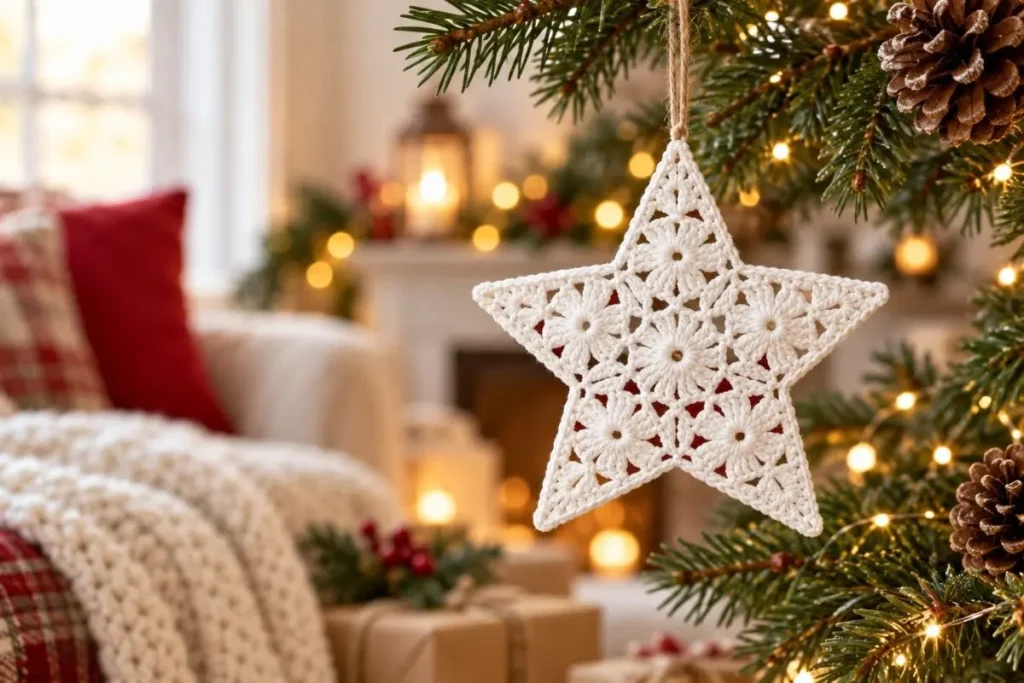
Using cotton yarn helps the stitches stay crisp and makes blocking easier. You can leave the finished star soft or lightly stiffen it if you prefer a more structured ornament.
This project is also a lovely way to use small amounts of leftover yarn from other holiday projects.
Why You’ll Love This Crochet Star
This pattern works especially well for holiday decorating because it is:
- lightweight enough for a Christmas tree;
- made with a relatively small amount of yarn;
- easy to customize with different colors;
- beautiful in traditional white or cream;
- suitable for garlands, wreaths, and gift wrapping;
- reusable year after year;
- quick enough to make several matching ornaments.
A collection of stars in slightly different sizes can also create a beautiful handmade Christmas display.
Pattern Information
Pattern: Five-Point Lacy Star Ornament
Terminology: US Crochet Terms
Construction: Center worked in rounds; points worked individually in rows
Skill Level: Advanced Beginner to Intermediate
Gauge: Not essential
Finished Size: Approximately 5–6 in (12.5–15 cm) across after blocking
Finished measurements will vary depending on yarn, hook size, tension, and how firmly the ornament is blocked.
Materials
You will need:
- Fingering or light sport-weight cotton yarn
- Approximately 25–40 yd (23–37 m)
- 2.25–2.75 mm crochet hook
- Yarn needle
- Scissors
- Blocking mat
- Rust-resistant pins
- Optional fabric stiffener or starch
- Optional ribbon or twine for hanging
Yarn Recommendation
A smooth cotton yarn works especially well because it gives the lace stitches good definition.
Mercerized cotton can produce an especially crisp, polished appearance.
You can also use crochet thread for a smaller, more delicate star.
Abbreviations – US Terms
| Abbreviation | Meaning |
|---|---|
| ch | chain |
| dc | double crochet |
| sc | single crochet |
| sl st | slip stitch |
| tr | treble crochet |
| dtr | double treble crochet |
| st | stitch |
| sts | stitches |
| sp | space |
| MR | magic ring |
| rep | repeat |
| rnd | round |
| RS | right side |
| WS | wrong side |
Special Stitch
Shell
Work:
(2 dc, ch 2, 2 dc)
all into the indicated space.
Pattern Notes
- The pattern uses US crochet terminology.
- The beginning ch 3 counts as a dc unless otherwise stated.
- Slip stitches used to reposition the hook do not count as stitches.
- Work the center in joined rounds.
- Each star point is worked separately over three consecutive ch-3 spaces.
- Blocking is strongly recommended.
- Keep your chain stitches relaxed so the lace does not pull inward.
- If your star curls slightly while crocheting, do not worry. Blocking will help flatten and define it.
Designer’s Note
This is an original crochet construction inspired by the delicate five-point lace-star style shown in the reference image.
Because the design was created from a finished visual reference rather than from an existing written pattern, the stitch construction may differ from the photographed ornament.
Five-Point Lacy Star Ornament Pattern
Center
Round 1
Make a MR.
Ch 3.
Work 14 dc into the ring.
Pull the magic ring closed.
Join with a sl st to the top of beginning ch 3.
Stitch count: 15 dc
Round 2
Ch 1.
Sc in the same st.
Ch 3, skip next 2 dc, sc in next dc.
Repeat from ** to ** 4 times total.
Ch 3.
Skip the final 2 dc.
Join with a sl st to the first sc.
You should now have:
5 sc and 5 ch-3 spaces
Round 3
Sl st into the first ch-3 sp.
Ch 3.
Work 4 dc in the same ch-3 sp.
Ch 2.
In each remaining ch-3 sp work:
5 dc, ch 2
Repeat around.
Join with a sl st to the top of beginning ch 3.
You should have:
5 groups of 5 dc separated by 5 ch-2 spaces
Round 4
Ch 1.
Sc in the first dc.
Ch 3.
Skip the next dc.
Sc in the next dc.
Ch 3.
Skip the next dc.
Sc in the next dc.
Ch 3.
Move across the ch-2 space and sc in the first dc of the next 5-dc group.
Continue the same sequence around:
Ch 3, skip 1 dc, sc in next dc, ch 3, skip 1 dc, sc in next dc, ch 3, sc in first dc of next group.
Repeat around.
For the final section, join the last ch-3 with a sl st to the first sc.
You should now have:
15 ch-3 spaces
These spaces form the foundation for the five star points.
Making the Star Points
Each point uses 3 consecutive ch-3 spaces from Round 4.
You will work the same instructions five times.
Point 1
Join yarn with a sl st in the first ch-3 sp of any 3-space section.
Row 1
Ch 3.
Dc in the same sp.
Ch 2.
Work 2 dc in the same sp.
You have completed the first shell.
Ch 1.
Work a shell in the next ch-3 sp.
Ch 1.
Work a shell in the next ch-3 sp.
Turn.
You should have:
3 shells and 2 ch-1 spaces
Row 2
Slip stitch carefully across the stitches of the first shell until you reach the nearest ch-1 space between the shells.
In that ch-1 sp work:
2 dc, ch 2, 2 dc
Ch 2.
In the next ch-1 sp work:
2 dc, ch 2, 2 dc
Turn.
You should now have:
2 shells separated by one ch-2 space
Row 3
Slip stitch across the first shell until you reach the ch-2 space between the two shells.
Work:
2 dc, ch 2, 2 dc
in that ch-2 sp.
Turn.
You now have:
1 shell
Forming the Tip
Slip stitch across to the ch-2 sp in the center of the shell.
In the same ch-2 sp work:
1 dc, 1 tr, 1 dtr
Ch 3.
Sl st in the first ch of the ch-3 just made to form a small picot.
Then work:
1 dtr, 1 tr, 1 dc
in the same ch-2 sp.
Fasten off.
Your first star point is complete.
Points 2–5
Repeat the same point instructions over each remaining group of 3 consecutive ch-3 spaces around Round 4.
When all five sections are complete, you should have five evenly spaced star points.
Weaving In the Ends
Using a yarn needle, weave each yarn end securely through the back of the stitches.
Trim the excess yarn carefully.
Avoid pulling the ends too tightly because this can distort the lace.
Blocking the Crochet Star
Blocking makes a major difference with this project.
Before blocking, your star may look slightly uneven or the points may curl inward. This is normal.
To block the ornament:
- Gently wet the finished star with cool or lukewarm water.
- Carefully remove excess water without twisting.
- Lay the star flat on a blocking mat.
- Pin the center in place.
- Pull each of the five points outward evenly.
- Place a pin at each point.
- Adjust the spaces until the star looks symmetrical.
- Allow it to dry completely before removing the pins.
Take a moment to check that all five points are approximately the same distance from the center.
Optional: How to Stiffen the Star
If you want your ornament to hold a firmer shape, you can lightly stiffen it after crocheting.
This is especially helpful if you plan to:
- hang it on a Christmas tree;
- use it as a window decoration;
- attach it to a wreath;
- create a hanging garland.
Use a small amount of fabric stiffener or starch according to the manufacturer’s directions.
After applying it, pin the ornament into its final shape and allow it to dry completely.
Do not over-stiffen the piece if you want to preserve the soft appearance of the crochet stitches.
Adding the Hanging Loop
Choose which point will be the top of your star.
Join yarn at the picot on that point.
Ch approximately 25–35.
The exact number depends on how long you want the hanging loop.
Sl st into the same point.
Fasten off and weave in the ends.
You can also replace the crochet loop with:
- narrow ribbon;
- baker’s twine;
- jute;
- metallic cord;
- decorative Christmas ribbon.
Color Ideas
White is a beautiful choice for this pattern because it creates a traditional snow-inspired appearance.
However, the star can look completely different depending on the yarn color.
Try:
Natural Cream
Perfect for rustic or farmhouse Christmas decorations.
Christmas Red
Creates a stronger traditional holiday look.
Forest Green
Works beautifully with neutral Christmas decorations.
Metallic Gold
A lovely option for an elegant Christmas tree.
Soft Beige
Ideal for Scandinavian or minimalist holiday decor.
Pastel Colors
Try pale pink, blue, or sage for a softer modern Christmas palette.
Making several colors can also help turn one pattern into a complete ornament collection.
Ways to Use Your Crochet Star
A crochet ornament does not have to stay on the Christmas tree.
Here are several ways you can use this pattern.
Christmas Tree Ornament
Add a small hanging loop and place the star directly on your tree.
Crochet Garland
Make several stars and attach them to a long chain or decorative cord.
Try alternating star colors for a more playful look.
Gift Topper
Instead of a disposable bow, attach a handmade crochet star to a wrapped Christmas gift.
The ornament becomes part of the present.
Christmas Wreath
Attach several stars to a greenery wreath for a handmade holiday accent.
Window Decoration
Stiffened stars look beautiful hanging near a window where light can pass through the open stitches.
Handmade Gift Set
Make three or five matching stars and package them together as a handmade Christmas gift.
How to Make a Smaller Star
For a more delicate ornament, try:
- crochet thread;
- fingering-weight yarn;
- a smaller crochet hook.
The stitch pattern remains the same.
How to Make a Larger Star
For a larger decoration, use:
- sport-weight yarn;
- DK yarn;
- a larger hook.
Keep in mind that thicker yarn produces a heavier ornament.
For very large stars, blocking becomes even more important.
Troubleshooting
My Star Is Curling
A small amount of curling before blocking is normal.
If the piece curls heavily, your tension may be too tight.
Try going up one hook size.
My Points Are Different Sizes
Make sure each point is worked over exactly three ch-3 spaces.
Also check that you have:
- 3 shells in Row 1;
- 2 shells in Row 2;
- 1 shell in Row 3.
Blocking can correct small differences.
The Center Is Buckling
This can happen if your stitches are too tight.
Relaxing your tension or using a slightly larger hook usually helps.
My Star Looks Too Soft
Cotton yarn usually gives more structure than very soft acrylic yarn.
You can also block and lightly stiffen the finished ornament.
Frequently Asked Questions
Is This Crochet Star Beginner-Friendly?
The project is best suited to an adventurous beginner or intermediate crocheter.
You should already be comfortable with:
- chains;
- single crochet;
- double crochet;
- treble crochet;
- double treble crochet;
- working into chain spaces;
- joined rounds.
Do I Have to Use Cotton Yarn?
No.
You can use acrylic or another fiber, but cotton tends to give the lace better stitch definition and makes blocking easier.
Is Gauge Important?
Exact gauge is not essential because the project does not need to fit a person.
However, consistent tension helps keep all five points symmetrical.
Can I Make Several Stars From One Ball of Yarn?
Yes.
This ornament uses a relatively small amount of yarn, making it a good scrap-yarn project.
The exact number will depend on your yarn weight, hook size, and yardage.
Do I Need to Stiffen the Ornament?
No.
Blocking may provide enough structure if you use cotton yarn.
Stiffening is optional.
Can I Use Crochet Thread?
Yes.
Crochet thread creates a smaller and more delicate ornament.
Adjust your hook size to match the thread you are using.
More Free Christmas Crochet Patterns
If you enjoy making handmade decorations for the holidays, you may also like these Christmas crochet projects:
Crochet Lace Star Ornament – Free Christmas Crochet Pattern
Another delicate star design that works beautifully as a Christmas tree decoration or handmade gift.
Quick & Charming Christmas Crochet Stars – Free Easy Pattern
A great option when you want simple handmade stars that work up quickly for holiday decorating.
Christmas Star Crochet Pattern – Free & Easy Tutorial for Beginners
Try this beginner-friendly version if you are looking for another easy way to add handmade stars to your Christmas decor.
Final Thoughts
Handmade Christmas ornaments have a charm that store-bought decorations simply cannot replace.
This five-point lacy star ornament is small enough to make in an afternoon but detailed enough to become a special part of your holiday decorations.
Make one in classic white for a timeless look, experiment with metallic yarn for something elegant, or crochet several stars to create a matching garland.
And because the pattern requires only a small amount of yarn, it is also a useful way to turn leftover cotton into something beautiful.
However you decide to use your star, careful blocking at the end will help reveal the lacework and give those five points their final shape.
Happy crocheting!