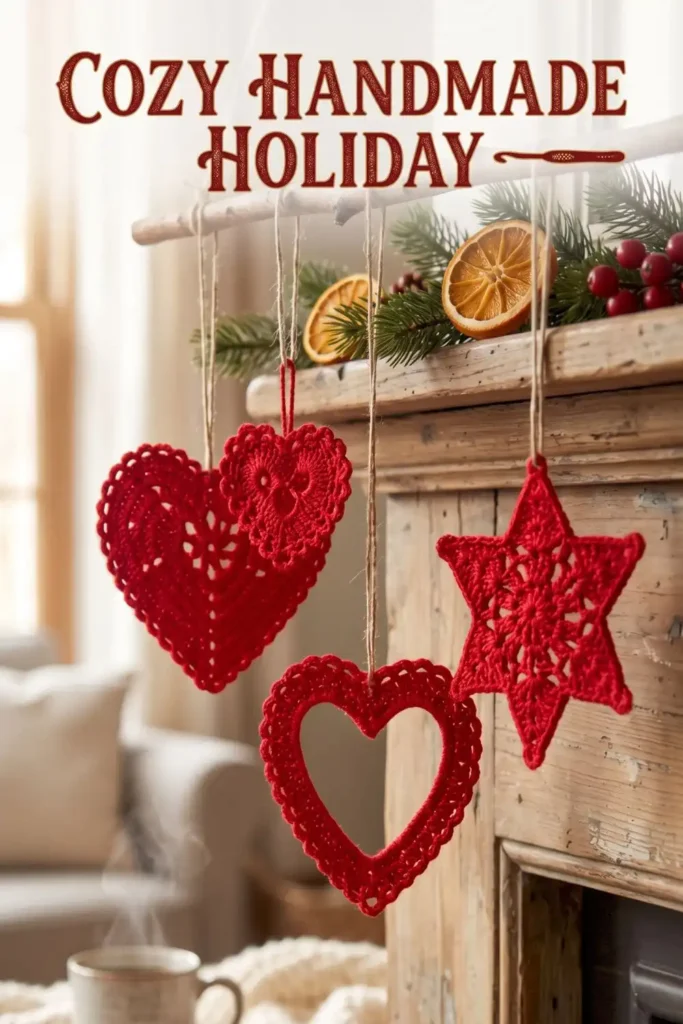
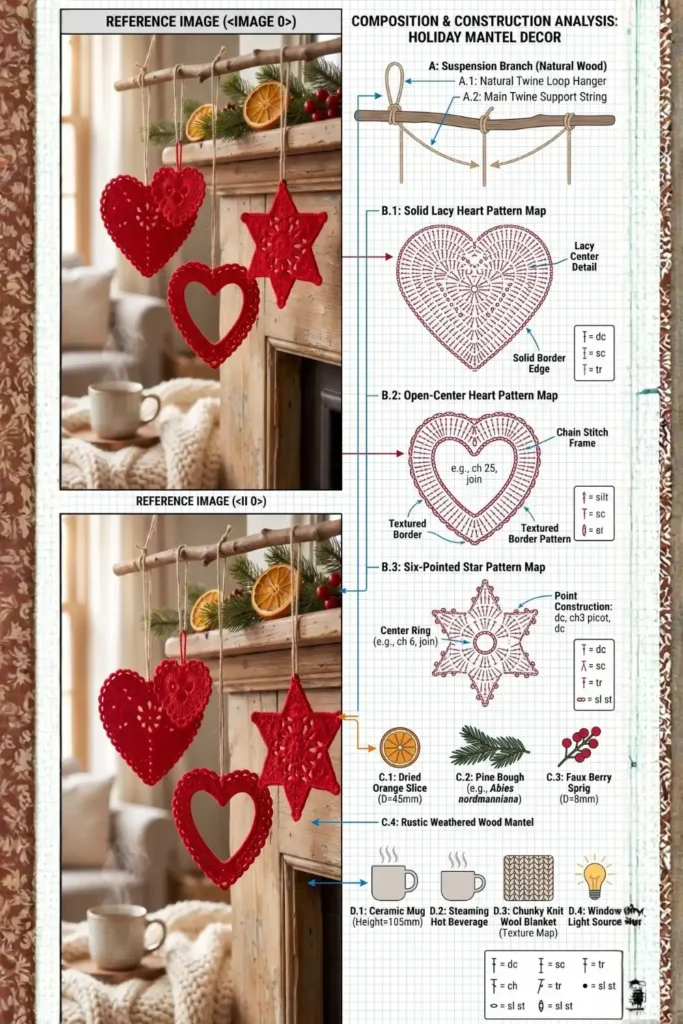
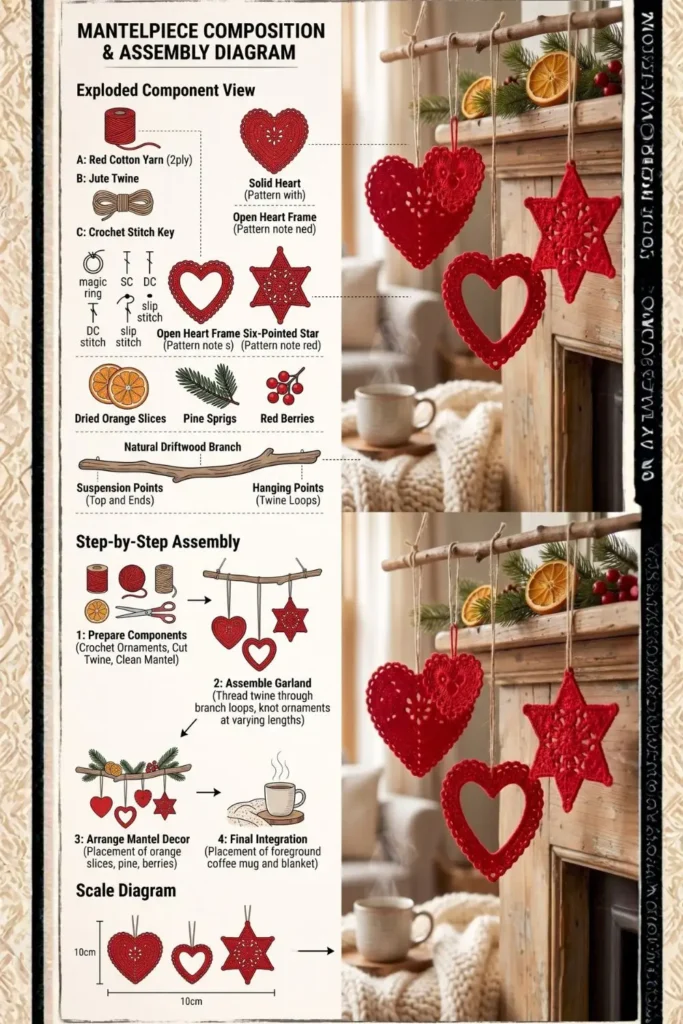
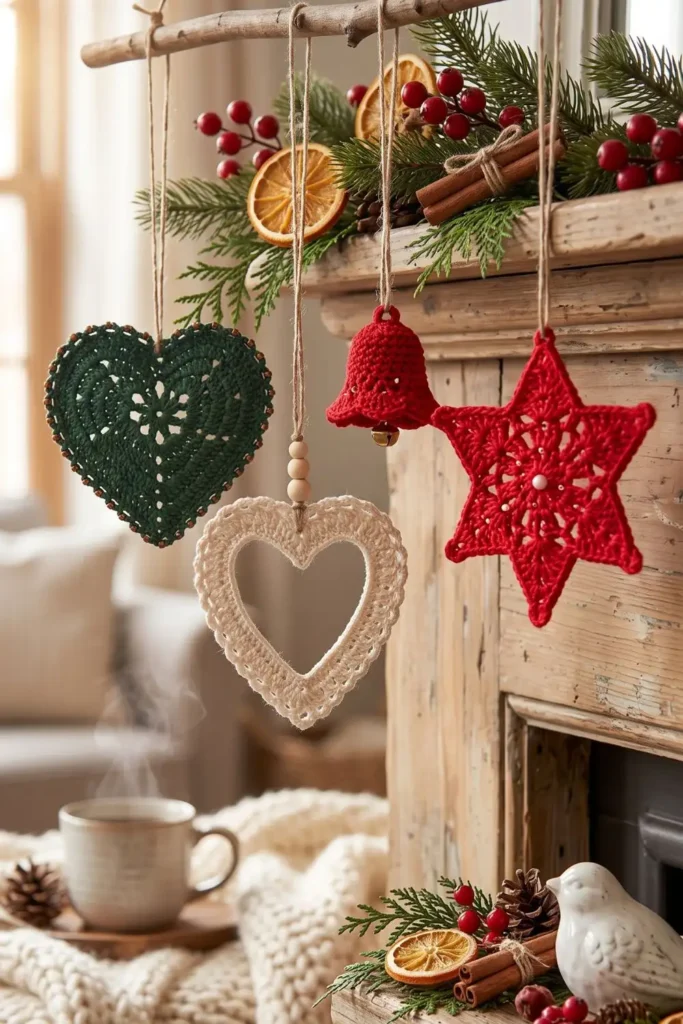
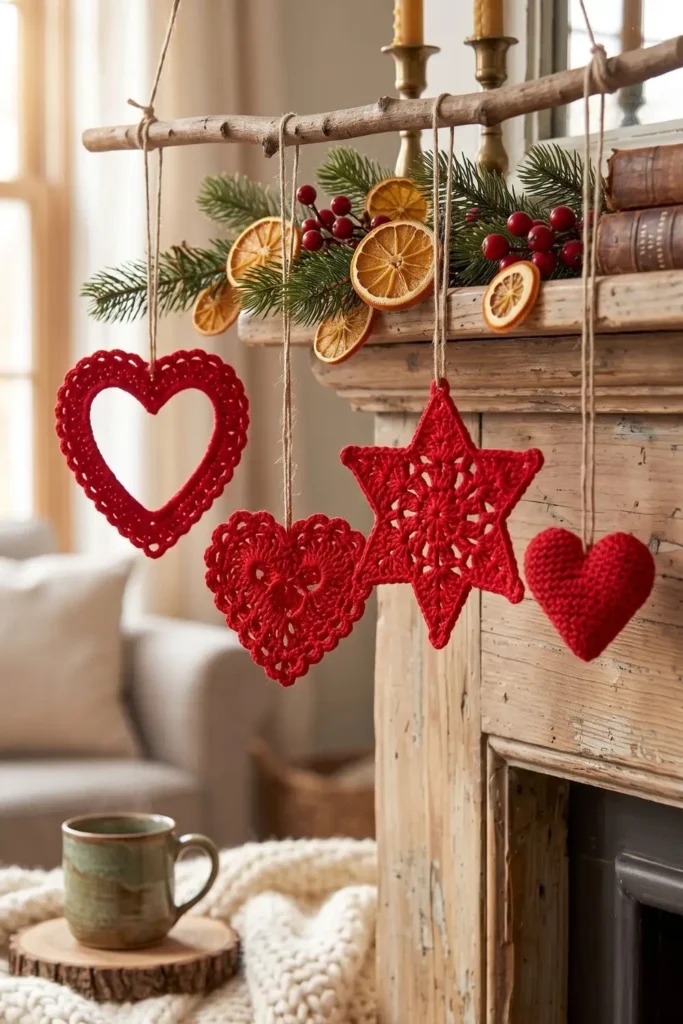
A Five-Point Lacy Star Ornament adds a delicate crochet detail to a Christmas tree, a wrapped present, or a seasonal garland. The openwork center keeps the design light, while stitches of different heights create the five points.
This pattern begins with a small double crochet circle. Chain spaces and groups of stitches form the lacy section, followed by a shaping round and a single crochet border. A matching hanging loop completes the ornament.
The main checkpoint comes before the points: your foundation needs 60 stitches, divided into five equal groups. Marking those groups makes it easier to follow the taller stitches without losing your place.

Skill Level
Intermediate
You should be comfortable working in joined rounds, counting stitches and chain spaces, and making treble and double treble crochet stitches.
Materials
- DK or light worsted-weight cotton yarn
- Crochet hook appropriate for your yarn, approximately 3.0–3.5 mm
- Yarn needle
- Scissors
- Five stitch markers
- Blocking mat and rustproof pins, optional
This is a flat ornament. No stuffing is needed.
Finished Size
The dimensions depend on your yarn, hook, and tension. Measure the ornament after blocking, excluding the hanging loop.
Use the same yarn and hook throughout if you are making a coordinated set.
Abbreviations — US Crochet Terms
| Abbreviation | Meaning |
|---|---|
| ch | Chain |
| sl st | Slip stitch |
| sc | Single crochet |
| hdc | Half double crochet |
| dc | Double crochet |
| tr | Treble crochet |
| dtr | Double treble crochet |
| st / sts | Stitch / stitches |
| sp | Space |
| rnd | Round |
For a reference on terminology, see the Craft Yarn Council’s crochet abbreviations guide. It also explains differences between US and UK crochet terms, which is particularly helpful when working the taller stitches.
Tall Stitches Used in This Pattern
Treble Crochet — tr
Yarn over twice. Insert the hook into the indicated stitch, yarn over, and pull up a loop.
Yarn over and pull through two loops three times.
Double Treble Crochet — dtr
Yarn over three times. Insert the hook into the indicated stitch, yarn over, and pull up a loop.
Yarn over and pull through two loops four times.
Pattern Notes
- Work in joined rounds without turning.
- The beginning ch 3 counts as a double crochet in Rounds 1 and 2.
- Beginning ch 1 does not count as a stitch.
- Joining slip stitches do not count as additional stitches.
- Work into the indicated chain spaces when instructed.
- The ch 3 at each star tip creates a space; it does not use a stitch from the previous round.
- In Round 5, each repeat uses 12 foundation stitches: ten shaping stitches followed by two valley slip stitches.
Five-Point Lacy Star Ornament Pattern
Center Circle
Round 1
Make a magic ring.
Ch 3, counting as the first dc. Work 14 dc into the ring.
Pull the ring closed and join with sl st to the top of the beginning ch 3.
Count: 15 dc.
Round 2
Ch 3, counting as the first dc. Work 1 dc into the same stitch.
Work 2 dc into each of the remaining 14 stitches.
Join with sl st to the top of the beginning ch 3.
Count: 30 dc.
Lacy Center
Round 3
Ch 1. Sc in the same stitch.
Repeat [ch 2, skip next stitch, sc in next stitch] 14 times.
Ch 2, skip the last stitch, and join with sl st to the first sc.
Count: 15 sc and 15 ch-2 spaces.
Round 4
Ch 1. Sc in the first sc.
Repeat [3 dc in next ch-2 space, sc in next sc] 14 times.
Work 3 dc into the final ch-2 space. Join with sl st to the first sc.
Count: 15 sc + 45 dc = 60 stitches.
Mark the Five Sections
Starting with the first sc of Round 4, divide the round into five consecutive groups of 12 stitches.
Place a marker in the first stitch of each group.
Count both the single crochet and double crochet stitches. Each group must contain exactly 12 stitches before you begin the shaping round.
Form the Five Points
Round 5
Ch 1.
Work the following sequence across the first marked group:
- Sc in next stitch.
- Hdc in next stitch.
- Dc in next stitch.
- Tr in next stitch.
- Dtr in next stitch.
- Ch 3.
- Dtr in next stitch.
- Tr in next stitch.
- Dc in next stitch.
- Hdc in next stitch.
- Sc in next stitch.
- Sl st in each of the next 2 stitches.
Repeat this sequence across each of the remaining four groups.
Join with sl st to the first sc.
Count: 5 points, 5 ch-3 tip spaces, and 10 valley slip stitches. All 60 foundation stitches have been used.
Outer Border
Round 6
Ch 1.
Repeat the following sequence 5 times:
- Sc in each of the next 5 stitches.
- Work 3 sc into the ch-3 tip space.
- Sc in each of the next 5 stitches.
- Sl st in each of the next 2 valley slip stitches.
Join with sl st to the first sc.
Fasten off, leaving a tail approximately 6–8 inches (15–20 cm) long for weaving in.
Count: 65 sc and 10 valley slip stitches, excluding the joining slip stitch.
Hanging Loop
Attach matching yarn at the top of one point.
Ch 25–30, then sl st back into the same attachment point.
Fasten off securely. Weave both ends through several stitches on the back and trim the excess.
For the thicker cord option, ch 30 and sl st back along the chain before attaching the cord to the star.
Finishing and Blocking
Weave in the remaining ends on the back, keeping them out of the open chain spaces.
Lay the star flat and arrange the five points evenly. If blocking, lightly dampen the ornament according to the yarn’s care instructions and pin the tips into position.
Keep the center relaxed rather than stretching it to match the points. Allow the ornament to dry completely before removing the pins.
Practical Tips for This Lacy Star
Check the final chain space in Round 3
The last ch 2 closes the openwork sequence before you join. Missing it leaves only 14 chain spaces and changes the foundation for Round 4.
Keep the first stitch marked
A marker helps distinguish the first sc from the joining slip stitch. Accidentally working into the join can introduce an extra stitch.
Count the foundation before shaping
Round 4 must contain 60 stitches. Fix any discrepancy here, before the tall stitches make it harder to trace the mistake.
Keep the taller stitches relaxed
Treble and double treble stitches need several pull-throughs. Avoid tightening each loop sharply, which can shorten the stitches and affect the outline.
Treat the tip as a chain space
In Round 6, work the three tip stitches into the ch-3 space. Keep that placement consistent across all five points.
Color and Display Ideas
White and cream emphasize the openwork. Red and green give the ornament a traditional Christmas appearance, while natural cotton shades suit a simpler holiday display.
Make a matching set for a tree, attach one to a gift, or arrange several along a garland. Use the same yarn weight for a consistent collection.
For another seasonal project, explore the Christmas Star Crochet Table Mat, which uses a contrasting red and green design for table decoration.
Frequently Asked Questions
Is this suitable for a complete beginner?
The pattern is rated intermediate because it combines several stitch heights and requires careful counting. Familiarity with joined rounds will help.
Does the ornament need stuffing?
No. It is a single flat piece with an openwork center.
Can I use a different yarn weight?
Yes, but the size, openness, and drape will change. Match the hook to your yarn and check the fabric as you work.
Why does my star have uneven points?
Check that each point uses one complete 12-stitch group and that the taller stitches have consistent tension. Blocking can help with minor differences, but it cannot correct missed stitches.
Do I need to block the ornament?
Blocking is optional, although it can help define the outline and arrange the five points evenly. Follow the care instructions for your yarn.
Save Your Star Pattern
Save this Five-Point Lacy Star Ornament pattern for your holiday crochet plans.
Whether you choose a matching set or a mix of colors, keep your stitch markers nearby and check each round before moving on. Which shade would you use for your Christmas tree? Share your choice in the comments.