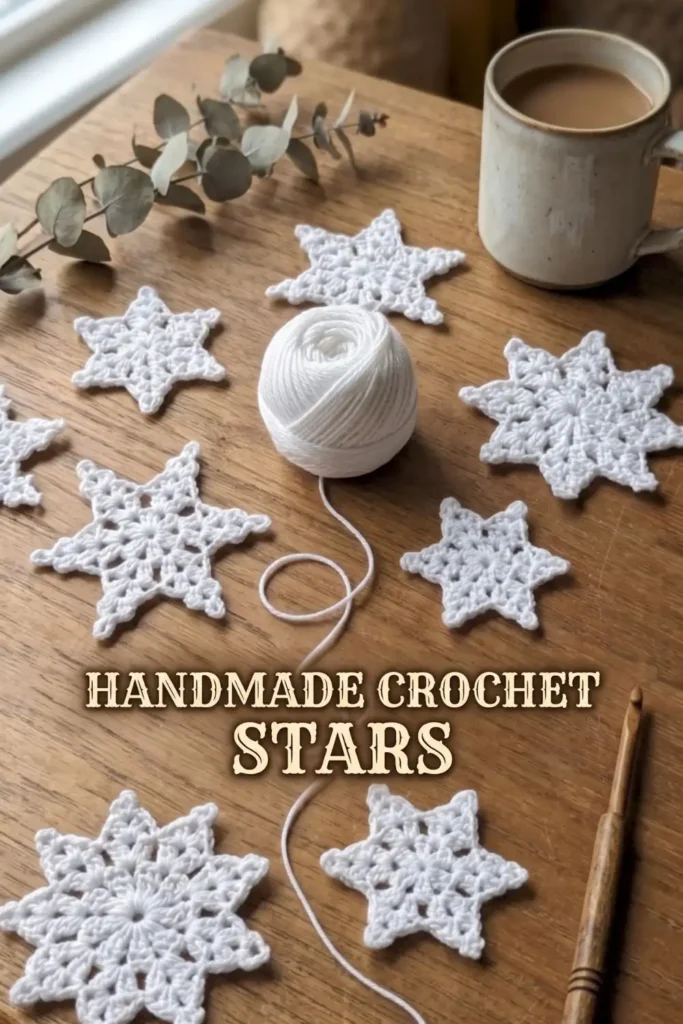
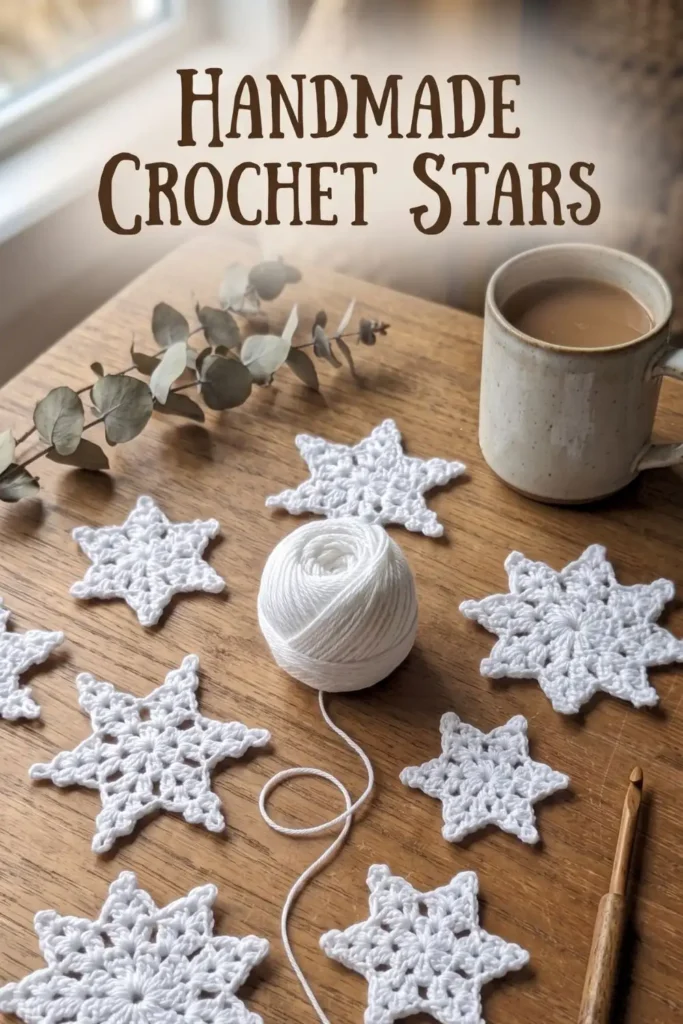
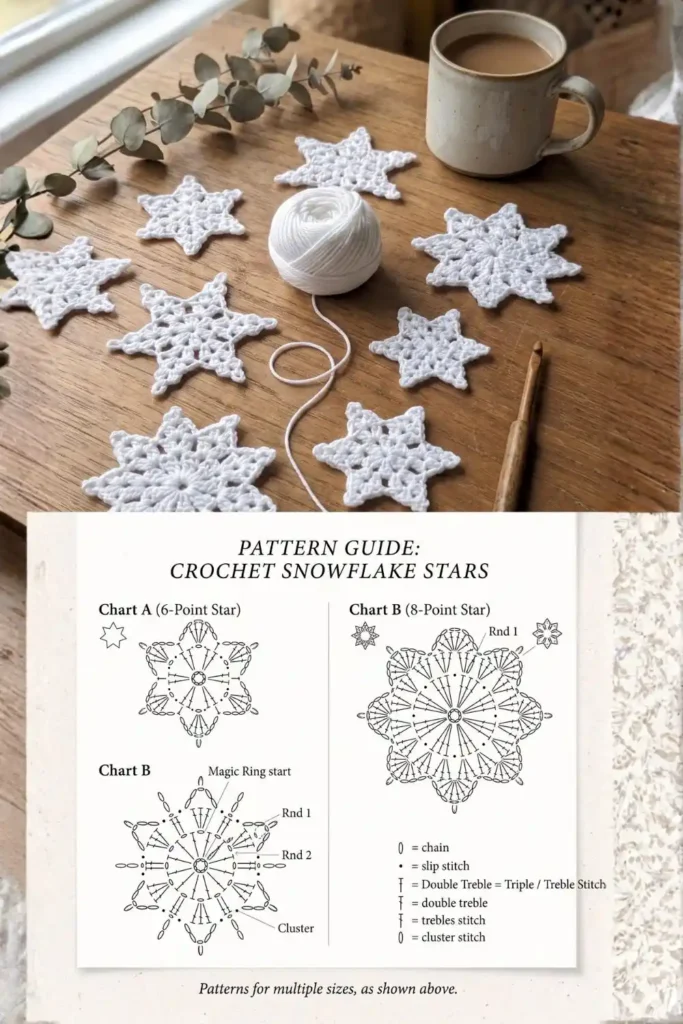
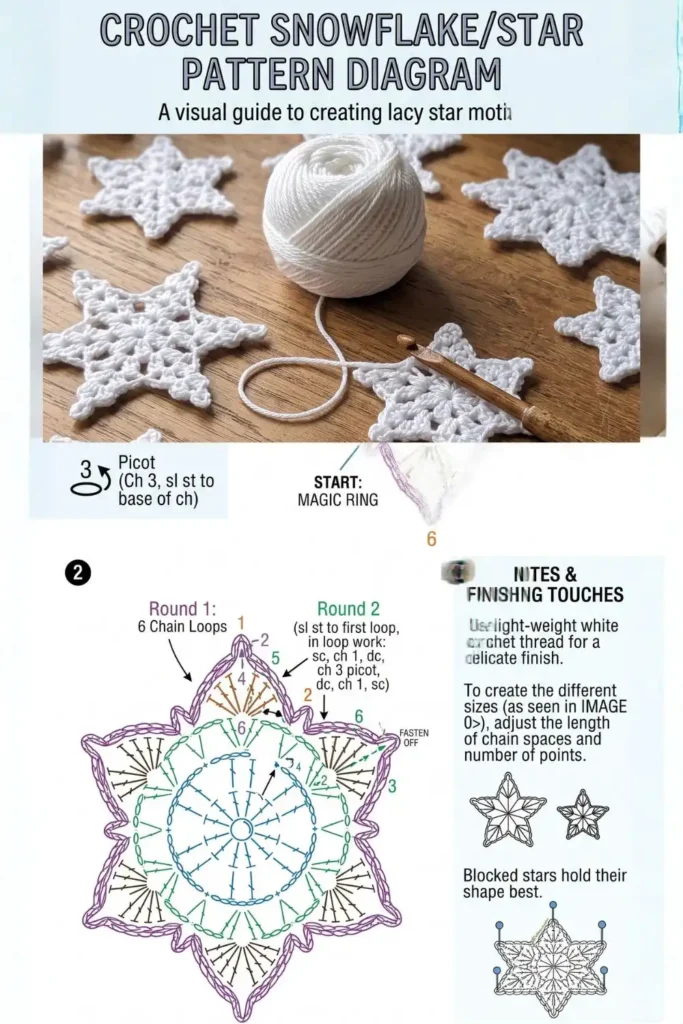
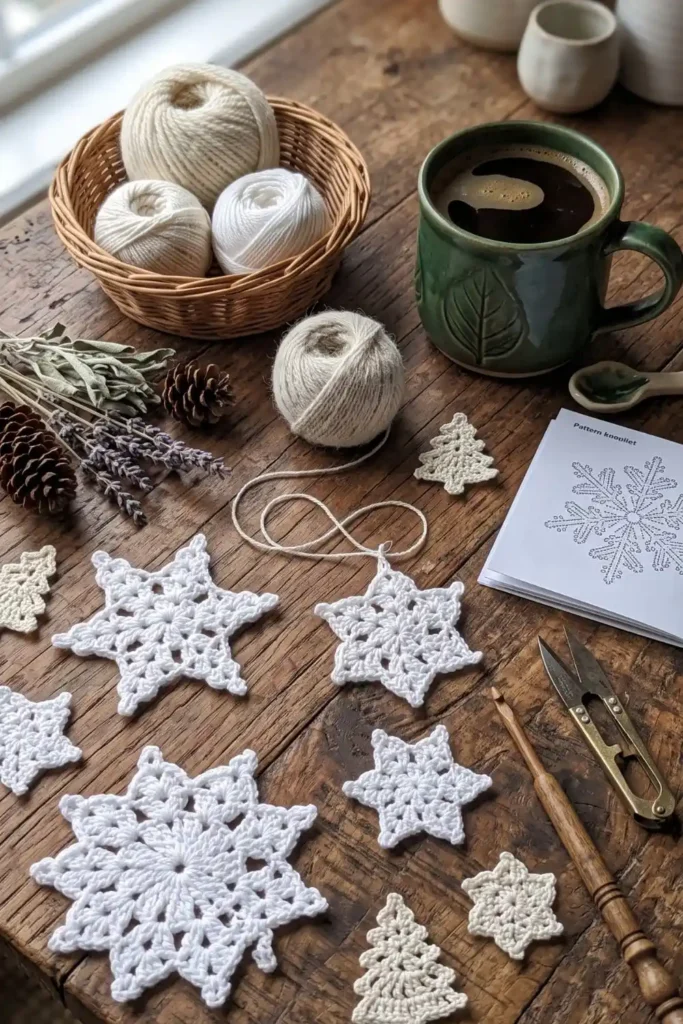
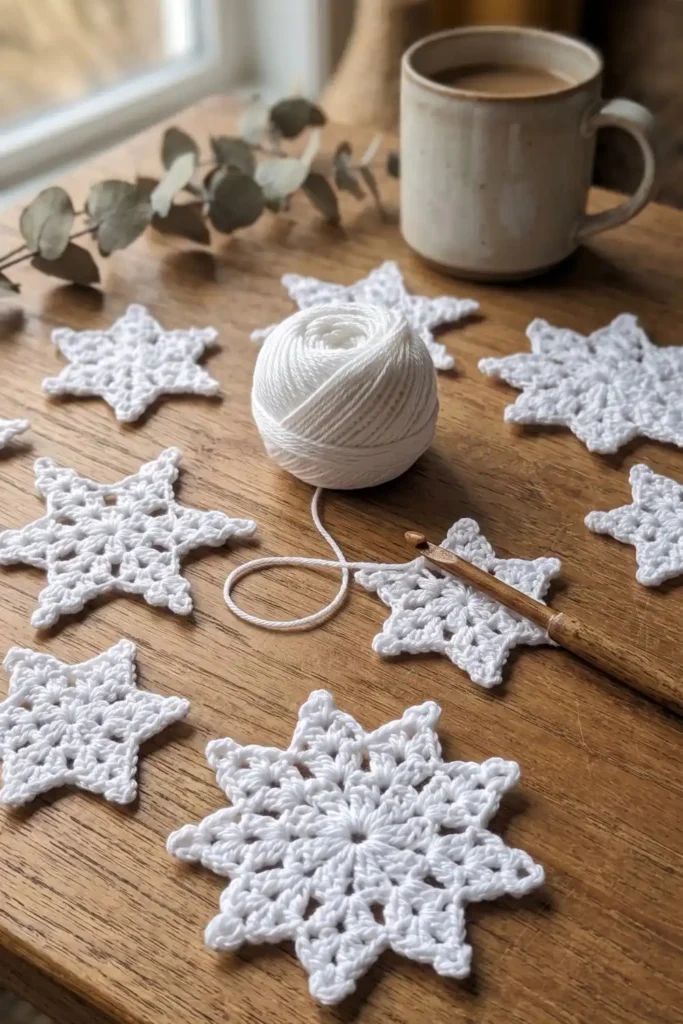
A white Crochet Lace Star Ornament brings a simple handmade detail to Christmas decorating. This six-point design combines a round center, small openings, and individually worked triangular points finished with picots.
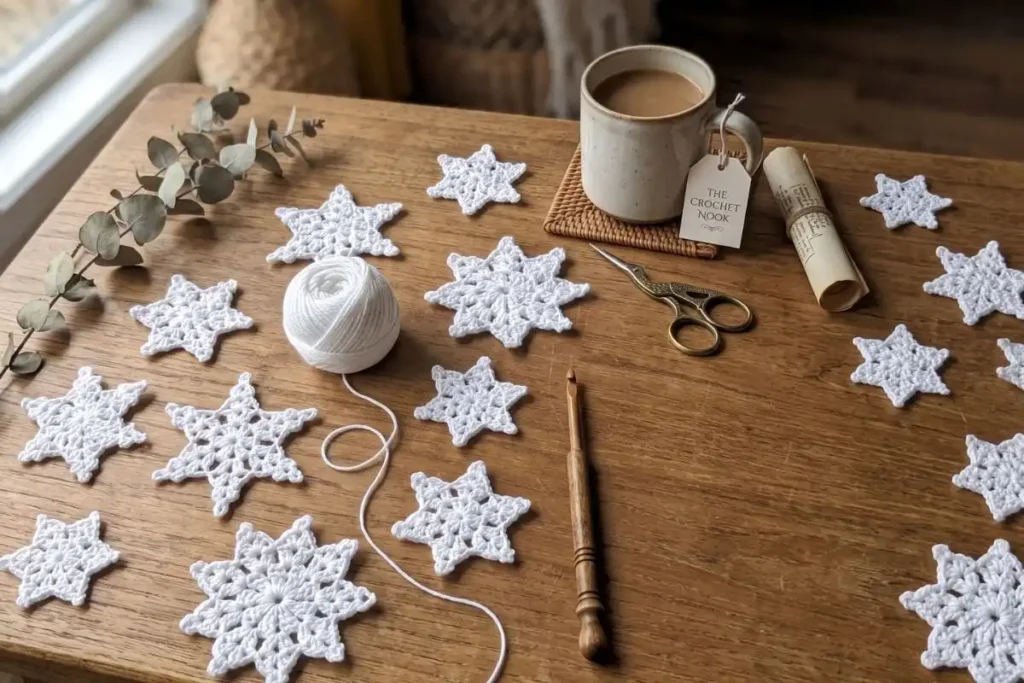
The style is inspired by the white lace stars in the reference photograph. Use the finished ornament on a Christmas tree, attach it to a wrapped gift, or make a matching collection for a seasonal garland.
The center is worked in three joined rounds. Each point is then crocheted separately over a group of five double crochet stitches. Chain spaces open up the points, while decreases bring each one to a narrow tip.
Pattern Overview
- Skill level: Intermediate
- Terminology: US crochet terms
- Construction: Center worked in rounds; six points worked individually in rows
- Gauge: Not essential for matching a specific size
- Finished dimensions: Depend on yarn, hook, tension, and blocking
- Stuffing: Not required
Materials
- Smooth cotton yarn
- Crochet hook suitable for your chosen yarn
- Scissors
- Yarn needle
- Six stitch markers
- Blocking mat and rustproof pins
- Optional ribbon or thread for hanging
White or cream emphasizes the lace openings. Choose a smooth yarn so the stitch tops remain easy to identify when working the decreases.
For finer lace, use crochet cotton thread with a suitable steel hook. Changing the yarn and hook will change the size and firmness of the ornament.
Abbreviations
| Abbreviation | Meaning |
|---|---|
| ch | Chain |
| sl st | Slip stitch |
| sc | Single crochet |
| dc | Double crochet |
| dc2tog | Double crochet 2 stitches together |
| dc3tog | Double crochet 3 stitches together |
| st / sts | Stitch / stitches |
| sp | Space |
| MR | Magic ring |
These instructions use US terminology. If you usually follow UK patterns, consult the Craft Yarn Council’s crochet abbreviations and terminology guide before beginning.
Special Stitches
dc2tog
Yarn over, insert the hook into the indicated stitch, yarn over, and pull up a loop. Yarn over and pull through two loops.
Repeat in the next indicated stitch. Yarn over and pull through all three loops remaining on the hook.
Two stitches become one.
dc3tog
Yarn over, insert the hook into the indicated stitch, yarn over, and pull up a loop. Yarn over and pull through two loops.
Repeat in each of the next two indicated stitches. Yarn over and pull through all four loops remaining on the hook.
Three stitches become one.
Picot
Ch 3, then sl st into the first of those three chains.
Pattern Notes
- Work the center in joined rounds without turning.
- The beginning ch 3 counts as a dc in Round 1, Round 3, and Row 1 of each point.
- The beginning ch 2 in Rows 2 and 3 of each point does not count as a stitch.
- Joining slip stitches do not count as additional stitches.
- Turn after Rows 1 and 2 of each point.
- In point Row 3, work into the three dc stitch tops only. Leave the two ch-2 spaces unworked.
- Each point uses a separate five-dc group from Round 3.
Crochet Lace Star Ornament Pattern
Center
Round 1
Make a MR.
Ch 3, counting as the first dc. Work 11 dc into the ring.
Close the ring and join with sl st to the top of the beginning ch 3.
Count: 12 dc.
Round 2
Ch 1. Sc in the same stitch.
Repeat [ch 3, skip next dc, sc in next dc] 5 times.
Ch 3, skip the last dc, and join with sl st to the first sc.
Count: 6 sc and 6 ch-3 spaces.
Round 3
Sl st into the first ch-3 space.
Ch 3, counting as the first dc. Work 4 dc into the same space. Ch 2.
In each of the remaining 5 ch-3 spaces, work 5 dc, ch 2.
Join with sl st to the top of the beginning ch 3.
Count: 6 groups of 5 dc, separated by 6 ch-2 spaces. Total: 30 dc.
Fasten off.
Place a marker in the first dc of each five-dc group. In the first group, the beginning ch 3 is that first stitch.
First Star Point
Join yarn in the first dc of one marked group.
Row 1
Ch 3, counting as the first dc.
Dc in each of the remaining 4 dc of the group.
Turn.
Count: 5 dc.
Row 2
Ch 2, which does not count as a stitch.
Dc2tog across the first 2 dc. Ch 2.
Dc in the next dc. Ch 2.
Dc2tog across the last 2 dc. The final stitch of the row below is the top of its beginning ch 3.
Turn.
Count: 3 dc stitches and 2 ch-2 spaces.
Row 3
Ch 2, which does not count as a stitch.
Dc3tog across the 3 dc stitch tops, skipping both ch-2 spaces.
Make a picot.
Fasten off.
Count: 1 decrease stitch and 1 picot.
Remaining Five Points
Repeat Rows 1–3 over each remaining five-dc group.
Do not work a point into the ch-2 spaces between groups. Those spaces remain between the bases of neighboring points.
When finished, you should have six separately worked points, each with two lace openings and one picot tip.
Finishing
Weave in the ends on the back of the ornament. Secure them through the denser stitches rather than carrying them across visible openings.
Lay the star flat and check that all six points follow the same construction.
Follow your yarn’s care instructions to lightly dampen the ornament. Arrange the points evenly on a blocking mat and pin each tip into position.
Keep the center relaxed and adjust the openings gently. Allow the star to dry completely before removing the pins.
Optional Hanging Attachment
Thread a piece of ribbon or matching thread through the stitches immediately below one picot.
Tie the ends securely to form a hanging loop. Leave the picot free so its shape remains visible.
Practical Tips for the Six Points
Mark the groups before fastening off the center
The six groups should each contain five dc. Marking them now prevents a point from accidentally extending into the neighboring group.
Remember which beginning chains count
Row 1 starts with a ch 3 that counts as a stitch. Rows 2 and 3 start with a ch 2 that does not. Adding a stitch into those ch-2 turning chains will change the decrease sequence.
Identify the three stitch tops in Row 3
There is one decrease stitch at each side and one dc in the middle. Work the final dc3tog through those three stitch tops, leaving the chain spaces underneath open.
Keep all six points consistent
Changing tension between points can make their lengths differ. Compare each completed point with the first before fastening off.
Check the construction before blocking
Blocking can help arrange the points, but it cannot correct an extra stitch or a missed decrease. Check the five-stitch base and the three-stitch second row if a point looks different.
Color and Display Ideas
White and ivory suit the delicate style of the reference image. Red, green, or burgundy can bring the same design into a traditional Christmas palette.
For a matching set, use the same yarn and hook throughout. Hang the stars individually, arrange them along a garland, or attach one to a gift as a removable decoration.
For a coordinating table project, explore the Christmas Star Crochet Table Mat, which combines red and green in a larger decorative design.
Frequently Asked Questions
How many points does this ornament have?
This version has six points. Each point is worked over one of the six five-dc groups in the center.
Is this an exact pattern for every star in the photograph?
No. The photograph shows several designs. This pattern uses a new six-point construction inspired by their white cotton and openwork appearance.
Can I use crochet thread?
Yes. Choose a hook suitable for the thread and expect a finer ornament with different dimensions.
Why are there several yarn ends?
Each point is worked separately. This makes the triangular shaping easier to follow, but it leaves ends to secure at every point.
Can I make this without stuffing?
Yes. No stuffing is used; the ornament is designed as a flat piece.
What determines the finished size?
The yarn or thread, hook, tension, and amount of shaping during blocking all affect the dimensions.
Save Your Crochet Star
Save this Crochet Lace Star Ornament pattern for your seasonal projects.
Would you make a collection in white, or choose different colors for each star? Share your color plans in the comments.