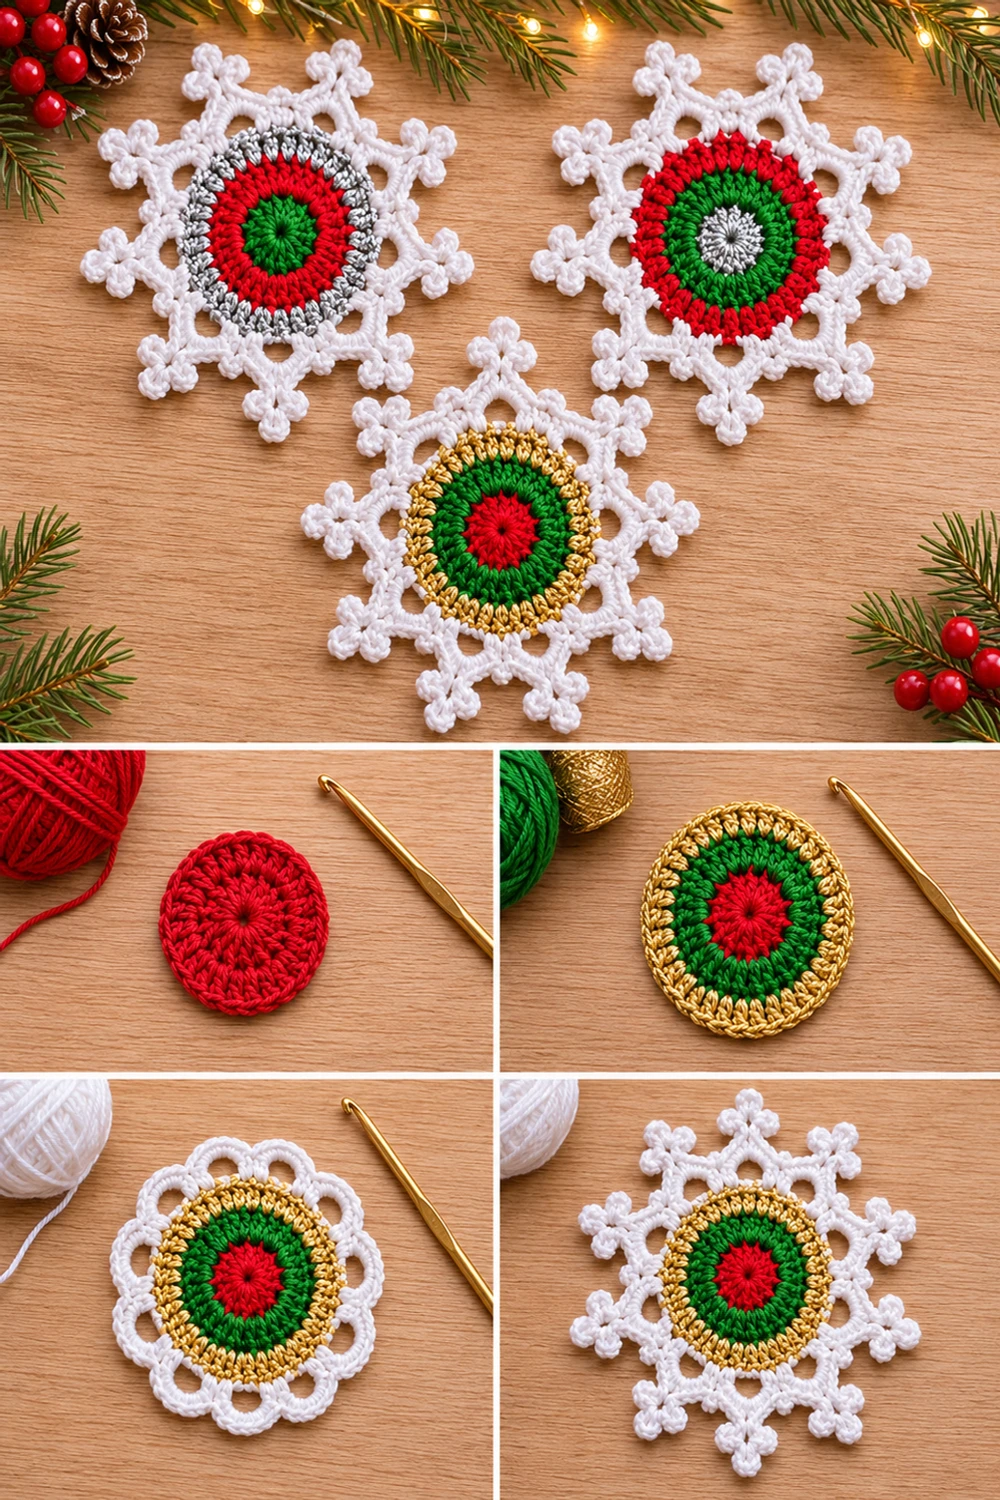
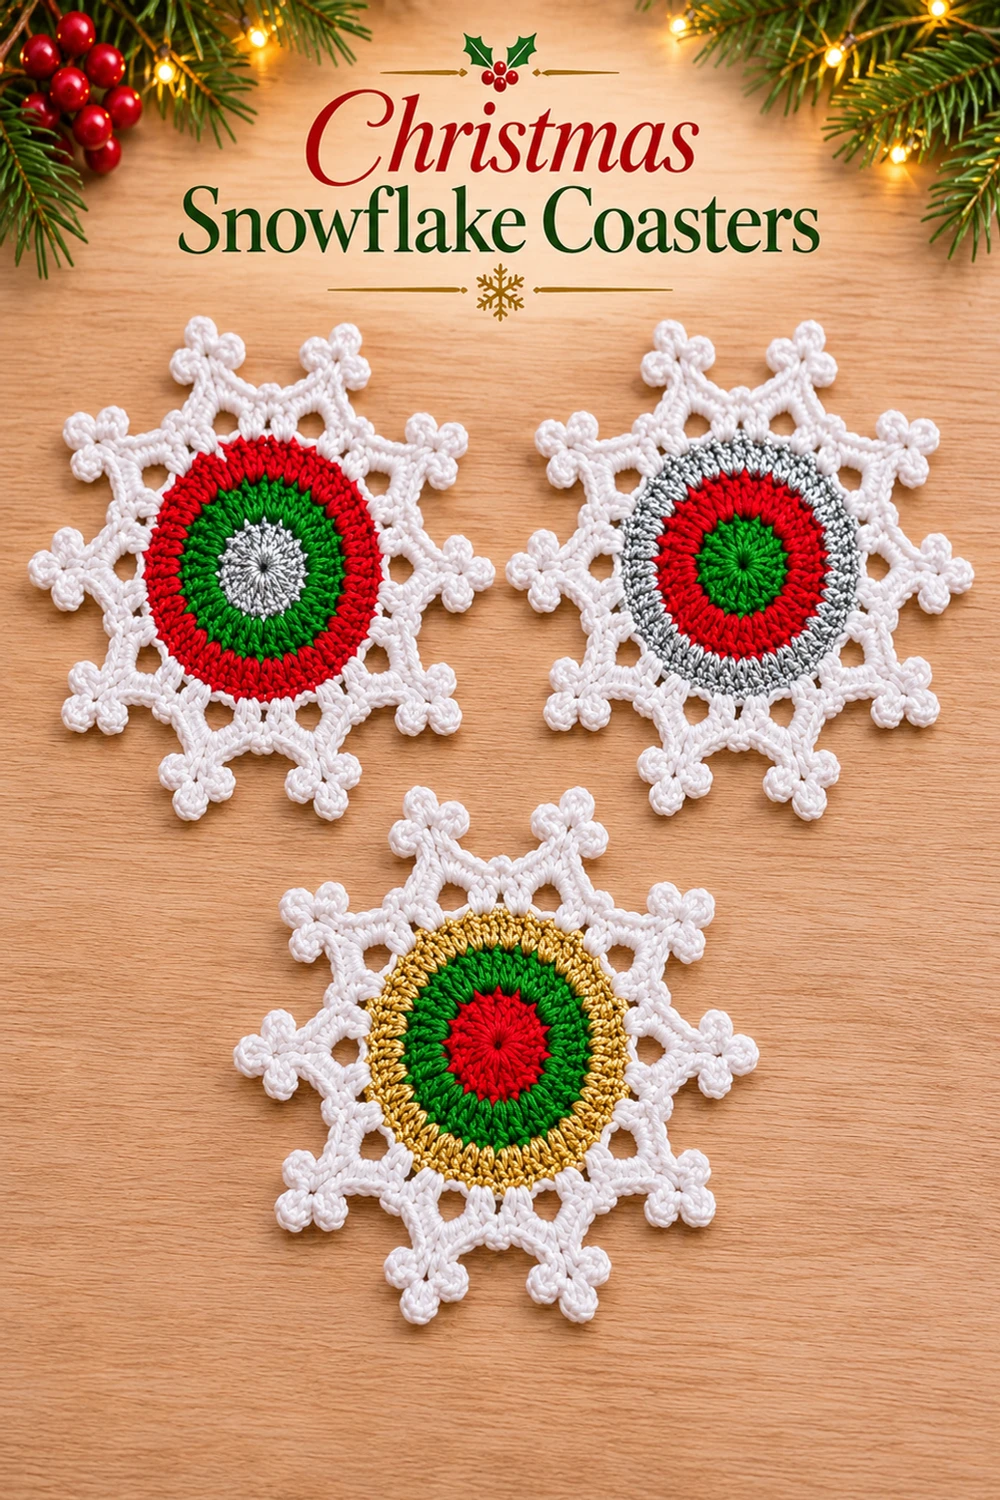
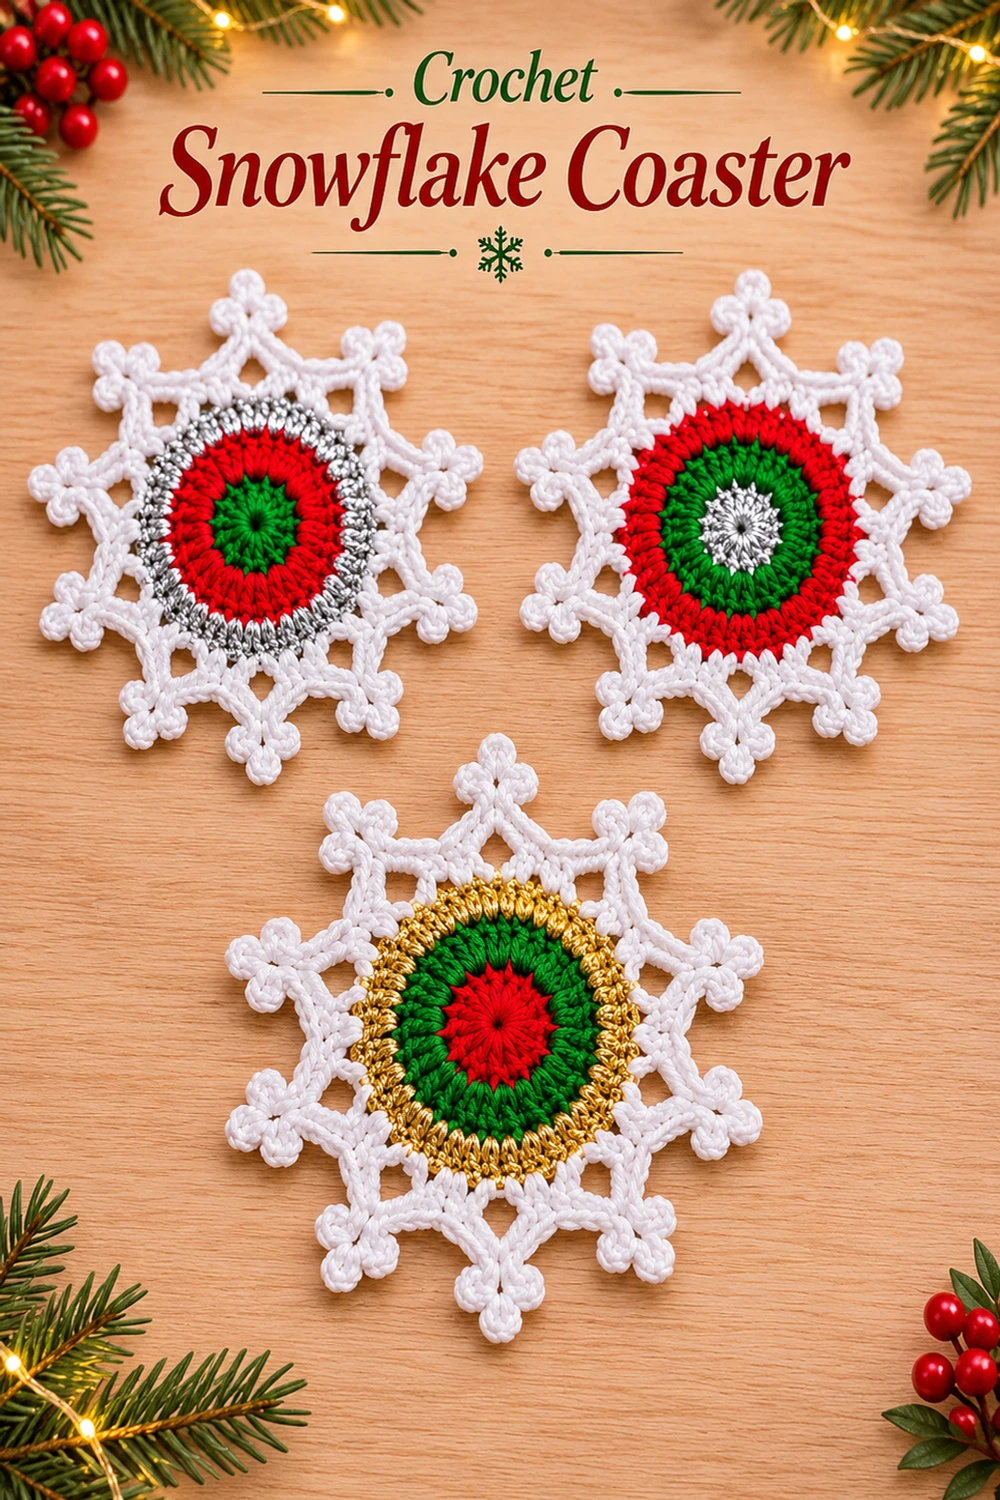
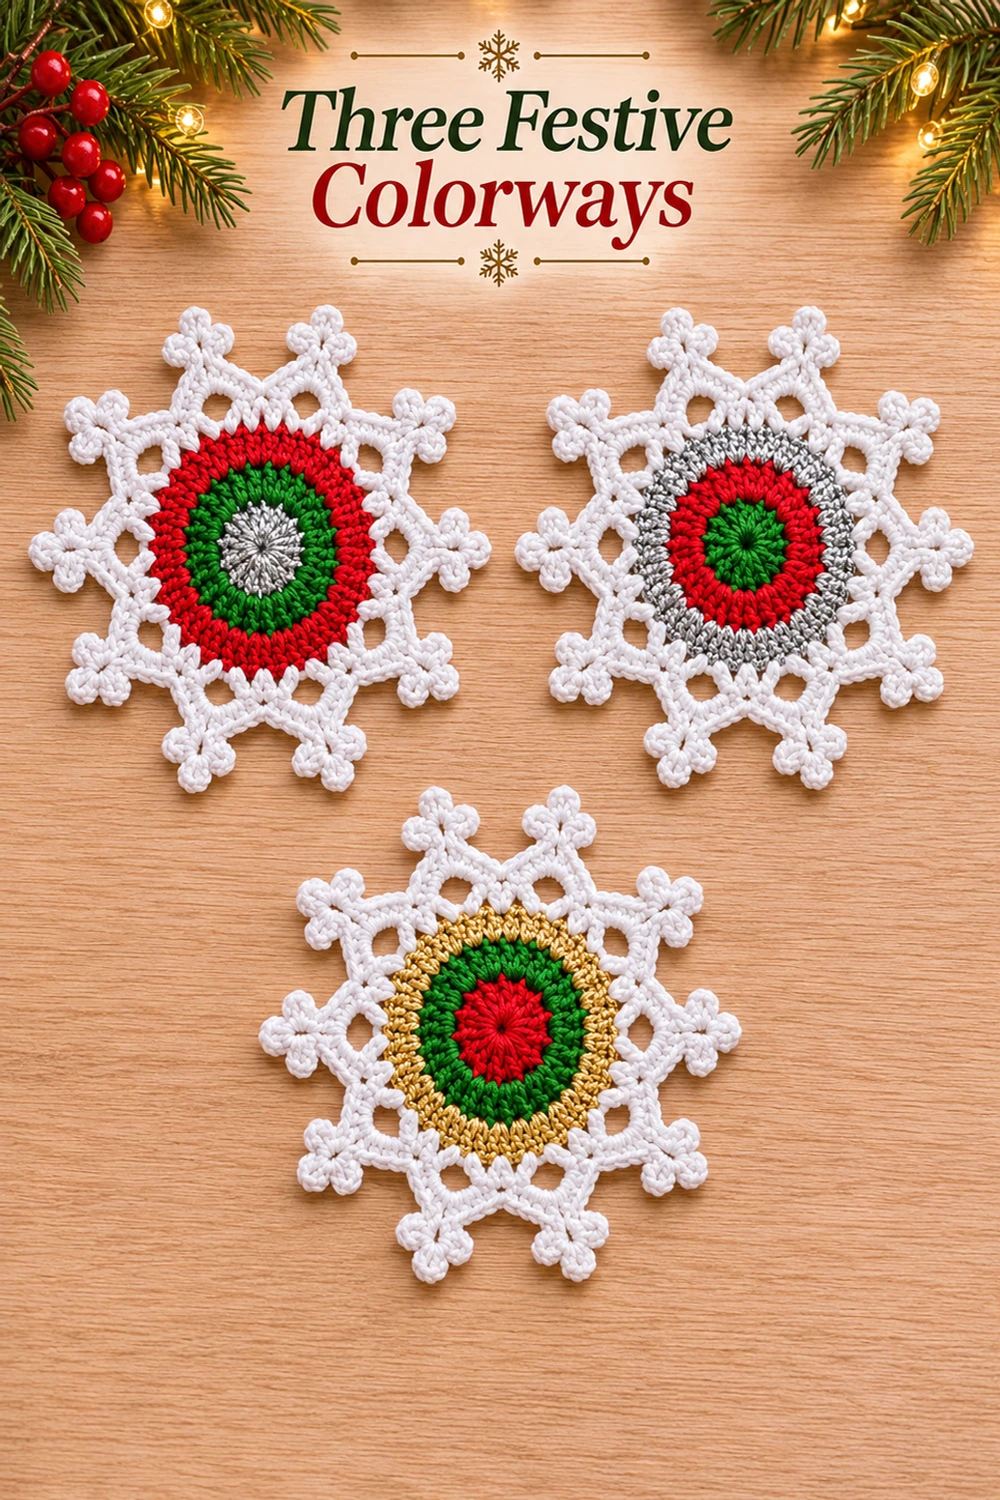
This Christmas snowflake crochet coaster has a solid three-color center, a white lace ring and ten branched points. Make the three colorways shown in the reference for a matching set with different centers.
This photo-inspired adaptation reconstructs the lace and the three-loop tips from the visible shape. The stitch counts were checked on paper. The pattern has not been physically crocheted or tested.
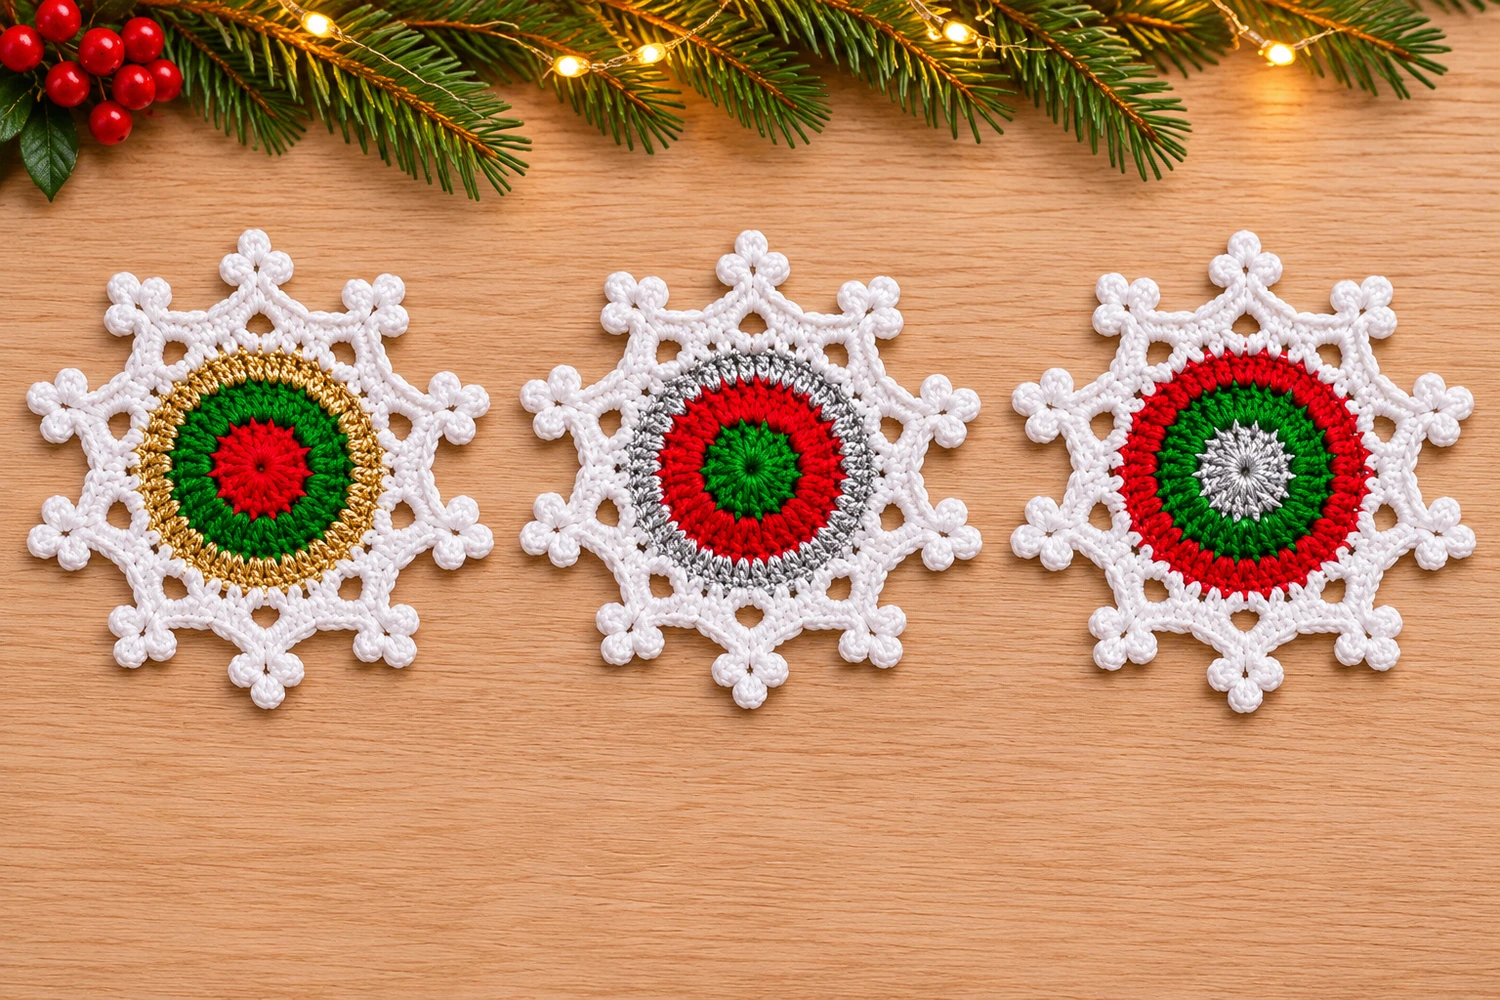
Christmas Snowflake Crochet Coaster Materials
- Smooth DK cotton in cherry red, evergreen and white. Use matching-gauge gold and silver yarn, or hold a fine metallic strand with similarly colored cotton. Allow an estimated 12–18 g of yarn per coaster, including 5–8 g for the white border.
- 3.25 mm hook as a starting size, a blunt yarn needle, scissors, removable stitch markers, rustproof pins and a blocking mat.
- Intermediate. Estimated blocked tip-to-tip diameter: 4½–5½ in (11.5–14 cm). The solid center is estimated at 3–3¾ in (7.5–9.5 cm). Check your actual measurements before making a set.
Before You Begin
Use yarns close enough in thickness that each ring lies flat. A fine metallic strand adds sparkle without greatly changing the gauge. Keep the center firm but flexible, and test that your intended cup fits on the solid disk before adding the white lace. If the cup rests on the open edge or rocks on raised stitches, choose a smaller base.
Make one center and one white border per coaster. All seven rounds use the same construction in each colorway. Lay the piece flat after the color changes and before beginning the lace.
Choose Your Colorway
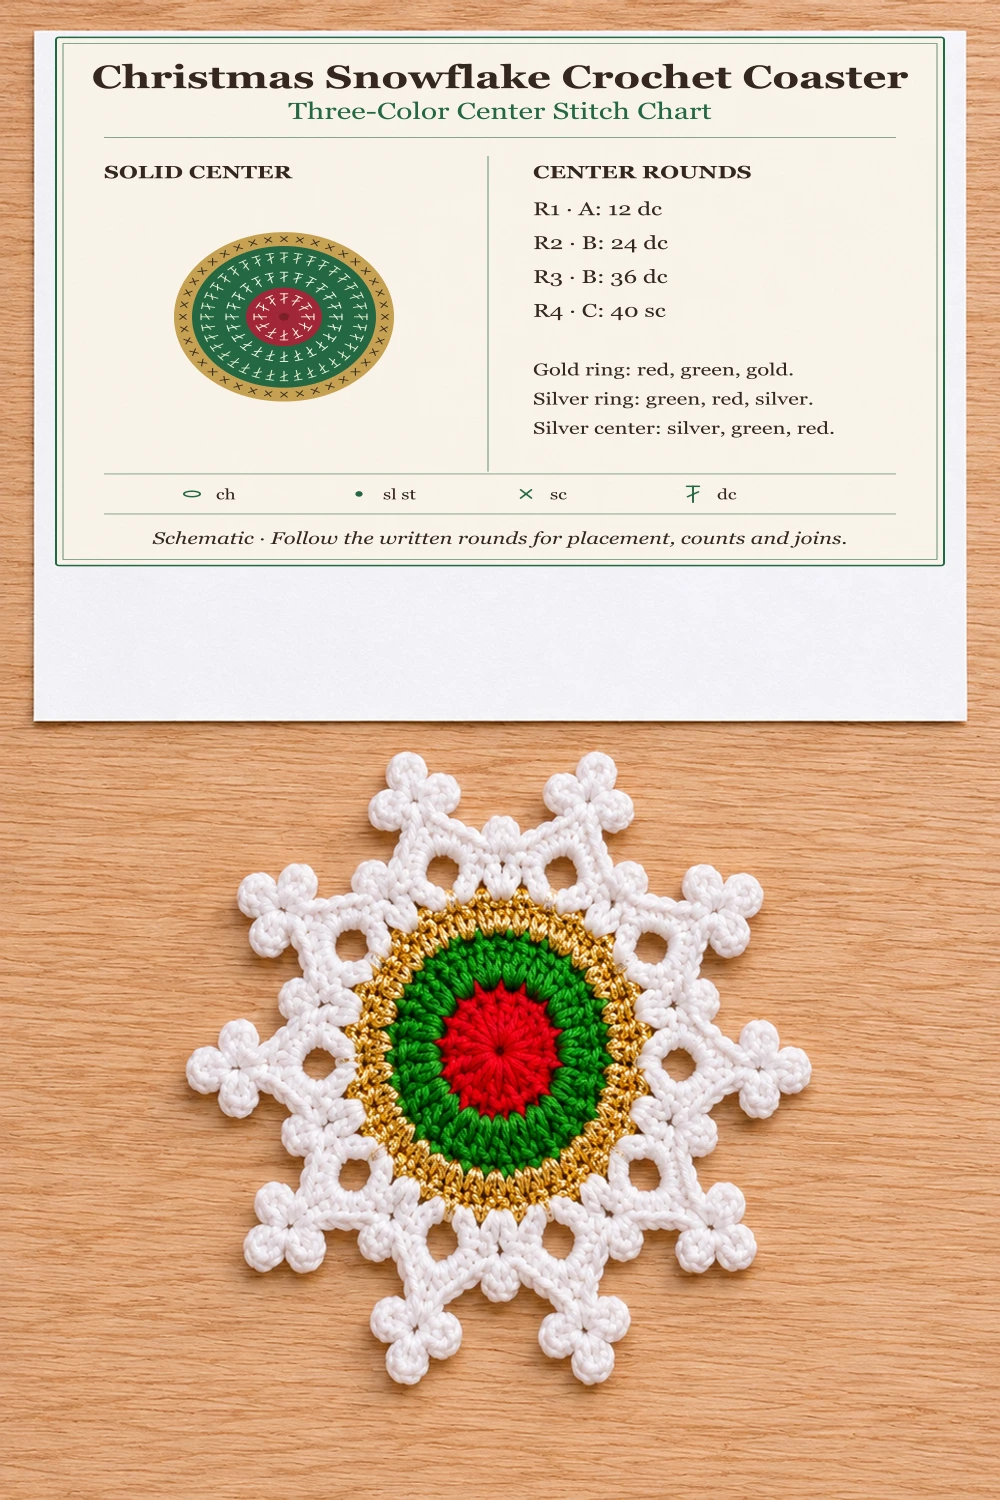
| Colorway | A, center (R1) | B, middle (R2–3) | C, outer ring (R4) |
|---|---|---|---|
| Gold ring | Red | Green | Gold |
| Silver ring | Green | Red | Silver |
| Silver center | Silver | Green | Red |
Use white for Rounds 5–7 in all three versions. Make the reference set by working one coaster in each colorway.
US Crochet Terms and Working Notes
MR magic ring, ch chain, sl st slip stitch, sc single crochet, dc double crochet, st(s) stitch(es), sp space, sk skip, RS right side. See the Craft Yarn Council abbreviations for US stitch terms.
Work joined rounds with the RS facing. Beginning ch 1 and ch 2 do not count. Mark the first counted stitch of every round and join to that stitch. Do not work into or count the final joining slip stitch. When a round instructs you to work around an arch, insert your hook underneath the whole arch.
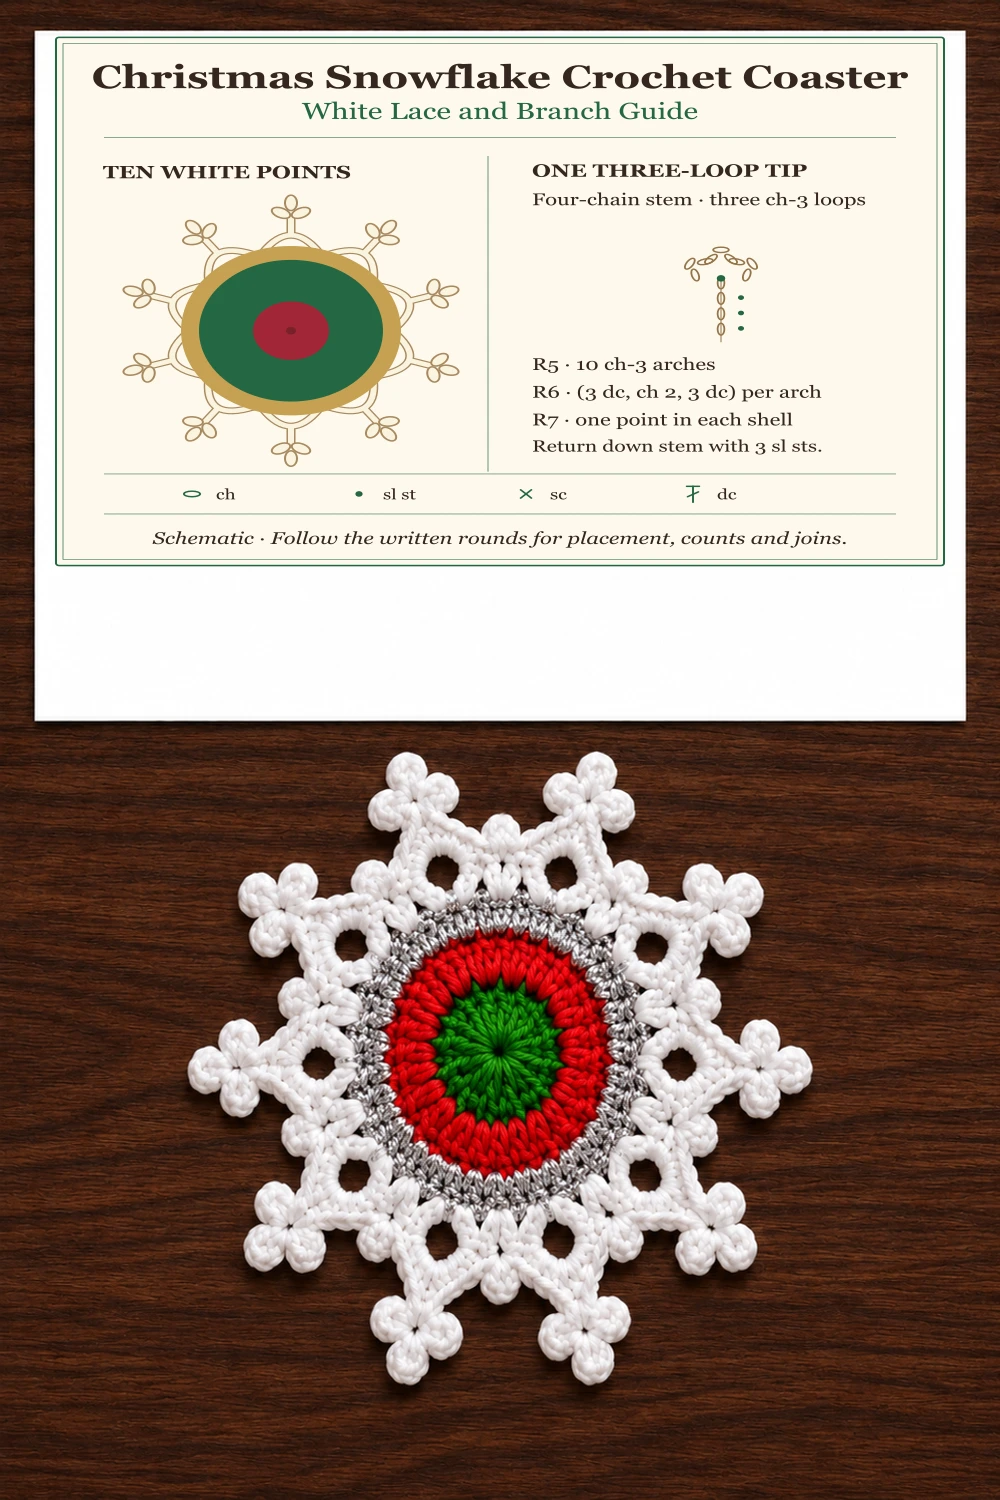
Three-loop point. After the indicated sc, ch 4 for the stem. Number the stem chains 1–4 from the base toward the hook. Ch 3 and sl st into stem ch 4 to close a loop. Repeat twice more, starting each ch 3 from the slip stitch and returning to the same stem chain. Sl st into stem chains 3, 2 and 1, in that order, to return to the base. One point uses a four-chain stem and three ch-3 loops. Leave the loops loose enough to spread during blocking.
Round Counts at a Glance
| Round | Color | Count |
|---|---|---|
| 1 | A | 12 dc |
| 2 | B | 24 dc |
| 3 | B | 36 dc |
| 4 | C | 40 sc |
| 5 | White | 10 sc and 10 ch-3 arches |
| 6 | White | 10 sc, 60 dc and 10 ch-2 tip spaces |
| 7 | White | 10 valley sl sts, 60 sc and 10 three-loop points |
Crochet the Three-Color Disk
Round 1: Start the center
With A, make an MR and ch 2. Work 12 dc into the ring and close it gently. Join to the first dc and fasten off. 12 dc.
Round 2: Change to the middle color
Attach B in any dc and ch 2. Starting in the same stitch, work 2 dc in every dc around. Join. 24 dc.
Round 3: Widen the middle band
Ch 2. Starting in the same stitch as the join, repeat [dc in next dc, 2 dc in next dc] 12 times. Join and fasten off. 36 dc.
Round 4: Add the narrow outer ring
Attach C in any dc and ch 1. Starting in that same dc, repeat [sc in each of the next 8 dc, 2 sc in the next dc] 4 times. Join and fasten off. 40 sc. The four repeats use all 36 dc and add four stitches evenly. If using a metallic strand, work it together with the matching cotton for this entire round.
Work the White Lace and Branches
Round 5: Make ten arches
Join white in any sc and ch 1. Starting in that same stitch, repeat [sc in next sc, ch 3, sk next 3 sc] 10 times. Join to the first sc. 10 sc and ten ch-3 arches. The final three skipped stitches are immediately before the first anchor.
Round 6: Fill the arches
Ch 1. Starting in the same stitch as the join, repeat [sc in the next sc, (3 dc, ch 2, 3 dc) around the next ch-3 arch] 10 times. Join to the first sc. 10 sc valleys, 60 dc and ten ch-2 tip spaces. Each group of six dc forms one white shell.
Round 7: Build the ten three-loop points
Sl st into the first sc valley and mark the new slip stitch. Skip the first dc of the shell, sc in each of the next 2 dc, then sc around its ch-2 space. Work one three-loop point. Sc again around the same ch-2 space, sc in each of the next 2 dc and skip the last dc of that shell.
Repeat [sl st in next valley sc, sk first dc, sc in next 2 dc, (sc, three-loop point, sc) around the ch-2 space, sc in next 2 dc, sk last dc] 9 more times. Sl st to the marked valley slip stitch and fasten off. 10 valley sl sts, 60 sc and ten three-loop points. Each repeat accounts for six dc and one tip space. The slip stitches inside the three-loop points are counted with the points.
Block and Finish the Coasters
Secure the magic-ring tail and weave in the remaining tails on the back through matching colors, changing direction before trimming. There is no separate assembly. Dampen the coaster according to the yarn label, smooth the disk flat and pin opposite points in pairs. Spread the three loops at each tip, checking that none folds under. Let dry completely.
Troubleshooting
The lace draws inward. Count the forty stitches before the white round. If the count is right, loosen the ch-3 arches and rework the tight section. The point has only two loops. Check that each of the three short chains returns to the fourth stem chain. The coaster rocks. Move bulky finishing ends away from the cup area and check that the cup rests entirely on the solid disk.
Care and Storage
Follow the most delicate yarn label in the coaster, especially for metallic blends. Test red yarn for color transfer, wash gently and reshape flat. Store the pieces stacked loosely. For a different matching table accent, see the Christmas Scallop Crochet Coaster.
Visual Tutorial and Crochet Charts
The visuals illustrate the intended colors and construction. Both stitch charts are schematic. Use the written rounds and counts for exact placement, joins and repeats.