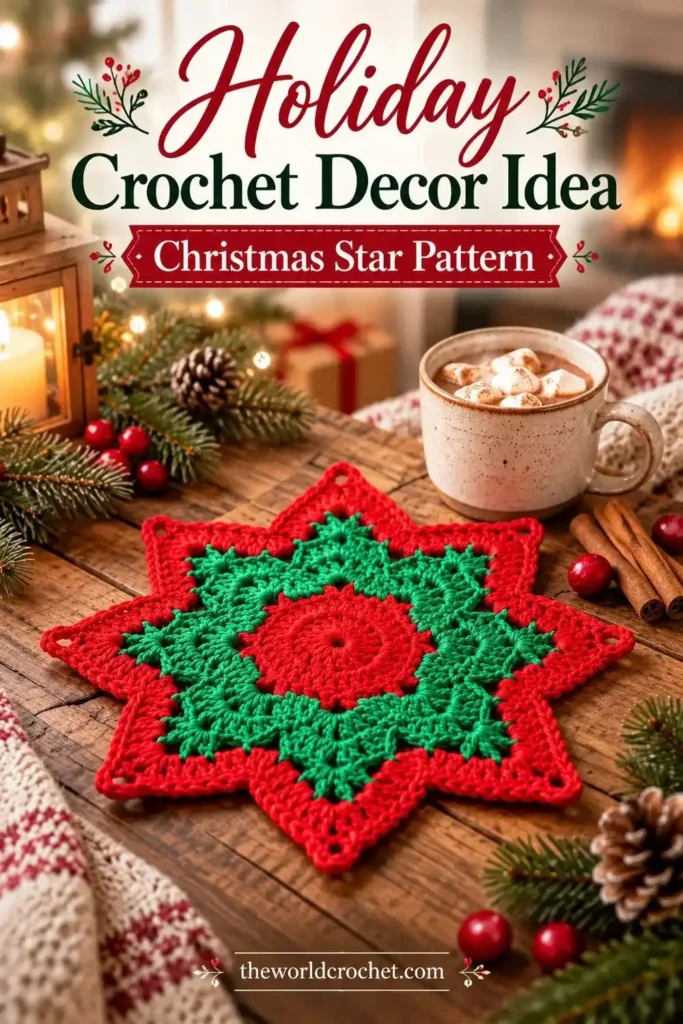
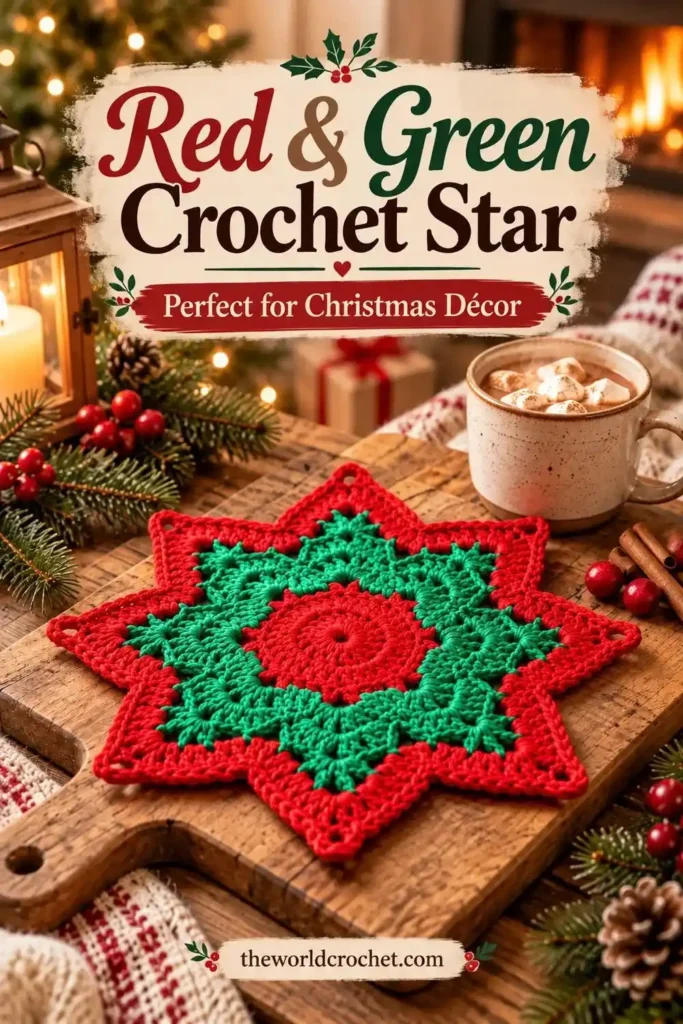
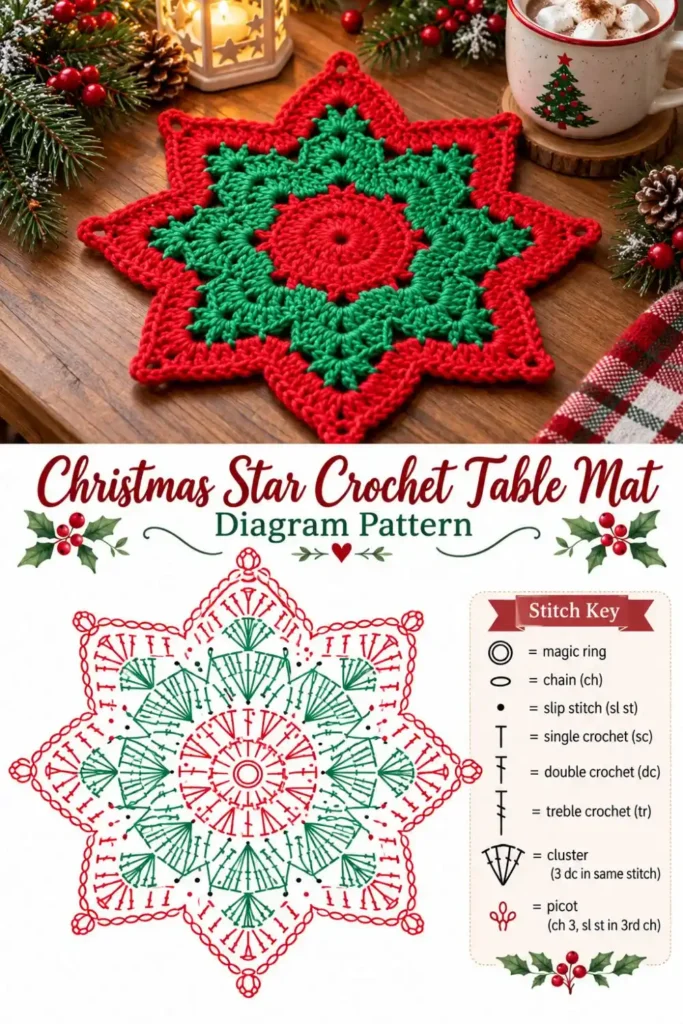
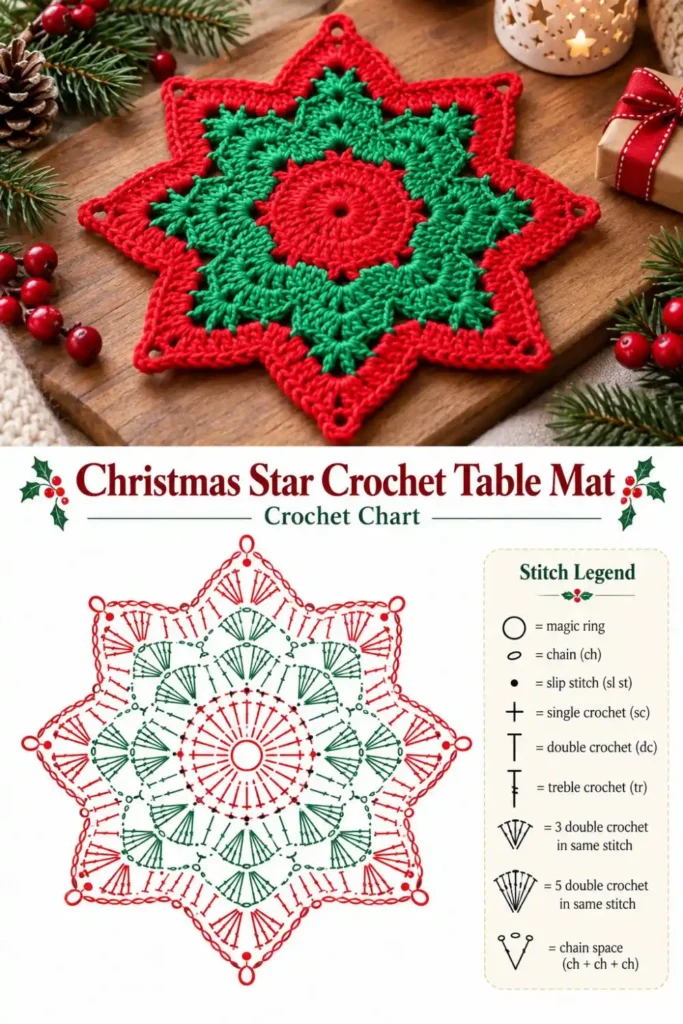
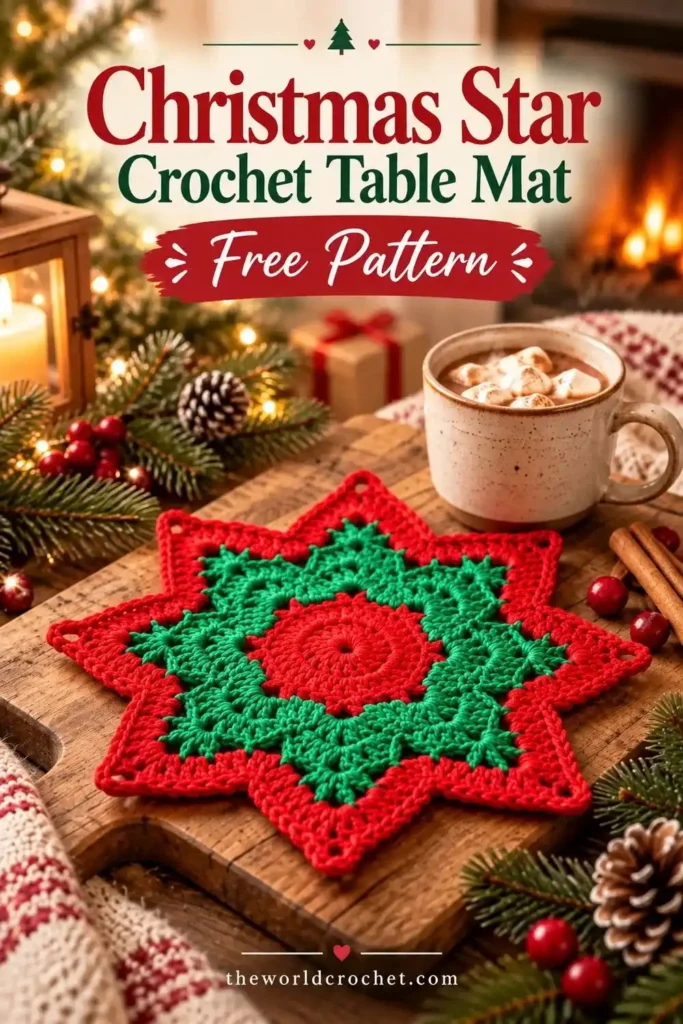
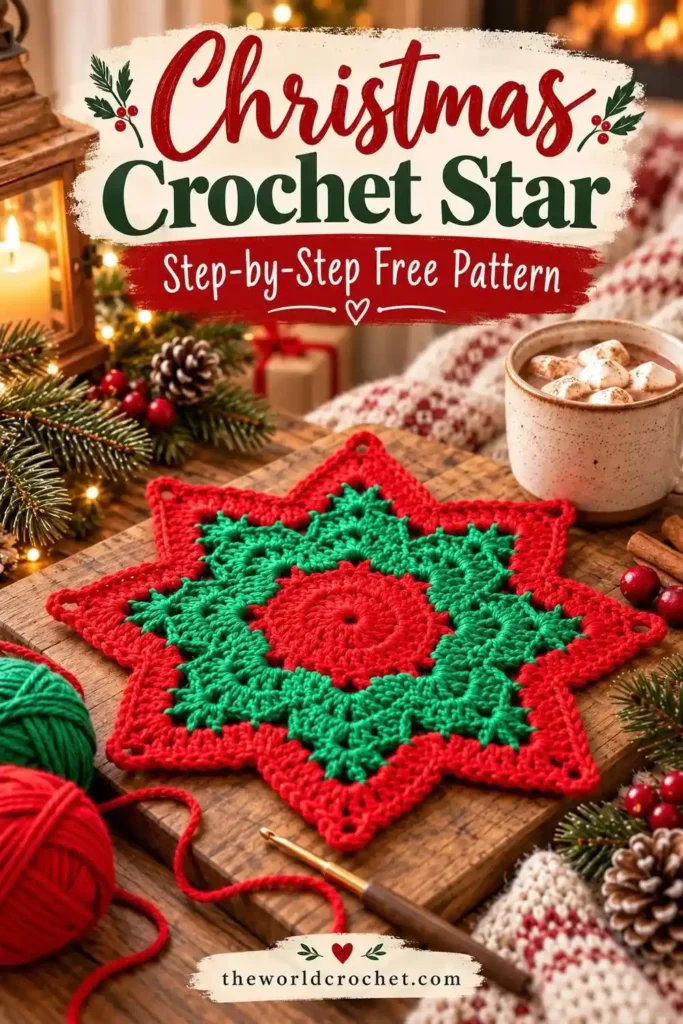
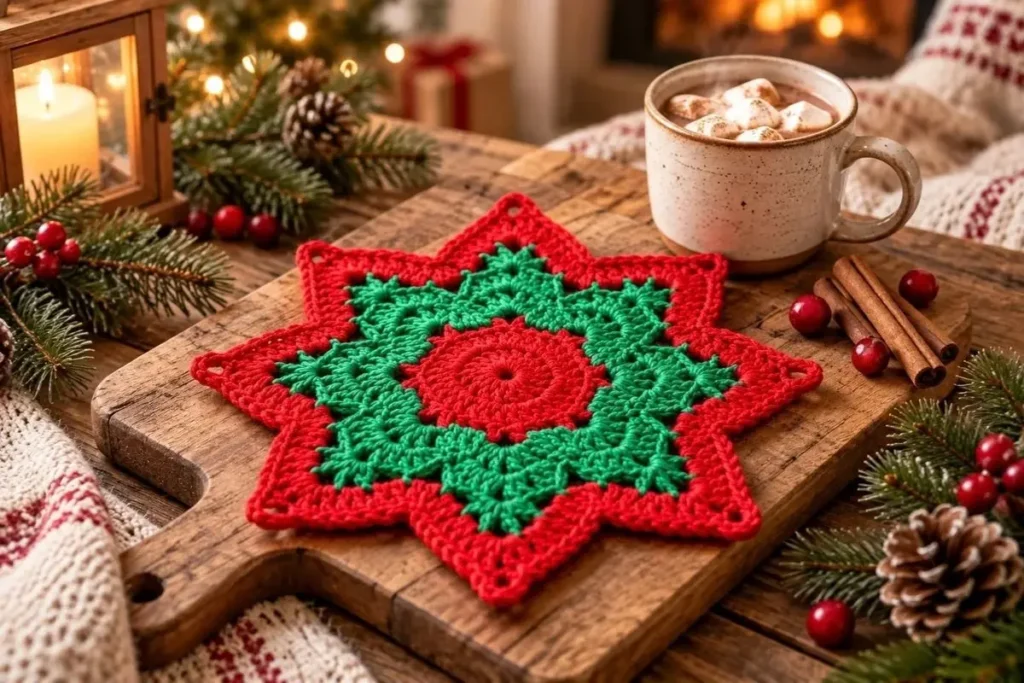
Bring red and green to your holiday table with this Christmas Star Crochet Table Mat. The design starts with a round red center, adds a green section with small picots, and finishes with eight red points.
Place it beneath a small vase or Christmas figurine, or use it as the base for a seasonal arrangement. The optional hanging loop gives you another way to display it once your table is set.
The construction combines two familiar approaches: joined rounds for the center and short rows for the points. Each point follows the same decreasing sequence, so marking the sections before you begin makes the instructions easier to follow.
Below you’ll find the materials, stitch counts, complete pattern, and practical tips for keeping track of the eight points.
Pattern Overview
- Skill level: Advanced beginner
- Terminology: US crochet terms
- Construction: Joined rounds followed by individually worked points
- Finished size: Approximately 8–10 inches (20–25 cm), depending on yarn, hook size, and tension
- Use: Decorative table mat or hanging decoration
Materials
- Worsted-weight 100% cotton yarn in red and green
- 4.0 mm crochet hook
- Yarn needle
- Scissors
- Stitch markers
- Blocking pins and blocking mat, optional
Cotton is a useful choice for a decorative mat because it gives the stitches definition. Choose red and green yarns of the same weight to keep the two sections consistent.
This project is intended as table decoration, rather than protection for handling hot cookware.
Abbreviations
| Abbreviation | Meaning |
|---|---|
| ch | Chain |
| sl st | Slip stitch |
| sc | Single crochet |
| hdc | Half double crochet |
| dc | Double crochet |
| st | Stitch |
| sts | Stitches |
| MR | Magic ring |
| rep | Repeat |
| rnd | Round |
| sp | Space |
| hdc2tog | Half double crochet 2 stitches together |
| hdc3tog | Half double crochet 3 stitches together |
Special Stitches
Picot
Ch 3, then sl st into the first chain made.
These small chain details decorate the green section. They are counted separately from the single crochet stitches.
hdc2tog
Yarn over, insert the hook into the next stitch, yarn over, and pull up a loop. Yarn over, insert the hook into the following stitch, yarn over, and pull up a loop.
Yarn over and pull through all five loops on the hook.
hdc3tog
Yarn over, insert the hook into the next stitch, yarn over, and pull up a loop. Repeat this action in each of the next two stitches.
Yarn over and pull through all seven loops on the hook.
Important Pattern Notes
- Work the center in joined rounds.
- Do not turn unless instructed.
- Beginning chains do not count as stitches.
- Join each round with a slip stitch into its first stitch.
- The eight red points are worked separately after the green section.
- When dividing the green section, count the 72 single crochet stitches only. Do not include the picot chains.
- Keep your tension consistent across all eight points.
Christmas Star Crochet Table Mat Pattern
Red Center
Using red yarn, make a magic ring.
Round 1
Ch 2. Work 12 dc into the MR.
Pull the magic ring closed. Join with sl st to the first dc.
Stitch count: 12 dc.
Round 2
Ch 2. Work 2 dc in each stitch around. Join with sl st to the first dc.
Stitch count: 24 dc.
Round 3
Ch 2. Repeat [1 dc in next stitch, 2 dc in next stitch] around.
Join with sl st to the first dc.
Stitch count: 36 dc.
Round 4
Ch 2. Repeat [1 dc in each of next 2 stitches, 2 dc in next stitch] around.
Join with sl st to the first dc.
Stitch count: 48 dc.
Fasten off red.
Green Section
Join green yarn in any stitch.
Round 5
Ch 1. Repeat [1 sc in each of next 5 stitches, 2 sc in next stitch] around.
Join with sl st to the first sc.
Stitch count: 56 sc.
Round 6
Ch 1. Repeat [1 sc in each of next 6 stitches, 2 sc in next stitch] around.
Join with sl st to the first sc.
Stitch count: 64 sc.
Round 7
Ch 1. Repeat [1 sc in each of next 7 stitches, 2 sc in next stitch] around.
Join with sl st to the first sc.
Stitch count: 72 sc.
Round 8 — Decorative Picots
Ch 1. Repeat the following sequence 8 times:
Sc in next 4 stitches, picot, sc in next 5 stitches.
Join with sl st to the first sc.
Stitch count: 72 sc + 8 picots.
Fasten off green.
Eight Red Star Points
Divide the 72 single crochet stitches into 8 consecutive sections of 9 stitches each.
Place a marker in the first stitch of each section before beginning. The picot chains are decorative and are not part of these nine-stitch bases.
Point 1
Join red yarn in the first stitch of one nine-stitch section.
Row 1
Ch 2. Hdc in the same stitch and in each of the next 8 single crochet stitches, skipping the decorative picot chains.
Turn.
Stitch count: 9 hdc.
Row 2
Ch 2. Hdc2tog, hdc in next 5 stitches, hdc2tog.
Turn.
Stitch count: 7 hdc.
Row 3
Ch 2. Hdc2tog, hdc in next 3 stitches, hdc2tog.
Turn.
Stitch count: 5 hdc.
Row 4
Ch 2. Hdc2tog, hdc in next stitch, hdc2tog.
Turn.
Stitch count: 3 hdc.
Row 5
Ch 2. Hdc3tog.
Stitch count: 1 stitch.
Fasten off.
Points 2–8
Repeat Rows 1–5 across each remaining group of nine green single crochet stitches.
Once all eight points are complete, check that each group has been used exactly once.
Star Border
Join red yarn in a valley between two points.
Ch 1. Work evenly along the side of the first point, placing approximately 1 sc into the end of each row as you work toward the tip.
At the tip, work 3 sc into the tip stitch.
Continue working sc evenly down the opposite side. Work 1 sl st into the valley between the two points.
Repeat around all eight points.
Join with sl st to the first sc and fasten off.
Optional Hanging Loop
At the tip of your chosen top point, join green yarn.
Ch 14. Sl st into the same tip stitch to form a loop.
Fasten off and weave in both ends securely.
For a smaller loop, use 10–12 chains. For a larger loop, use 16–18 chains.
Finishing
Weave in all yarn ends securely with a yarn needle.
Lightly block the mat following the care instructions for your yarn. Arrange the eight points evenly, pin them into position, and allow the piece to dry completely before removing the pins.
Avoid pulling one point farther than the others. Aim for a balanced outline with a smooth center.
Practical Tips for an Even Star
Count before changing colors
Check that Round 4 contains 48 stitches before joining green. The green increases and the eight point sections depend on the correct starting count.
Keep picots separate from base stitches
Round 8 contains 72 single crochet stitches plus eight picots. Counting the picot chains as part of a point’s base will shift the sections and leave an uneven number of stitches for the remaining points.
Use the first point as your counting reference
Every point follows the sequence 9, 7, 5, 3, 1. Check each row before turning. A missing decrease is easier to correct immediately than after the border has been added.
Watch the turning chains
The ch 2 at the beginning of each point row does not count as a stitch. Working into it as an extra stitch can prevent the point from narrowing correctly.
Check the border as you work
Row-end spacing can vary with tension. Lay the mat down after edging a point. If the border pulls tight or develops waves, revisit the spacing before continuing around the whole star.
Color Ideas
Red and green give this star a traditional Christmas look. For a softer palette, try burgundy and sage green or dark green and cream.
White and red create a bright contrast, while a single neutral color draws attention to the stitches and outline.
Keep the yarn weight consistent when changing colors.
Ways to Display Your Crochet Star
Use the finished mat beneath a small vase, a decorative bowl, or a Christmas figurine. Leave some of the points visible around the object so the star shape remains part of the display.
With the optional loop, you can hang it from a cabinet knob or include it in a wall arrangement. It also makes a thoughtful addition to a gift basket for someone who enjoys handmade holiday decorations.
Frequently Asked Questions
Is this pattern suitable for a complete beginner?
It is better suited to someone who already knows basic crochet stitches and is ready to practice decreases. The individual points are short, but they require careful counting.
Why are the points worked separately?
Each point starts with nine stitches and narrows over five rows. Working them individually creates the eight triangular sections around the circular center.
Do the picots count toward the 72 stitches?
No. The round contains 72 single crochet stitches, with eight additional decorative picots.
Can I change the yarn or hook size?
Changing either can affect the dimensions, texture, and drape. Check that the center lies flat and that the fabric suits your intended decorative use.
Does the star need blocking?
Blocking can help arrange the points evenly and improve the outline. It will not correct missing stitches or incorrect decreases.
More Christmas Crochet Inspiration
For another star-shaped decoration, explore the Crochet Lace Star Ornament pattern. It offers a different style to consider for your Christmas crochet collection.
Save This Pattern for Christmas
Save this Christmas Star Crochet Table Mat pattern to your holiday crochet board so you can find it when you’re ready to begin.
Which colors would you choose: traditional red and green, burgundy and sage, or a neutral shade? Share your combination in the comments.