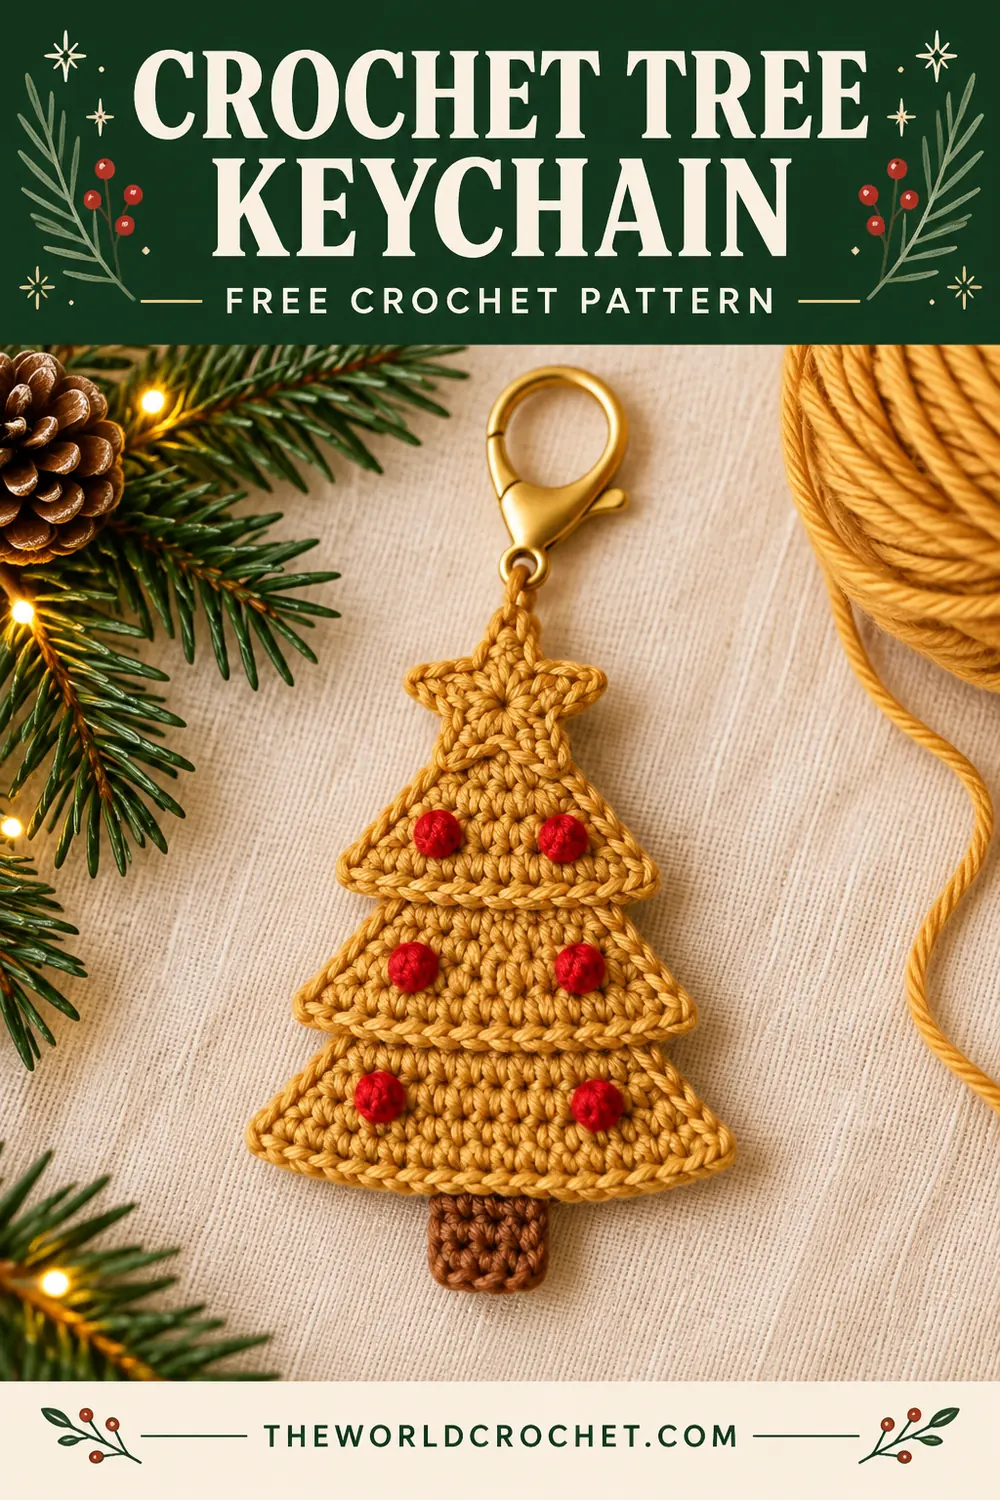
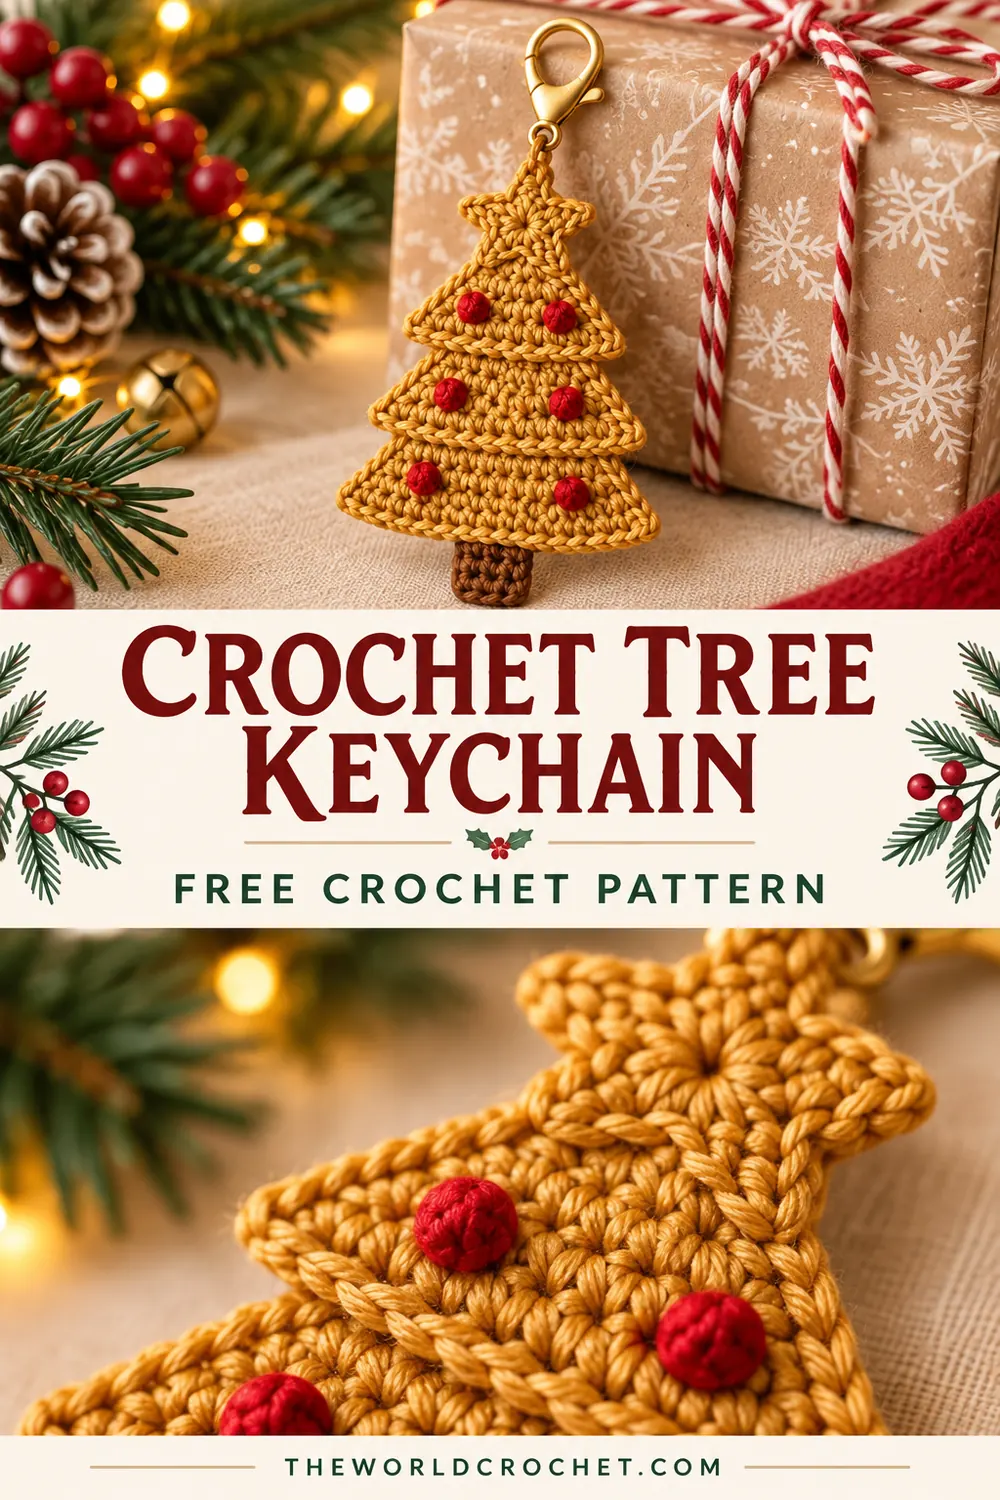
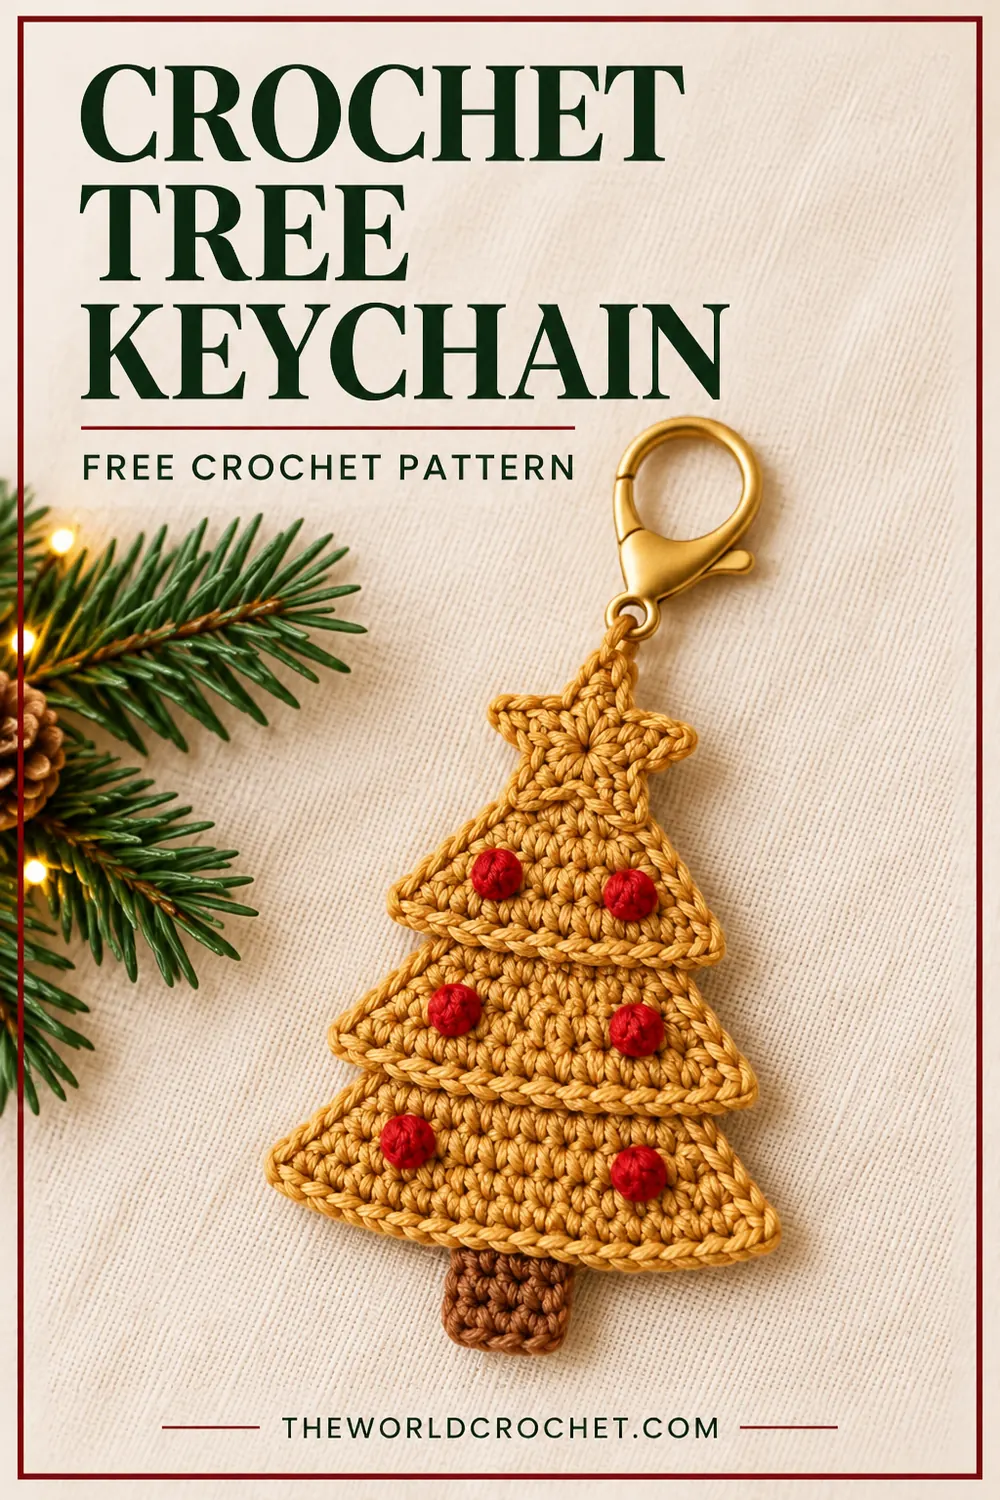
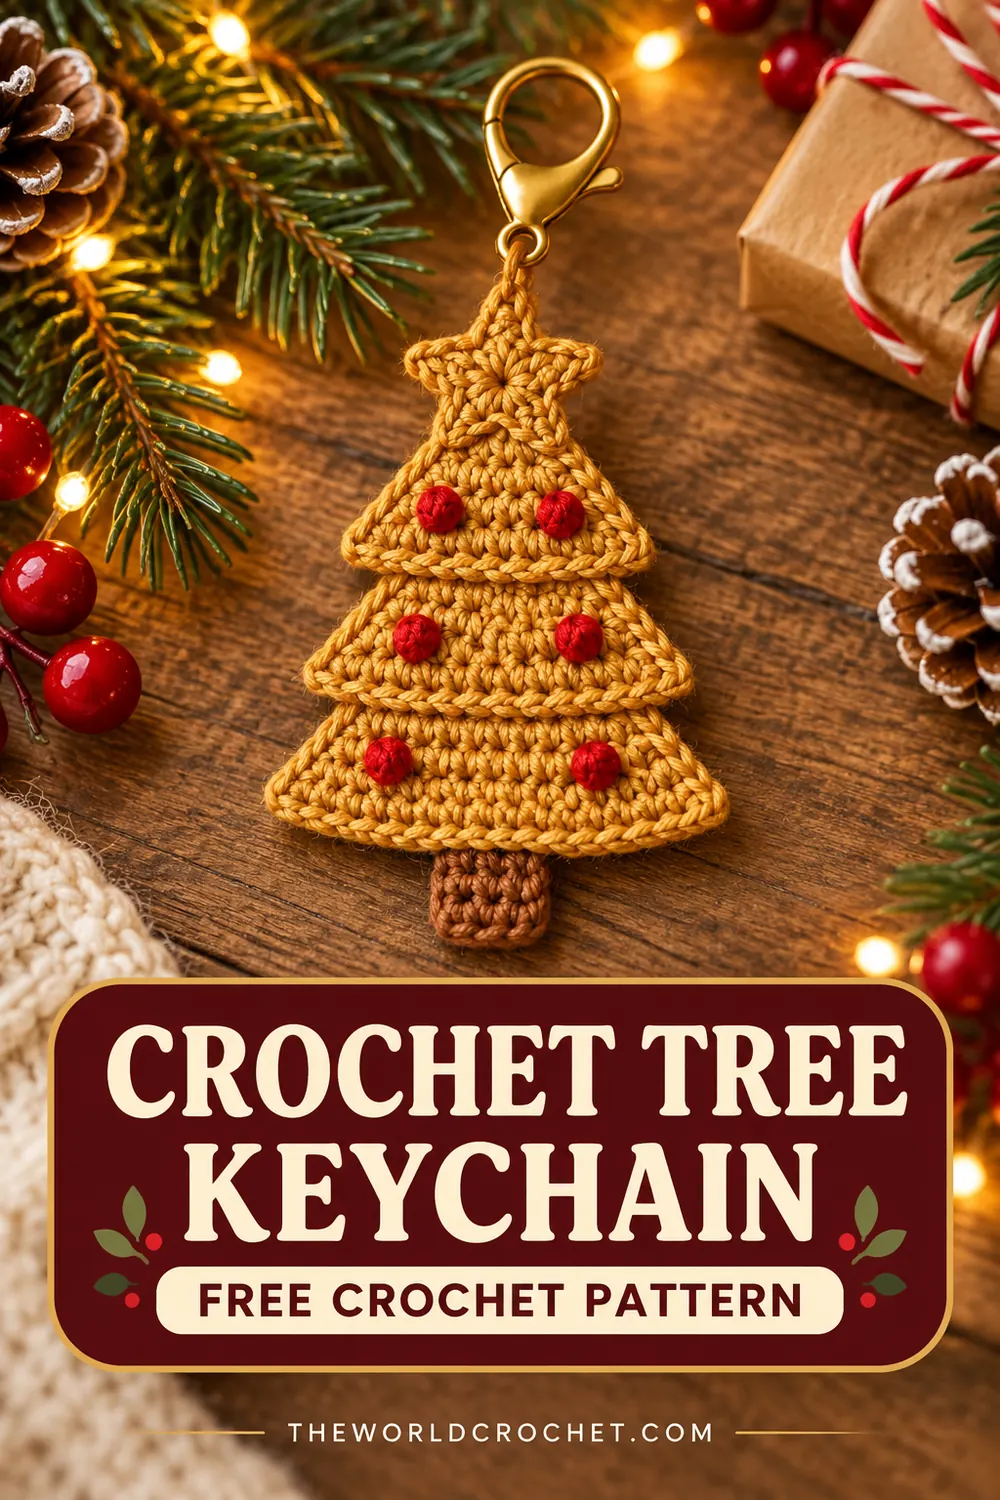
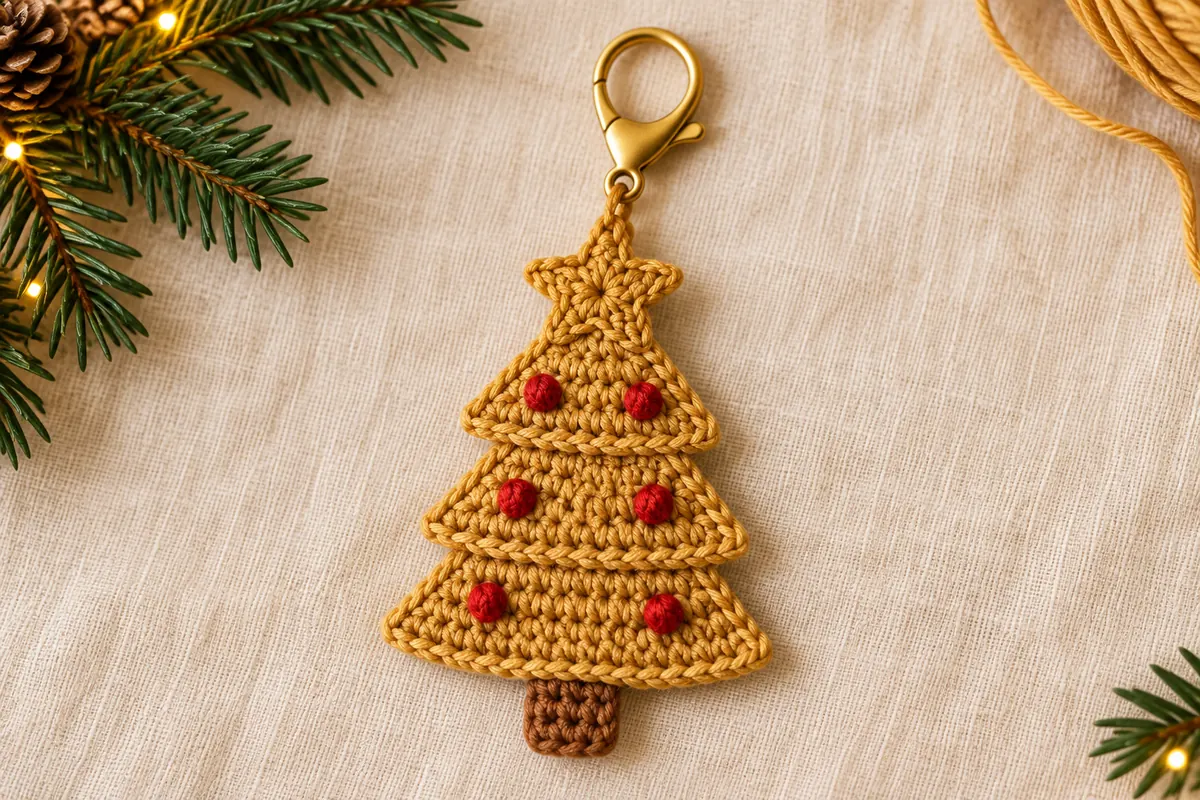
This crochet Christmas tree keychain takes its inspiration from a golden tree with three layered branches, tiny red ornaments and a star at the top. A brown trunk and a gold clasp complete the small holiday accessory.
The version below builds the tree from three separate single crochet triangles. Sewing them with a small overlap creates the tiered silhouette, while a slip stitch line along each lower edge gives the branches a little definition.
Make it as a decorative bag charm or a small addition to a wrapped gift. If you enjoy using tree motifs in holiday projects, the Christmas tree granny square offers another way to explore the same theme.
About this crochet Christmas tree keychain
Pattern note: This is an original interpretation of the reference, not a transcription of its exact stitches. The row counts have been checked mathematically, but the design has not been physically crocheted or tested. The AI-generated styling images show the intended look; follow the written counts and construction diagrams for this version.
- Level: Confident beginner, with basic sewing and embroidery.
- Terms: US crochet terminology.
- Construction: Three flat triangles, one trunk and one five-point star, sewn together.
- Size: No measured finished size is available. Yarn thickness, hook and overlap affect the final height and width.
- Use: A decorative keychain or bag charm; keep the attachment lightweight.
Materials and yarn choice
- Sport-weight cotton yarn in golden ochre, plus small amounts of brown and red.
- A 2.5 mm crochet hook as a starting point, adjusted to your yarn.
- A small lobster clasp or key ring with a smooth attachment opening.
- A blunt yarn needle, scissors and stitch markers.
- Optional blocking pins, if suitable for the yarn.
Choose a smooth yarn so you can see both loops of the single crochet stitches. Cotton with a firm twist gives the small shapes definition. Use the same yarn weight for the triangles and star; thinner red yarn can be useful for the embroidered ornaments.
Begin with a small triangle to check the fabric. It should feel firm enough to hold its outline without making the hook difficult to insert. A loose fabric may stretch at the hanging loop, while an overly tight fabric can make the seams bulky.
Abbreviations and stitches
ch = chain; sc = single crochet; hdc = half double crochet; sl st = slip stitch; st/sts = stitch/stitches; MR = magic ring. For standard terminology, see the Craft Yarn Council crochet abbreviation guide.
Single crochet increase
Work two sc into the same stitch. From Row 3 onward, the triangles have one increase in the first stitch and another in the last stitch. These two increases add two stitches to every row.
Half double crochet
Yarn over, insert the hook into the indicated chain, yarn over and pull up a loop. Yarn over and pull through all three loops. This stitch is used on the short return chain of each star point.
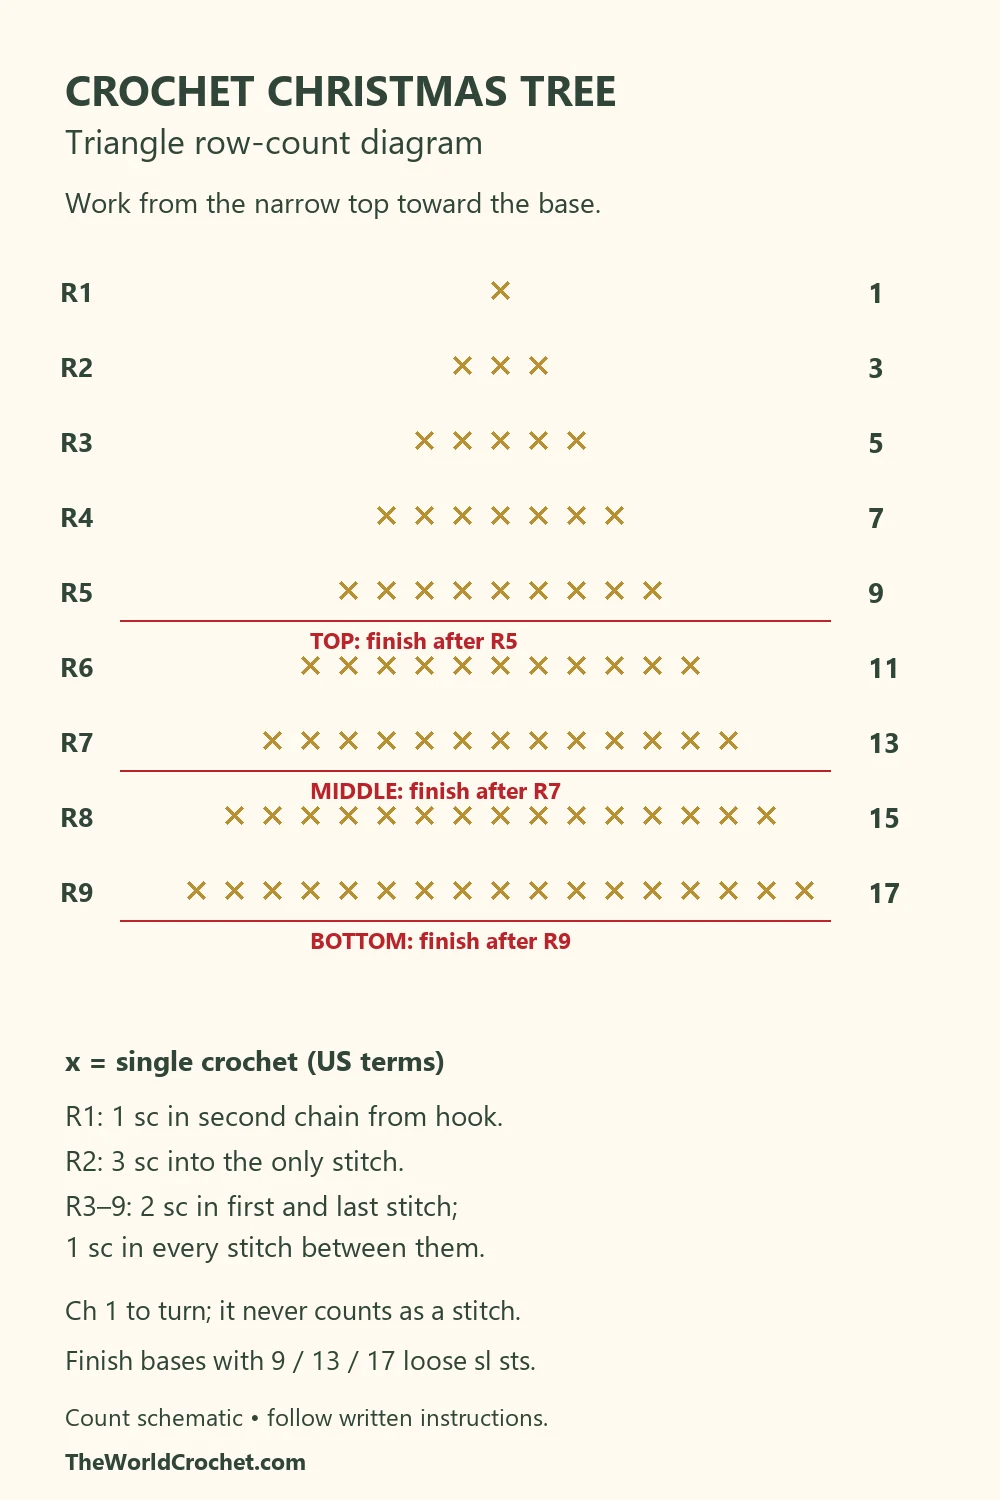
Triangle counts at a glance
| Row | SC count | Use |
|---|---|---|
| 1 | 1 | All three triangles |
| 2 | 3 | All three triangles |
| 3 | 5 | All three triangles |
| 4 | 7 | All three triangles |
| 5 | 9 | Finish top triangle here |
| 6 | 11 | Middle and bottom triangles |
| 7 | 13 | Finish middle triangle here |
| 8 | 15 | Bottom triangle only |
| 9 | 17 | Finish bottom triangle here |
Turning ch 1 never counts as a stitch. Work through both loops unless stated otherwise. Turn after each triangle row. The lower-edge slip stitches are a finishing pass and are not an additional row of single crochet.
Crochet Christmas tree keychain pattern
Make the three golden triangles
Use golden ochre yarn for each piece. Every triangle begins at its narrow top and grows toward its wide base. Make one triangle through Row 5, one through Row 7 and one through Row 9.
Row 1: Ch 2. Sc in the second chain from the hook. Turn. 1 sc.
Row 2: Ch 1. Work 3 sc into the only stitch. Turn. 3 sc. This is a special starting increase; do not work two separate increases into that same stitch.
Row 3: Ch 1. Work 2 sc in the first stitch, sc in the next stitch, and 2 sc in the last stitch. Turn. 5 sc.
Row 4: Ch 1. Work 2 sc in the first stitch, sc in the next 3 stitches, and 2 sc in the last stitch. Turn. 7 sc.
Row 5: Ch 1. Work 2 sc in the first stitch, sc in the next 5 stitches, and 2 sc in the last stitch. Turn. 9 sc. Stop here for the top triangle and add its lower edge as described below.
Row 6: Ch 1. Work 2 sc in the first stitch, sc in the next 7 stitches, and 2 sc in the last stitch. Turn. 11 sc.
Row 7: Ch 1. Work 2 sc in the first stitch, sc in the next 9 stitches, and 2 sc in the last stitch. Turn. 13 sc. Stop here for the middle triangle and add its lower edge.
Row 8: Ch 1. Work 2 sc in the first stitch, sc in the next 11 stitches, and 2 sc in the last stitch. Turn. 15 sc.
Row 9: Ch 1. Work 2 sc in the first stitch, sc in the next 13 stitches, and 2 sc in the last stitch. Turn. 17 sc. Stop here for the bottom triangle.
Finish the lower edge of each tier
After turning at the end of that triangle’s final row, ch 1 and sl st loosely in each sc across the base. Work 9 sl sts for the top piece, 13 for the middle and 17 for the bottom. Fasten off, leaving a sewing tail of about 25 cm.
Do not pull these slip stitches tight. Their purpose is to define the lower edge, not shorten it. If the base curls inward, undo the finishing pass and remake it with larger loops.
Make the brown trunk
With brown yarn, ch 5. Row 1: Sc in the second chain from the hook and in the next three chains. Turn. 4 sc.
Rows 2–4: Ch 1, sc in each of the four stitches, turn. Each row has 4 sc. After Row 4, fasten off with a 20 cm sewing tail. Do not add stuffing.
Make the small five-point star
With golden ochre, make a magic ring. Ch 1, work 5 sc into the ring, and join with a sl st to the first sc. Pull the ring closed. The ch 1 and join are not counted.
With the hook at the first base sc, work this point: ch 4, sl st in the second chain from the hook, sc in the next chain, hdc in the last chain, then sl st in the next base sc.
Repeat that point sequence four more times. The fifth point ends with a sl st into the original first base sc. You now have five points, each made from a ch-4 extension and a three-stitch return. Fasten off with a 20 cm sewing tail.
Do not work the return stitches into the magic-ring base. They are worked along the newly made chain. The slip stitch into the next base sc anchors the completed point and positions the hook for the next one.
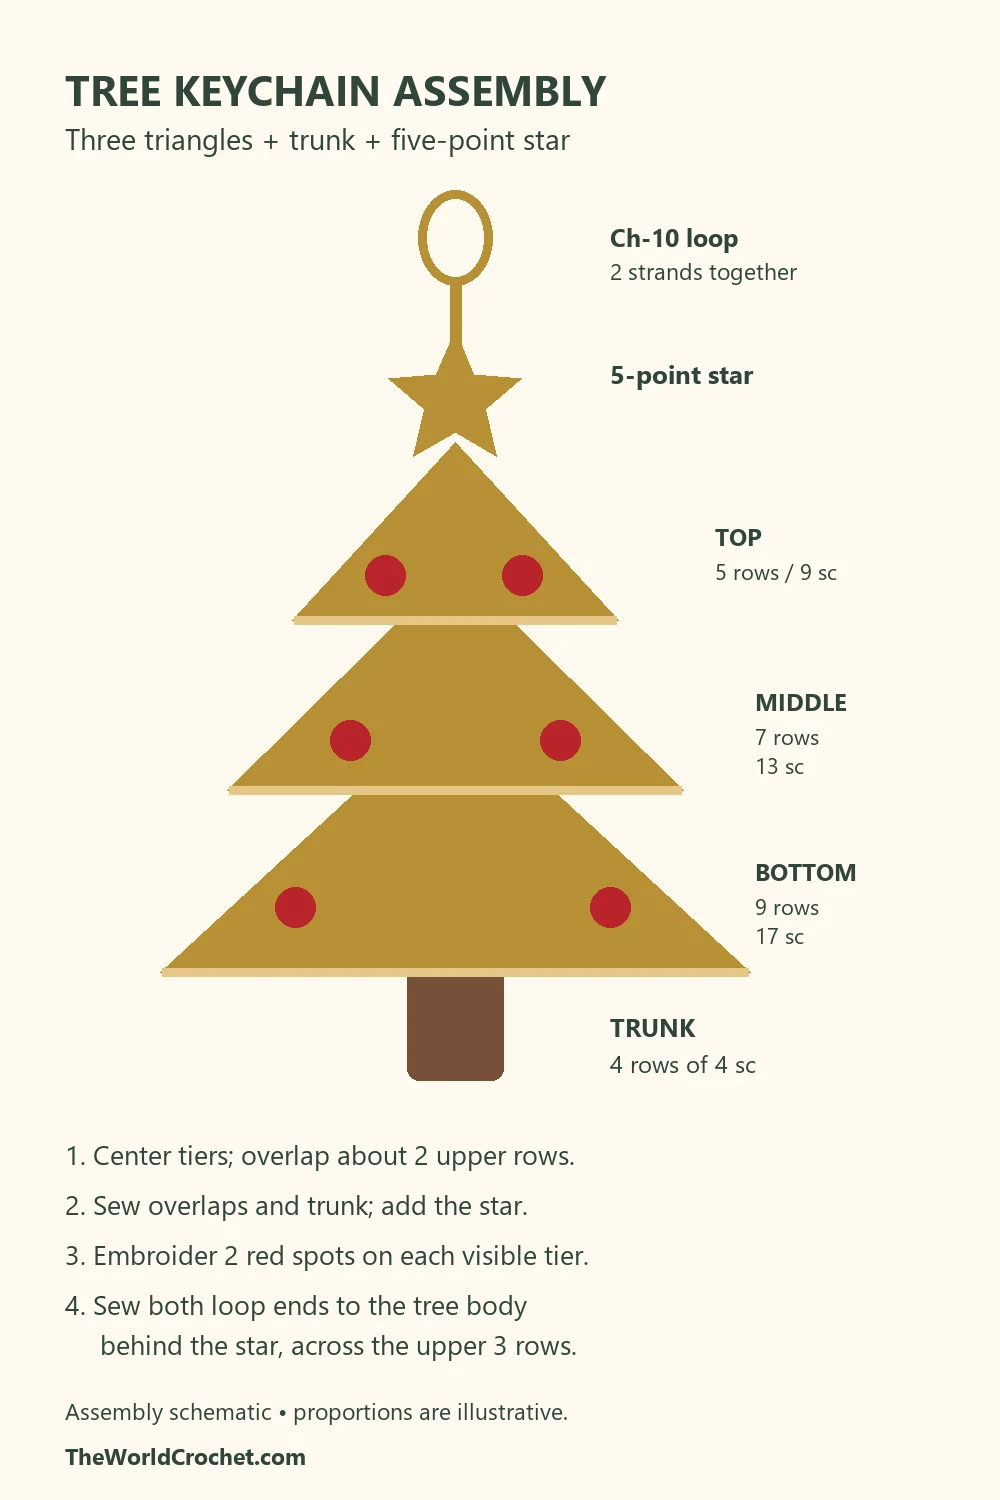
Assemble the layered tree
- Place the largest triangle on a flat surface with its point upward.
- Center the middle triangle above it. Cover approximately the upper two rows of the largest piece with the lower part of the middle piece, leaving the largest triangle’s branch corners and lower edge visible.
- Position the smallest triangle the same way over the upper two rows of the middle piece. Check that all three points share a vertical center line.
- Pin the overlaps, then sew through both layers along each overlap. Take a few additional stitches near the left and right ends of the seam to prevent the tiers from twisting.
- Center the trunk behind the bottom triangle. Hide its top row beneath the triangle and sew it in place, leaving the remaining trunk visible.
- Place the star over the top triangle’s tip and sew through its center and lower points. Leave the upper point free for the silhouette.
The overlap is a placement guide rather than a measured dimension. Adjust it slightly if your fabric needs more support, but leave a visible band of each triangle. Before sewing permanently, look at the tree from the front and check that neither lower tier disappears beneath the one above.
Add six red embroidered ornaments
Place two red spots on each visible tier, away from the seams and lower edges. With red yarn and a needle, make three or four short satin stitches close together for each spot. Stack them gently to make a small rounded patch rather than a long horizontal dash.
Bring the yarn through the fabric, stitch across a small area spanning about one or two crochet stitches, and return through nearby gaps. Keep the tension relaxed so the golden fabric does not pucker. Secure and weave in the ends on the back. These ornaments are embroidered patches, not separately attached beads.
Attach the clasp
Use two strands of golden yarn together to make a short ch-10 strip. Fasten off, leaving a sewing tail at each end. Pass the strip through the clasp’s attachment opening and fold it into a loop.
Sew both ends separately to the back of the top triangle, behind the star. Use several passes through the fabric over the upper three rows, so the attachment is supported by the tree body rather than only by a star point. Check that the clasp can rotate without pulling the star out of position.
Before using the charm, gently tug the loop and inspect both sewn anchors. If the stitches shift, add support before attaching it to a bag or key ring. Yarn loops wear with use, so check the attachment periodically.
Finishing and useful adjustments
Weave in the remaining ends on the back without drawing the seams tight. If the yarn label permits it, lightly block the pieces or finished tree flat. Let the fabric dry completely before attaching it to a pouch or gift.
If a triangle becomes uneven
Count the row before continuing. From Row 3 onward, both edge stitches receive two sc and all stitches between them receive one. Accidentally crocheting into the turning chain adds an extra stitch and pushes one side outward.
If the branches lose their layered look
Reduce the overlap slightly before sewing, or move the top piece upward. The lower-edge slip stitch lines should remain visible. Do not solve the problem by stretching the side corners; that can distort the small triangles.
Color variations
Golden ochre and red echo the reference. Forest green with cream embroidery creates a more traditional tree, while oatmeal with burgundy spots gives a muted version. Use a brown trunk or choose the tree color for a simpler silhouette.
For a coordinated gift set, pair this charm with a shell stitch crochet bell. A larger decorative project, such as the eight point crochet star mat, uses the same Christmas theme in a different form.
Questions about the crochet Christmas tree keychain
Can I make it in one piece?
This version is designed as three overlapping triangles. Joining them after crocheting gives the tiered effect and lets you adjust the overlap. A one-piece tree would need a different shaping sequence.
Can I use thicker yarn?
Yes, with a suitable hook, but the charm will become larger and heavier. Check that the clasp and hanging loop suit the finished fabric. Follow the same row counts for this interpretation.
Can I use it as a Christmas ornament?
Replace the clasp with a hanging loop and keep the same tree assembly. The loop still needs to be sewn securely to the top triangle behind the star.
Does this pattern reproduce the reference exactly?
No. It recreates the three-tier idea, gold color, red details and star using a separate-piece construction. The actual texture and proportions will depend on your yarn and tension, and the interpretation still needs a physical crochet test.
Styling images and construction diagrams
The four vertical Pins use distinct layouts with AI-generated inspiration. The two diagrams show the triangle row counts and assembly order used in the written pattern. They are schematic construction aids rather than a full stitch-symbol chart.