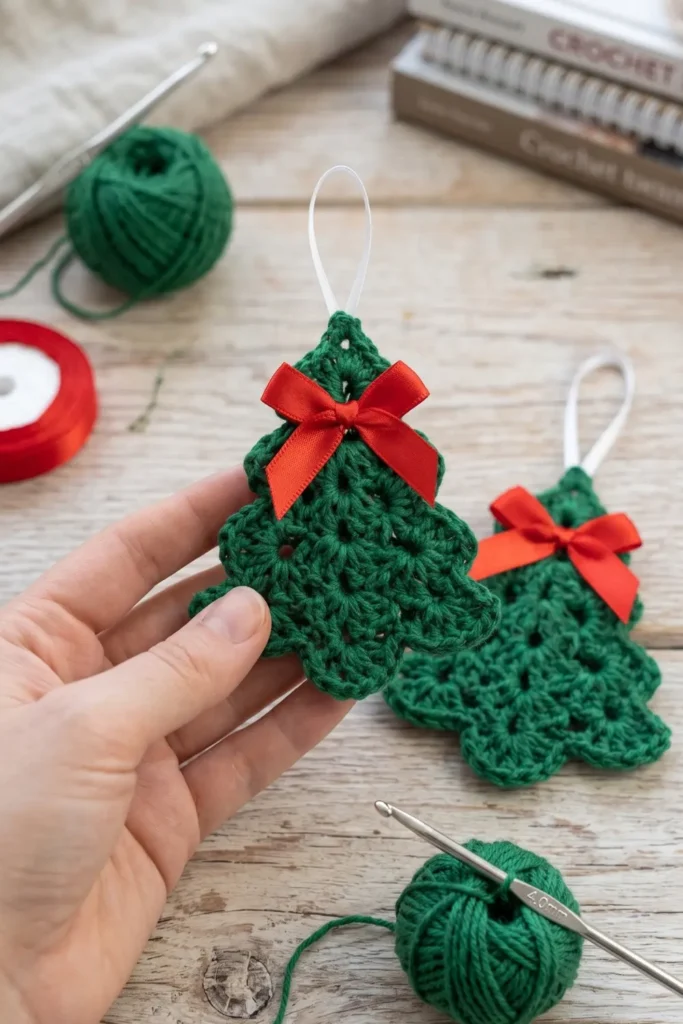
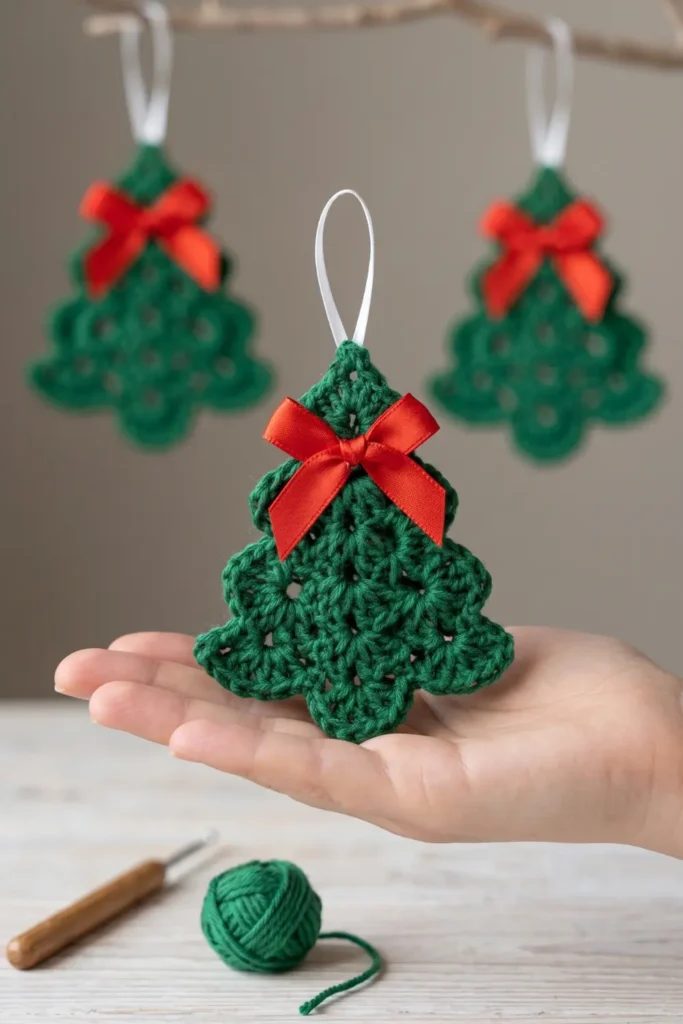
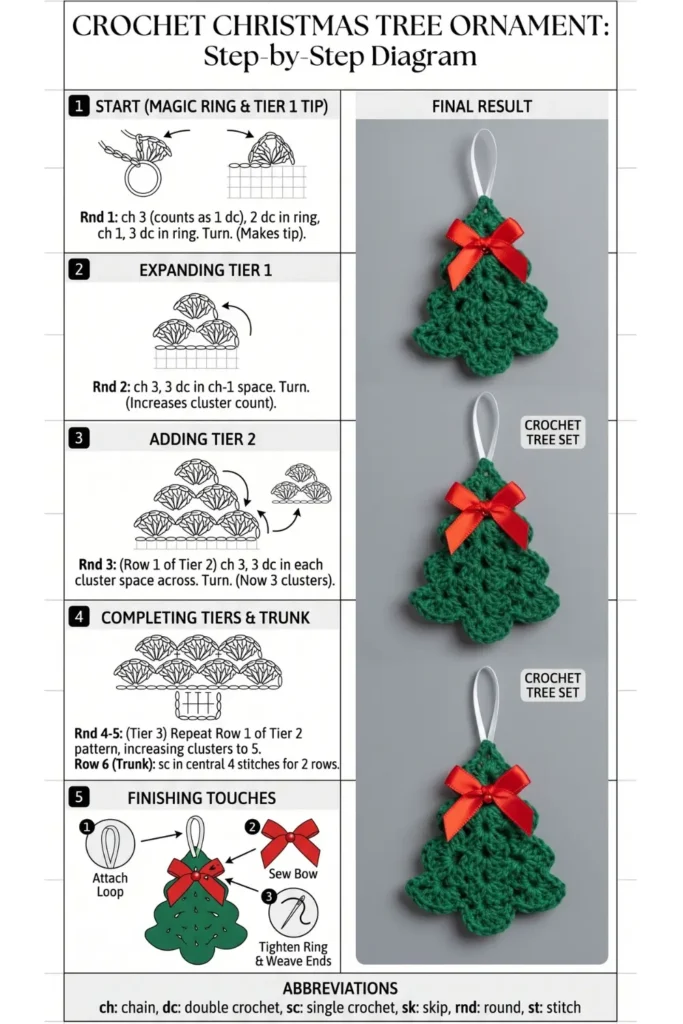
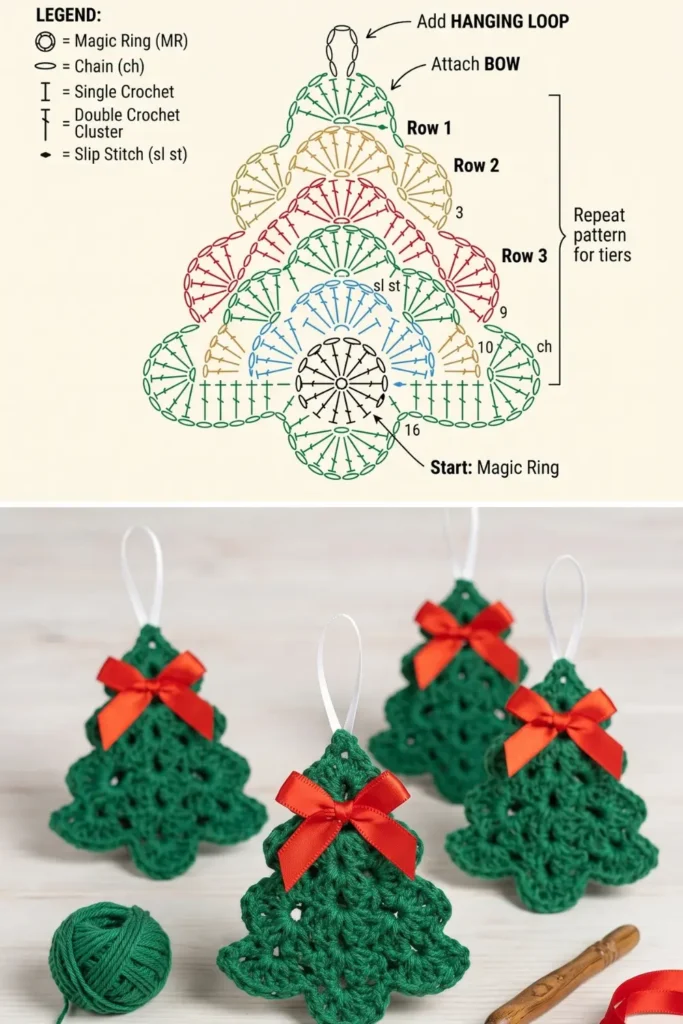
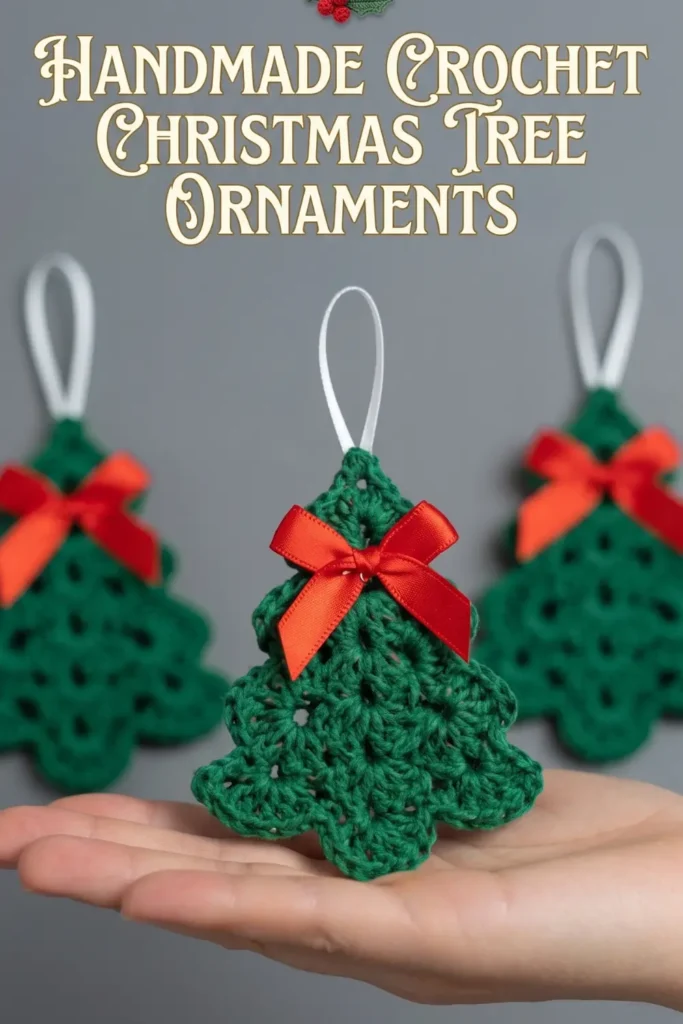
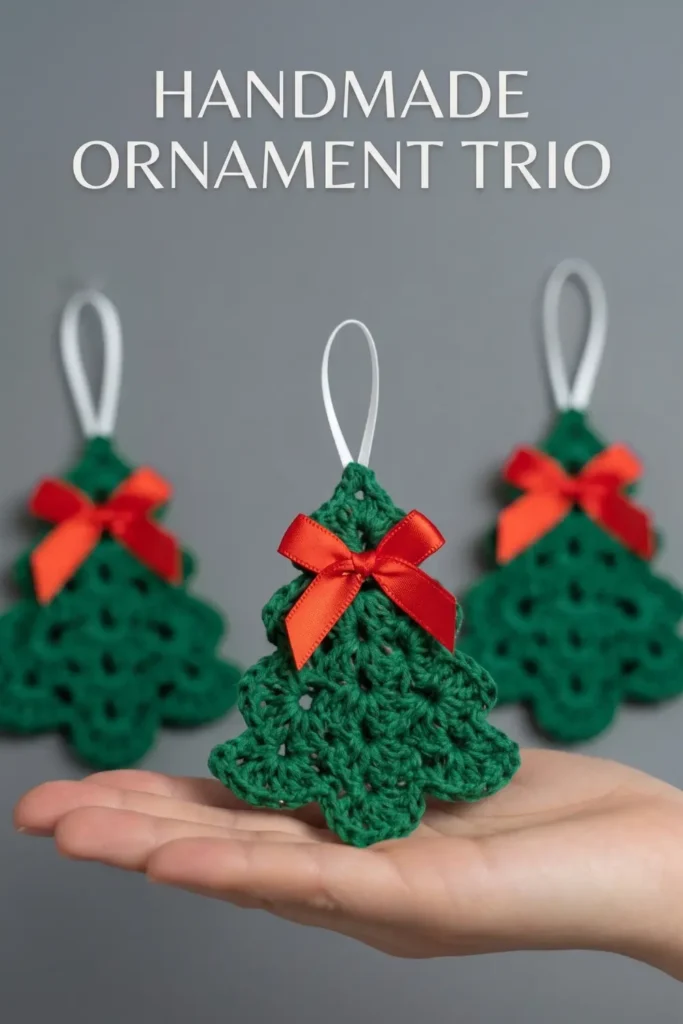
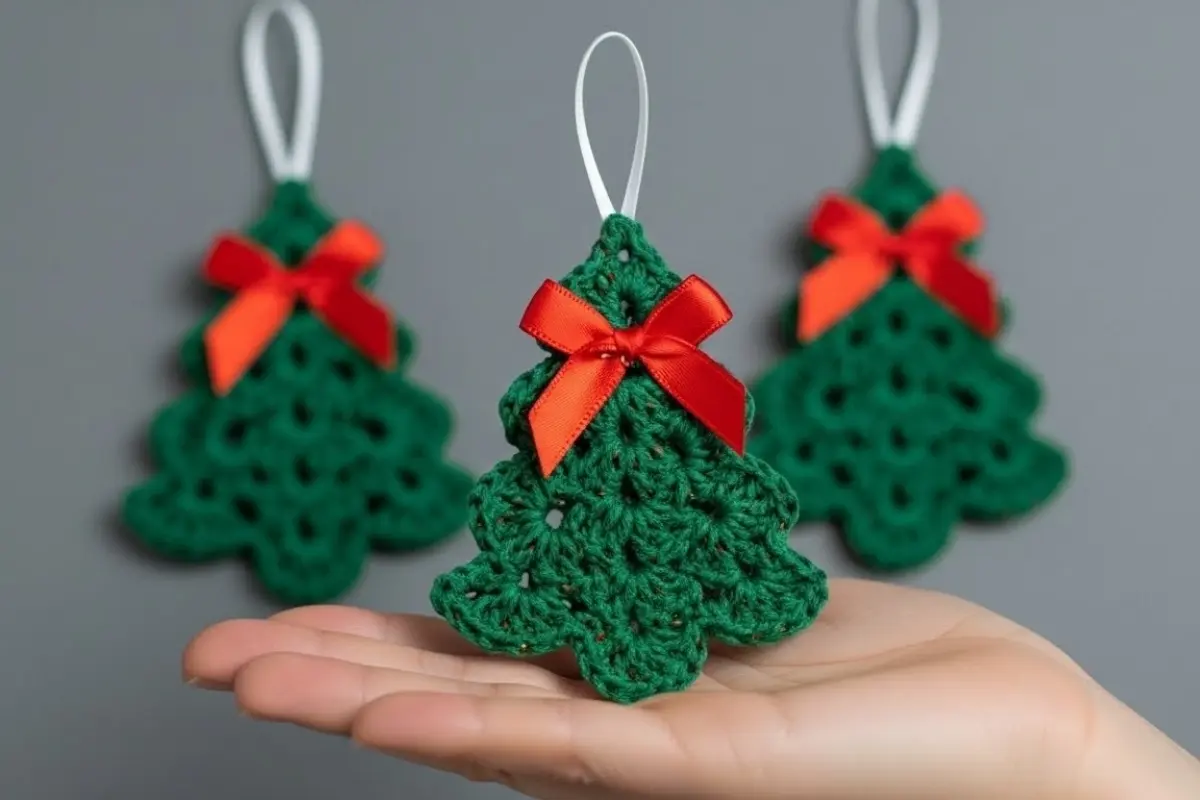
This Crochet Christmas Tree Ornament Pattern combines green fan motifs, a small pointed top, and a red ribbon bow. The fans are arranged in four widening rows to create a layered tree outline, with a short crocheted trunk underneath.
The design is inspired by the green ornaments in the reference photograph. This version uses separately crocheted fans and sewn joins, so you can arrange the pieces and check their proportions before attaching them permanently.
Hang the finished tree from a branch, tie it onto a wrapped present, or make a coordinated set with different ribbon colors.
Pattern Overview
- Skill level: Confident beginner
- Terminology: US crochet terms
- Construction: Ten fan motifs, one pointed top, and one trunk, sewn together
- Layout: Four rows containing 1, 2, 3, and 4 fans
- Finished size: Depends on yarn, hook, tension, and overlap during assembly
- Stuffing: Not required
Materials
- Green cotton or acrylic yarn
- A crochet hook suitable for your yarn
- Yarn needle
- Scissors
- Stitch markers or removable pins
- Red ribbon for the bow
- Narrow ribbon or cord for hanging
Choose a hook that produces defined stitches without making the fans stiff. Use the same yarn and hook for all ten motifs.
Because the tree is assembled from overlapping pieces, the finished dimensions also depend on how closely you position the rows.
Abbreviations — US Terms
| Abbreviation | Meaning |
|---|---|
| MR | Magic ring |
| ch | Chain |
| sc | Single crochet |
| dc | Double crochet |
| sc2tog | Single crochet 2 stitches together |
| st / sts | Stitch / stitches |
Single Crochet Two Together — sc2tog
Insert the hook into the next stitch, yarn over, and pull up a loop. Insert the hook into the following stitch, yarn over, and pull up a loop.
Yarn over and pull through all three loops.
Pattern Notes
- The fans are worked back and forth in rows, not joined rounds.
- The beginning ch 3 counts as a dc in fan Rows 1 and 2.
- Beginning ch 1 does not count as a stitch.
- Turn where instructed.
- Each fan has a straight upper edge and a curved lower edge.
- Keep the curved edges facing downward during assembly.
- Leave sewing tails on the motifs.
Crochet Christmas Tree Ornament Pattern
Fan Motif — Make 10
Row 1
Make a MR.
Ch 3, counting as the first dc. Work 5 dc into the ring.
Gently close the ring. Do not join the first and last stitches; the motif must remain an open fan.
Turn.
Count: 6 dc.
Row 2
Ch 3, counting as the first dc. Work 1 dc into the same stitch.
Work 2 dc into each of the remaining 5 stitches. The final stitch is the top of the beginning ch 3 from Row 1.
Turn.
Count: 12 dc.
Row 3 — Decorative Curved Edge
Ch 1.
Repeat [sc in next stitch, ch 2, sc in next stitch] 6 times across.
Fasten off, leaving a tail for sewing.
Count: 12 sc and 6 ch-2 spaces.
Repeat for a total of ten fans.
Pointed Top — Make 1
Use green yarn.
Row 1: Ch 4. Sc in the second chain from the hook and in each remaining chain. Turn. (3 sts)
Row 2: Ch 1. Sc2tog across the first 2 stitches, sc in the last stitch. Turn. (2 sts)
Row 3: Ch 1. Sc2tog. (1 st)
Fasten off, leaving a sewing tail.
Trunk — Make 1
Use green yarn.
Row 1: Ch 5. Sc in the second chain from the hook and in each remaining chain. Turn. (4 sts)
Rows 2–3: Ch 1. Sc in each stitch across. Turn after Row 2. (4 sts per row)
Fasten off, leaving a sewing tail.
Arrange the Tree
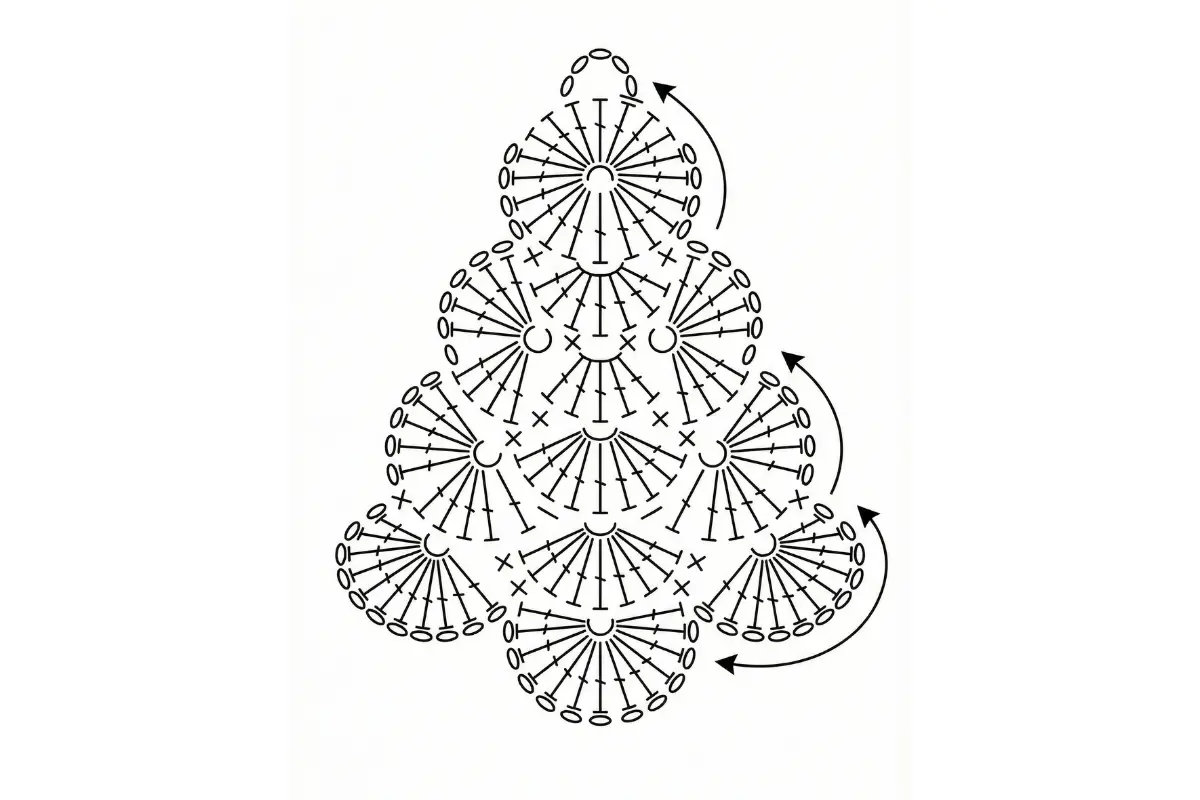
Lay the fans on a flat surface with their straight edges upward and curved edges downward.
Arrange them in four rows:
- Top row: 1 fan
- Second row: 2 fans
- Third row: 3 fans
- Bottom row: 4 fans
Center each row beneath the previous one. Within a row, let neighboring fans overlap slightly at their side edges.
Slide the straight upper edges of the lower row beneath the curved edges of the row above. Keep enough of each curved edge visible to show the layered effect.
Before sewing, check that:
- Each row is wider than the row above.
- The left and right sides widen evenly.
- Adjacent motifs touch or overlap at the intended joins.
- The top row is centered over the bottom row.
- The decorative chain loops remain visible.
Use removable pins or markers to hold the arrangement.
Sew the Fan Motifs Together
Work from the back using green yarn.
First, secure neighboring fans within each row. Make several small stitches through their overlapping side edges without gathering the fabric.
Next, attach each lower row to the row above. Sew through the overlapped fabric near the upper edges of the lower fans.
For the interior fans, secure the overlap to both neighboring fans above wherever they meet. At the outer edges, attach the lower fan to the upper fan it overlaps.
Keep the stitches beneath the visible curved edges. Avoid sewing through the decorative ch-2 loops unless necessary, so those loops remain free.
Lay the tree flat after attaching each row. Correct any pulling or uneven placement before continuing.
Attach the Pointed Top and Trunk
Sew the three-stitch base of the pointed top to the center of the top fan’s straight edge. Leave its narrow tip projecting upward.
Center the trunk behind the bottom row. Sew its upper edge securely to the two middle fans, leaving the lower portion visible beneath the tree.
Weave in the remaining ends on the back.
Add the Ribbon Bow
Tie a small bow with red ribbon.
Position it near the top of the tree, just below the crocheted point. Check that the bow does not cover the entire upper fan.
Sew the center of the bow to the crocheted fabric with small, secure stitches. Trim the ribbon tails neatly.
Add the Hanging Loop
Thread narrow ribbon or cord through sturdy stitches near the top of the tree, below the pointed tip.
Tie the ends to form a loop. Check that the tree hangs upright before tightening the knot.
Spread the attachment across more than one stitch rather than placing all the weight on the single tip stitch.
Practical Tips for a Neat Tree
Compare the Fans Before Assembly
Stack the completed motifs briefly to check their size. A noticeably larger or smaller fan can interrupt the outline.
Keep the Fans Open
Do not join their first rows into circles. The straight edges are needed for the layered arrangement.
Pin the Entire Layout First
Position all four rows before sewing. This makes it easier to adjust the overall width and keep the tree centered.
Sew Without Pulling
Tight seams can curl the motifs or gather their edges. Keep the sewing yarn relaxed enough for the tree to lie flat.
Check the Hanging Position
Hold the tree by its loop before completing the finishing. If it tilts, adjust the loop attachment or check the balance of the sewn layers.
Finishing and Care
Follow the yarn label when cleaning or shaping the ornament.
If blocking is appropriate for your yarn, shape the crocheted tree before attaching the ribbon bow. Arrange the layers gently and let the piece dry completely.
Blocking can improve the presentation, but uneven seams or misplaced motifs need to be corrected during assembly.
Color Ideas and Related Projects
Green fans with a red bow echo the festive palette in the reference photograph. Cream with burgundy ribbon or dark green with a gold-colored bow offer other combinations.
For a coordinated handmade display, pair your tree with the Crochet Snowman Ornament Pattern. The Crochet Snowflake Pattern offers a contrasting lace-style decoration for the same collection.
Frequently Asked Questions
Is this a doily or an ornament?
This version is a layered hanging ornament. It is not designed as a flat table doily.
How many fan motifs do I need?
Make ten fans, arranged in rows of one, two, three, and four.
Can I change the yarn weight?
Yes. Use a suitable hook and expect the dimensions, thickness, and weight to change.
Do I need stuffing?
No. The tree is made from flat motifs sewn together.
Can a beginner make it?
A confident beginner can follow the stitches. Arranging and sewing the motifs requires patience, so pinning the layout first is helpful.
Will it reproduce the photograph exactly?
The photograph provides the style reference. This pattern uses its own fan-and-seam construction, so the stitch arrangement and proportions may differ.
Save Your Christmas Tree Pattern
Save this Crochet Christmas Tree Ornament Pattern for your holiday projects.
Would you choose the traditional green and red combination or match the ribbon to your Christmas decorations? Share your colors in the comments.