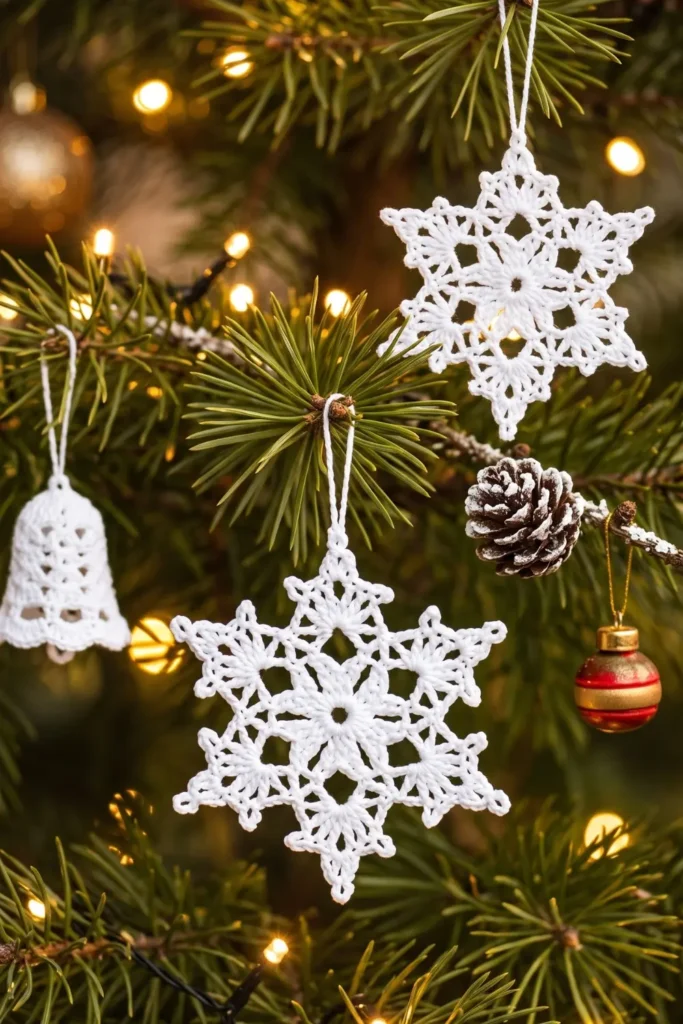
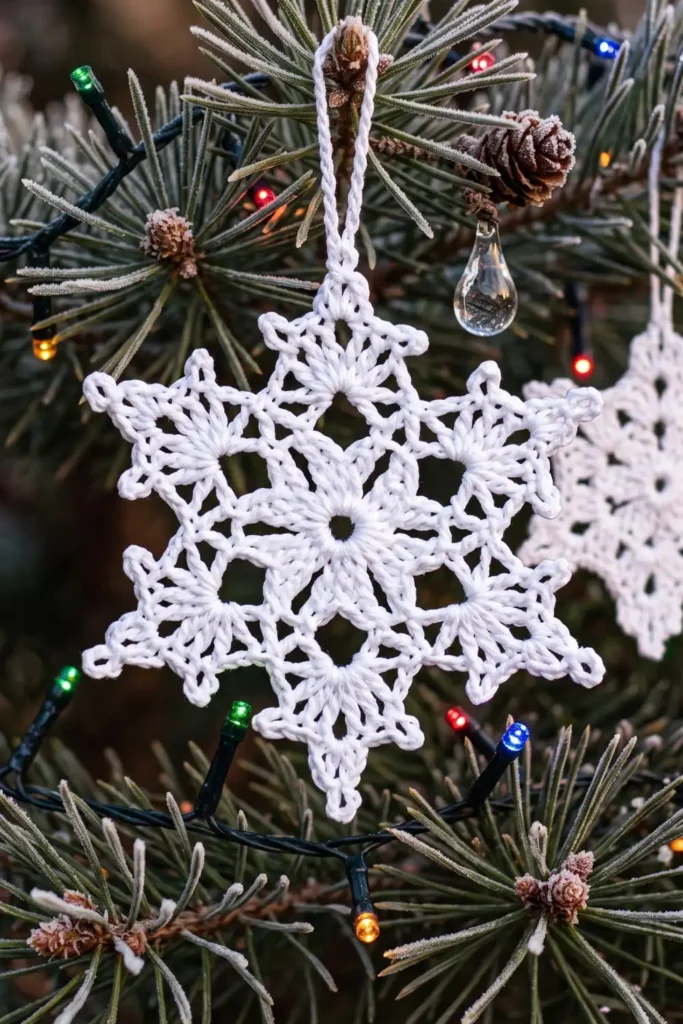
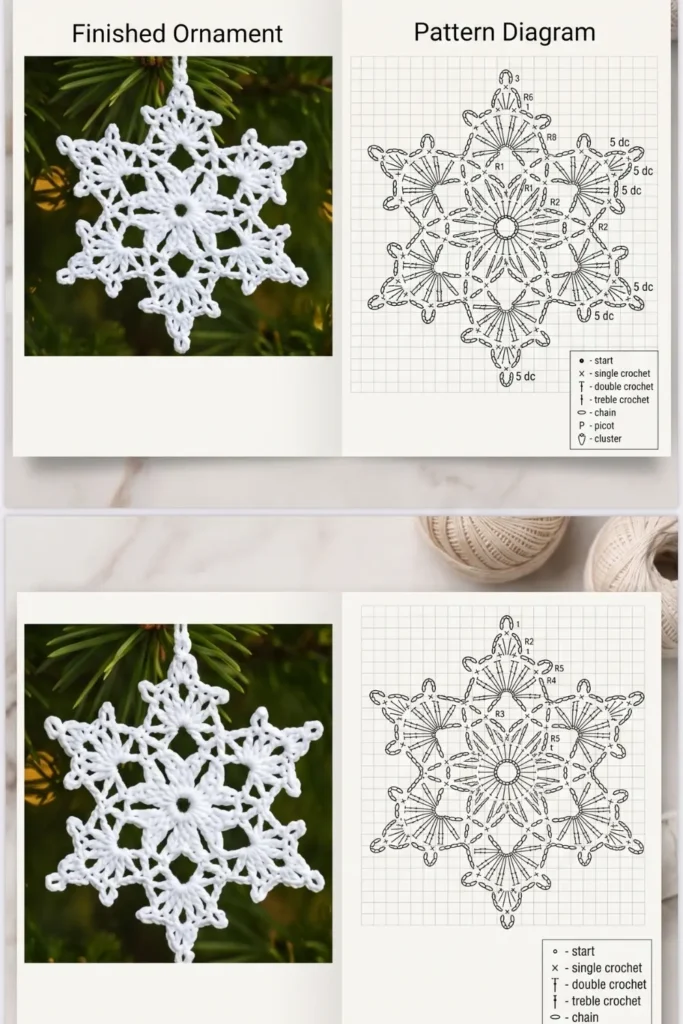
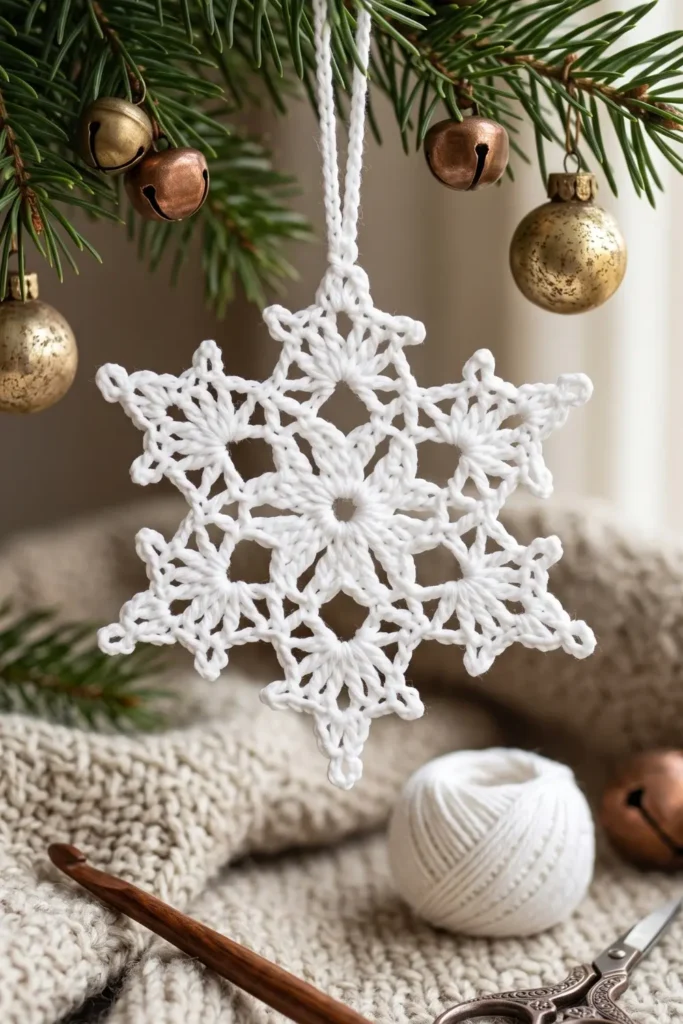
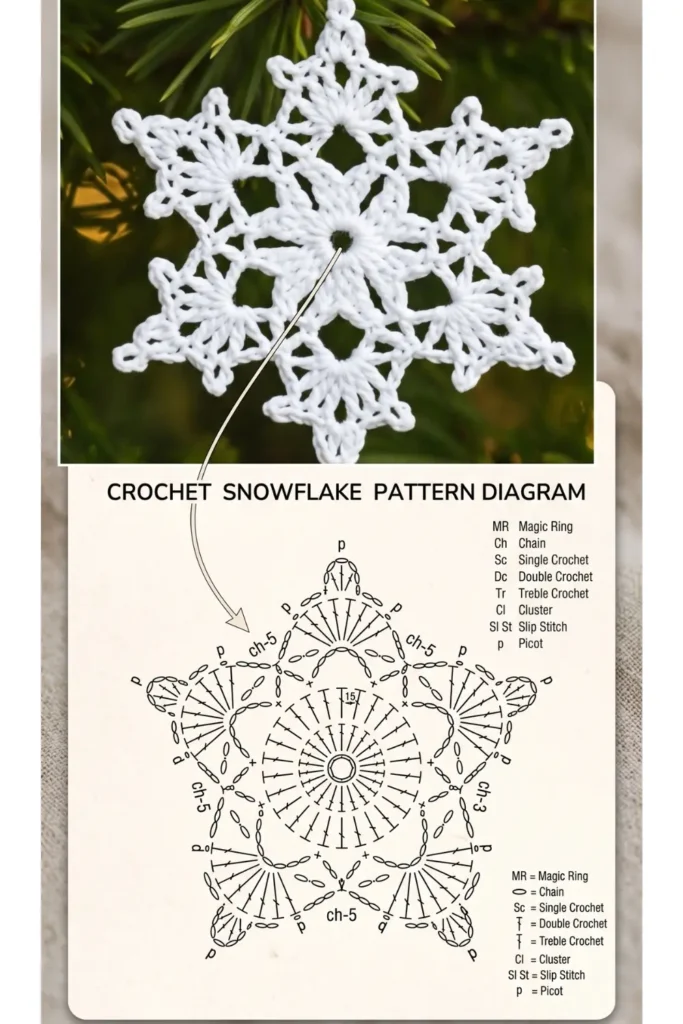
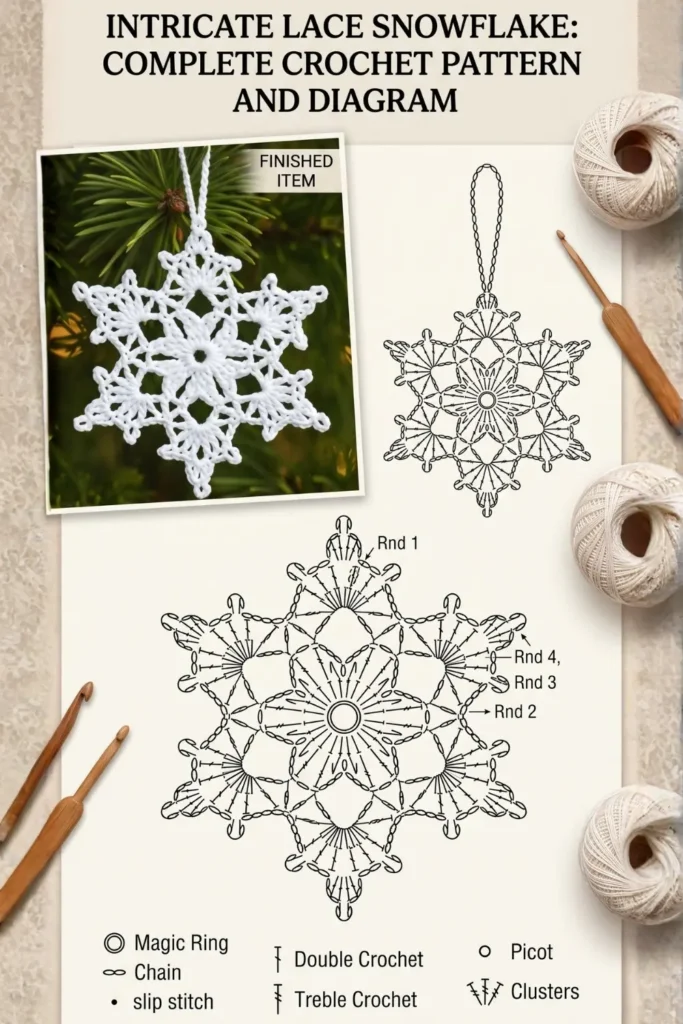
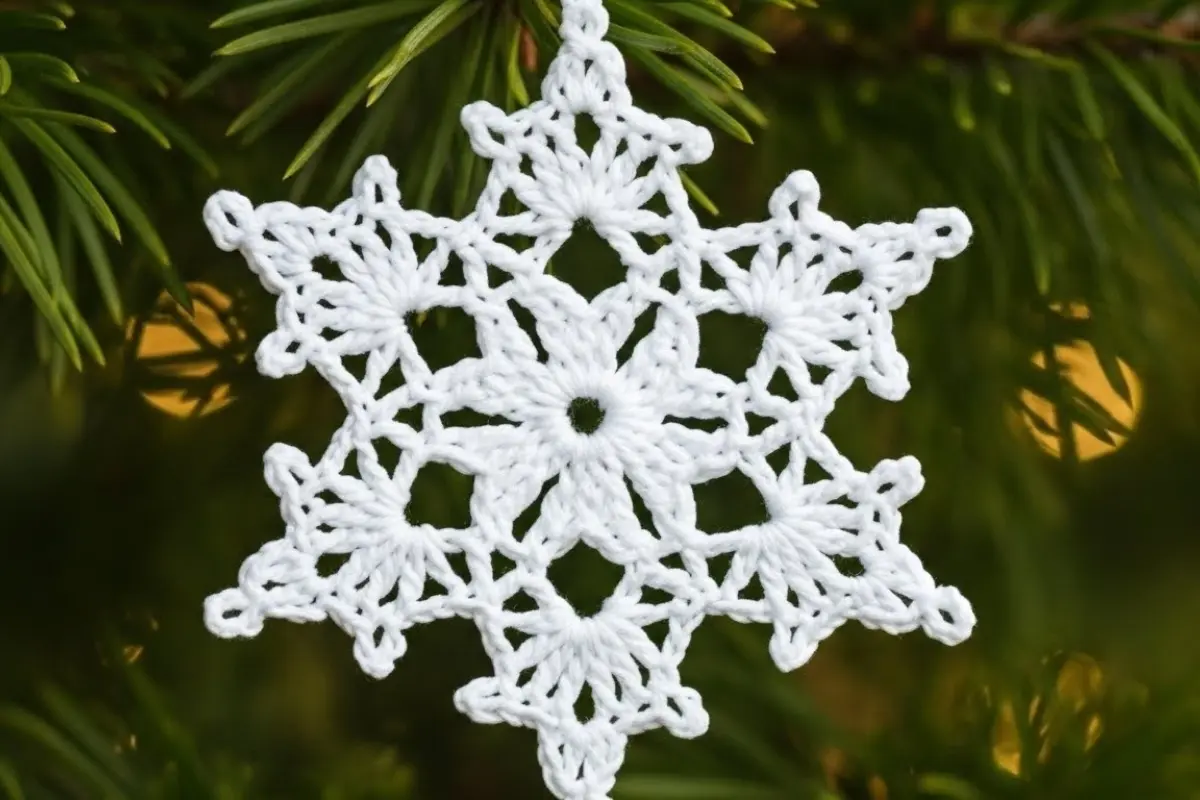
This crochet snowflake pattern combines a small circular center, open chain spaces, and decorative picots. Six larger outer sections alternate with six smaller picot details, creating a winter ornament for a Christmas tree, gift wrapping, or a seasonal garland.
The project uses double crochet, single crochet, chains, and slip stitches. The main challenge is keeping track of the spaces and locating the middle stitch of each five-double-crochet group.
Work the first snowflake slowly, checking the counts after each round. Once the finished piece has been shaped, you can decide whether to leave it soft or use a suitable fabric stiffener for a firmer ornament.
Pattern Overview
- Skill level: Confident beginner to intermediate
- Terminology: US crochet terms
- Construction: Five joined rounds
- Design: Six larger outer sections and six smaller picot details
- Finished size: Varies with yarn, hook, tension, and blocking
- Stuffing: Not required
Materials
- Lightweight cotton or acrylic yarn, such as fingering or light/DK weight
- A hook suitable for your yarn, approximately 2.5–3.5 mm
- Scissors
- Yarn needle
- Stitch markers
- Blocking mat and rustproof pins
- Spray starch or fabric stiffener, optional
- Thread or ribbon for hanging, optional
Cotton is a useful choice when you want defined stitches and lace openings. Acrylic produces a different texture and may require a different finishing method.
Match the hook to your chosen yarn rather than relying on one hook size for every yarn weight.
Abbreviations — US Terms
| Abbreviation | Meaning |
|---|---|
| MR | Magic ring |
| ch | Chain |
| sc | Single crochet |
| dc | Double crochet |
| sl st | Slip stitch |
| st / sts | Stitch / stitches |
| sp | Space |
| sk | Skip |
Picot
Ch 3, then sl st into the first of those three chains.
The picot is decorative and does not count as an additional base stitch.
Pattern Notes
- Work in joined rounds without turning.
- The beginning ch 3 counts as a dc in Round 1.
- Beginning ch 1 does not count as a stitch.
- Joining and repositioning slip stitches do not count as additional stitches.
- Round 2 creates six ch-5 spaces.
- Round 4 is anchored in the middle dc of each five-dc group.
- In Round 5, work into the ch-5 spaces only. Leave the smaller picots unworked.
Free Crochet Snowflake Pattern
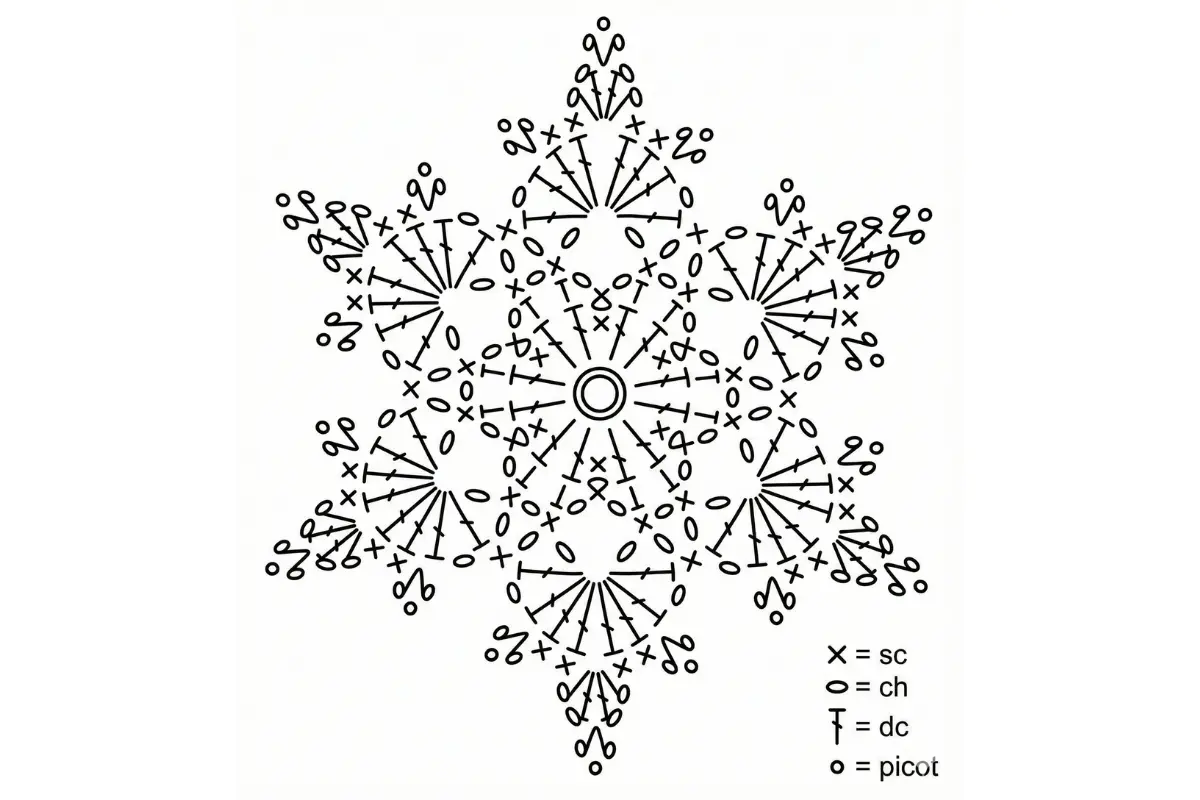
Round 1 — Center
Make a MR.
Ch 3, counting as the first dc. Work 11 dc into the ring.
Pull the ring closed and join with sl st to the top of the beginning ch 3.
Count: 12 dc.
Round 2 — Six Chain Loops
Ch 1. Sc in the same stitch.
Repeat [ch 5, skip next stitch, sc in next stitch] 5 times.
Ch 5, skip the final stitch, and join with sl st to the first sc.
Count: 6 sc and 6 ch-5 spaces.
Round 3 — Decorative Groups
Sl st into the first ch-5 space.
Ch 1. Work the following into the same space:
Sc, ch 2, 5 dc, ch 2, sc.
Repeat that sequence in each of the remaining five ch-5 spaces.
Join with sl st to the first sc.
Count: 6 groups, containing 12 sc, 30 dc, and 12 ch-2 spaces altogether.
Round 4 — Picots and Connecting Spaces
Reposition the hook with slip stitches into the first ch-2 space, then into each of the first three dc of the first group. You are now at its middle dc.
Ch 1. Sc in that same middle dc and make a picot.
Repeat the following 5 times:
Ch 5, sc in the middle dc of the next five-dc group, picot.
When moving to the next group, leave the intervening stitches and chain spaces unworked.
Ch 5 and join with sl st to the first sc of this round.
Count: 6 sc, 6 picots, and 6 ch-5 spaces.
Round 5 — Larger Outer Sections
Sl st into the first ch-5 space.
Ch 1. Work the following into that space:
Sc, ch 2, 4 dc, picot, 3 dc, ch 2, sc.
The picot is made immediately after the fourth dc, placing it at the middle stitch of the seven-dc group.
Repeat the same sequence in each of the remaining five ch-5 spaces.
Leave the Round 4 picots unworked.
Join with sl st to the first sc.
Count: 12 sc, 42 dc, 12 ch-2 spaces, and 6 new picots.
The six picots from Round 4 remain between the larger outer sections.
Fasten off and weave in the ends.
Shaping and Finishing
Lay the snowflake flat and arrange its six larger sections evenly around the center.
If wet blocking, follow the yarn’s care instructions. Lightly dampen the piece, pin the outer picots into position, and adjust the smaller details without stretching them excessively.
Allow it to dry completely before removing the pins.
For a firmer ornament, use spray starch or fabric stiffener according to the product instructions. Test it on a small yarn sample first, especially when working with colored yarn.
Avoid direct heat on acrylic yarn unless the manufacturer’s care instructions specifically allow it.
Practical Tips
Count the six loops before continuing
Round 2 uses alternating stitches from a 12-stitch center. That produces six loops. An extra loop changes the foundation for every later round.
Mark the middle double crochet stitches
Each Round 3 group contains five dc. Its middle stitch is the t
hird dc. Marking these six stitches before Round 4 makes the anchor locations easier to find.
Keep chain tension consistent
Pulling some chains tighter than others can make the openings uneven. Aim for chains that match the tension of the surrounding stitches.
Place the final picots as you work
In Round 5, make each picot after the fourth dc, then complete the remaining three dc. Adding it after finishing the entire group would put it at the side.
Check mistakes before blocking
Blocking can help arrange the lace, but it will not fix missing stitches, extra groups, or an incorrectly placed picot.
Ways to Use Your Snowflake
Attach a hanging thread for a Christmas tree ornament, tie one onto a wrapped gift, or make a matching set for a garland.
For a coordinated collection, use the same yarn and hook throughout. White and cream emphasize the openings, while red, green, or blue create a different seasonal look.
If you enjoy lace-style decorations, explore the Crochet Lace Star Ornament for another project to include in your holiday crochet plans.
Frequently Asked Questions
Can a beginner follow this pattern?
A confident beginner who knows the basic stitches can follow it with careful counting. Repositioning with slip stitches and identifying the middle dc may take a little practice.
How large will the snowflake be?
The dimensions depend on the yarn, hook, and tension. Me
asure the finished piece after shaping rather than relying on a fixed size.
Does it need stiffener?
No. Stiffener is optional. It can help an ornament retain its shape while hanging, but a soft snowflake may suit gift wrapping or other decorative uses.
Can I use crochet thread?
Yes, with a suitable hook. Thread will change the size and appearance, so check your tension as you work.
Why is my snowflake curling?
Check the stitch counts and chain tension first. Mild unevenness may improve with blocking, but persistent distortion needs a closer look at the construction.
Save Your Crochet Snowflake Pattern
Save this crochet snowflake pattern for your winter projects, and keep your first finished piece as a reference when making a set.
Would you choose classic white or a colorful collection? Share your plans in the comments.