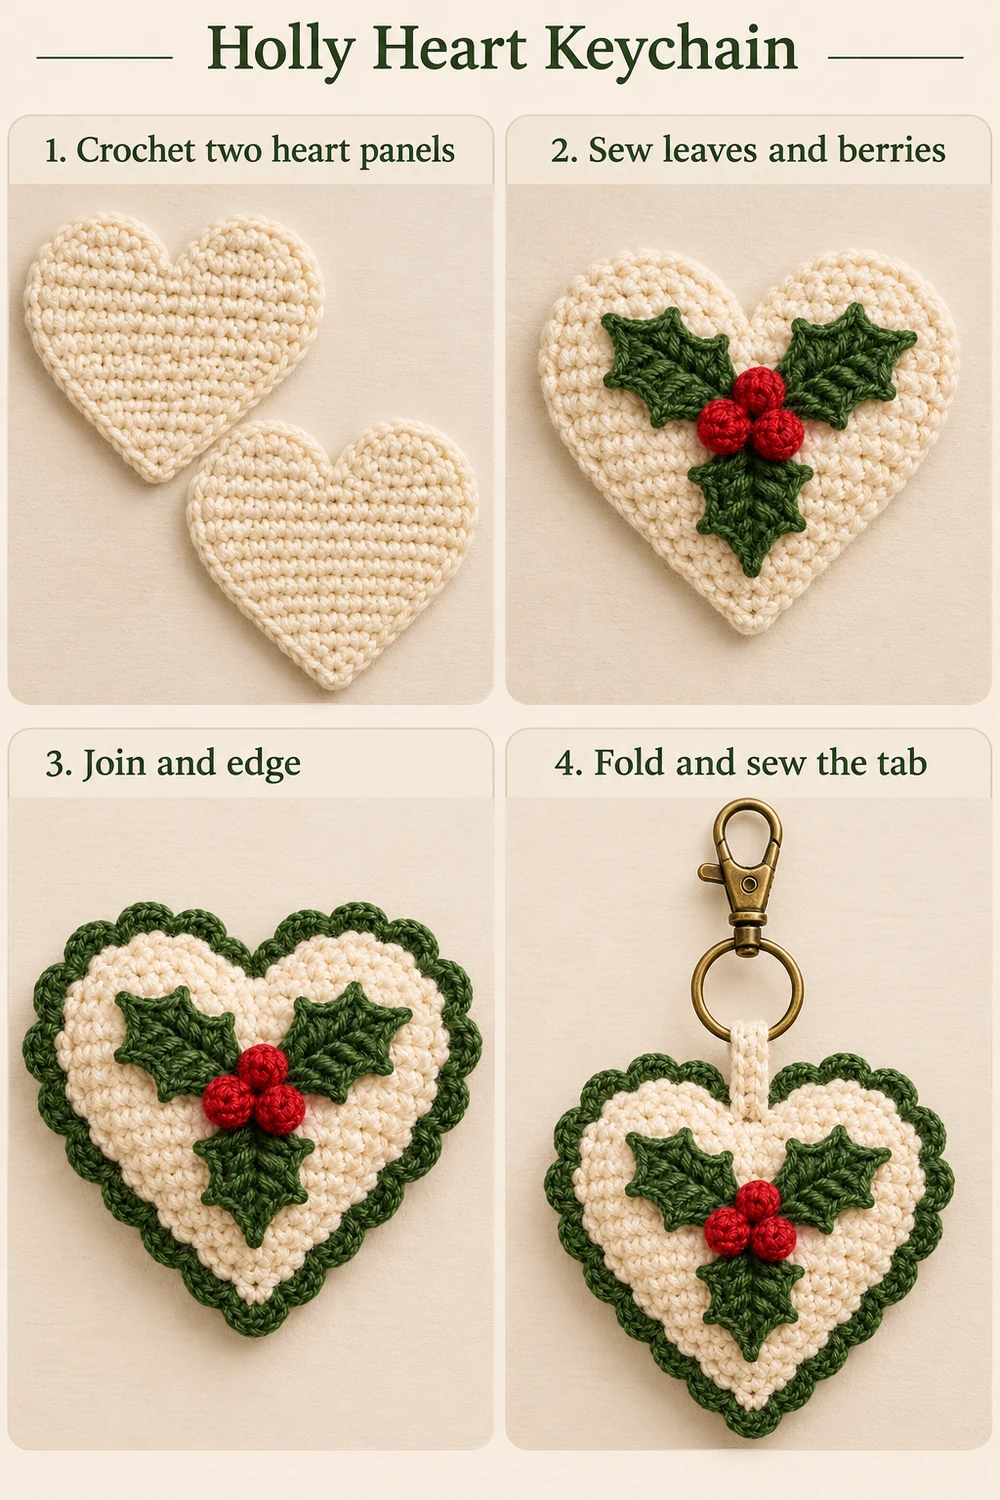
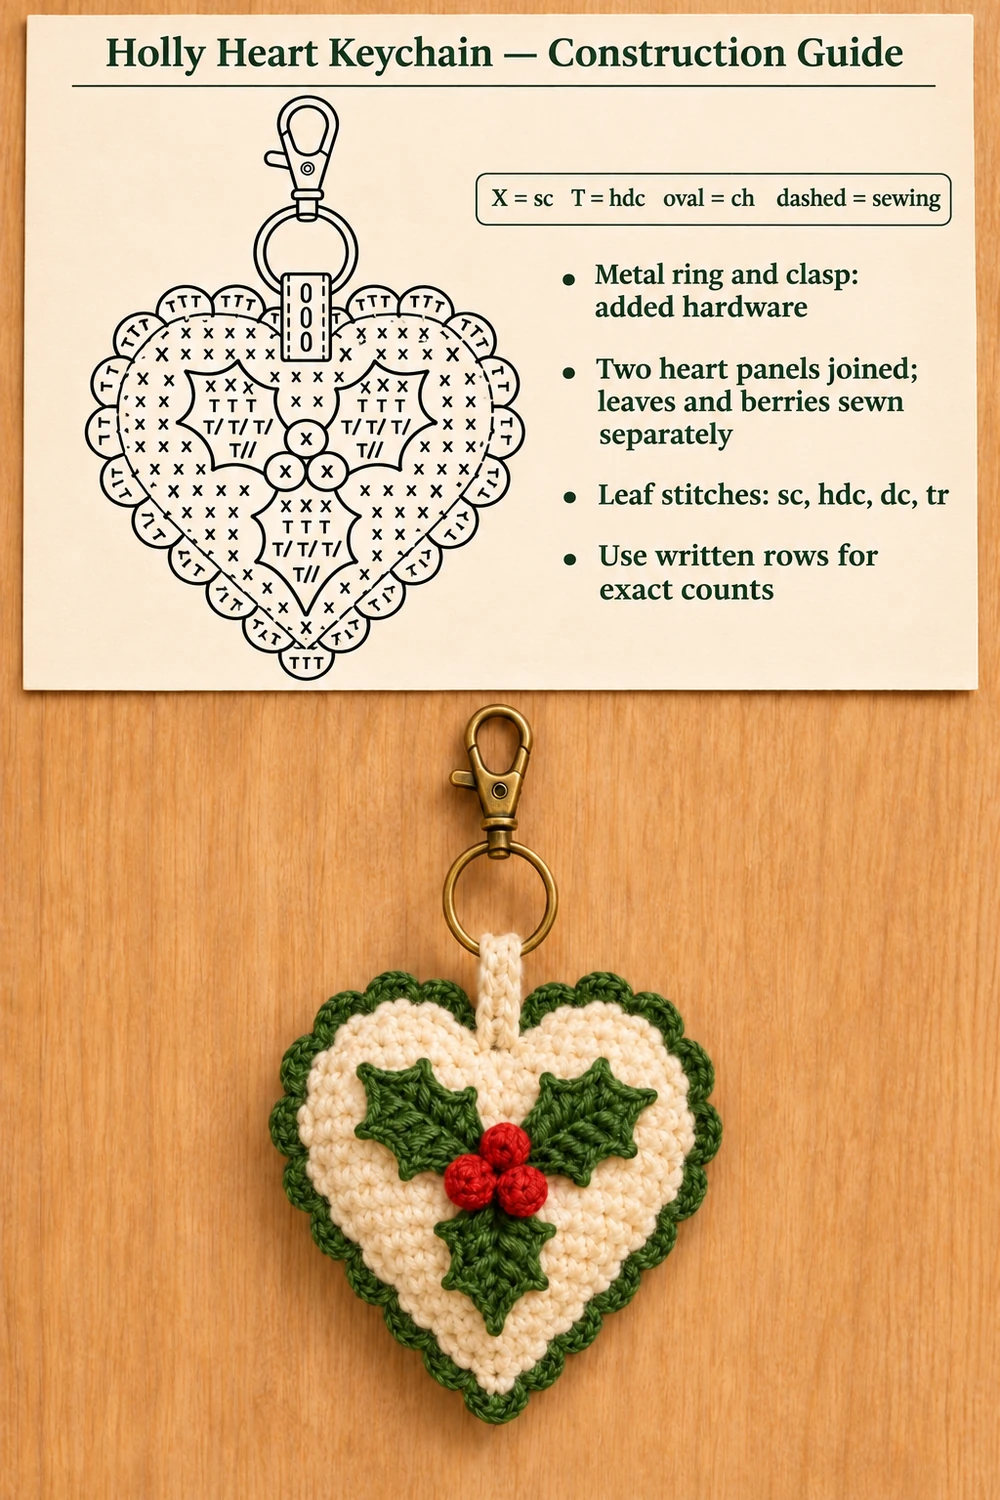
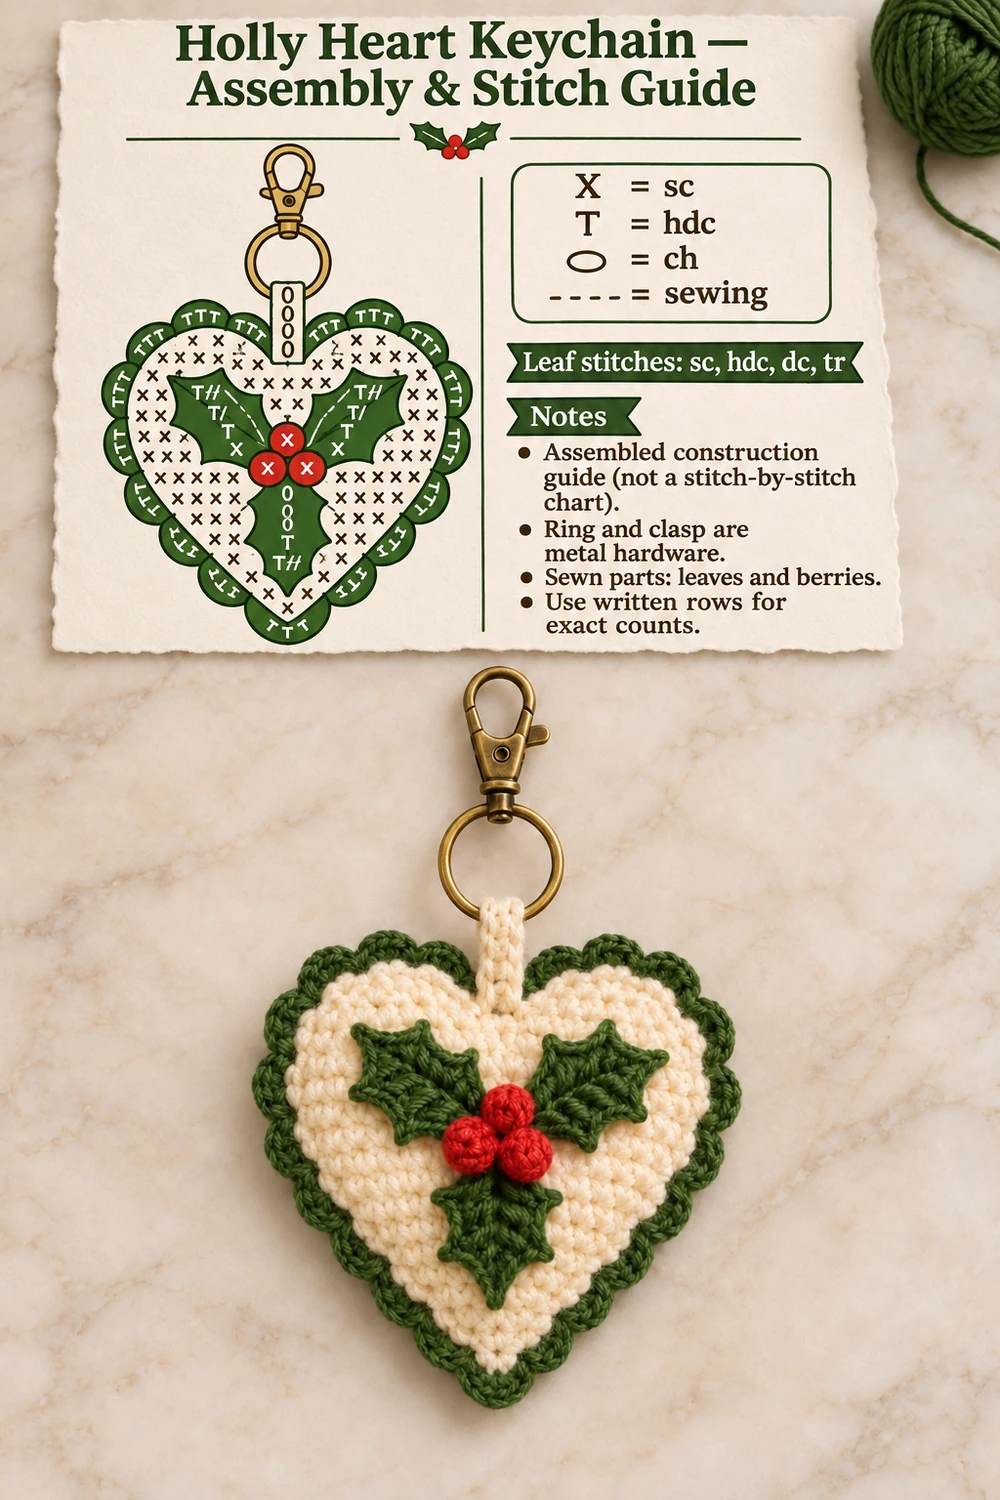
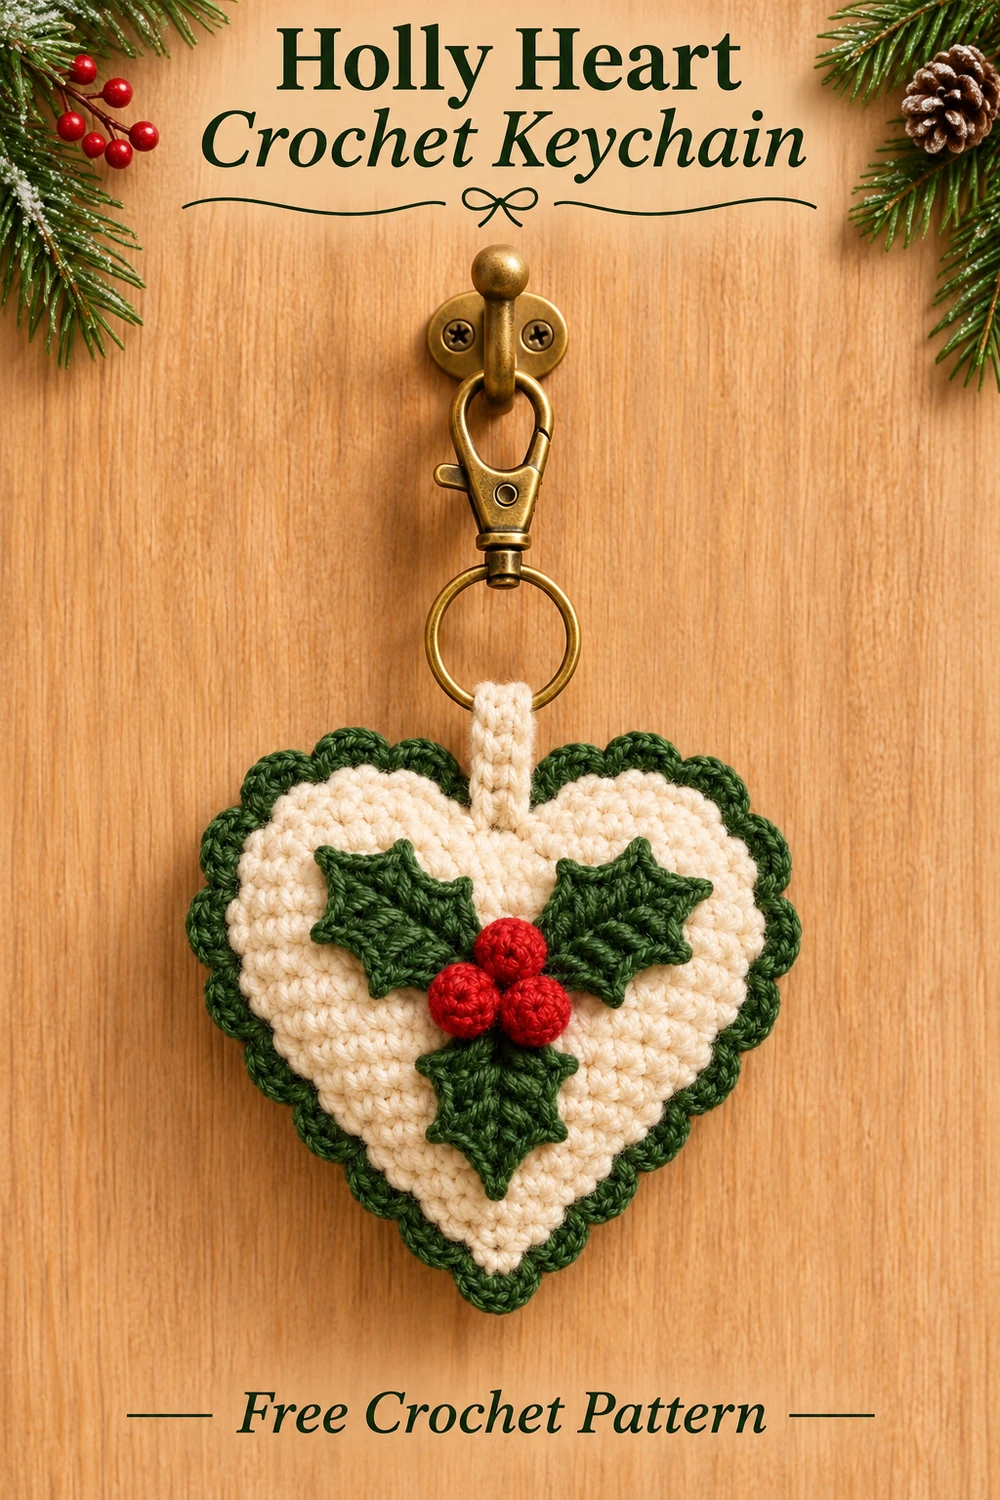
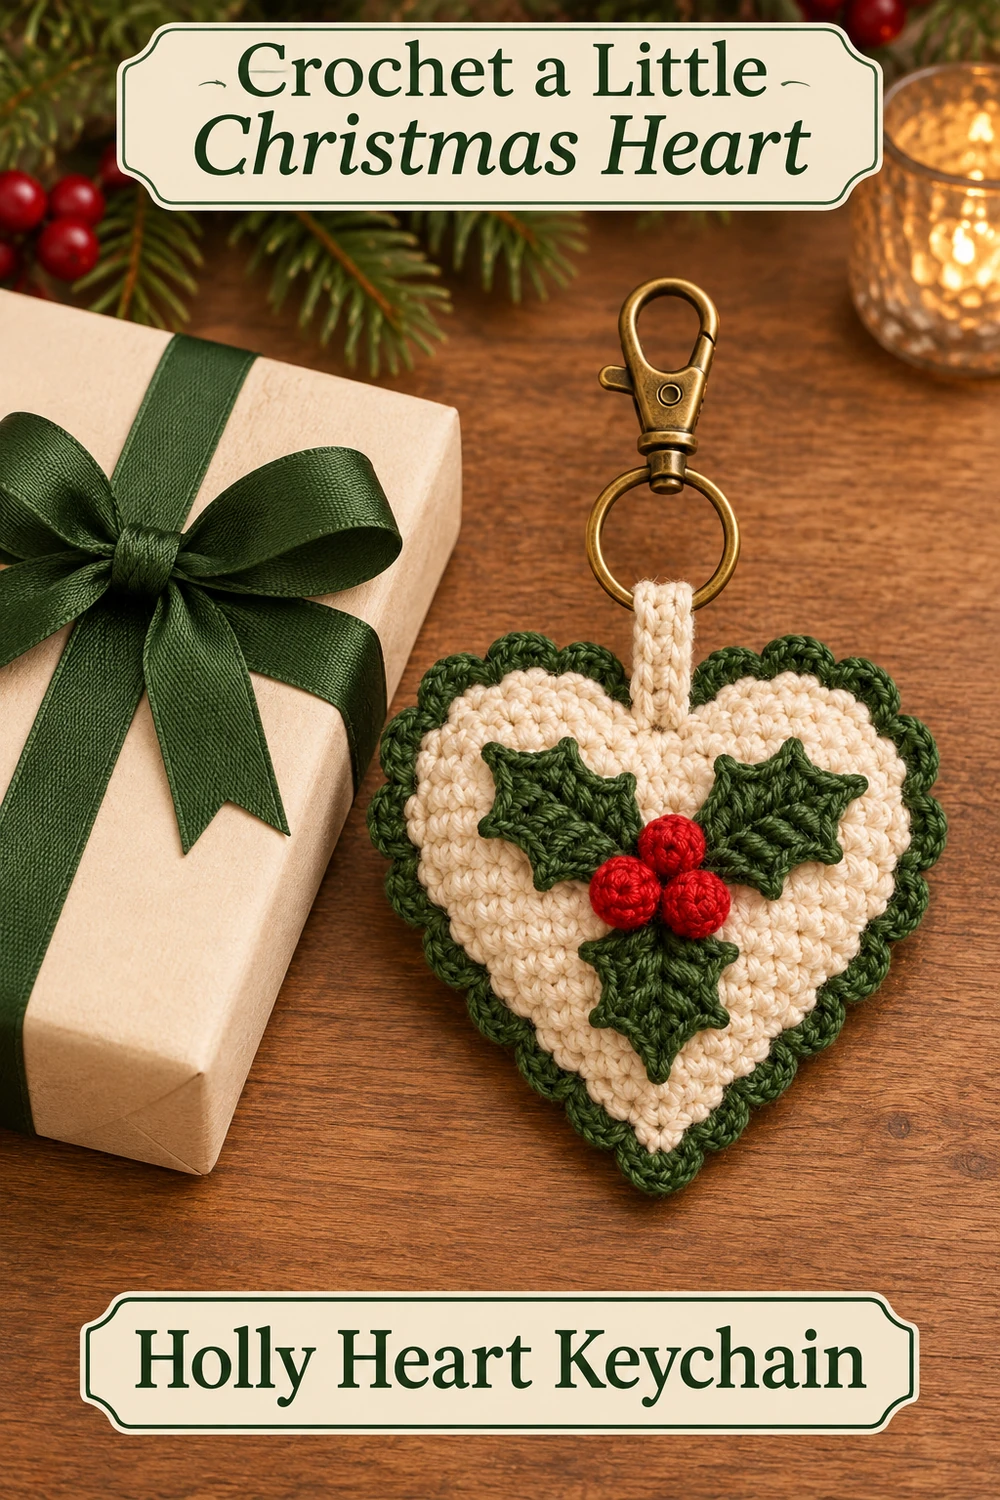
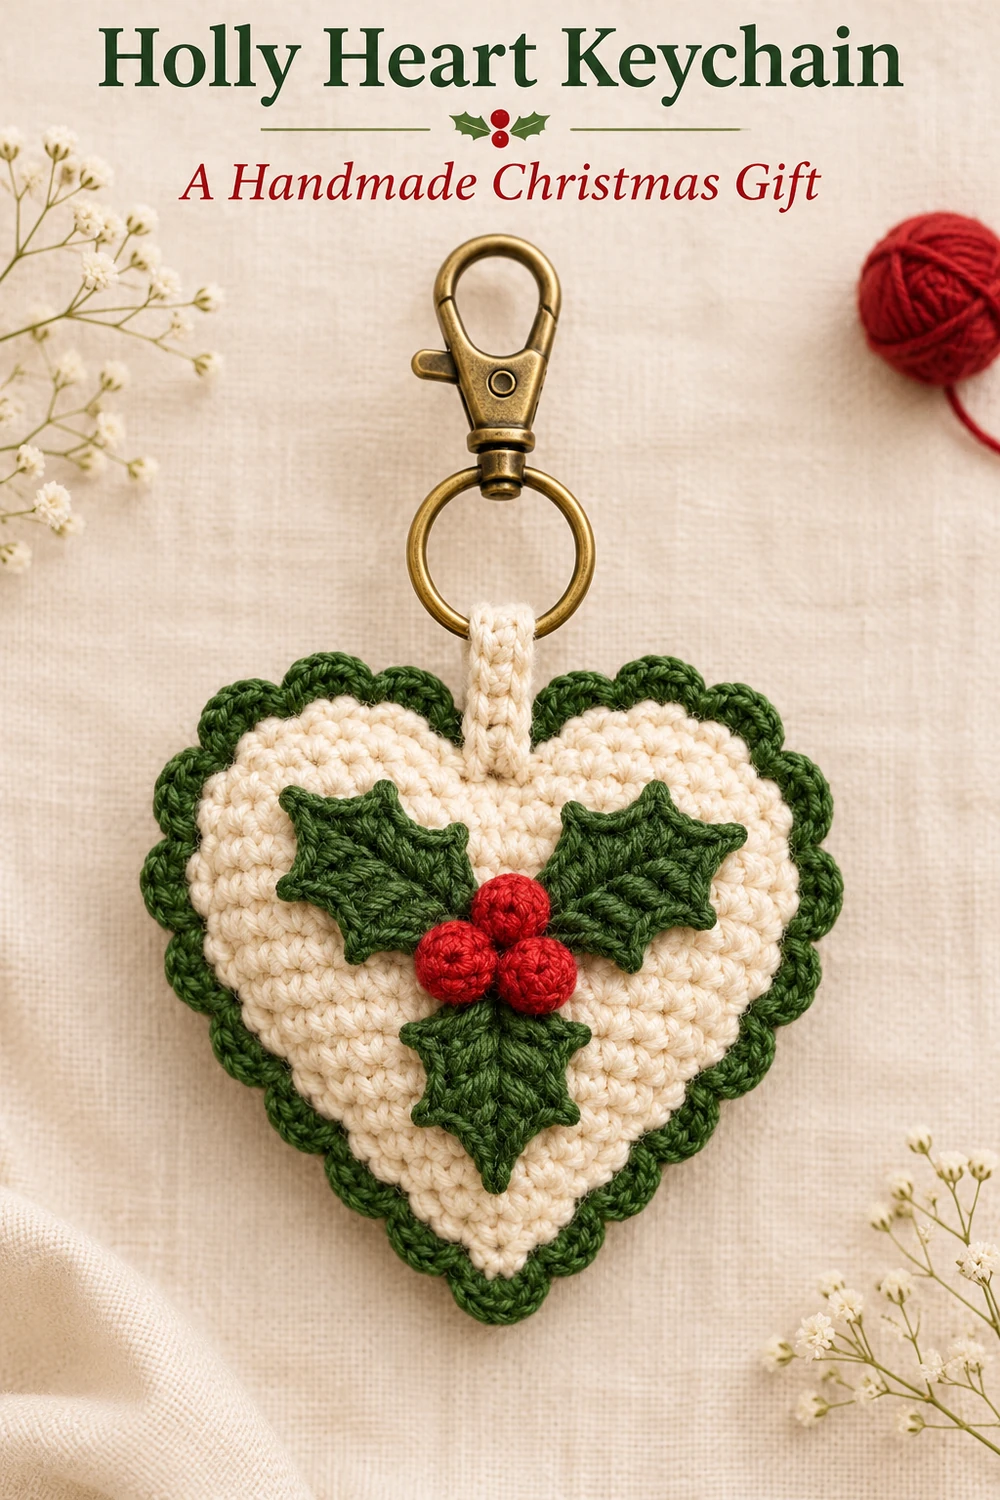
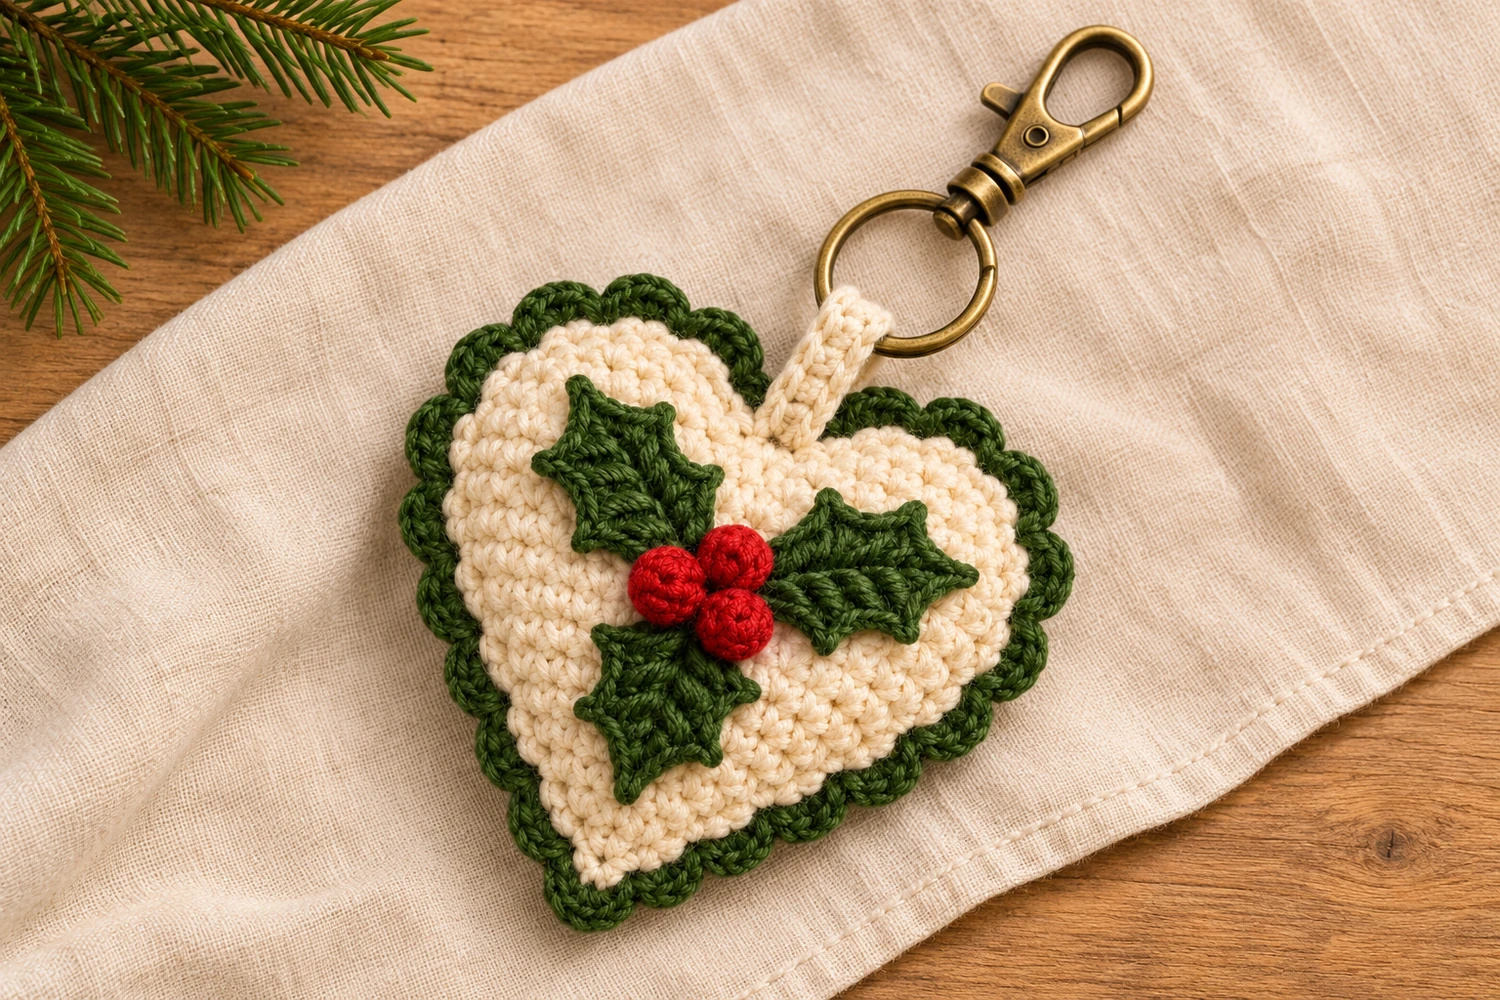
This holly heart crochet keychain pairs a soft cream heart with a forest-green scalloped edge, three pointed holly leaves, and a little cluster of red berries. The short cream tab and antique-brass ring give the Christmas colors a simple, practical finish.
The heart is made from two flat single-crochet panels. You decorate the front before joining the layers, so the attachment threads stay hidden inside. The leaves and berries are separate crochet pieces; the split ring and swivel clasp are purchased metal hardware. This original pattern is inspired by the reference image and is not the photographer’s own pattern.
Holly Heart Crochet Keychain Materials
- Smooth sport-weight cotton: approximately 20–30 g cream, 10 g forest green, and a small amount of red. These are planning allowances, not measured consumption.
- A 2.5 mm crochet hook, or a size that produces firm single crochet with your yarn.
- One smooth-edged split key ring, approximately 25–30 mm across, and one matching swivel lobster clasp.
- Tapestry needle, scissors, removable stitch markers, rustproof pins, and a blocking mat.
- A small pinch of polyester stuffing for the berries and a very thin layer for the heart.
Skill level: Intermediate, mainly because the heart has separately shaped lobes and the leaves use several stitch heights. Estimated finished size: approximately 4–4½ inches (10–11.5 cm) across the heart with sport cotton; the hardware adds height. This is an estimate, not a measured sample. Gauge, yarn, and tension change the result. The instructions and arithmetic have been reviewed on paper; this pattern has not been physically tested.
Before You Start
Choose cream and green yarns of the same weight. A thinner green thread can make the edging pull inward, while a much thicker one can overwhelm the small heart. Keep the body stitches close enough that the padding will not show through. The heart needs only a little loft: too much stuffing rounds out the point and spreads the dip between the lobes.
The panels are worked from the bottom point upward in turned rows. Each lobe is then finished separately. Keep a marker in the first and last stitch of each row, especially when you begin decreasing the lobes. Make both panels with the same hook and compare them before attaching any decorations.
Use the crochet tab to connect the heart to the key ring. Do not attach the ring through a single stitch of the scalloped border. The metal ring and clasp are accessories, not crocheted parts, and the wooden wall hook in the inspiration photograph is only a display prop.
US Crochet Terms and Special Stitches
- ch: chain
- sl st: slip stitch
- sc: single crochet
- hdc: half double crochet
- dc: double crochet
- tr: treble crochet
- inc: 2 sc in the same stitch
- sc2tog: single crochet 2 stitches together
- st(s): stitch(es)
- RS / WS: right side / wrong side
- MR: magic ring
Single crochet decrease: insert the hook into the next stitch and pull up a loop, insert into the following stitch and pull up a loop, yarn over, and pull through all three loops. Two old stitches become one new stitch. Picot: ch 3, sl st into the first of those three chains. The picot is an added point and does not consume another base stitch.
A turning ch 1 never counts as a stitch. Work the first sc into the first actual stitch of the previous row. For the leaves, yarn over twice to make a tr; draw through two loops three times. General terminology can be checked against the Craft Yarn Council crochet abbreviations.
Stitch Counts at a Glance
| Component | Rows or rounds | Count to check |
|---|---|---|
| Each cream panel | Rows 1–12 | 3, 5, 7, 9, 11, 13, 15, 17, 19, 21, 23, 25 sc |
| Panel body | Rows 13–17 | 25 sc each row |
| Each lobe | Rows 18–23 | 11, 9, 9, 7, 5, 3 sc |
| Center dip | Between lobes | 3 unworked stitches of Row 17 |
| Green joining round | Round 1 | 72 sc through both panels |
| Scalloped edge | Round 2 | 24 small scallops; each uses 3 base stitches |
| Each holly leaf | Foundation round | 17 base stitches, plus picots on the edging |
| Each berry | Rounds 1–4 | 6, 12, 12, 6 sc |
| Cream tab | Rows 1–14 | 4 sc each row |
Crochet the Two Cream Heart Panels
Make two identical panels in cream. Leave a short starting tail that can be woven in before joining.
Row 1: Ch 4. Sc in the second ch from the hook and in each remaining ch. Turn. (3 sc)
Row 2: Ch 1, inc in the first st, sc in the next st, inc in the last st. Turn. (5 sc)
Rows 3–12: Ch 1, inc in the first st, sc in each st up to the last st, inc in the last st. Turn after every row. The counts are 7, 9, 11, 13, 15, 17, 19, 21, 23, and 25 sc. Each row adds two stitches.
Rows 13–17: Ch 1, sc in each of the 25 sts. Turn. (25 sc per row)
First Lobe
Row 18: Ch 1, sc in the first 11 sts only. Leave the remaining 14 sts of Row 17 unworked for now. Turn. (11 sc)
Row 19: Ch 1, sc2tog, sc in the next 7 sts, sc2tog. Turn. (9 sc)
Row 20: Ch 1, sc in each st. Turn. (9 sc)
Row 21: Ch 1, sc2tog, sc in the next 5 sts, sc2tog. Turn. (7 sc)
Row 22: Ch 1, sc2tog, sc in the next 3 sts, sc2tog. Turn. (5 sc)
Row 23: Ch 1, sc2tog, sc in the next st, sc2tog. (3 sc) Fasten off.
Second Lobe
Return to Row 17. Skip the three stitches immediately after the first lobe; these form the center dip. Join cream in the next stitch with a sl st that does not count. Ch 1 and sc into that same stitch, then sc in the remaining 10 sts. This is Row 18 of the second lobe. Turn. (11 sc)
Repeat Rows 19–23 of the first lobe. The remaining counts are 9, 9, 7, 5, and 3 sc. Fasten off. Both lobes must have the same height and three stitches at their upper tips.
Gently dampen the panels and pin them into matching hearts without stretching them. Keep the lower point centered and leave the three-stitch valley open. Let them dry completely. Weave in ends on the inside, then choose the neatest face as the decorated front.
Make Three Forest-Green Holly Leaves
Each leaf begins with an oval around a chain and receives a pointed picot edge. The leaves are sewn onto the heart later; they are not worked directly into the heart panel.
Foundation round: Ch 9. Starting in the second ch from the hook, work sc, hdc, dc, tr in each of the next 2 chains, dc, hdc, and 3 sc in the last chain. Rotate the chain and work along its unused underside: hdc, dc, tr in each of the next 2 chains, dc, hdc, sc. Join with a sl st to the first sc. (17 sts)
For clarity, number those stitches 1–17 from the first sc. Stitches 8, 9, and 10 are the three sc at the far tip; stitch 9 is the center of that tip. Place a marker there before edging.
Pointed edging: Ch 1. Sc in sts 1 and 2; make a picot after the second sc. Sc in sts 3–5; make a picot after the fifth. Sc in sts 6–9; make a picot after the ninth. Sc in sts 10–13; make a picot after the thirteenth. Sc in sts 14–16; make a picot after the sixteenth. Sc in st 17. Join to the first sc and fasten off with an 8-inch sewing tail. (17 sc and 5 picots)
Pin the leaf flat, draw the far tip outward very gently, and let it dry. The picots make the small pointed margins; the taller stitches make the leaf broader through its middle. Make all three leaves alike. Do not add wire.
Make Three Red Crochet Berries
Work in a continuous spiral and mark the first stitch of each round. The berries are softly stuffed crochet shapes, rather than plastic beads.
Round 1: Make 6 sc in an MR and close the ring. (6 sc)
Round 2: Inc in each st around. (12 sc)
Round 3: Sc in each st around. (12 sc)
Round 4: Sc2tog 6 times. (6 sc) Add a tiny pinch of stuffing. Cut the yarn with an 8-inch tail, thread the needle through the front loop of each of the 6 remaining stitches, and pull closed. Keep the tail for sewing.
Roll the berry gently between your fingers. It should keep its shape without being hard or showing white stuffing. Make three, and keep their closure points against the heart when attaching them.
Sew the Holly onto the Front
Lay the front panel RS up with its bottom point facing you. Arrange the leaves so their bases meet just below the center of the heart. Two tips point toward the upper lobes; the third points toward the bottom point. Leave enough cream showing around the leaves to keep the heart silhouette clear.
Pin first and compare the left and right sides. With each leaf’s own tail, sew its central chain line and lower half to the cream panel using small backstitches. Catch the cream fabric without pulling a dent through it. Leave the picot tips free so their edges stay distinct. This attachment is sewing, not surface crochet or embroidery.
Place one berry slightly above the other two to make a compact triangle at the meeting point of the leaves. Sew around each berry’s base several times, passing through solid cream stitches beneath the leaves as well as through the leaf bases. Secure the yarn on the WS. The berries should not swing loosely or cover the whole leaf arrangement.
Join the Heart and Add the Green Scallops
Place the panels WS together, with the decorated panel facing you. Match the point, lobes, and center valley, and pin or clip the layers together. You will work through both layers throughout the joining round.
Joining Round 1: Start in the center valley. With green, work one sc through each matching pair of edge locations, using the following allocation. This explicit distribution makes 72 sc around the joined heart.
- 3 sc across the three exposed stitches in the center valley.
- 6 sc up the six row ends on the inner edge of the first lobe.
- 3 sc across the last row at the top of that lobe.
- 6 sc down its six outer row ends.
- 17 sc down the outer row ends of the main body, one per row end for Rows 17–1.
- 5 sc across the three unused foundation loops at the bottom: 1 sc in the first, 3 sc in the center, and 1 sc in the last.
- 17 sc up the opposite side of the main body.
- 6 sc up the outer row ends of the second lobe, 3 sc across its top, and 6 sc down its inner edge.
Pause with a small opening still available, insert a very thin layer of stuffing, and spread it away from the edges. Finish the round and join with a sl st to the first sc. Do not count the joining slip stitch. Check the arithmetic: 3 + 6 + 3 + 6 + 17 + 5 + 17 + 6 + 3 + 6 = 72. When inserting into row ends, catch firm strands from both panels rather than a loose turning chain.
Scallop Round 2: Ch 1. Repeat [sl st in the next st, 3 hdc in the next st, sl st in the next st] 24 times. Every repeat uses three joining-round stitches. Join to the first sl st, fasten off, and weave the tail into the green edge. (24 scallops)
Keep the slip stitches relaxed. The small half-double-crochet fans should sit against the cream heart as a neat dark outline. Do not force an extra scallop into the dip; follow the established repeats and shape the dip gently with your fingers.
Crochet and Attach the Cream Tab
Row 1: With cream, ch 5. Sc in the second ch from the hook and in the remaining 3 chains. Turn. (4 sc)
Rows 2–14: Ch 1, sc in each of the 4 sts. Turn after each row. Fasten off with a long sewing tail. (4 sc per row)
Thread the strip through the closed split ring, then fold it in half with its short ends together. The ring rests inside the fold. Position the two ends on the back of the heart directly below the center dip, overlapping the cream fabric by approximately four rows of the tab. Keep the front leaves clear.
Use small, firm stitches to sew both short ends to the back panel. Sew a small rectangle across the overlap and a second line through its middle, catching substantial cream stitches. Reinforce the attachment with another pass of yarn, secure it, and bury the tail inside. This is a folded and sewn tab, not a chain loop. Clip the swivel clasp onto the split ring; if the clasp comes preassembled, leave the hardware connection intact.
Check that the ring rotates freely without cutting into the yarn. Tug gently on the tab and on each applied piece before use. Replace the tab if it shows wear. This is a decorative keychain, not a load-bearing strap or a toy; the small parts and metal fittings should be kept away from young children.
Finishing and Care
Shape the point and lobes with your fingers. If the scallops need tidying, dampen only the crochet edge and pin it lightly while keeping the metal dry. Do not soak an assembled keychain unless the hardware manufacturer confirms that its finish can tolerate water.
For routine cleaning, spot-clean the cotton with a little mild soap and water, blot gently, and air-dry flat. Avoid rubbing the leaves or pulling the berry cluster. Do not iron the stuffing or press the scallops flat with a hot iron.
Small Adjustments and Troubleshooting
The Lobes Do Not Match
Check that both lobes began with 11 stitches and followed 11, 9, 9, 7, 5, 3. Accidentally working into a turning chain can leave one lobe wider. Correct that panel before joining; the edging cannot hide a different row count.
The Border Pulls Inward or Ruffles
Count 72 joining stitches before adding the fans. A tight slip-stitch round can draw the edge inward even when the count is right. Loosen those slip stitches or use a slightly larger hook for Round 2. If it ruffles, check that each fan uses only its assigned base stitch and that you have not added extra fans at the corners.
The Heart Looks Too Round
Use less padding, especially near the bottom. The two flat panels supply most of the shape. Before closing the last opening, flatten the heart on the table and check that the point remains visible and the valley has not filled with stuffing.
The Leaves Curl or the Berries Lean
Block the leaves separately before sewing. Do not pull a long sewing stitch tight across the entire leaf; use several shorter attachments along the center. A leaning berry usually needs more attachment stitches around its base, rather than another stitch through its top.
More Christmas Crochet Projects
For another way to use green leaves and red berries, try the Holly and Berries Granny Square. The Christmas Wreath Crochet Square uses a similar festive palette, while the Red Lace Crochet Christmas Bow makes a larger hanging decoration.