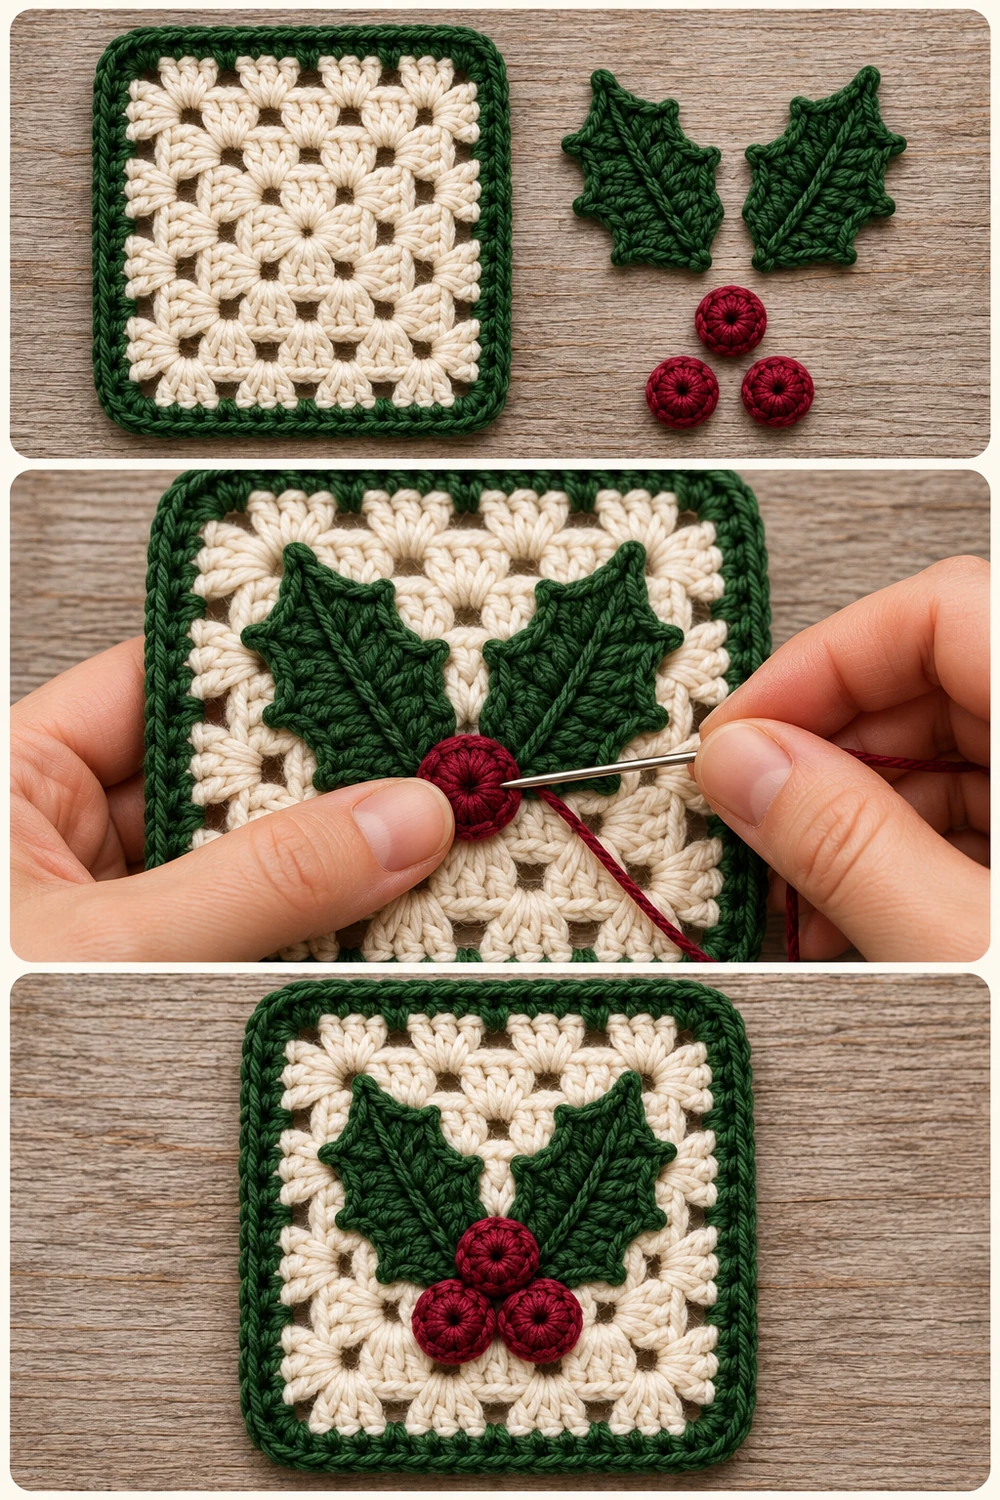
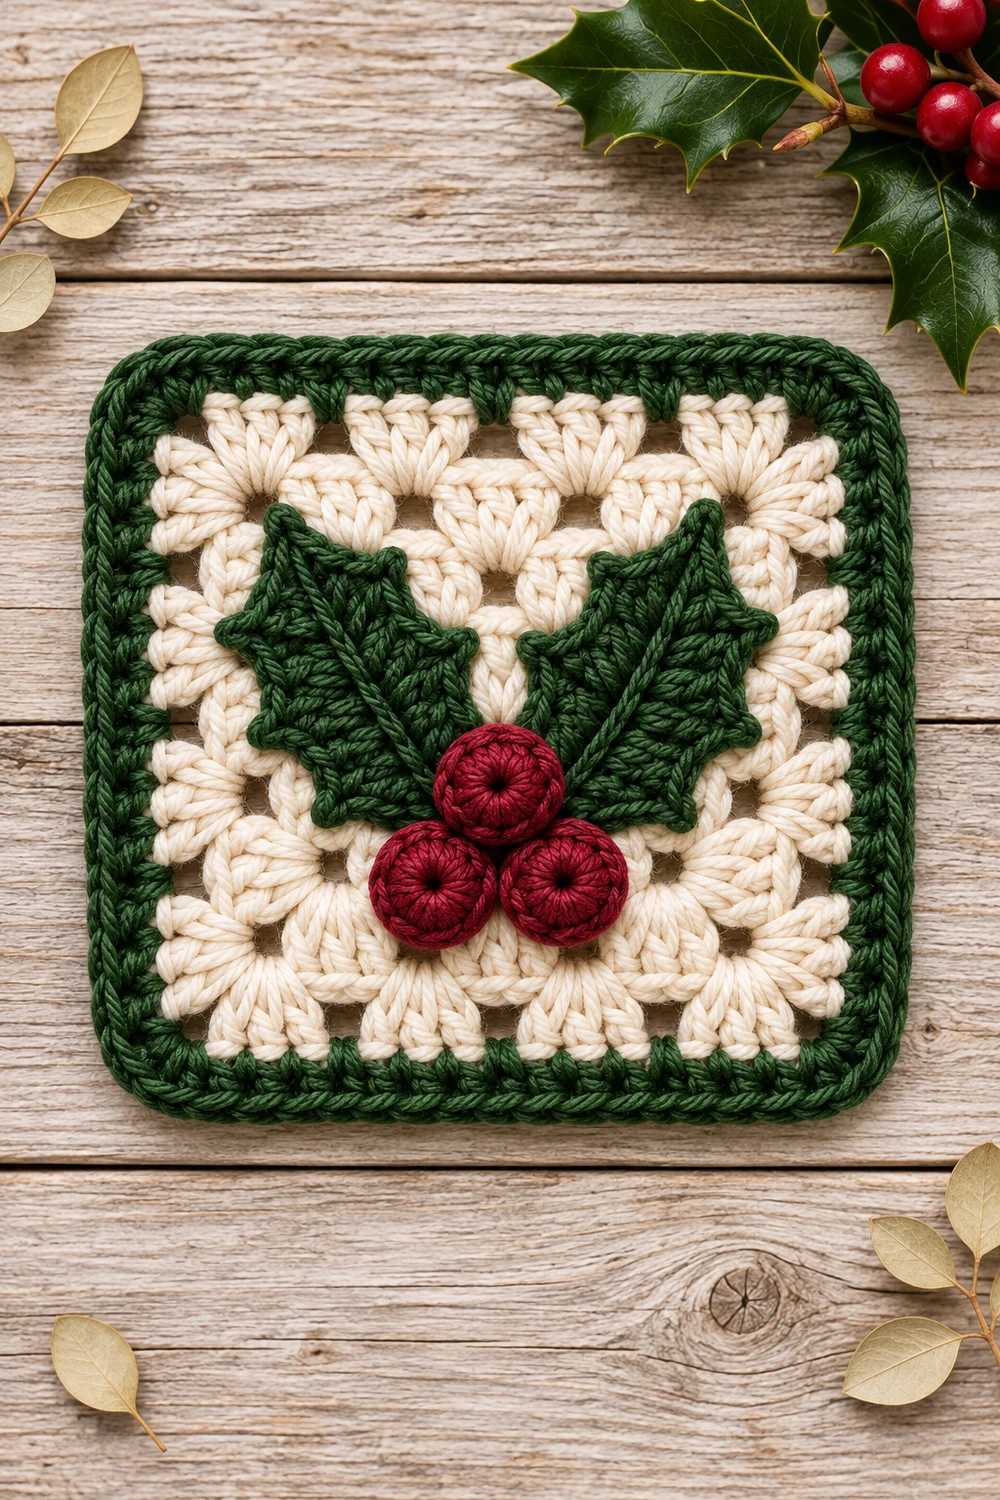
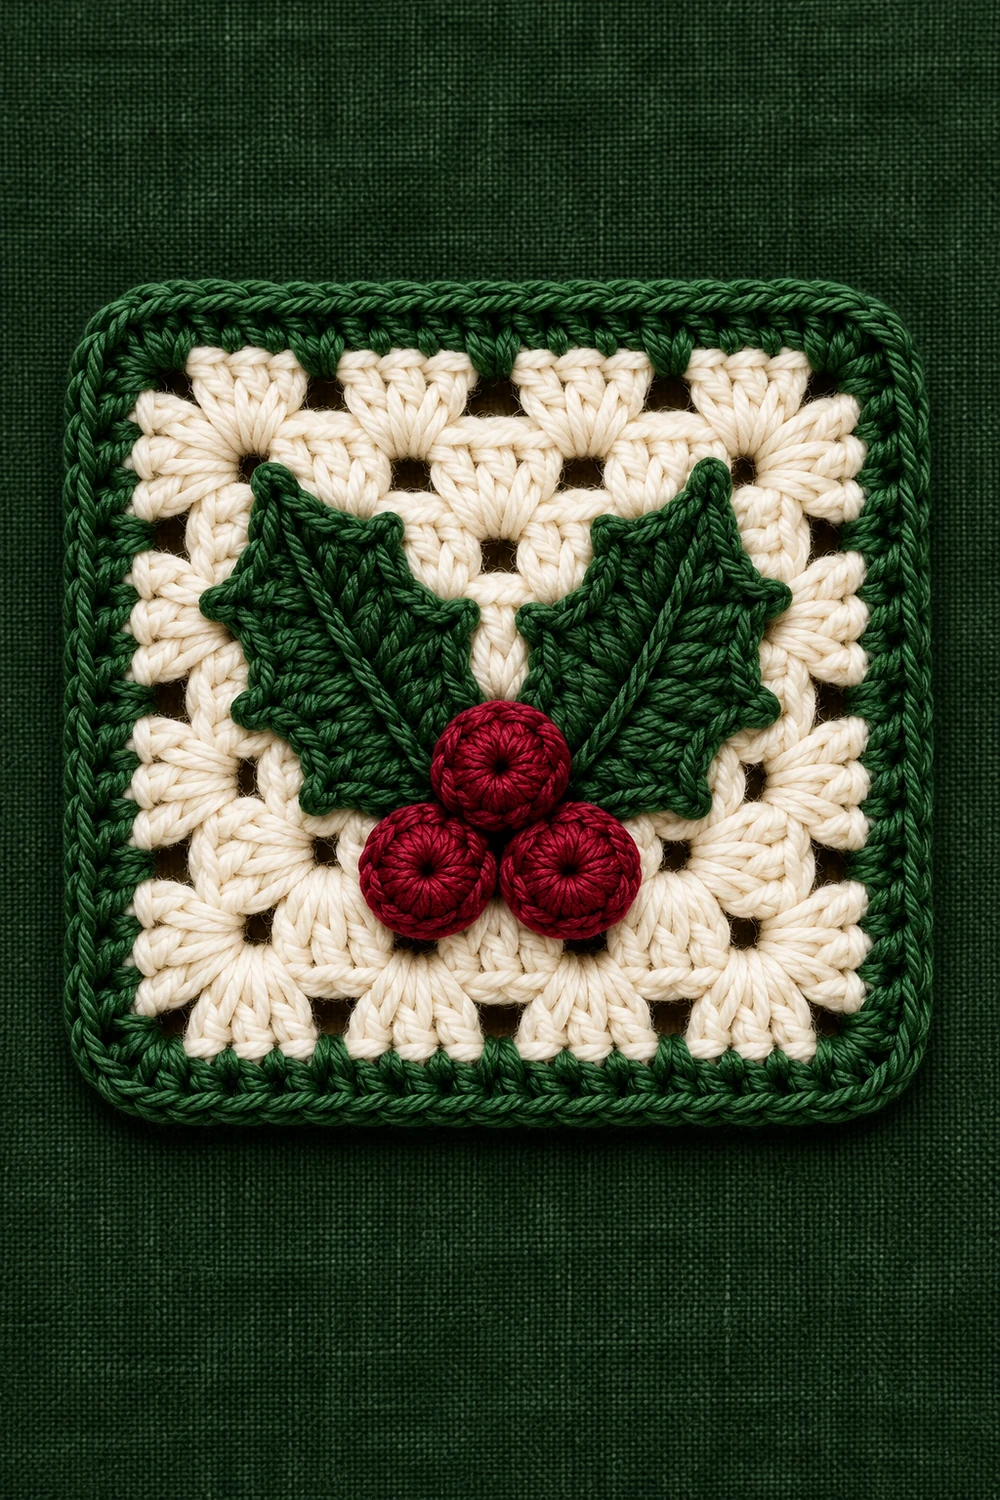
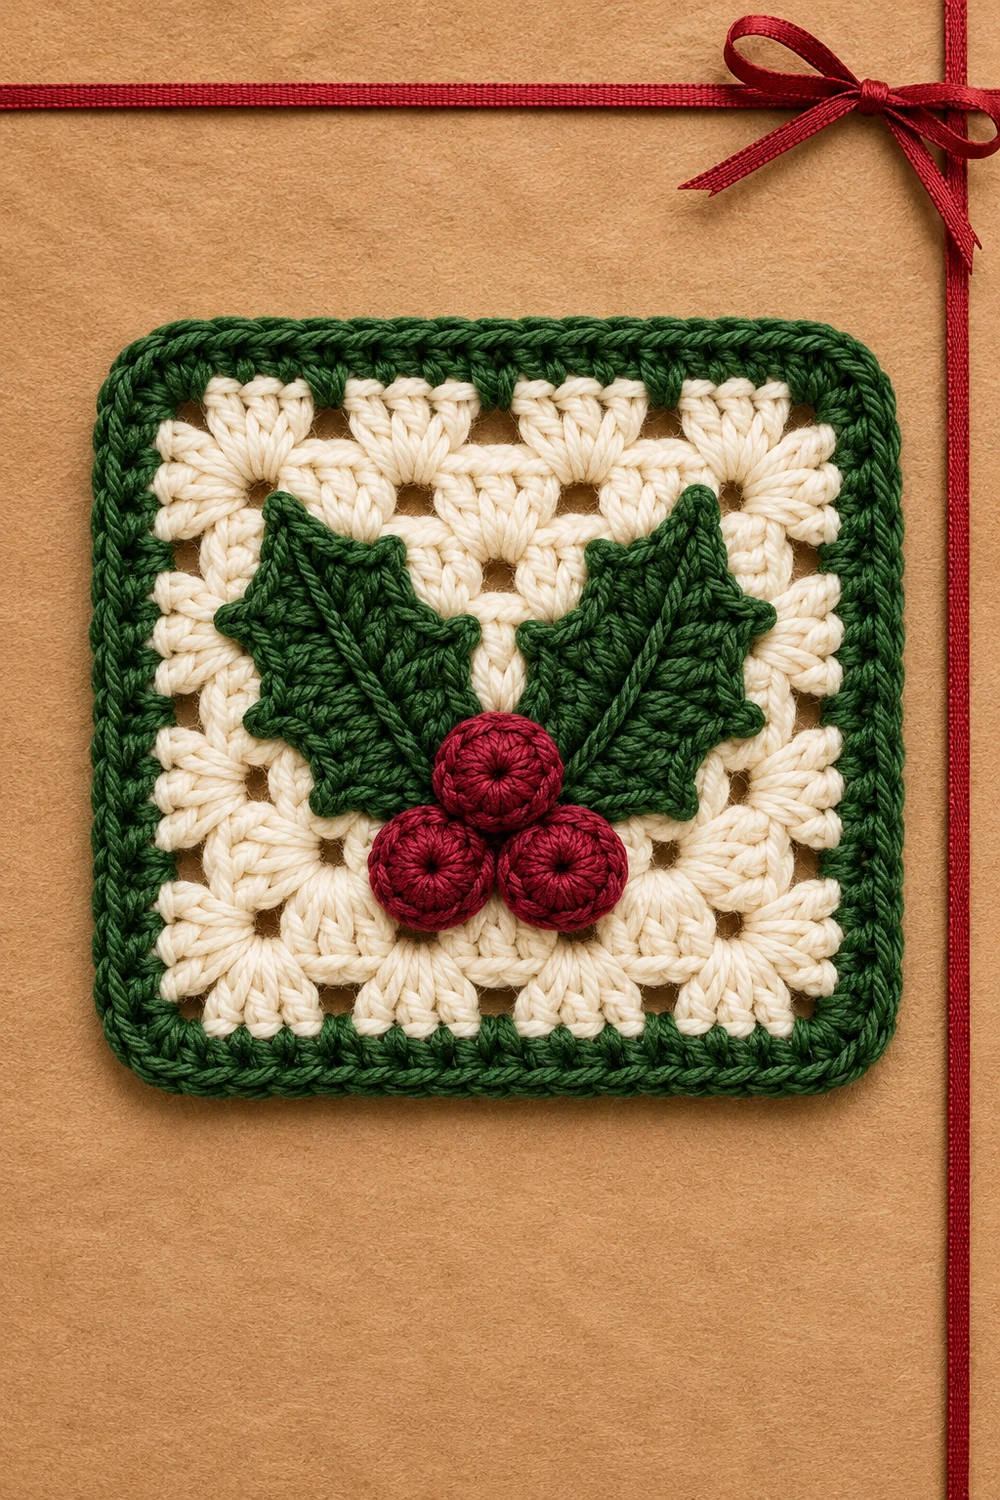
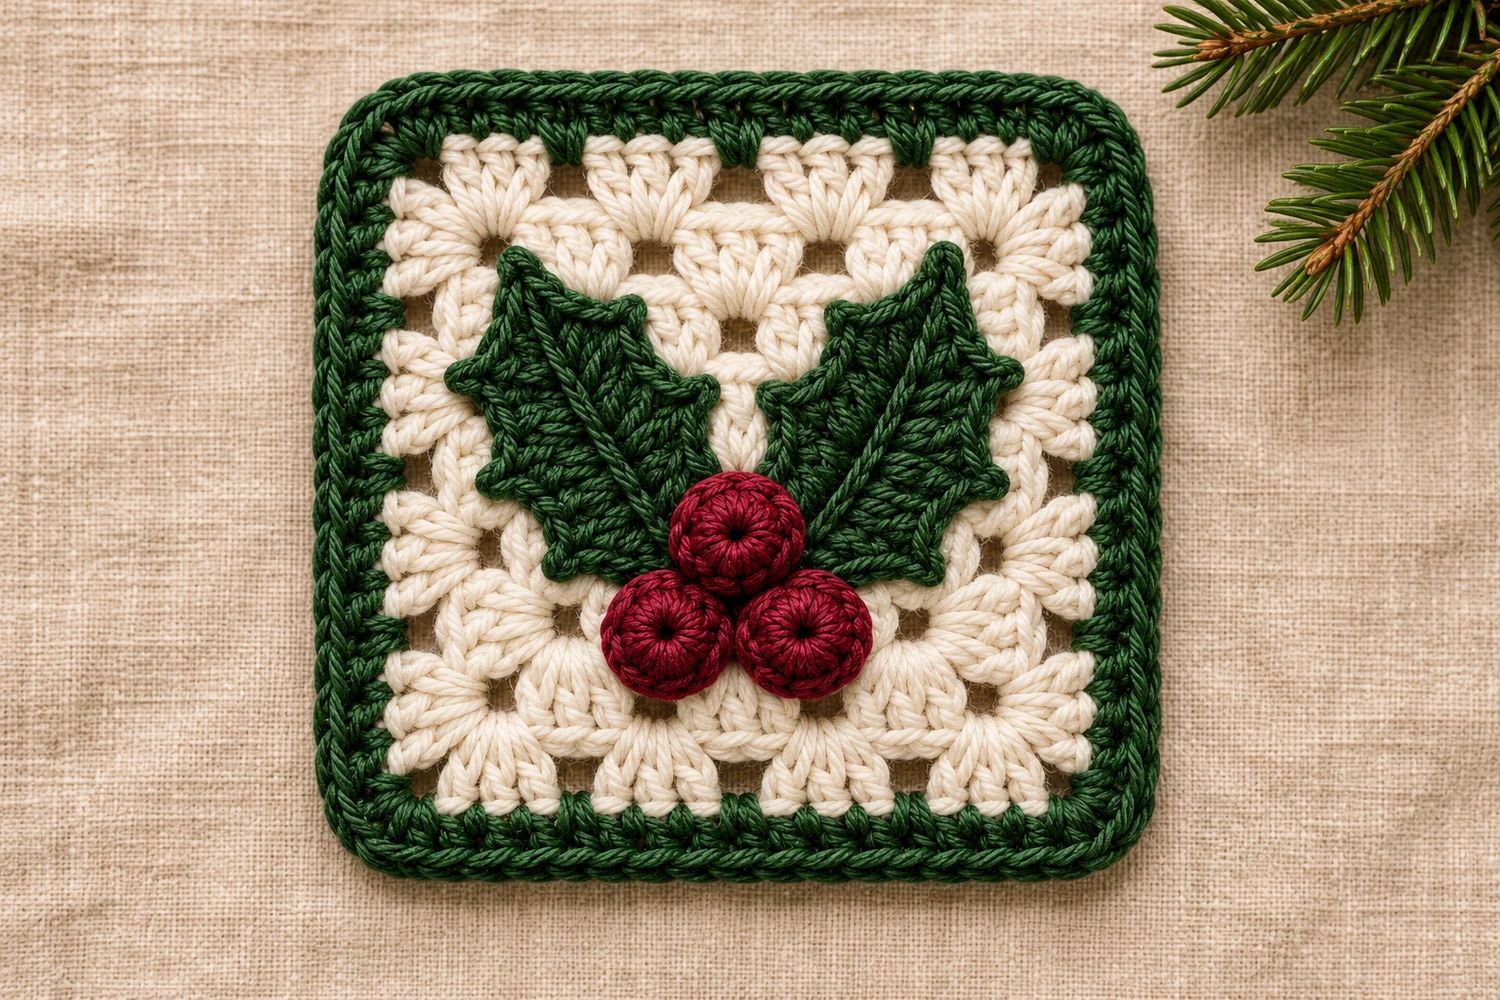
Two pointed holly leaves and three burgundy berries sit on an ivory holly and berries granny square framed in forest green. Work the square in rounds, then crochet the leaves and berries separately and sew them onto the front.
This original pattern was inspired by the reference image. Use one square as an appliqué or join several for a Christmas cushion or blanket.
Holly and Berries Granny Square Materials
- Smooth worsted-weight ivory yarn for the square.
- Forest-green yarn of the same weight for the border and leaves.
- A small amount of burgundy yarn for the berries.
- A 4 mm hook, tapestry needle, scissors and removable markers.
- A blocking mat and rustproof pins.
Skill level: Intermediate.
Estimated size: 5–6 in (13–15 cm) square, depending on yarn and tension. The stitch counts were checked on paper. The pattern has not been physically tested.
US Crochet Terms and Special Stitches
- MR = magic ring
- ch = chain
- sl st = slip stitch
- sc = single crochet
- hdc = half double crochet
- dc = double crochet
- st = stitch
- sp = space
A granny group is 3 dc in one space. A corner is (3 dc, ch 2, 3 dc) in one corner space. To make a picot, ch 3 and sl st in the first of those three chains. It sits on the stitch just made and does not use a foundation chain.
Ivory Granny Square
Work joined rounds without turning. The starting ch 3 counts as the first dc. Join to the top of that chain. Before Rounds 2–4, sl st in each of the next two dc and into the next ch-2 corner space.
Round 1: With ivory, make an MR. Ch 3 and work 2 dc in the ring. Work (ch 2, 3 dc in ring) three times. Ch 2, close the ring and join. 4 groups, 12 dc and four ch-2 corner spaces.
Rounds 2–4: In the starting corner, work (ch 3, 2 dc, ch 2, 3 dc). Work one granny group in each ch-1 space of the previous round and a corner in each remaining ch-2 space. Ch 1 between neighboring groups along each side, including before the first side group and between the last group and the join.
- Round 2: 8 groups, 24 dc, four ch-1 side spaces and four ch-2 corners.
- Round 3: 12 groups, 36 dc, eight ch-1 side spaces and four ch-2 corners.
- Round 4: 16 groups, 48 dc, twelve ch-1 side spaces and four ch-2 corners. Fasten off.
Round 5: Join forest green in any ch-2 corner. Ch 1, which does not count. Work (hdc, ch 2, hdc) in the corner. Work one hdc in each dc and each ch-1 sp along the side. Repeat around, working the same pair with ch 2 at each remaining corner. Sl st to the first hdc and fasten off. 68 hdc, 17 per side, and four ch-2 corners.
Holly Leaves, Make Two
With forest green, ch 12. Work along both sides of the foundation chain.
- Starting in the second ch from the hook, work one stitch in each of the next ten chains in this order. Sc, hdc, dc with picot, hdc, dc with picot, hdc, dc with picot, hdc, sc, sc.
- In the last chain, work (sc, picot, sc) for the tip. Rotate the work and use the unused loops along the other side.
- In the ten remaining chain loops, work sc, sc, hdc, dc with picot, hdc, dc with picot, hdc, dc with picot, hdc, sc. Sl st to the first sc. Leave a sewing tail.
Each leaf has 22 body stitches and seven picots, including the tip. To make the raised vein, use forest-green yarn and a tapestry needle to embroider a line of small backstitches along the foundation chain from base to tip. Keep the vein loose so the leaf lies flat.
Burgundy Berries, Make Three
Make an MR with burgundy. Ch 1, which does not count, and work 10 hdc into the ring. Pull it almost closed to keep a tiny center dimple. Sl st to the first hdc and fasten off with a sewing tail. 10 hdc per berry.
Block and Assemble
- Weave in the square tails. Block the base flat and pin the corners. Shape the leaf picots and let the pieces dry.
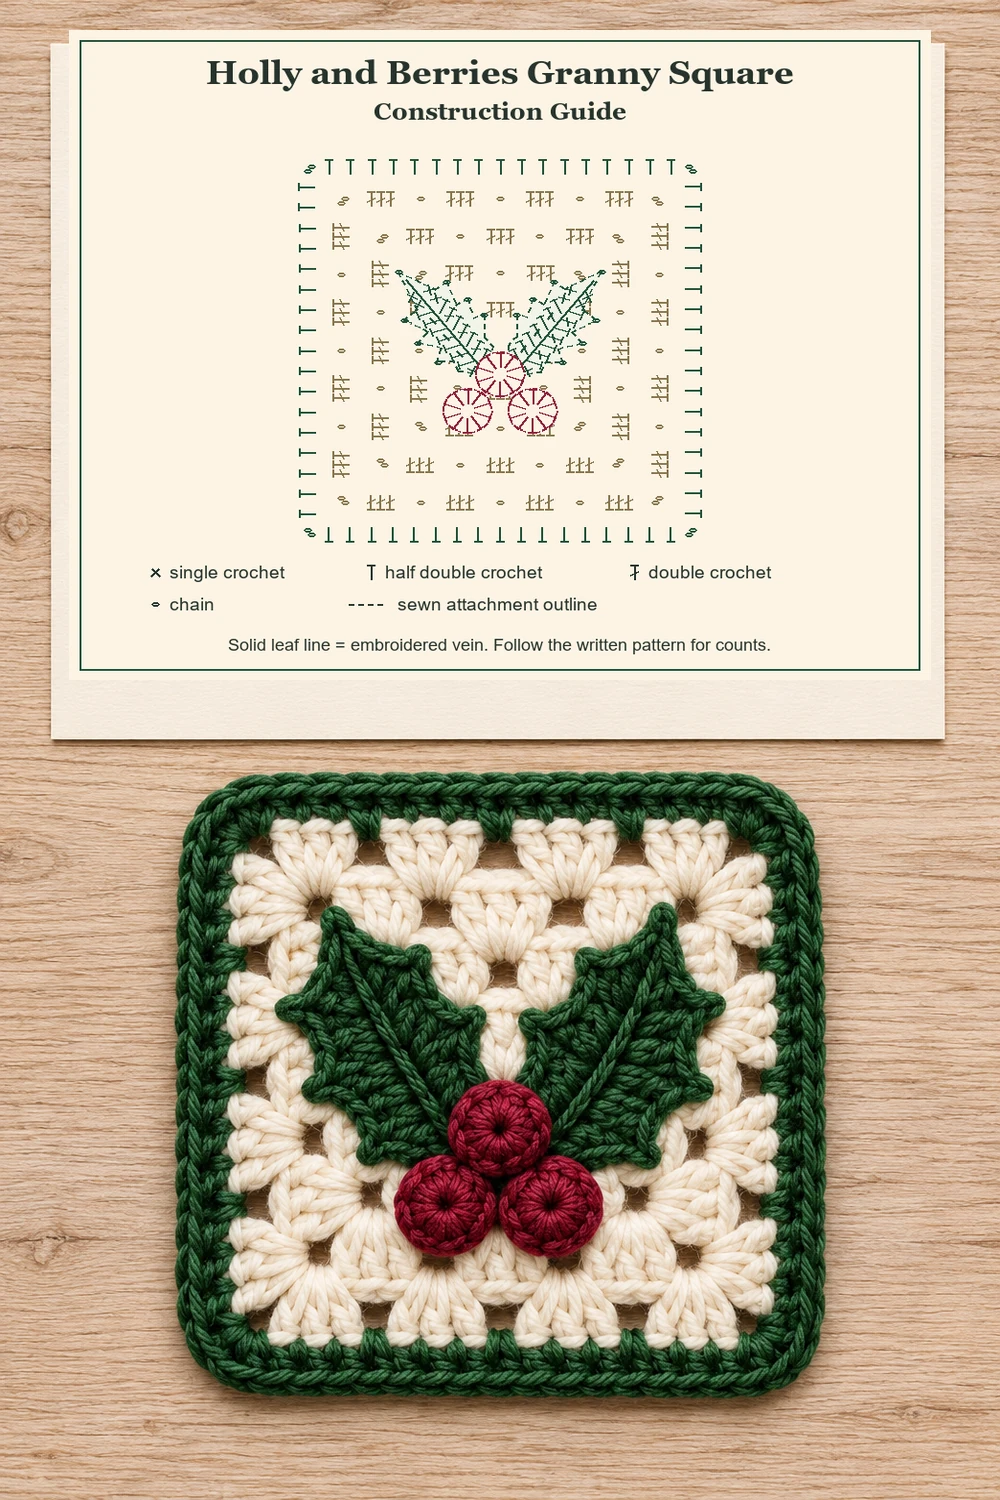
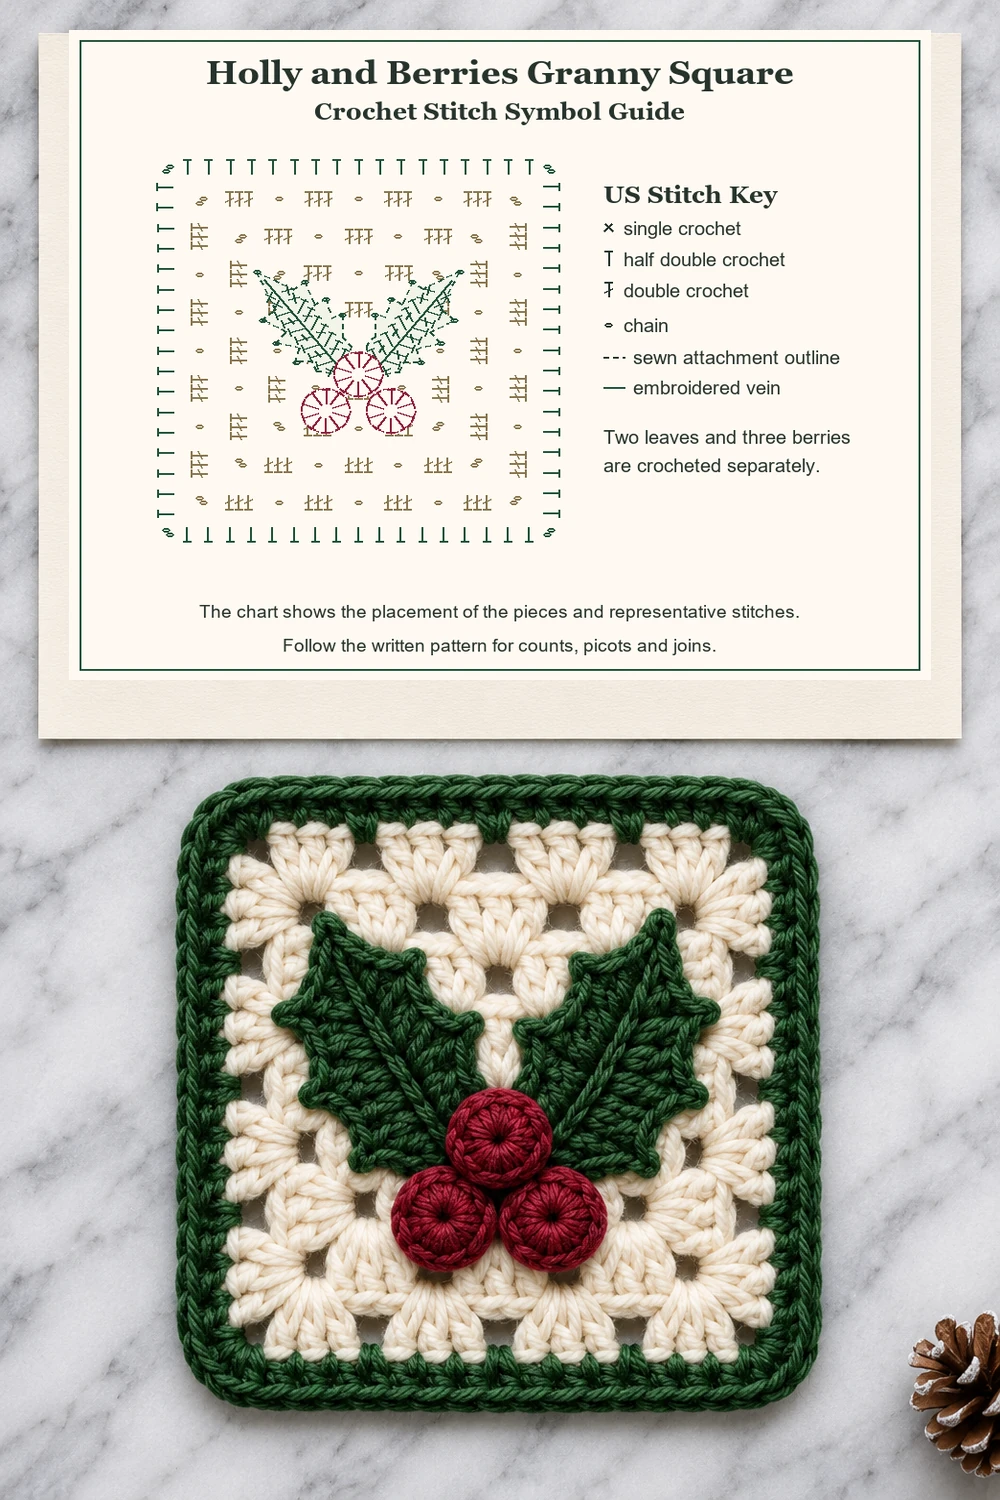
- Place the leaf bases slightly below the center, with the tips pointing toward the two top corners. Sew along the back of each vein and at each base with small stitches. Tack the tips if they lift.
- Arrange the berries with one above and two below. Set the top berry over both leaf bases. Sew around the back loops of each berry with burgundy and weave in the tails.
Troubleshooting
A leaf has uneven teeth
Count three picots along each edge and one at the tip. Work the picot immediately after its dc before moving to the next chain.
The border ripples
Count 17 hdc between the corner spaces, including the hdc at each end. Work just one hdc in each side chain space.
A berry cups
Ease the ring tail slightly before weaving it in and flatten the berry with your fingers as you sew.
Related Christmas Crochet Patterns
Assembly, Charts and Pinterest Images
The two charts show the full square and the placement of the sewn leaves and berries. The solid line on each leaf shows its embroidered vein. Use the written instructions for exact stitch counts, picots and joins.