There is something especially charming about a handmade bell hanging among the lights and greenery of a Christmas tree.
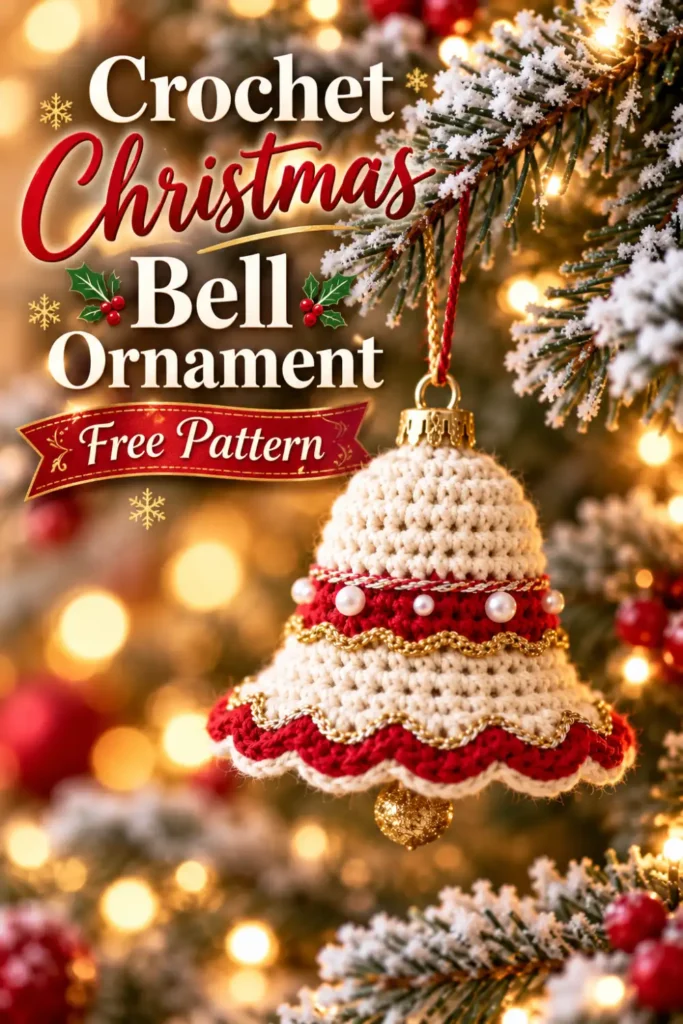
This crochet Christmas bell ornament combines a soft cream bell with a rich red decorative band, scalloped edging and optional gold and pearl details. The finished piece feels festive without being overly complicated, making it a lovely project when you want to add a handmade touch to your holiday decorations.
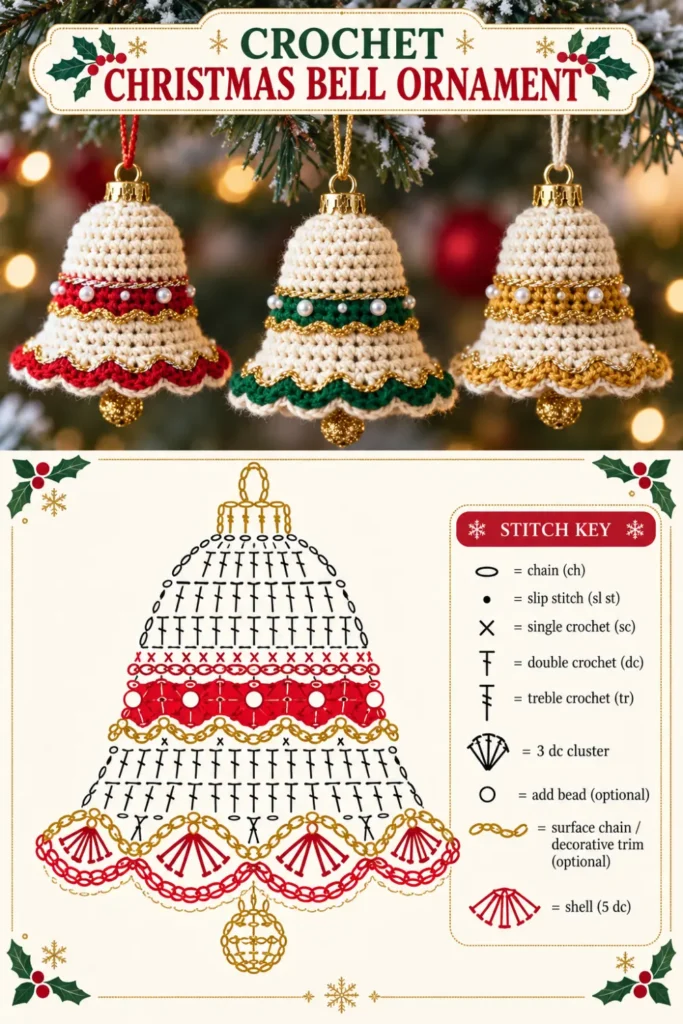
What I especially like about this style of ornament is how much the final look can change without changing the basic construction. Keep it simple with just cream and red yarn, add metallic trim for a more elegant finish, or make several bells in coordinating colors for a matching tree set.
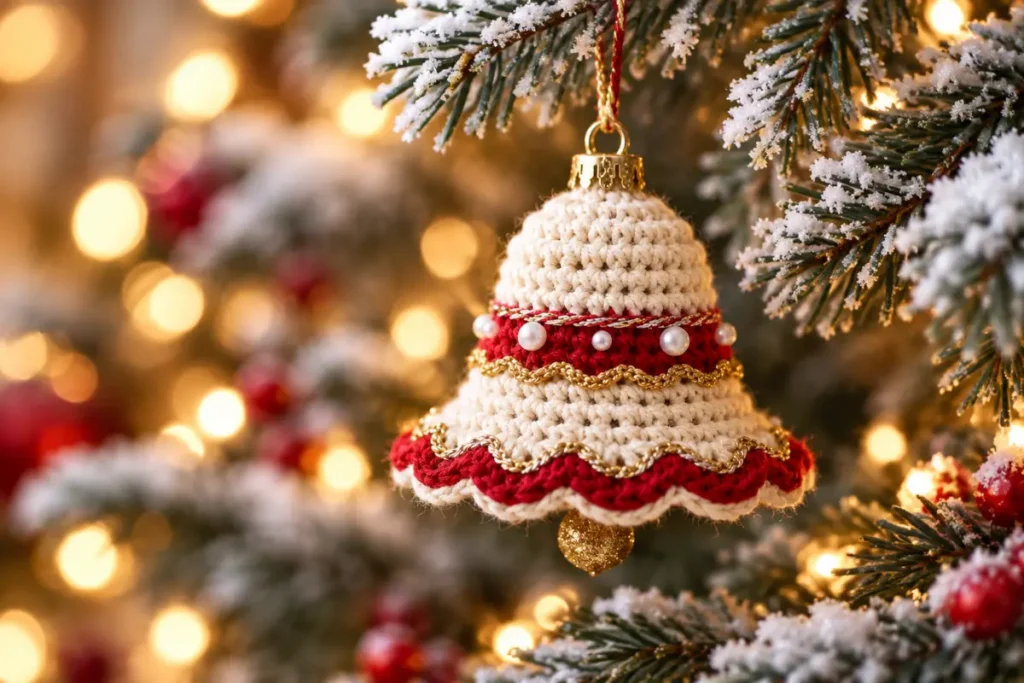
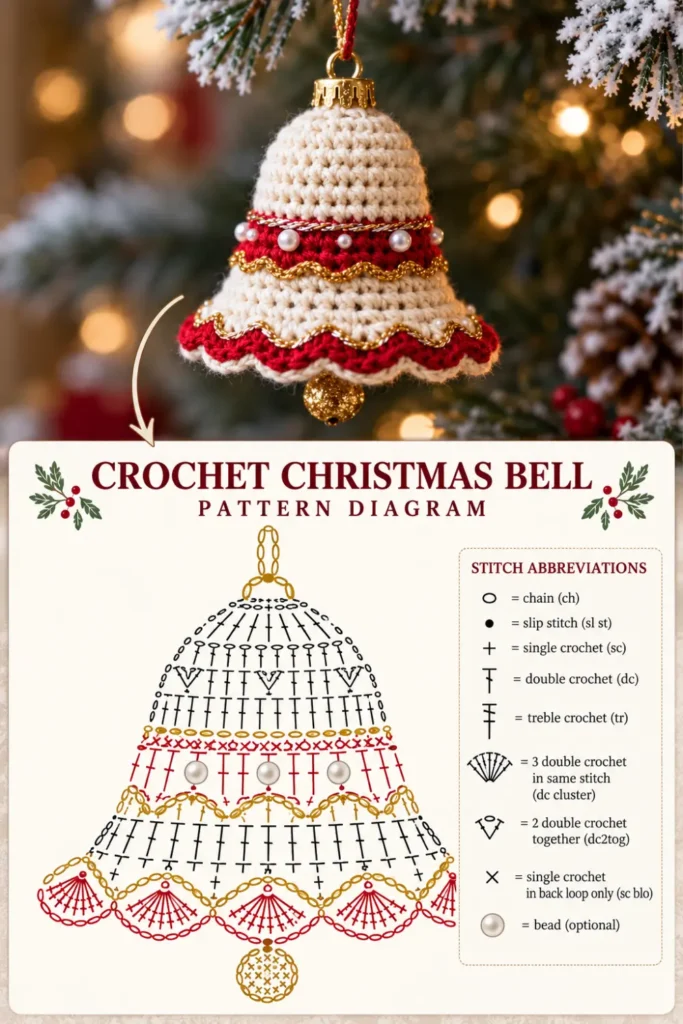
The bell is worked from the top down, gradually increasing toward the bottom. A contrasting band breaks up the shape, while the scalloped lower edge gives it the classic flared silhouette.
How This Crochet Christmas Bell Ornament Is Constructed
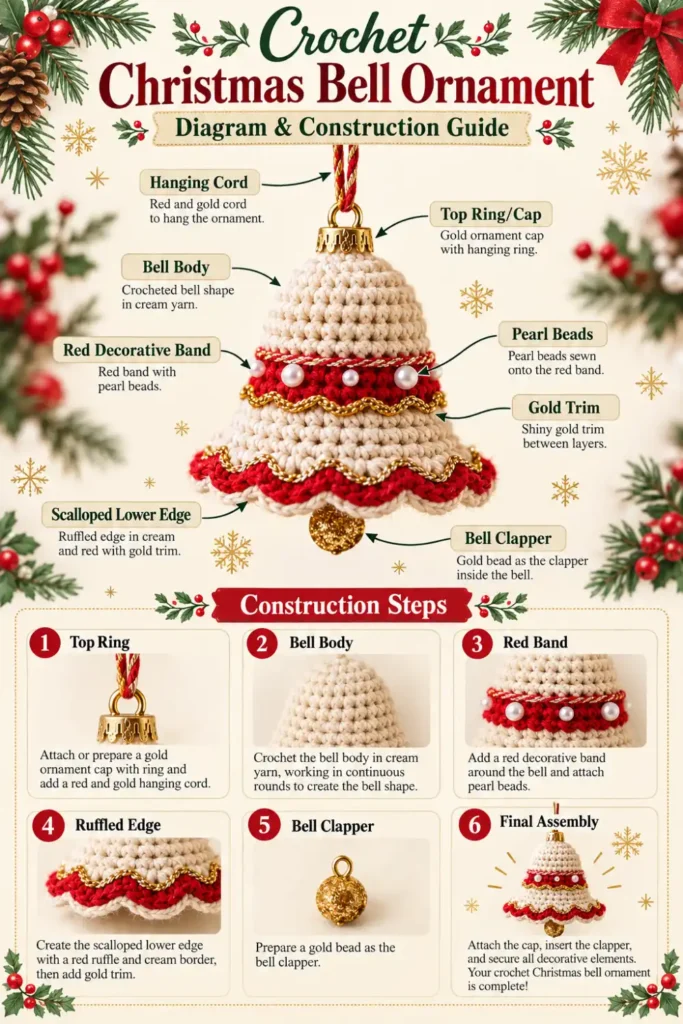
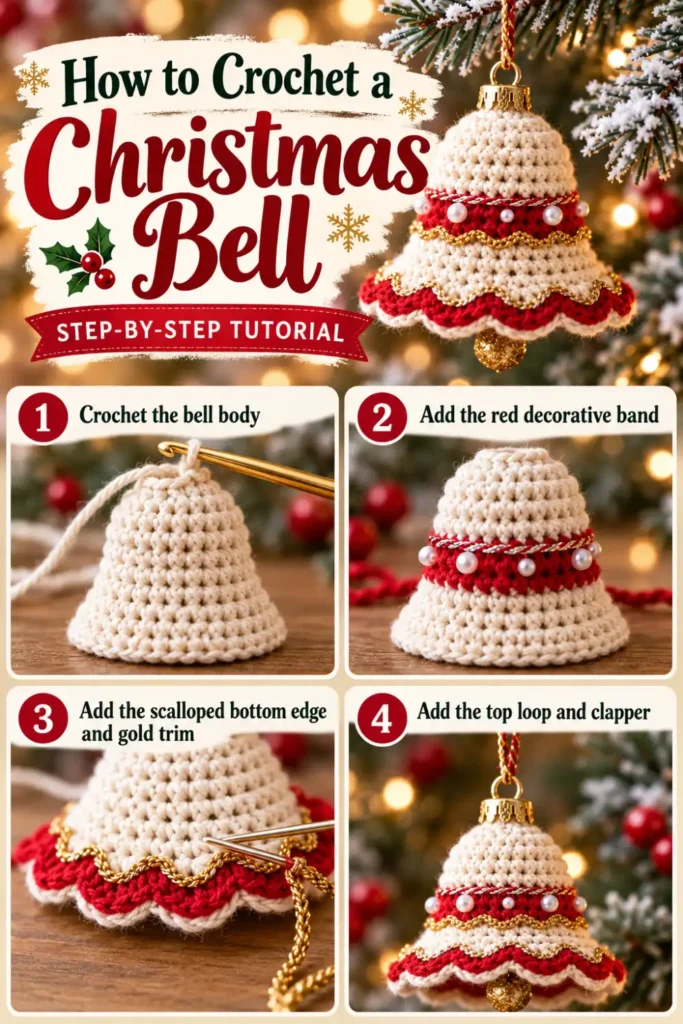
The project is made in a few straightforward stages:
- crochet the main bell shape;
- add the contrasting decorative band;
- widen the lower portion;
- crochet the scalloped edge;
- add optional metallic trim and pearl details;
- attach a hanging loop;
- finish with a small clapper underneath.
The bell is not stuffed, which keeps it lightweight enough to hang comfortably on a Christmas tree.
Materials
You will need:
- DK or worsted-weight yarn in cream or white
- Small amount of red yarn
- 3.5–4 mm crochet hook
- Yarn needle
- Scissors
- Thin metallic gold cord or crochet thread, optional
- Small pearl beads, optional
- Small gold bead, pom-pom or crocheted ball for the clapper
- Ribbon, yarn or cord for hanging
- Optional fabric stiffener
Choosing Yarn
Cotton yarn is a nice option when you want crisp stitches and a firmer ornament.
Acrylic yarn creates a slightly softer bell and is also easy to work with.
For a delicate ornament, try DK-weight yarn. If you want the bell to feel a little fuller and more rustic, worsted-weight yarn works well.
Finished Size
Approximately 4–5 inches (10–12.5 cm) tall, depending on yarn, hook size and tension.
Gauge is not critical for this project because the ornament does not need to fit a specific measurement.
Abbreviations
ch – chain
sl st – slip stitch
sc – single crochet
dc – double crochet
inc – work 2 sc in the same stitch
st / sts – stitch / stitches
rnd – round
BLO – back loop only
Crochet Christmas Bell Ornament Pattern
Use cream or white yarn.
The bell is worked from the top downward.
Round 1
Make a magic ring.
Work:
6 sc into the ring.
Pull the ring closed.
6 sts
Round 2
Work:
2 sc in each st around.
12 sts
Round 3
Repeat around:
sc in next st, inc in next st.
18 sts
Round 4
Sc in each st around.
18 sts
Round 5
Repeat around:
sc in next 2 sts, inc in next st.
24 sts
Round 6
Sc in each st around.
24 sts
Round 7
Repeat around:
sc in next 3 sts, inc in next st.
30 sts
Round 8
Sc in each st around.
30 sts
Round 9
Repeat around:
sc in next 4 sts, inc in next st.
36 sts
Round 10
Sc in each st around.
36 sts
At this point, the upper section of the bell should begin to have a gently rounded shape.
Red Decorative Band
Change to red yarn.
Round 11
Sc in each st around.
36 sts
Round 12
Sc in each st around.
36 sts
Fasten off the red yarn.
The two red rounds create a simple band that can later be decorated with pearls, embroidery or metallic thread.
Lower Bell Section
Rejoin cream yarn.
Round 13
Working in the back loops only:
Sc in each st around.
36 sts
Working in the back loops leaves a subtle ridge between the red band and the cream lower section.
Round 14
Repeat around:
sc in next 5 sts, inc in next st.
42 sts
Round 15
Sc in each st around.
42 sts
The bell should now begin to flare outward toward the bottom.
Scalloped Lower Edge
This round creates the decorative bottom of the bell.
Repeat around:
skip 2 sts, 5 dc in next st, skip 2 sts, sl st in next st
Continue the same sequence around.
You should finish with:
7 scallops
Fasten off and weave in the yarn ends.
Shaping the Scallops
Use your fingers to gently open each scallop and make the spacing even.
If the lower edge looks slightly uneven immediately after crocheting, light blocking usually helps define the shape.
Avoid pulling the slip stitches too tightly because this can make the scallops curl inward.
Adding Gold Trim
Metallic trim is optional, but it can completely change the look of the finished ornament.
Using thin gold crochet thread or decorative cord, add a line around the lower edge of the red band.
You can either sew the trim in place or work surface slip stitches around the bell.
A second line of metallic trim can be added along the scalloped edge.
Keep the gold thread relaxed as you work. Metallic fibers often have less stretch than regular yarn, so pulling too firmly can distort the bell.
Adding Pearl Beads
Small pearl beads can be sewn evenly across the red band.
Before attaching them permanently, place the beads around the ornament and check the spacing.
Depending on the bead size, approximately 5–7 beads should be enough.
The pearls are completely optional. If you prefer rustic Christmas decor, leaving them off creates a simpler farmhouse-style bell.
For decorations that may be handled by young children, skip small removable embellishments.
Making the Bell Clapper
A small clapper underneath the bell adds movement and makes the ornament look more finished.
Using cream, red or metallic yarn:
Ch 8–10.
Fasten off, leaving enough yarn for attaching.
Secure one end to the inside center of the bell.
Attach a:
- small decorative bead;
- mini pom-pom;
- crocheted bobble;
- or lightweight Christmas bead
to the bottom of the chain.
The clapper should hang just below the scalloped edge.
Adding the Hanging Loop
At the top center of the bell, join yarn or decorative cord.
Ch:
20–25
Sl st into the same point to form a loop.
Fasten off securely and weave in the end.
Instead of crochet chain, you can also use narrow ribbon, jute twine or red-and-gold cord.
Optional Decorative Top Cap
The ornament can be finished with only the crochet hanging loop.
However, if you like the traditional Christmas bauble look, you can add a small ornament cap at the top.
Place it over the crown of the bell and attach the hanging cord through the cap.
This detail is decorative rather than necessary to the crochet construction.
Getting the Bell to Hold Its Shape
This crochet Christmas bell ornament is designed to remain hollow.
If yours feels softer than you would like, first try blocking it.
Gently shape the bell with your fingers and allow it to dry in the desired position.
For a firmer decoration, apply a small amount of fabric stiffener according to the manufacturer’s instructions.
Use only enough to help maintain the shape. Too much stiffener can hide some of the natural texture of the crochet stitches.
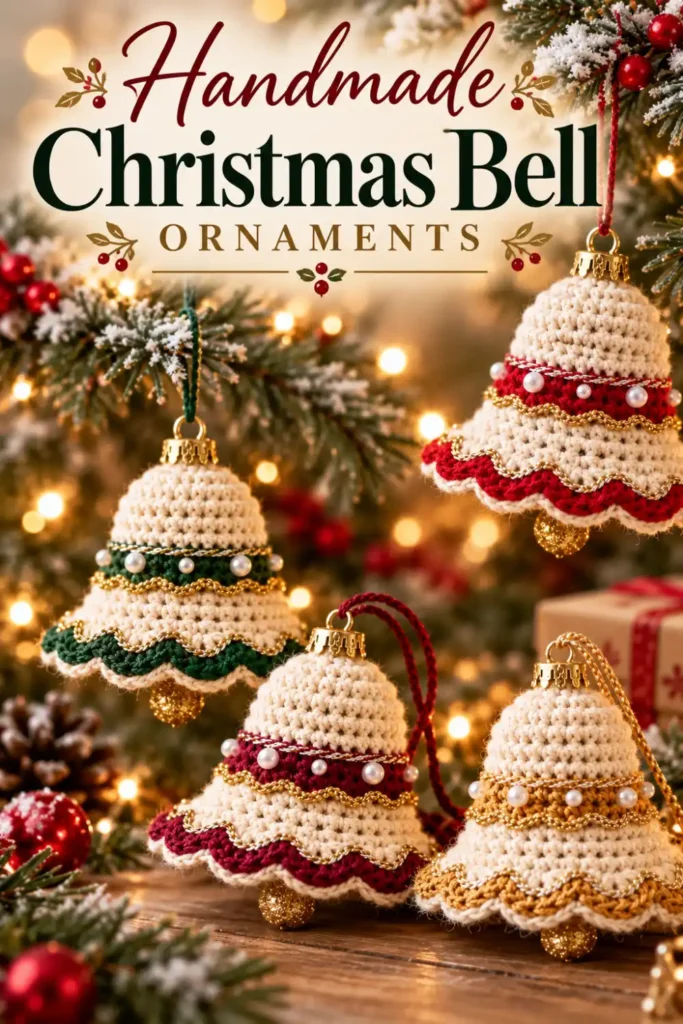
Color Ideas for Your Crochet Christmas Bell Ornament
One advantage of this pattern is that the same bell can work with many Christmas decorating styles.
Traditional Christmas
Cream + red + gold
This is the closest to the classic holiday look.
Christmas Green
Cream + forest green + gold
A beautiful combination if your tree already has plenty of red decorations.
Burgundy Christmas
Cream + deep burgundy + antique gold
This creates a richer, slightly more elegant look.
Neutral Christmas
Cream + beige + natural twine
Perfect for rustic or Scandinavian-style decor.
White and Gold
White + metallic gold
A simple option for a brighter and more elegant Christmas tree.
Soft Pastels
White + dusty pink or pale blue
A nice alternative for winter-themed or pastel Christmas decor.
Making three or four bells in different coordinating colors can turn this single pattern into a complete ornament collection.
If you enjoy decorating your tree with handmade pieces, this bell works beautifully alongside other lightweight Christmas ornaments. The Crochet Lace Star Ornament has a more delicate openwork look, so it creates a nice contrast next to the fuller shape of the bell.
For a quicker project that is easy to make in multiples, you might also enjoy the Quick & Charming Christmas Crochet Stars. A few stars mixed with crochet bells can help create a coordinated handmade look across the whole tree.
Turn One Pattern Into a Christmas Ornament Set
Instead of making just one bell, try creating several versions with small differences.
For example:
- one cream and red bell with pearls;
- one cream and green bell without pearls;
- one white and gold bell;
- one burgundy and cream bell.
When displayed together, they look coordinated without being identical.
If you’re building a handmade Christmas tree collection, this bell also pairs beautifully with the Crochet Lace Star Ornament, which has a lighter lace texture that contrasts nicely with the more structured bell.
For something quicker to make in multiples, you may also enjoy the Quick & Charming Christmas Crochet Stars. They can be mixed with the bells on a tree or combined into a handmade garland.
If you’re looking for another simple holiday decoration, the Christmas Star Crochet Pattern is another useful project to keep in your Christmas crochet collection.
Troubleshooting
Why Is My Bell Curling Inward?
Your stitches may be tighter than expected.
Try gently blocking the ornament first.
If you’re making another bell and the problem continues, move up slightly in hook size.
Why Is the Scalloped Edge Wavy?
Some movement along the lower edge is intentional.
However, if the scallops are extremely wavy, check that each repeat uses the same number of stitches.
You should have 7 evenly spaced scallops around the bottom.
Why Does the Red Band Look Smaller Than the Cream Section?
This usually happens when the tension changes during the color change.
Try to keep your red stitches as relaxed as the cream stitches.
Can I Leave Off the Gold Trim?
Yes.
The bell looks beautiful without metallic yarn.
A simple two-color cream-and-red version creates a much more rustic handmade look.
Can I Make the Bell Without Pearl Beads?
Absolutely.
The beads are decorative only and do not affect the construction.
Can I Use Cotton Yarn?
Yes.
Cotton works particularly well if you prefer an ornament that feels firmer and holds its shape easily.
Can I Make a Mini Crochet Bell?
Yes.
Try using lighter yarn and a smaller hook.
The same construction can create small bells for gift wrapping, mini trees or Christmas garlands.
Can I Make the Bell Larger?
You can create a larger version by using thicker yarn and a hook suited to that yarn.
Remember that a larger bell will also be heavier, so use a strong hanging loop.
More Ways to Use the Finished Bell
Although this pattern is designed as a Christmas tree ornament, there are plenty of other ways to use it.
Try adding a crochet bell to:
- a Christmas wreath;
- holiday gift wrapping;
- a fireplace garland;
- a staircase garland;
- Christmas stockings;
- a handmade centerpiece;
- gift baskets;
- door decorations.
A small bell also makes a charming handmade addition to a wrapped gift because the recipient can keep the ornament after opening the present.
A Small Project With Plenty of Christmas Character
Some Christmas decorations don’t need complicated construction to make an impact.
The combination of a simple crocheted bell, rich red yarn, soft cream stitches and a few optional gold details creates an ornament that feels festive the moment it goes on the tree.
Make your crochet Christmas bell ornament in classic red and cream, experiment with your own holiday color palette, or crochet several and turn them into a coordinated handmade set.
Once you’ve made the first one, the basic construction stays familiar, leaving plenty of room to experiment with colors and finishing details.
Happy crocheting!


Pingback: Crochet Snowman Face Ornament – Free Christmas Pattern - The World Crochet – Free Patterns & Amigurumi Inspiration