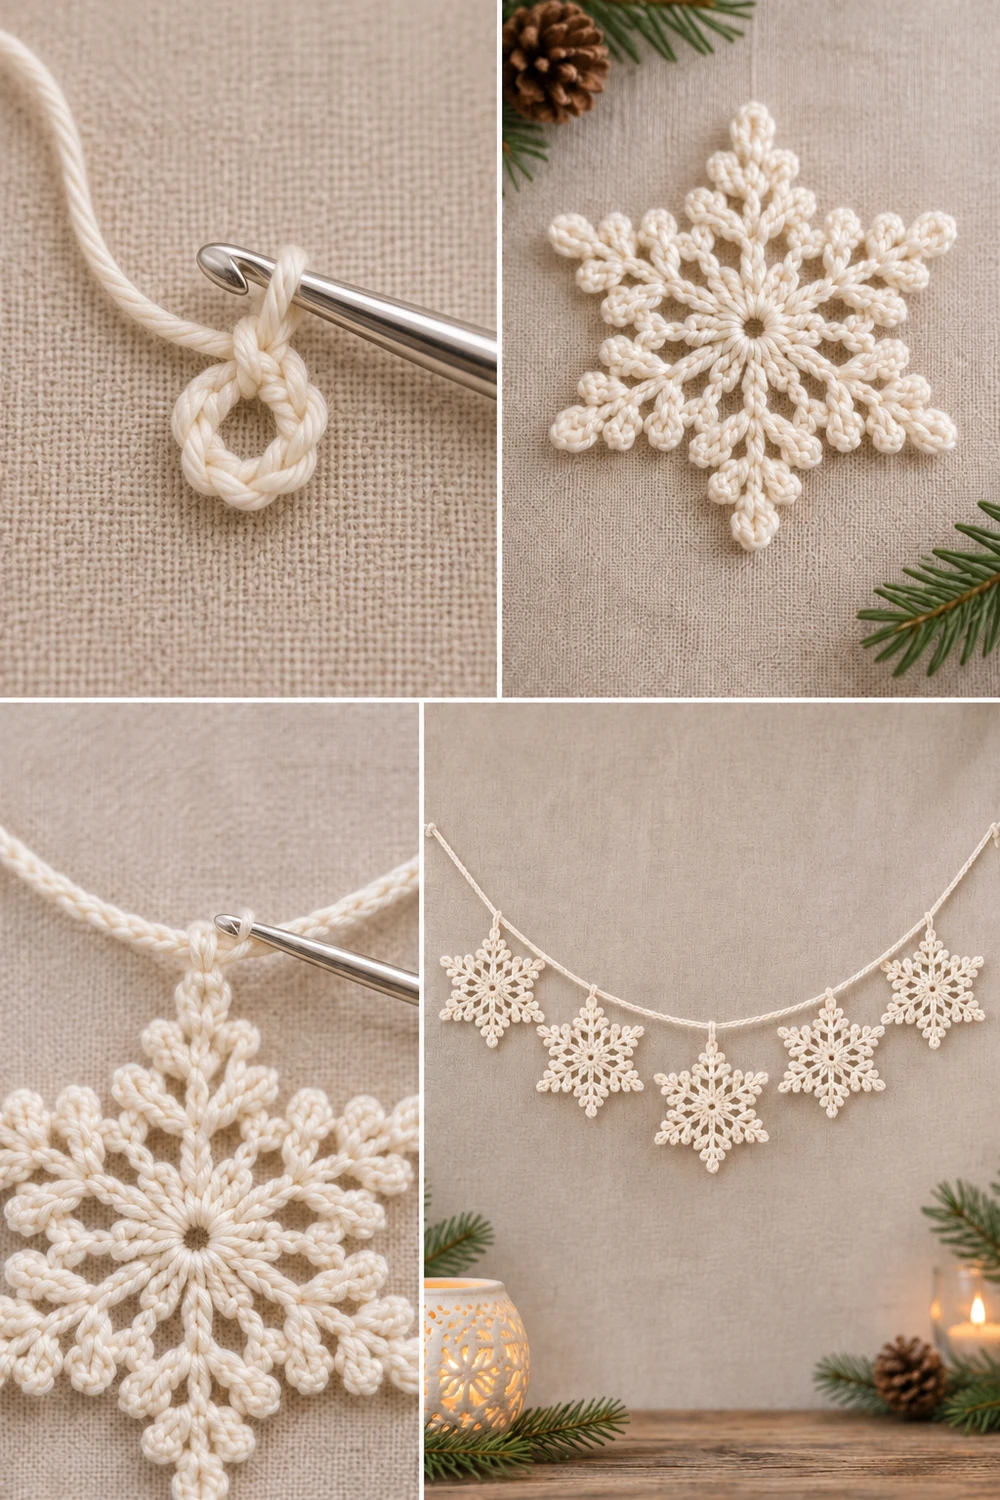
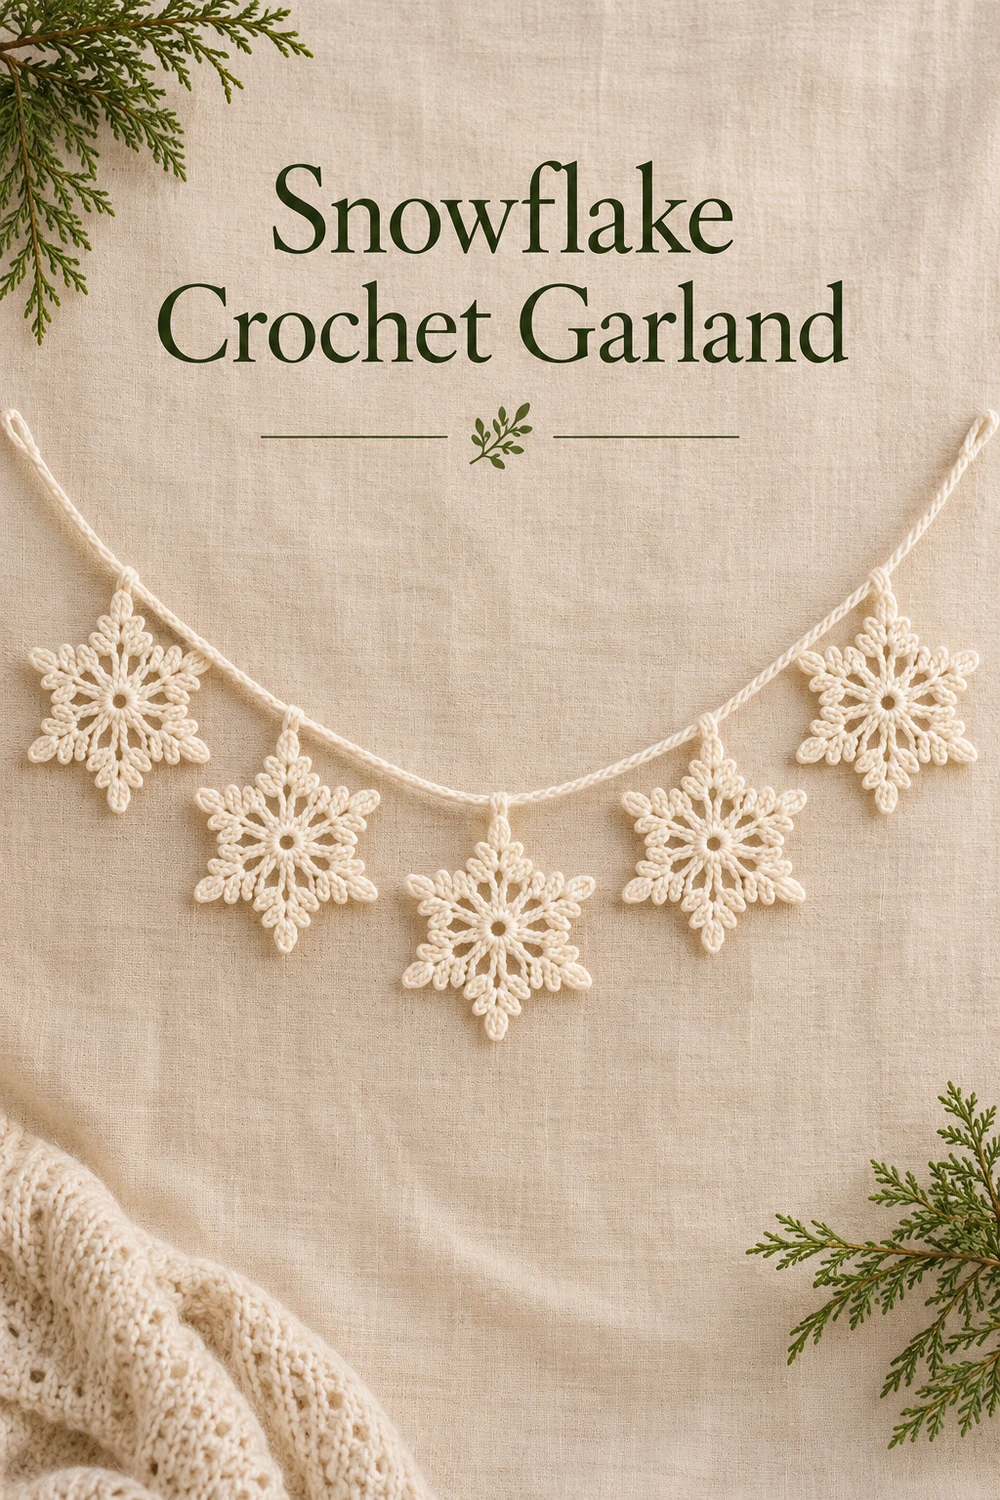
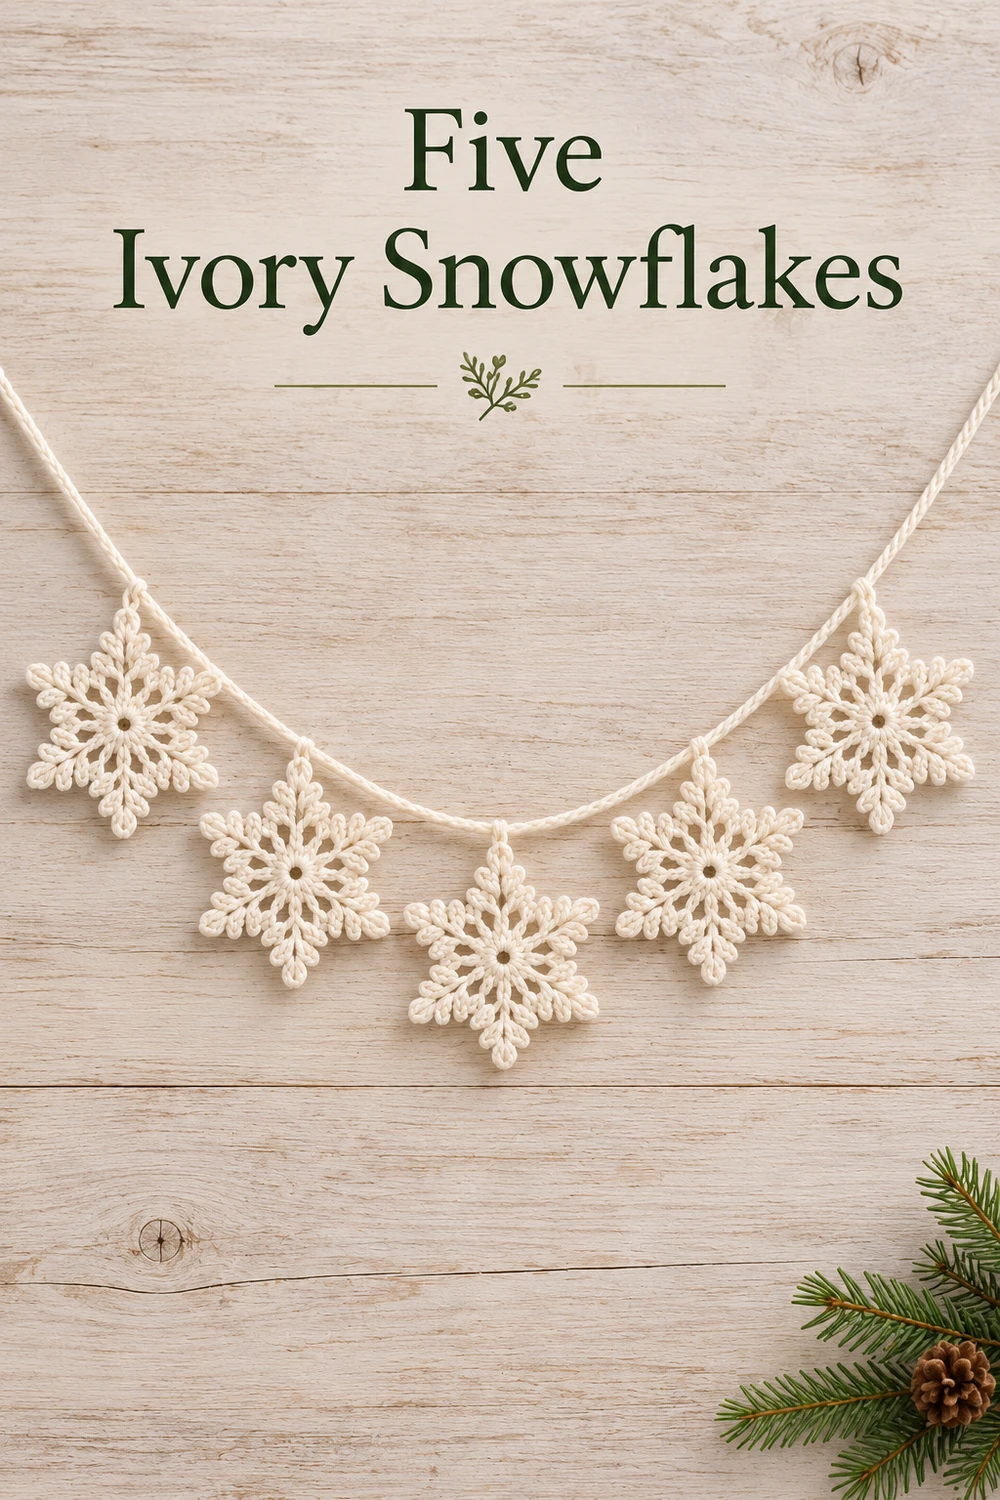
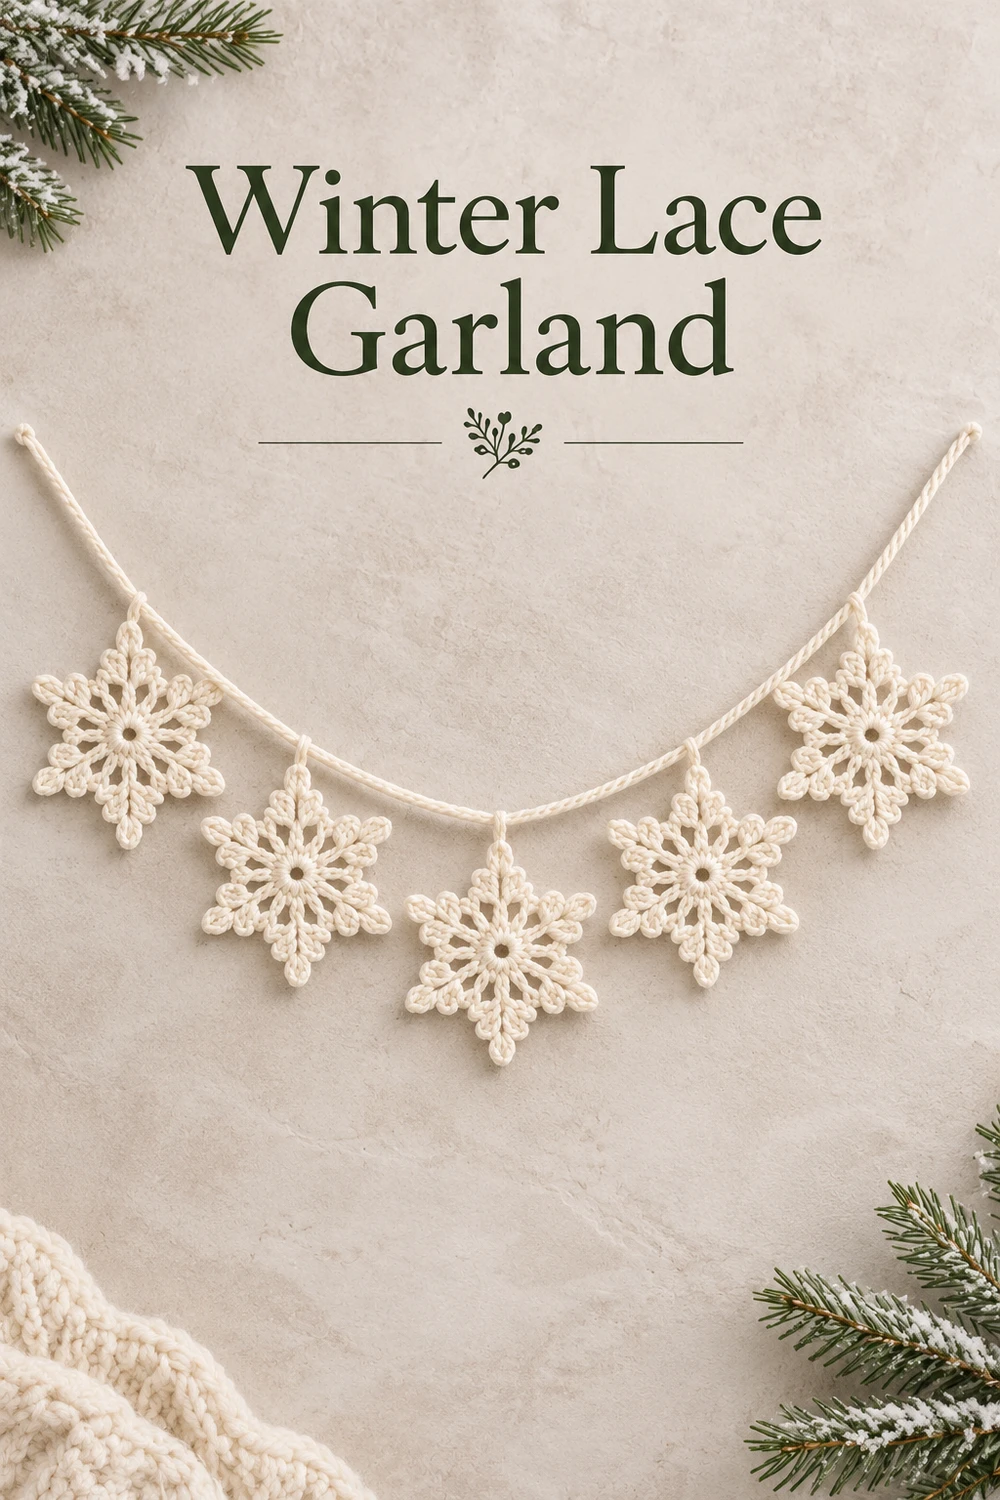
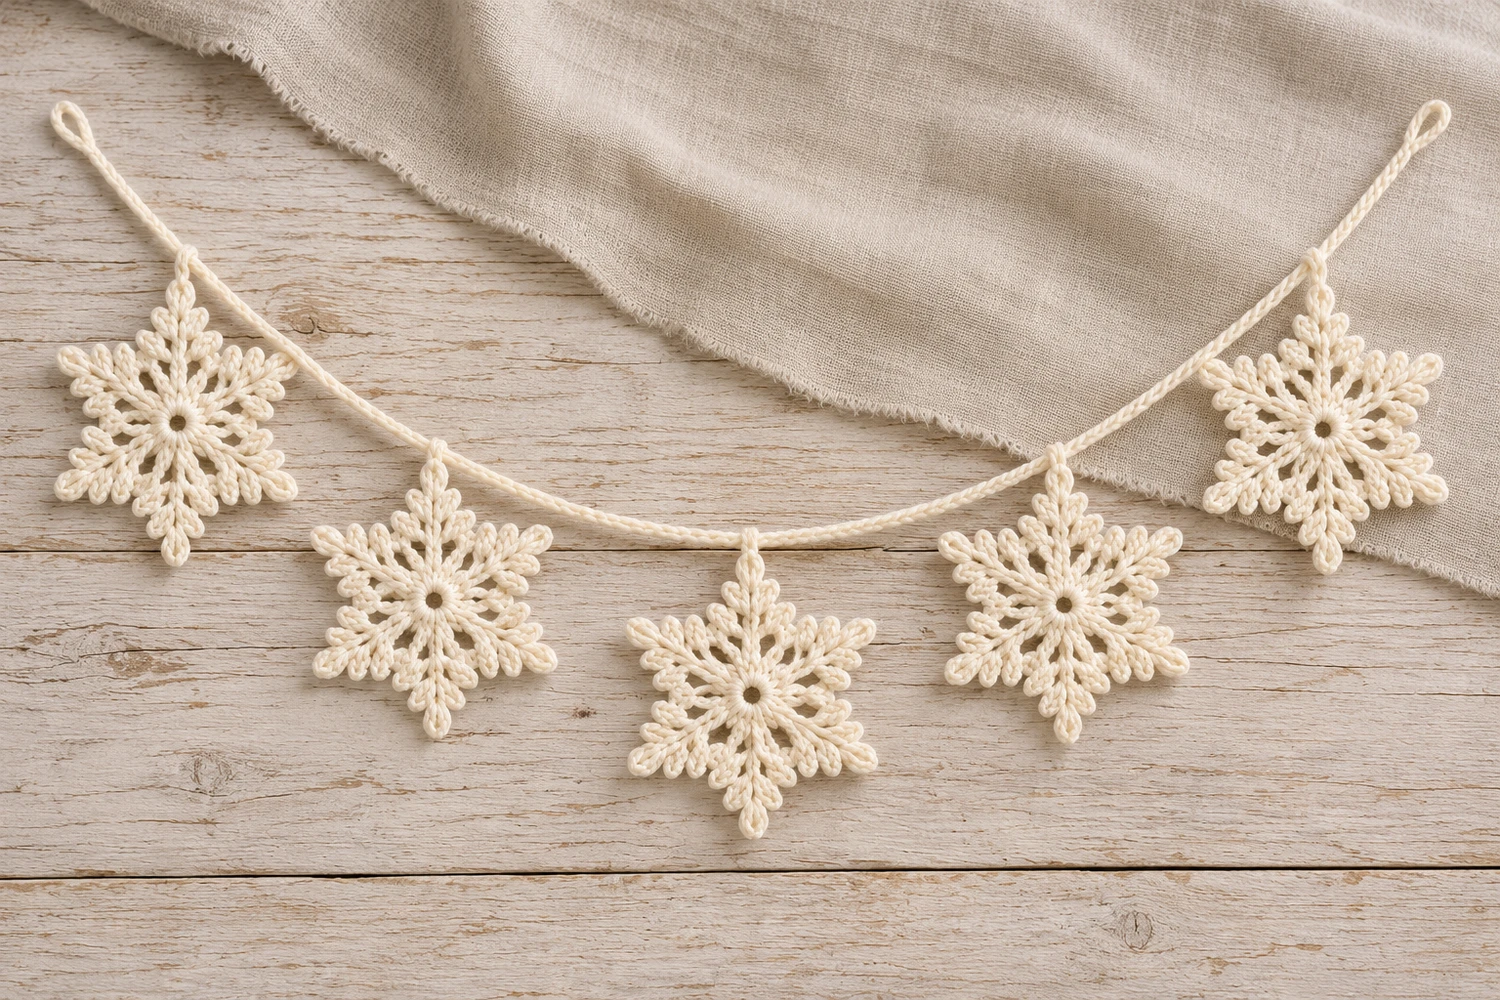
This ivory snowflake crochet garland features five ivory snowflakes hang from a softly curved crochet cord. Each flat, six-point motif has an open center, long branched tips and shorter loops between the points.
This pattern is an adaptation developed from the supplied image. Small sewn joins behind the upper points reproduce the visible suspension. The stitch counts were checked on paper. The pattern has not been physically crocheted or tested.
Ivory Snowflake Crochet Garland Materials
- Smooth sport-weight (2) cotton in warm ivory. Allow approximately 5–8 g per snowflake and 10–15 g for the cord and sewing, or about 35–55 g total. These are planning estimates.
- 2.75 mm hook for the flakes and 3 mm hook for the cord as starting sizes, a blunt yarn needle, scissors, removable stitch markers, a ruler and rustproof blocking pins.
- Intermediate. Estimated span of an unmounted cord: 31–39 in (80–100 cm). Estimated point-to-point width: about 3½–4¼ in (9–11 cm) per flake. Block the first motif and measure the cord to establish your actual size.
Before You Begin
Choose a smooth cotton with enough body to show the small loops. Make the chains easy to work into while keeping the supporting stitches firm. The cord should curl naturally under its own weight and hold the five flakes without twisting. Block the flakes before measuring their spacing.
US Crochet Terms and Working Notes
ch chain, sl st slip stitch, sc single crochet, dc double crochet, st(s) stitch(es), sp space, RS right side.
Side loop: ch 4 and sl st into the top of the sc just worked. Make the second loop at the same sc, then spread the pair to opposite sides during blocking.
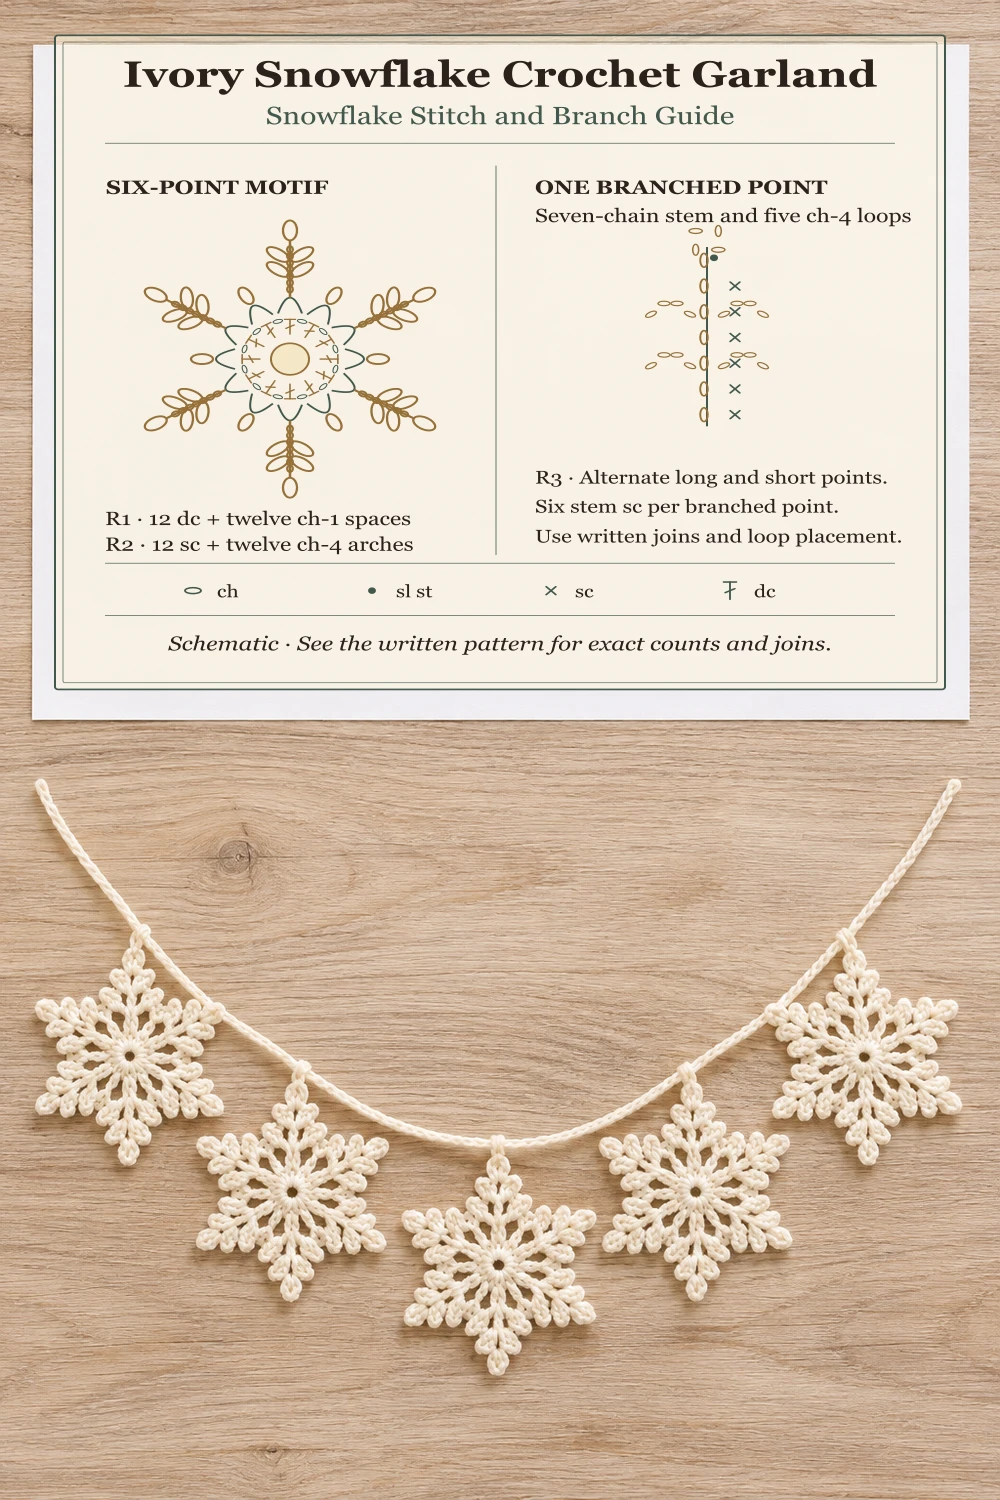
Branched point: ch 7 for the stem. Number those chains from the base (1) to the tip (7). Ch 4 and sl st into stem ch 7 to close the tip loop. Work back down the stem in the back bumps, starting at ch 6. Sc in ch 6 and ch 5, then make two side loops at the sc in ch 5. Sc in ch 4 and ch 3, then make two side loops at the sc in ch 3. Sc in ch 2 and ch 1. The point contains a seven-chain stem, six stem sc, one ch-4 tip loop and four ch-4 side loops.
Work all motif rounds with the RS facing, joining them with slip stitches. Mark the first counted dc or sc of each round. Beginning ch 2 and ch 1 and the joining slip stitches are excluded from the totals. Work around each indicated arch rather than into one of its chain stitches.
See the Craft Yarn Council guide to US crochet abbreviations for the stitch terms used here.
Component Counts
| Section | Make | Count |
|---|---|---|
| Snowflake center, Rnd 1 | Once per flake | 12 dc and 12 ch-1 spaces |
| Arch round, Rnd 2 | Once per flake | 12 sc and 12 ch-4 arches |
| Point round, Rnd 3 | Once per flake | 24 anchor sc, 36 stem sc, six branched points and six short loops |
| Finished snowflake | 5 | Six long points and six short loops per motif |
| Cord | 1 | 145 sc in the standard length |
Crochet the Five Lace Snowflakes
Round 1: Make the Open Center
With ivory, ch 5 and sl st in the first chain to form a ring. Ch 2 and repeat [dc into the ring, ch 1] 12 times. Mark the first dc and join to it after the final ch 1. 12 dc and 12 ch-1 spaces. Work into the center of the ring. The last space sits between the twelfth dc and the marked first dc.
Round 2: Form Twelve Arches
Sl st into the first ch-1 space, ch 1 and work [sc around that space, ch 4]. Repeat [sc in next ch-1 sp, ch 4] 11 more times and join to the marked first sc. 12 sc and 12 ch-4 arches. Each space from Round 1 receives one sc.
Round 3: Alternate Branched Points and Short Loops
Sl st into the first ch-4 arch, ch 1 and sc in it. Work one branched point, then sc again in the same ch-4 arch. In the next arch, work [sc, ch 4, sc]. Repeat [in next arch: sc, branched point, sc; in following arch: sc, ch 4, sc] five more times. Join to the first marked sc and fasten off. Six branched points, six short loops and 60 sc total (24 anchors plus 36 stem sc). The twelve arches are each used once and the Round 2 sc tops are skipped.
Crochet the Hanging Cord
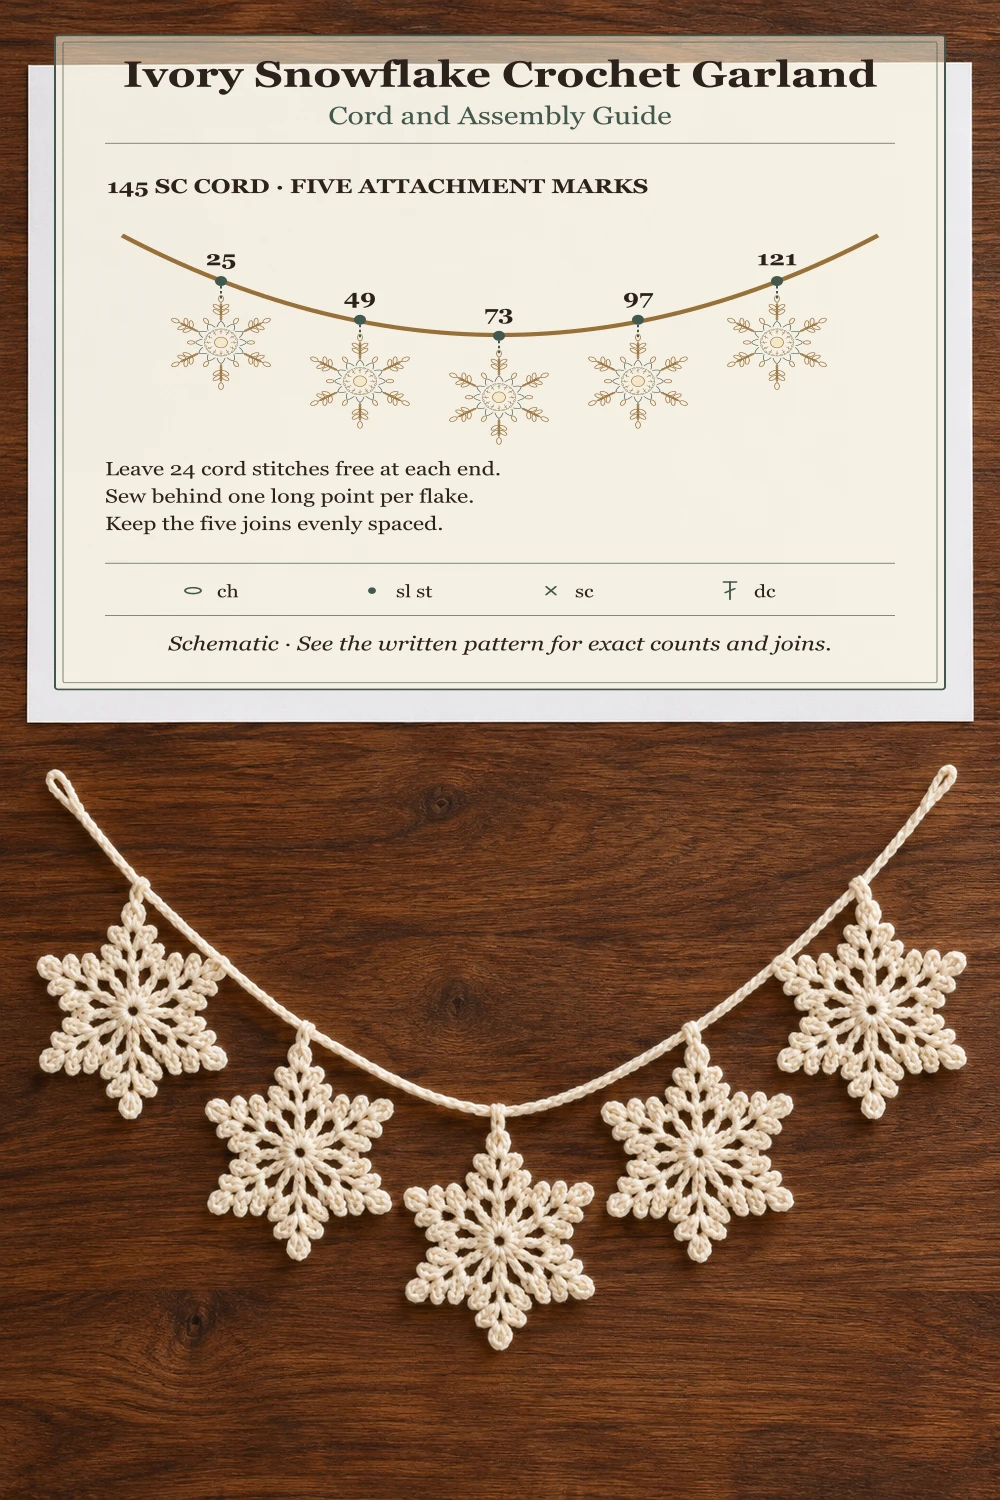
With the 3 mm hook and ivory, ch 146 loosely. Work sc into the back bump of the second ch from the hook and each remaining chain. Fasten off. 145 sc. Leave a tail at each end for weaving. The skipped chain does not count. Count the stitches along the finished cord and mark stitches 25, 49, 73, 97 and 121.
For a deeper swag or longer ends, measure your cord sample and add the same number of chains at each end, shifting every marker by that number. To increase the distance between flakes, choose an equal number of additional stitches for each of the four intervals and keep the center marker halfway between the ends. The motifs should have room to hang without overlapping.
Block and Arrange the Snowflakes
Weave each motif tail through the backs of several stitches and change direction once. Dampen the motifs according to the cotton label and lay them RS up. Pin opposite long tips first, then the other four at equal angles. Open each side-loop pair, placing one loop on either side of the stem. Let dry flat. For a firmer flake, use a light washable fabric starch according to its label.
Sew the Five Snowflakes to the Cord
Lay the cord out in a shallow curve, with the center marker at the lowest point. Place one blocked snowflake below each mark. Rotate each so one long point faces the cord and the opposite point hangs down. Use a short length of matching cotton to pass through the underside of the marked cord stitch and through the back of the point just below its tip loop. Make two small passes per motif and weave the ends into the back of the motif. Secure the cord ends at your display points using the unoccupied end sections and adjust the curve before tightening.
Troubleshooting the Lace Garland
The Motif Has Fewer Than Six Long Points
Count the twelve arches first. The last round alternates a point and a short loop. Mark the first arch and check the final arch holds a short loop before joining.
The Side Loops Clump at the Stem
Work both loops into the same stem sc and spread them in opposite directions on the mat before pinning. Keep each ch 4 relaxed enough to open.
The Flakes Turn Sideways
Check that the upper point is attached behind its tip and that the opposite point hangs directly below. Shorten any loose sewing pass and add a second small pass through the same area to stabilize the join.
Care and Storage
Remove the garland from its display points, hand wash according to the cotton label, and reblock it flat. Dry it completely before stacking the flakes between sheets of tissue. Coil the cord loosely to avoid creasing the lace.
More Christmas Crochet Ideas
For another ivory ornament with a different silhouette, see the Pearl and Satin Crochet Tree.
For another seasonal project, see the Christmas Holly Crochet Placemat.
Visual Tutorial and Crochet Charts
The generated images show the intended construction and display. The illustrated charts are schematic. Follow the written rounds for exact stitch counts, branch spacing and joins.