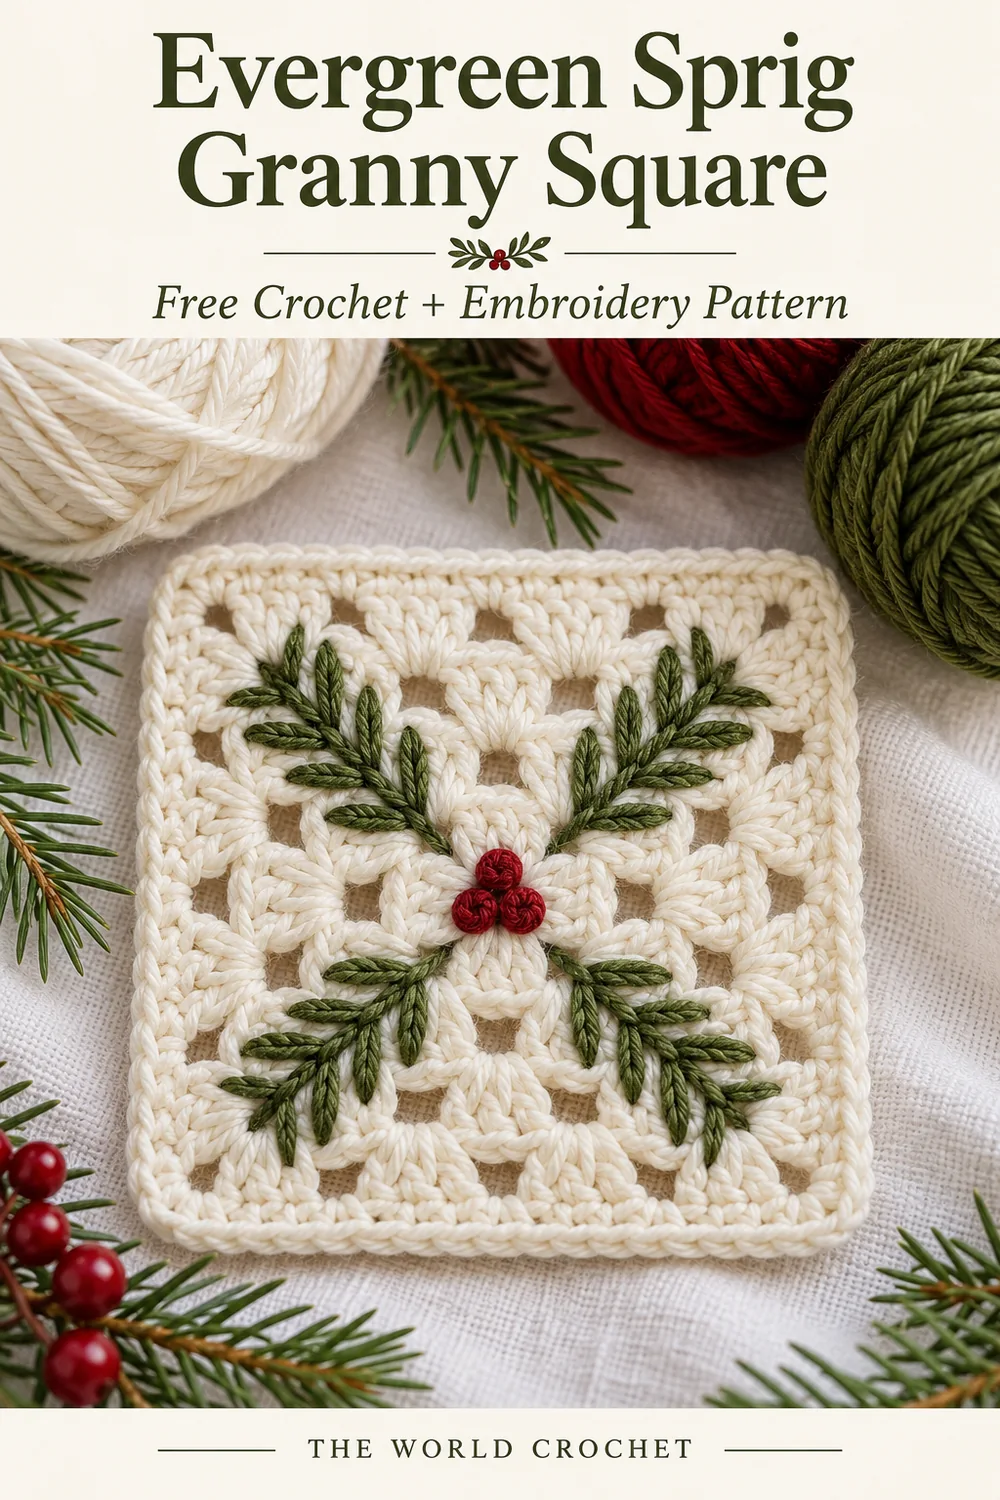
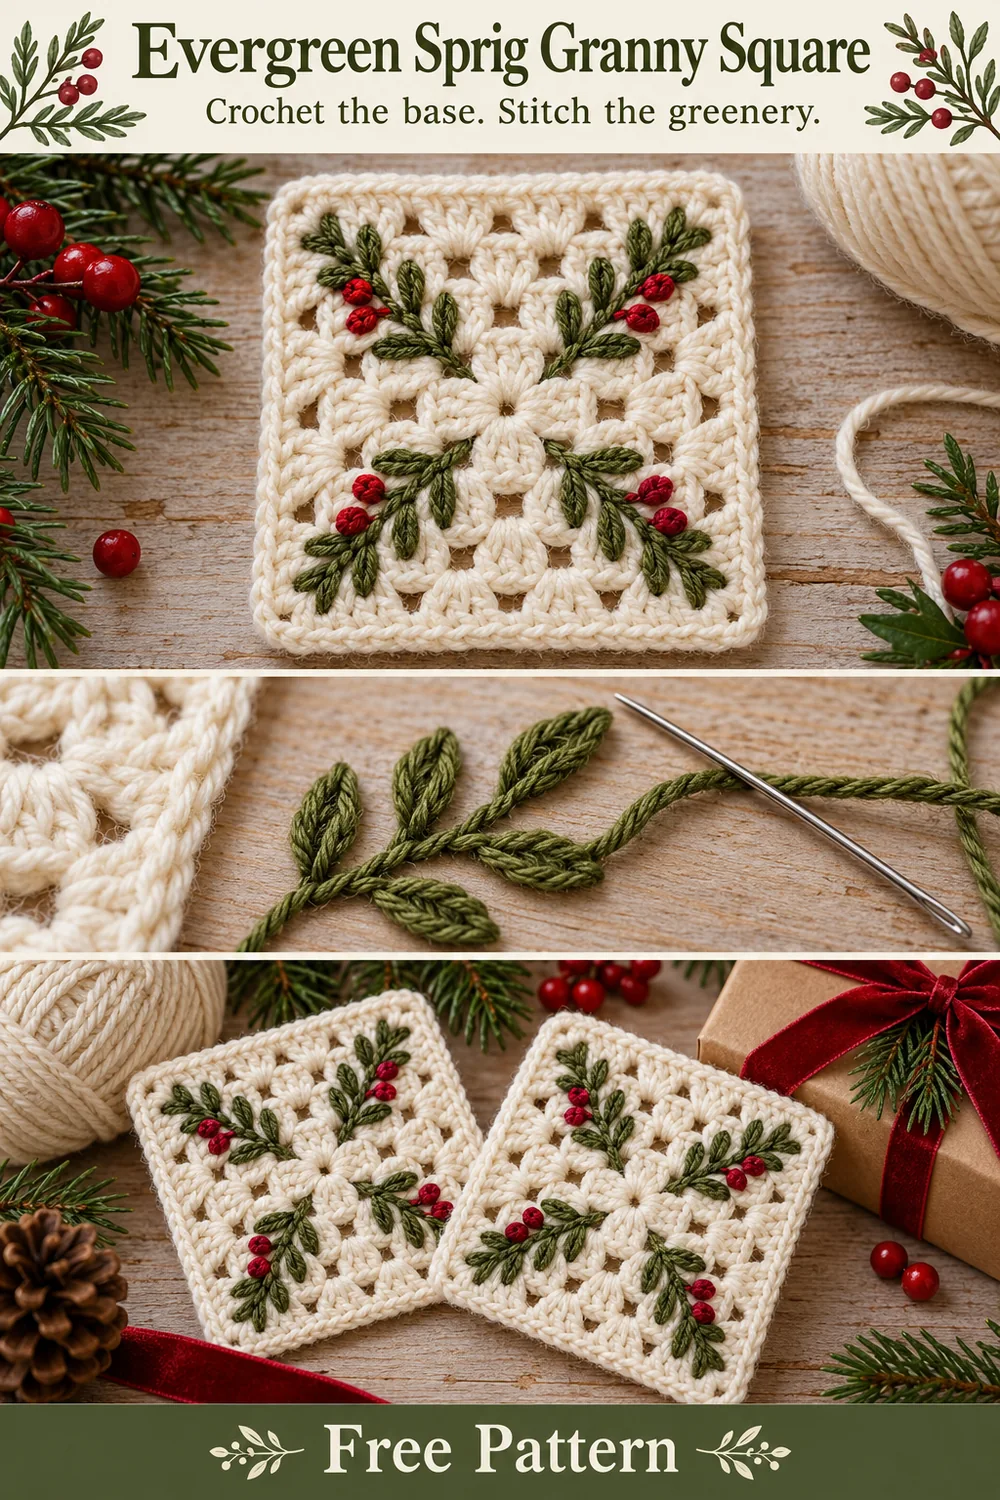
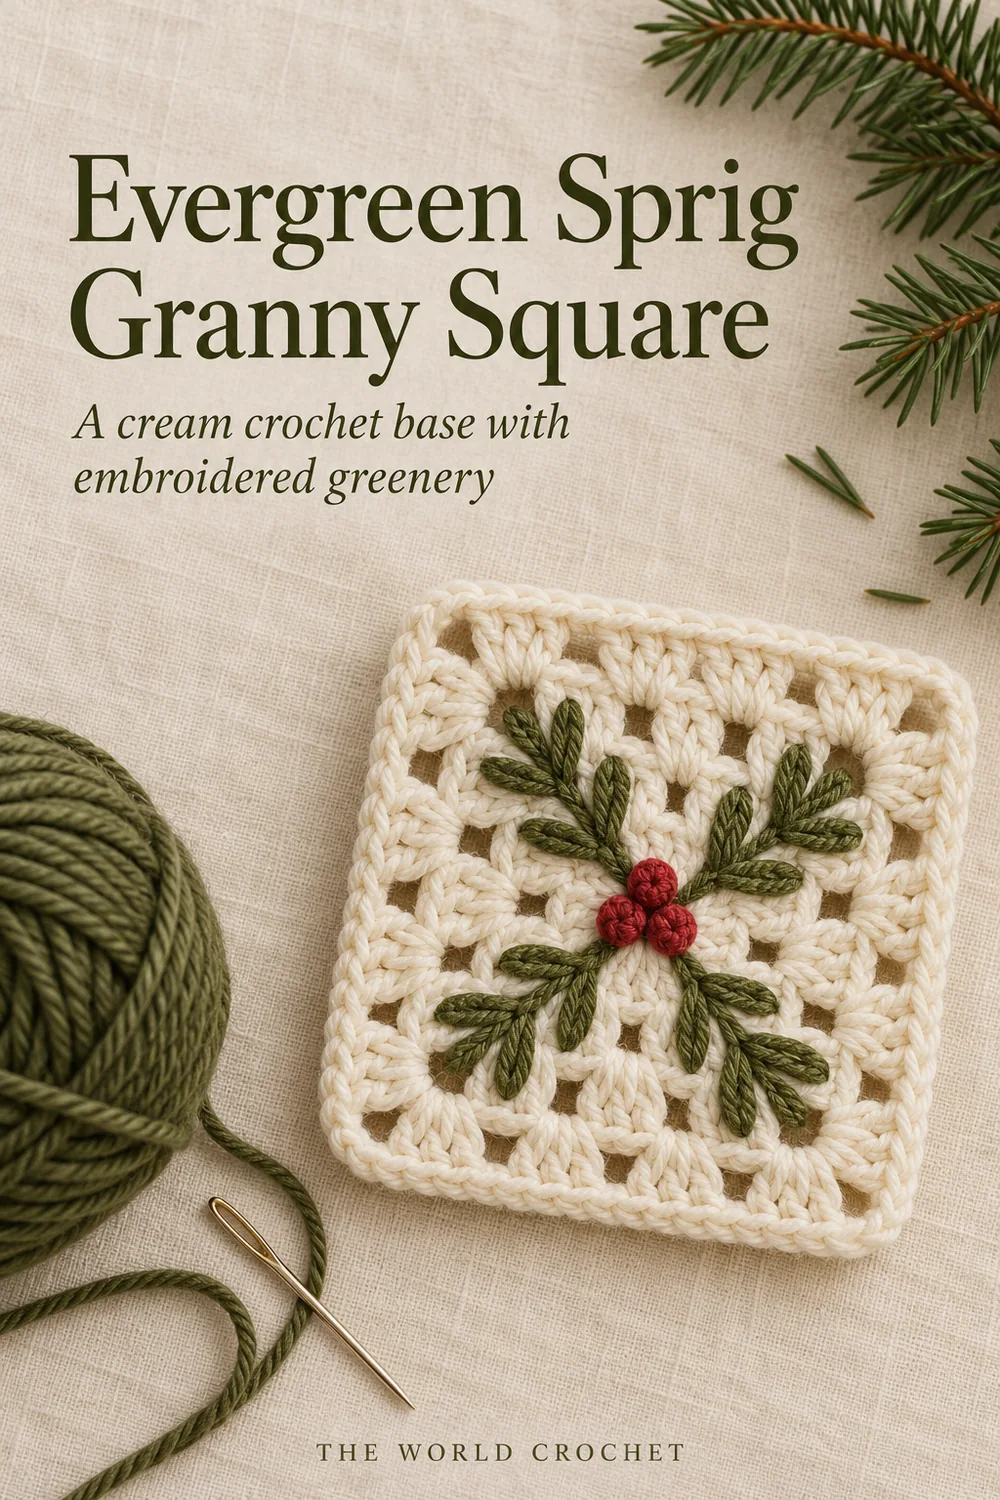
This evergreen sprig granny square combines an ivory crochet base with olive embroidered leaves and a small red berry center. Four branches travel diagonally toward the corners, giving an ordinary openwork square a botanical Christmas finish.
The instructions are an original interpretation inspired by the reference photograph. They are not the exact photographed recipe, and the design has not been physically crocheted or tested. The crochet counts below have been checked; the embroidery placement is a flexible layout to fit your own square.
Crochet and finish the cream base first, then let it settle flat before stitching the greenery. Keeping those stages separate makes it easier to place the leaves over firm stitches and to notice if the embroidery starts drawing the fabric inward.
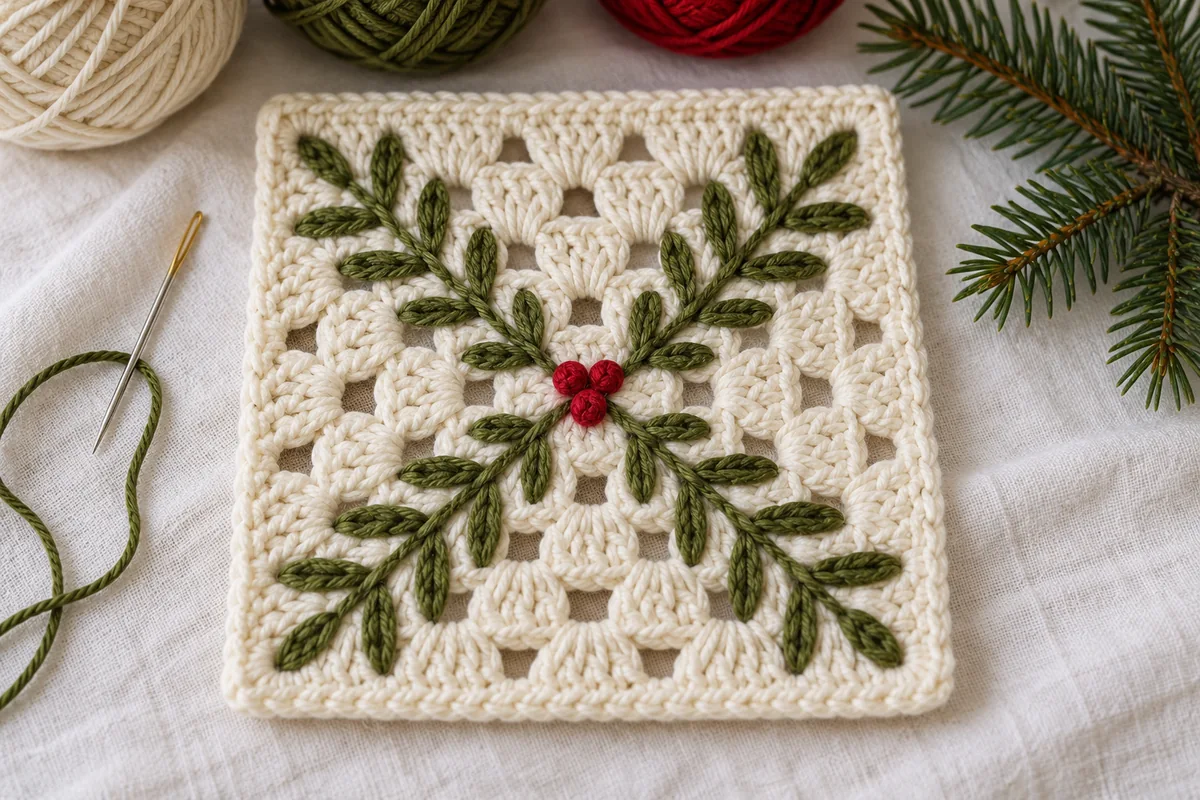
Materials for an evergreen sprig granny square
- Smooth DK cotton in ivory for the square, olive for the sprigs and red for the berries.
- A 3 mm hook as a starting point, adjusted for an even fabric with your yarn.
- A blunt yarn needle with an eye wide enough for the embroidery yarn, scissors and four removable markers.
- A flat drying surface and rustproof pins if the yarn can be damp blocked.
No measured gauge, finished size or yarn consumption is available for this untested version. Make one square before planning a cushion, blanket panel or set of decorations. The embroidery sits above the surface, so this motif is better treated as a decorative panel than as a level area beneath a cup.
Use a slightly finer olive yarn if the leaves overwhelm the ivory groups. Keep the cream base firm enough to support the stitches, while leaving its chain spaces open. A thick needle forced through a tight stitch can split the yarn; choose a needle that passes comfortably through the fabric.
US abbreviations and working notes
ch = chain; sl st = slip stitch; sc = single crochet; dc = double crochet; st/sts = stitch/stitches; sp = space; MR = magic ring. A group means three separate dc, not a cluster closed together. The Craft Yarn Council crochet abbreviations guide explains the standard US names.
Work all crochet rounds in ivory, without turning. The beginning ch 3 counts as one dc; the beginning ch 1 before the border does not count. Joining slip stitches are excluded from every round total. Work into the indicated chain space around the chain arch rather than into individual chain tops.
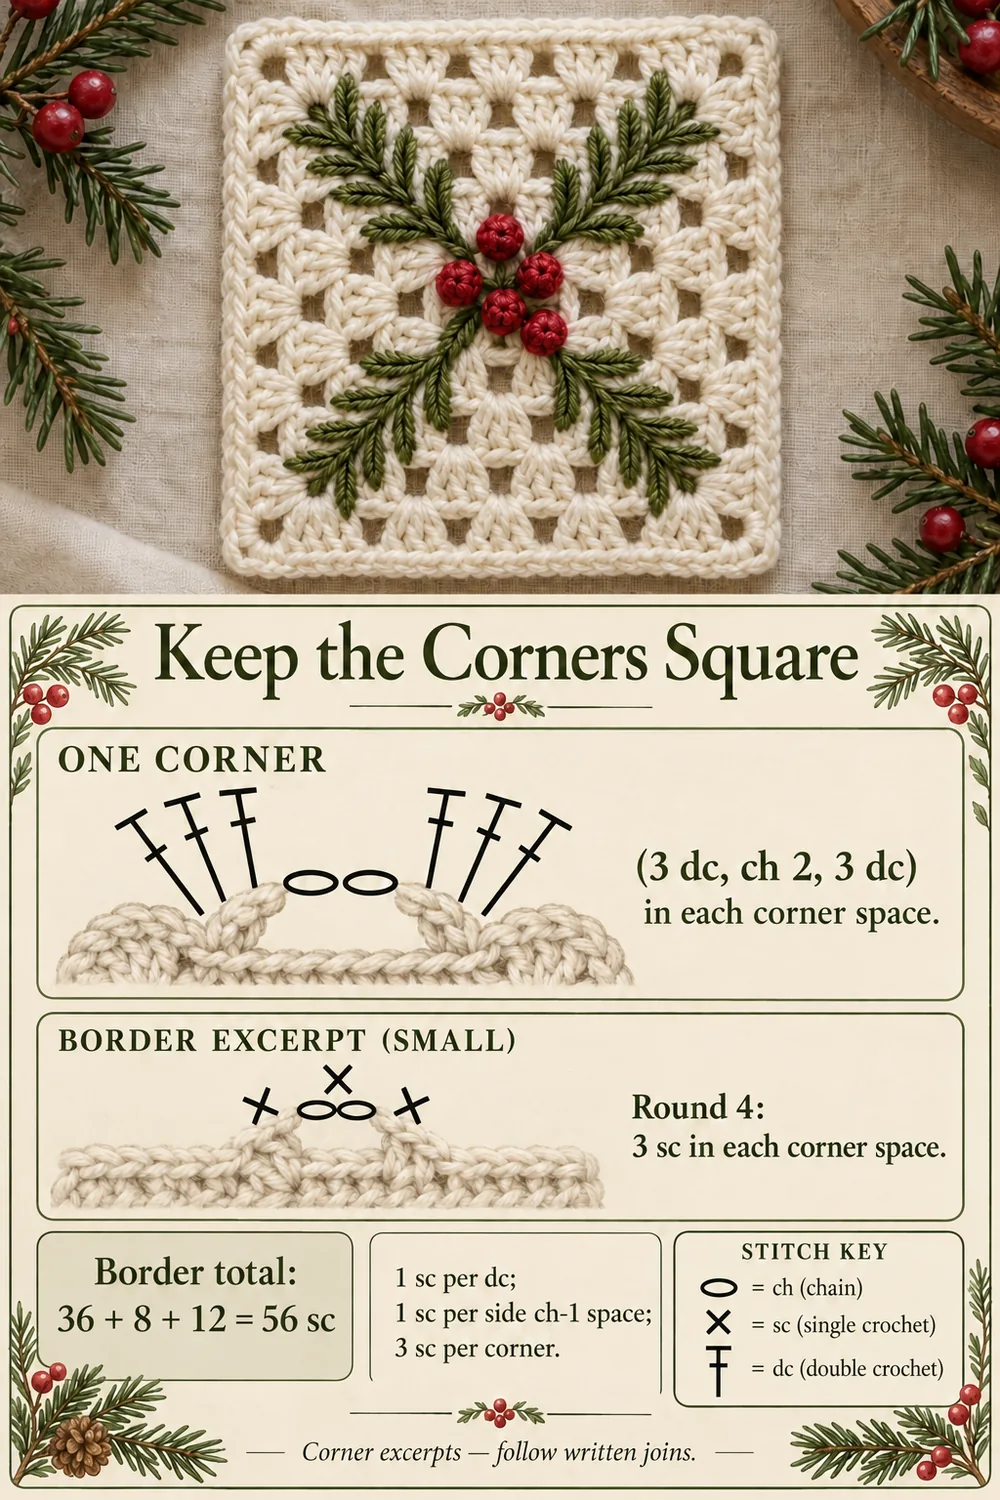
A granny corner is (3 dc, ch 2, 3 dc) in one corner space. Side spaces use ch 1, while the four corners retain ch 2. That difference keeps the working locations clear when counting the groups.
Evergreen sprig granny square: crochet the base
Round 1: four ivory groups
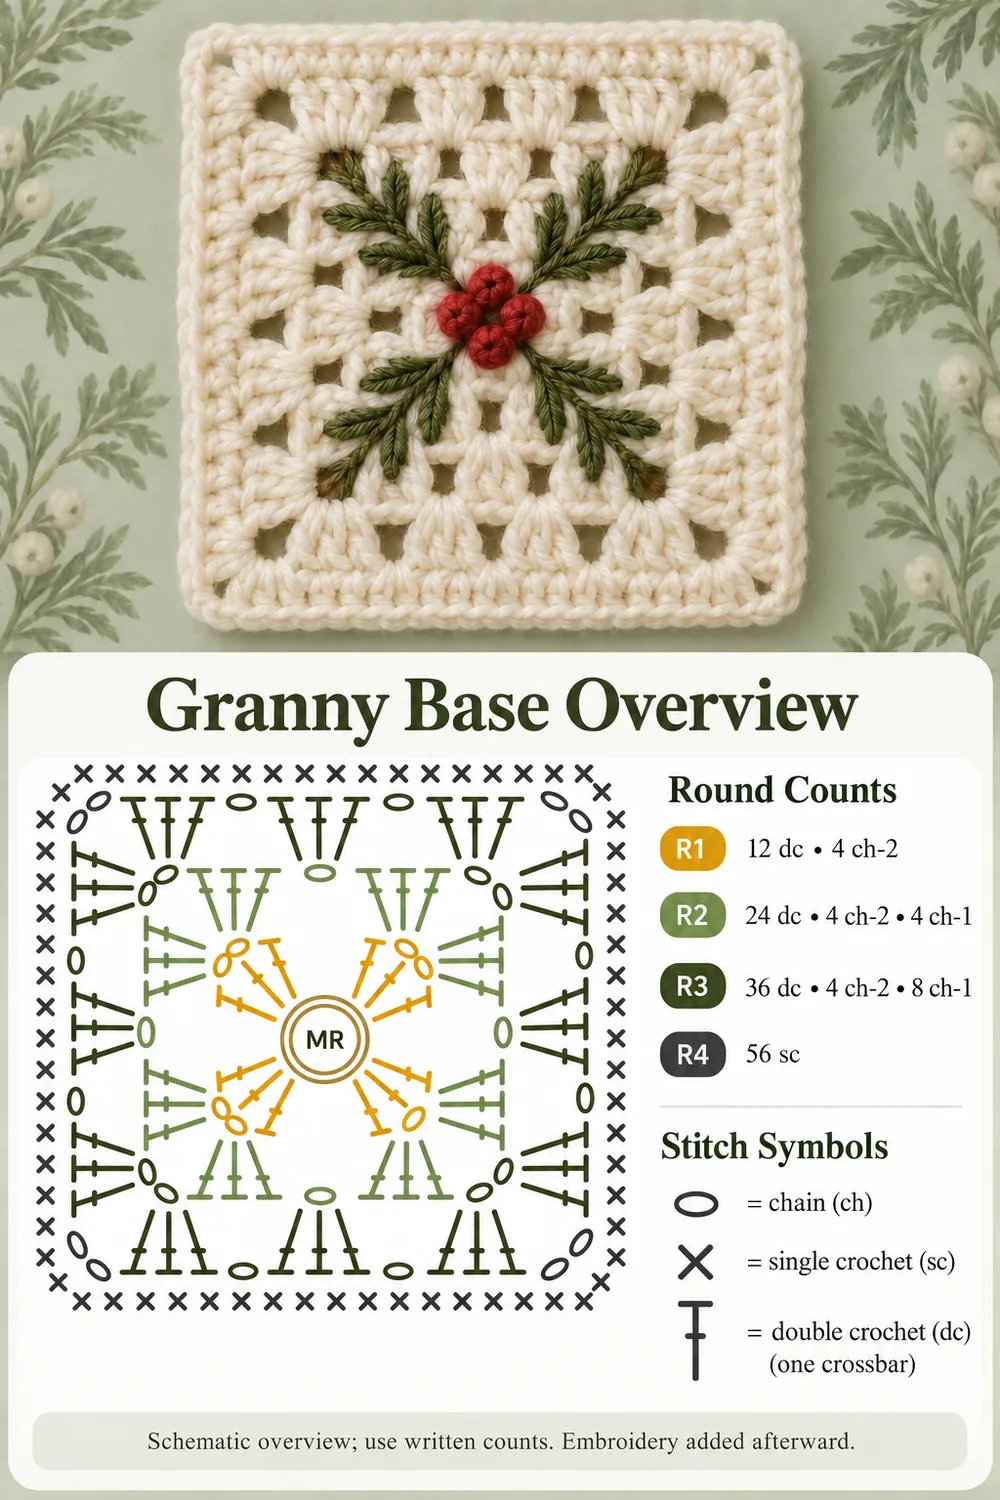
Make a MR. Ch 3, then work 2 dc into the ring. Ch 2. Repeat [3 dc in the ring, ch 2] three more times. Pull the ring closed gently and join with a sl st to the top of the beginning ch 3. Count: 12 dc and 4 ch-2 corner spaces. Fasten off.
There are four groups, not eight. Each three-dc group forms one side of this small starting square; each ch-2 space is the corner between neighboring groups.
Round 2: establish the granny corners
Join ivory with a sl st in any ch-2 space. Ch 3, work 2 dc, ch 2 and 3 dc into that same space. Ch 1. In each remaining corner space, work (3 dc, ch 2, 3 dc), then ch 1. Join to the top of the beginning ch 3 and fasten off.
Count: 24 dc in eight groups, 4 ch-2 corner spaces and 4 ch-1 side spaces. The final ch 1 is the fourth side space. Do not omit it or add another corner after the join.
Round 3: add one group on each side
Join ivory in any ch-2 corner. Ch 3, 2 dc, ch 2 and 3 dc in that same corner. Ch 1, work 3 dc into the following ch-1 side space, then ch 1. Repeat [(3 dc, ch 2, 3 dc) in the next corner, ch 1, 3 dc in the next side space, ch 1] three more times. Join to the top of the beginning ch 3. Keep ivory attached.
Count: 36 dc in twelve groups, 4 ch-2 corners and 8 ch-1 side spaces. Each side now has three groups between successive corner spaces. Mark the four corners if their chain lengths are difficult to distinguish.
Round 4: the single-crochet border
Ch 1 and sc in the same dc beneath the chain. Continue around, working 1 sc into every dc, 1 sc into each ch-1 side space and 3 sc into every ch-2 corner space. Stop after the last unworked stitch or space, immediately before the first sc. Join to that first sc and fasten off.
Count: 56 sc. This is 36 sc over the dc, 8 sc in the side spaces and 12 sc across the four corners. The middle sc of each corner group marks the actual turn of the border.
| Round | DC groups | Finished count |
|---|---|---|
| 1 | 4 | 12 dc + 4 ch-2 corners |
| 2 | 8 | 24 dc + 4 ch-2 + 4 ch-1 spaces |
| 3 | 12 | 36 dc + 4 ch-2 + 8 ch-1 spaces |
| 4 | Border | 56 sc |
Settle the base before adding the greenery
Weave the ivory tails through the backs of matching stitches, changing direction before trimming. If your yarn permits damp blocking, dampen the square lightly and arrange it flat with four right-angle corners. Avoid stretching the chain spaces wider simply to make a larger square. Let it dry completely.
Lay four short strands of scrap yarn diagonally from near the center toward the corners. These are temporary placement guides, not permanent stitches. End each branch inside the border, leaving the corner’s turning stitches clear for future joining.
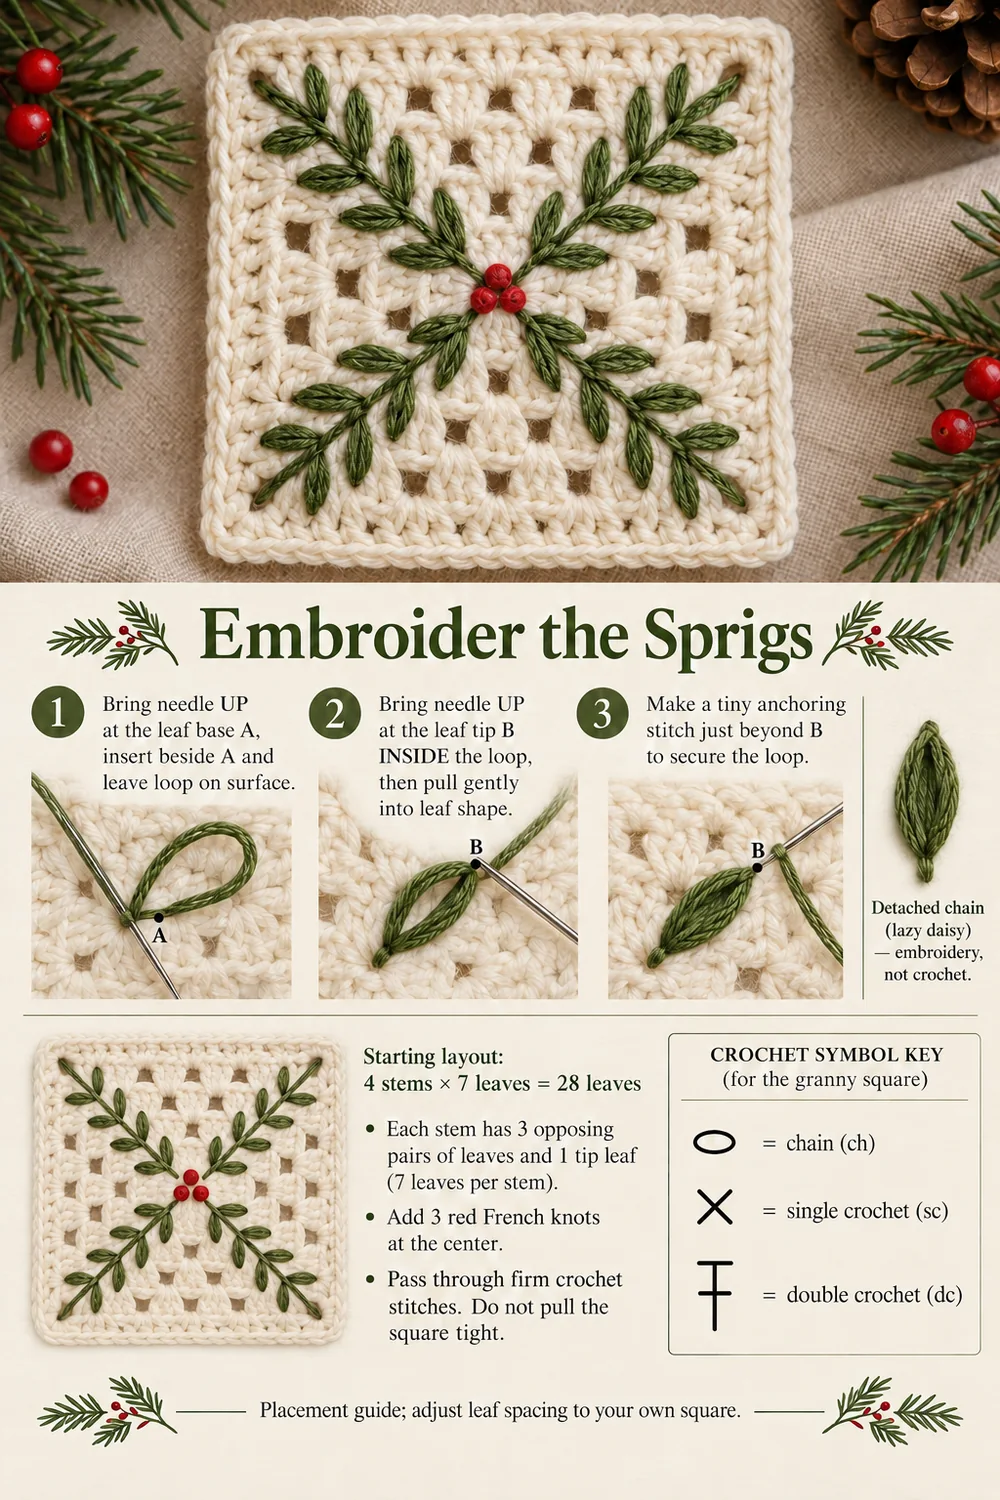
The starting embroidery layout uses four stems, each with three opposing leaf pairs and one terminal leaf: seven leaves per stem, or 28 leaves in total. Shorten a stem or reduce leaf size if a planned stitch falls over a large hole. The layout should follow the square you made, rather than forcing a fixed length onto it.
Stitch the four olive branches
Backstitch each stem
Thread olive yarn and secure its tail through several firm stitches on the back. Bring the needle up near the center. Make a short straight stitch along the planned diagonal, passing down through solid fabric. Come up a little farther along the line, then go down at the end of the preceding stitch. Repeat toward the corner to make a connected backstitched stem.
Keep each stitch short enough to follow the fabric without spanning a large open space. Lift the square occasionally and lay it down again; the stem should rest on the surface without gathering the ivory stitches. Secure the yarn at the back before starting another branch.
Use detached chain stitches for the leaves
- Bring the needle up beside the stem at the base of a planned leaf, point A.
- Insert it back down immediately beside A, leaving a loop of olive yarn on the surface.
- Bring the needle up at the leaf tip, point B, with the needle inside that loop. Pull gently until the loop forms a narrow leaf around the emerging yarn.
- Insert the needle just beyond B, outside the loop, to make a tiny anchoring stitch over its tip.
- Repeat on the other side of the stem. Make three opposing pairs along the stem and one leaf at its outer tip.
Detached chain, also called lazy daisy, is an embroidery stitch. It is not a crocheted chain attached afterward. Pass through stable parts of the cream fabric at A and B; a loop anchored only around the edge of a large hole can move out of position.
Choose the leaf length by looking at the available stitches beneath it. A narrow leaf should point outward from the branch while leaving some cream visible around it. Pulling the loop hard makes a tight line instead of an open leaf, and can pucker the square.
Add the red berry center
For the starting version, add three red French knots close together where the stems meet. Bring red yarn up through firm fabric, wrap it twice around the needle and hold those wraps gently near the surface. Insert the needle down beside the exit point, through a neighboring part of the fabric rather than the same open hole, and draw it through slowly.
Keep the wraps controlled with your other hand until the knot settles. If a knot disappears through a granny opening, move it onto a firm stitch. Repeat for the remaining two berries, then secure the tail on the back. The styled images explore fuller greenery and berry arrangements; the written starting layout is four seven-leaf stems and three central knots.
Finishing and troubleshooting
- The square has rounded corners: confirm the ch-2 corners in Rounds 1–3 and three border sc in each corner space. Ch-1 side spaces are not corners.
- The border count is wrong: count 36 dc tops and eight side spaces before adding the corner contribution. Working two sc into each ch-1 space adds eight unwanted stitches.
- The sprigs gather the fabric: loosen the embroidery before securing it. Blocking cannot reliably remove tight stitching that holds the square in a smaller shape.
- Leaves slide over holes: relocate the leaf base or tip onto firm crochet stitches. Slightly different leaf angles are better than weak anchors.
- Berry knots pull through: work through denser fabric near a stem junction and avoid the center opening.
Check the back for loose loops before joining the motif into another project. Weave olive and red tails through matching embroidery on the back where possible, without drawing them across exposed cream chain spaces. Keep all four border corners accessible if joining squares later.
Ways to use the embroidered square
This evergreen sprig granny square can become a gift pocket, a decorative cushion panel or one motif in a seasonal wall hanging. Check the actual measurements of your first square before deciding how many are needed. Keep the yarn, hook and embroidery tension consistent when making multiples.
For a different holiday square, the Christmas tree granny square uses an applique. The classic granny square pattern provides another granny project, while the Leaf Point Crochet Star offers a separate hanging ornament.
Photo layouts and construction guides
The three Pin designs are followed by a photo-and-symbol overview of the granny base, a corner guide and an embroidery guide. The overall drawing is a simplified placement schematic with the round counts beside it; follow the written counts and joins rather than treating its spacing as an exact tested chart. Diagram colors distinguish rounds only: the entire crochet base is ivory.