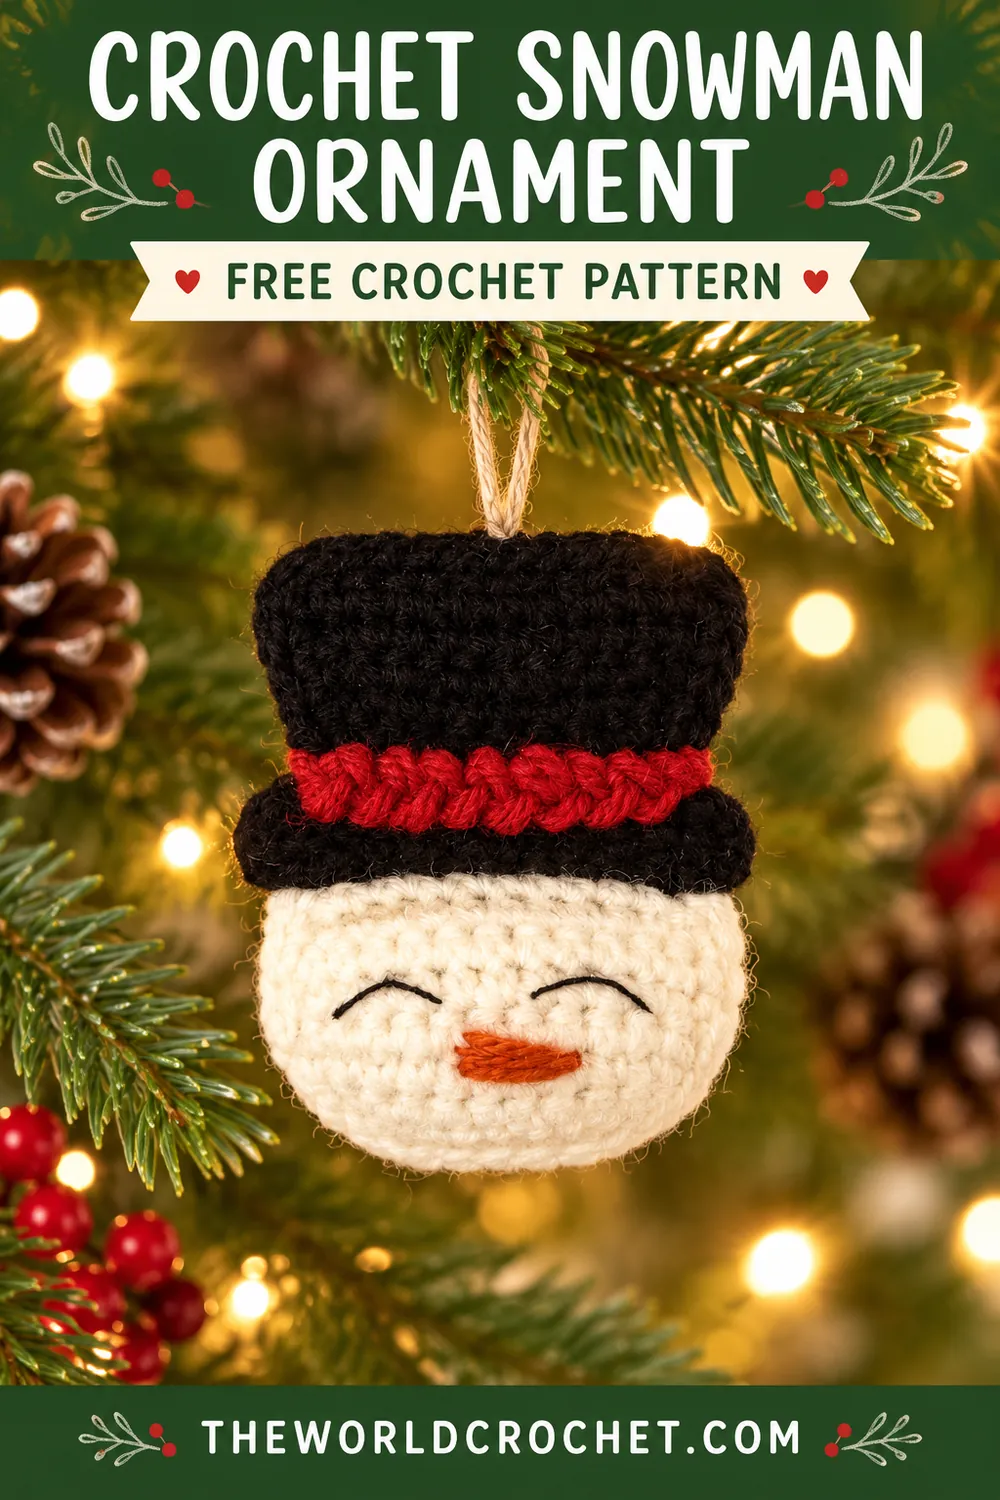
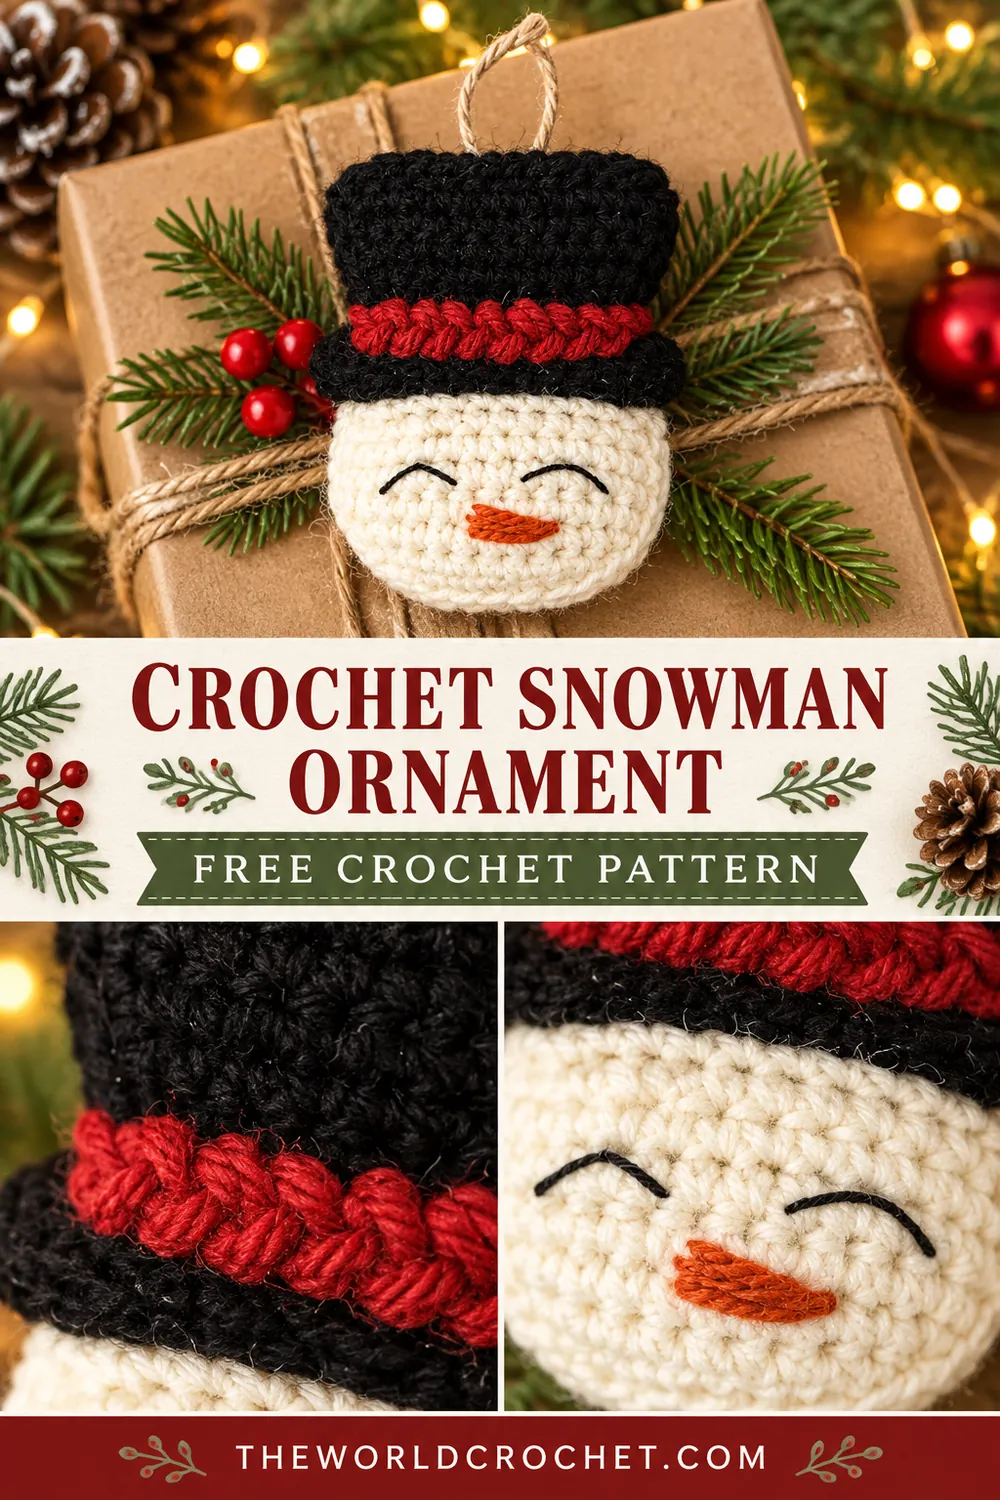
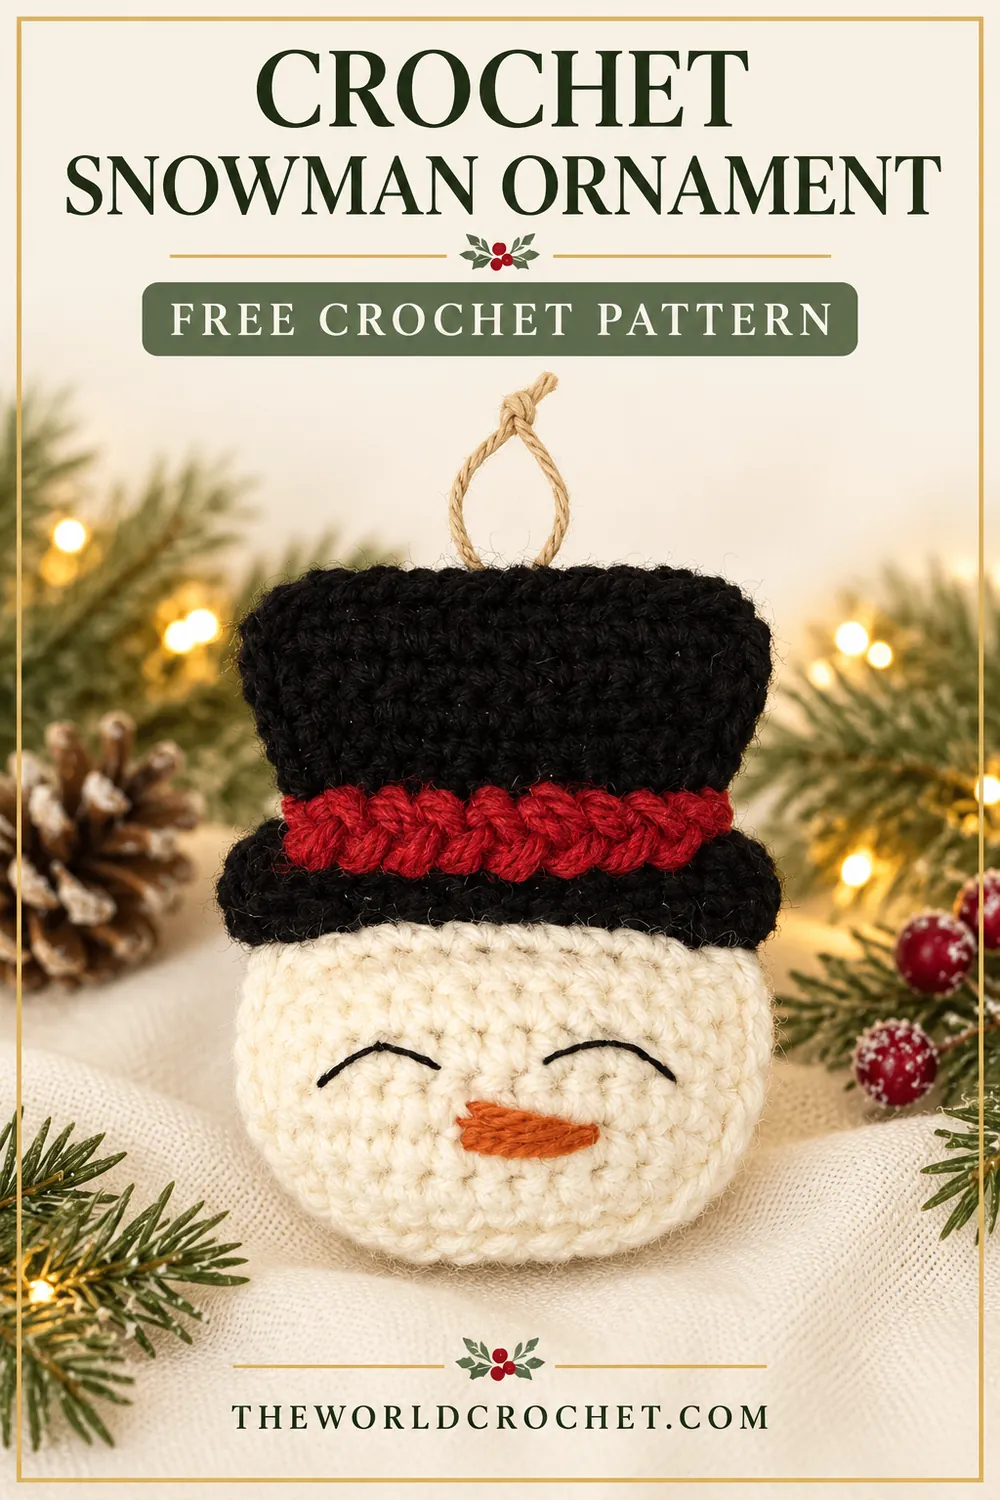
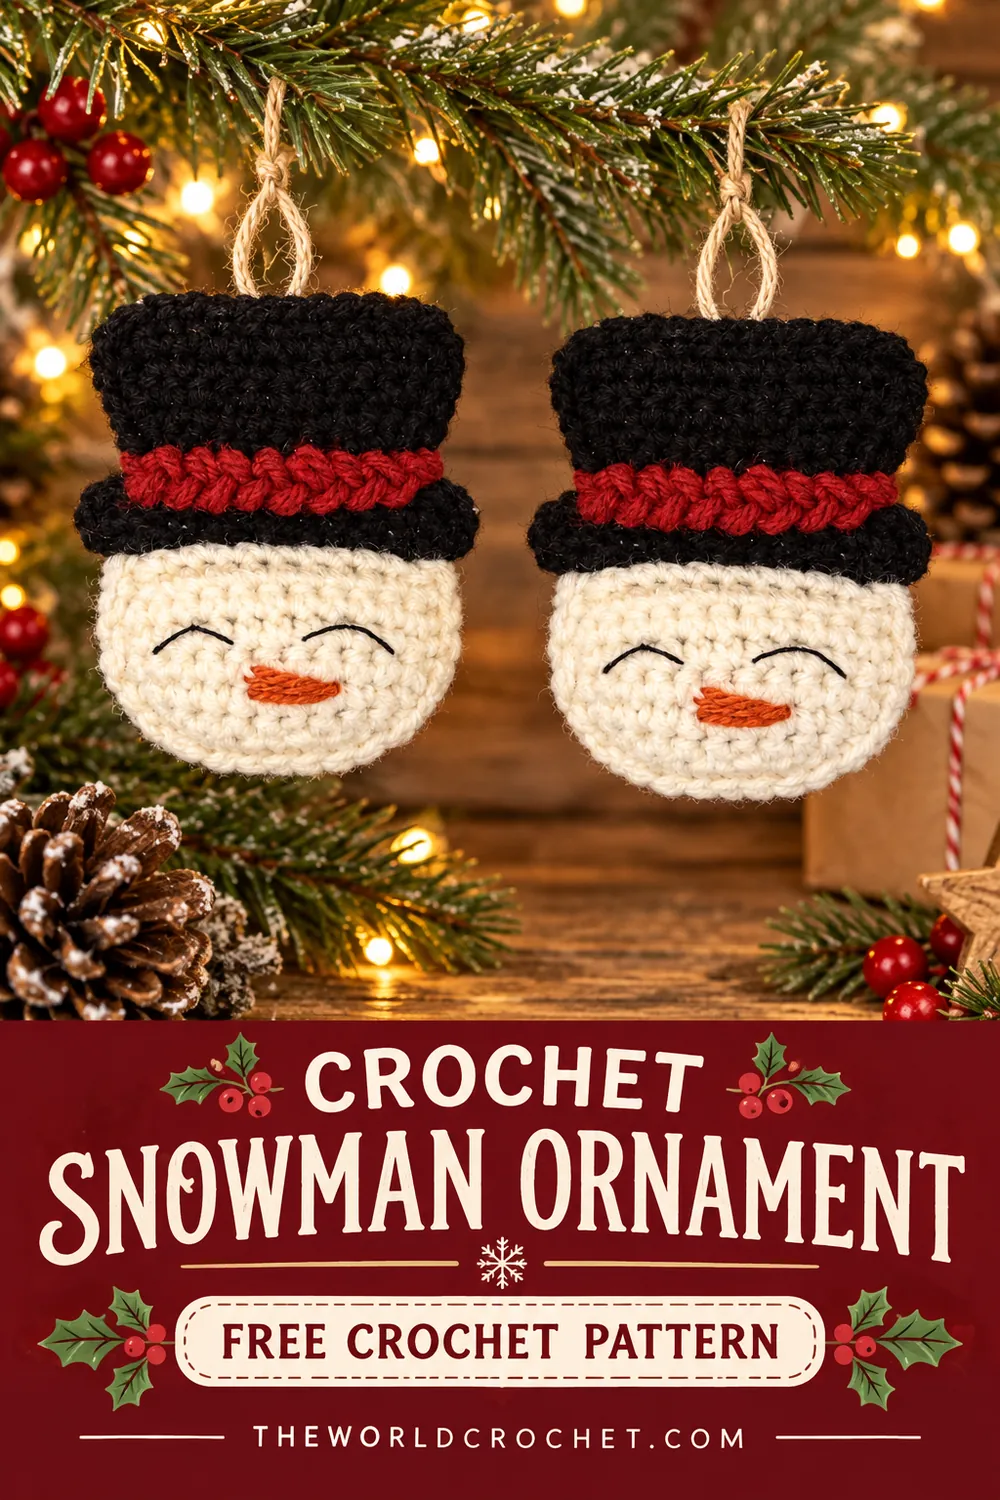
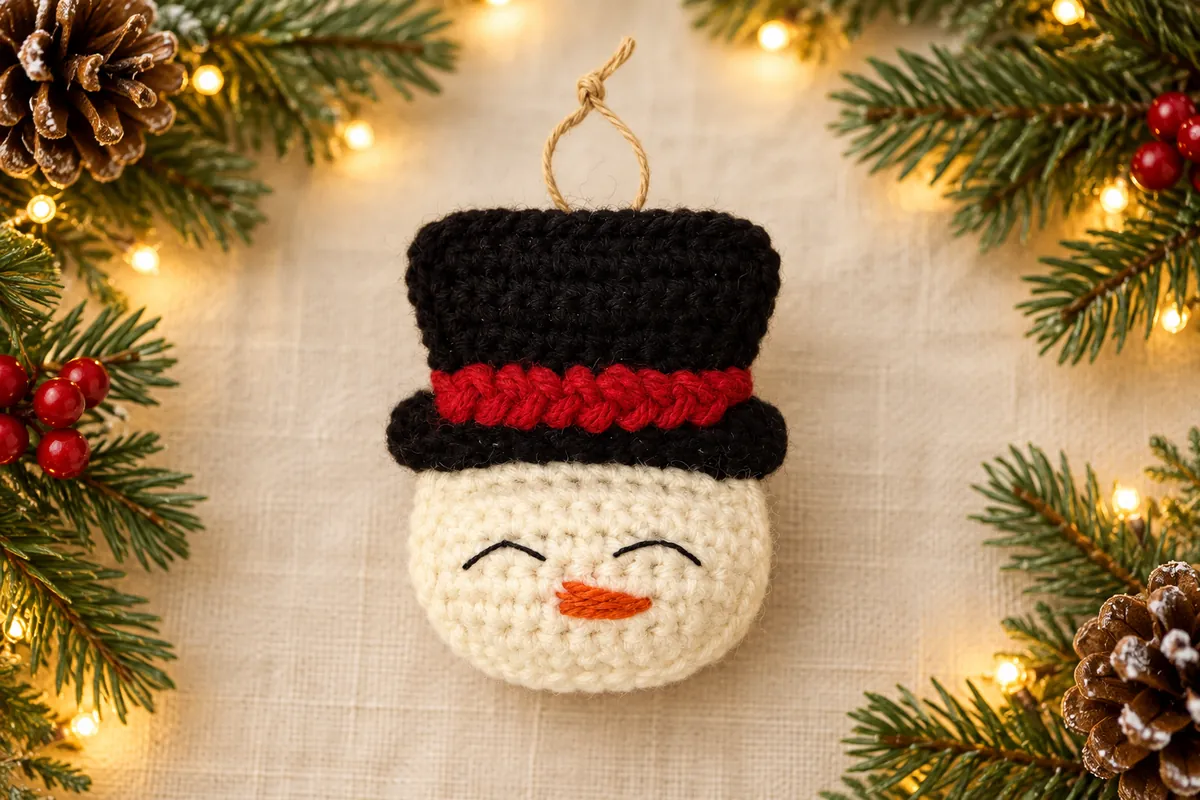
A crochet snowman ornament can say plenty with a few small details: a cream face, two sleepy embroidered eyes and a black top hat with a bright red band. This little head-shaped decoration keeps the look of the reference without adding a body, buttons or a scarf.
The pattern below builds the face from two circular panels, joined around their edges with a little stuffing between them. The hat is made separately in flat rows, then sewn across the top of the head. An orange embroidered nose finishes the expression.
Make one first to check the proportions with your yarn. You can hang it on a Christmas tree, tie it to a gift or use it as a small seasonal wall decoration. For another soft holiday character, try the Santa star amigurumi with its red hat and cheerful face.
Yarn, tools and a few useful choices
- DK cotton or a smooth acrylic yarn in ivory, black and red.
- A 2.5–3 mm hook as a starting point; adjust for firm, even fabric.
- Small amounts of orange yarn and black embroidery thread.
- Polyester filling, a blunt yarn needle, scissors and a stitch marker.
- A short length of strong cord or yarn for the hanging loop.
Keep the main yarns close in thickness. A much heavier black yarn makes the hat overpower the face, while a very fine red strand can disappear between the black sections. Smooth yarn makes it easier to see the stitches when joining the panels.
This crochet snowman ornament is a photo-inspired interpretation, suitable for a confident beginner who can increase in rounds, work flat rows and sew pieces together. It uses US terms. Finished size and yarn use depend on your materials; there is no measured sample gauge for this version.
Stitches and construction notes
ch means chain, sc means single crochet, sl st means slip stitch, inc means 2 sc in the same stitch, and st/sts means stitch/stitches. MR means magic ring. The Craft Yarn Council abbreviation guide explains standard US stitch names.
Work the head panels in continuous rounds without joining or turning. Move a marker to the first stitch of each round. Work the hat in rows, turning after each row; its turning chain never counts as a stitch. The hat components are flat pieces rather than a stuffed three-dimensional hat.
Use firm stitches for the head so the filling stays inside. The goal is a lightly padded disk, not a tightly stuffed ball. Keep the back panel plain and embroider the face before joining the two circles.
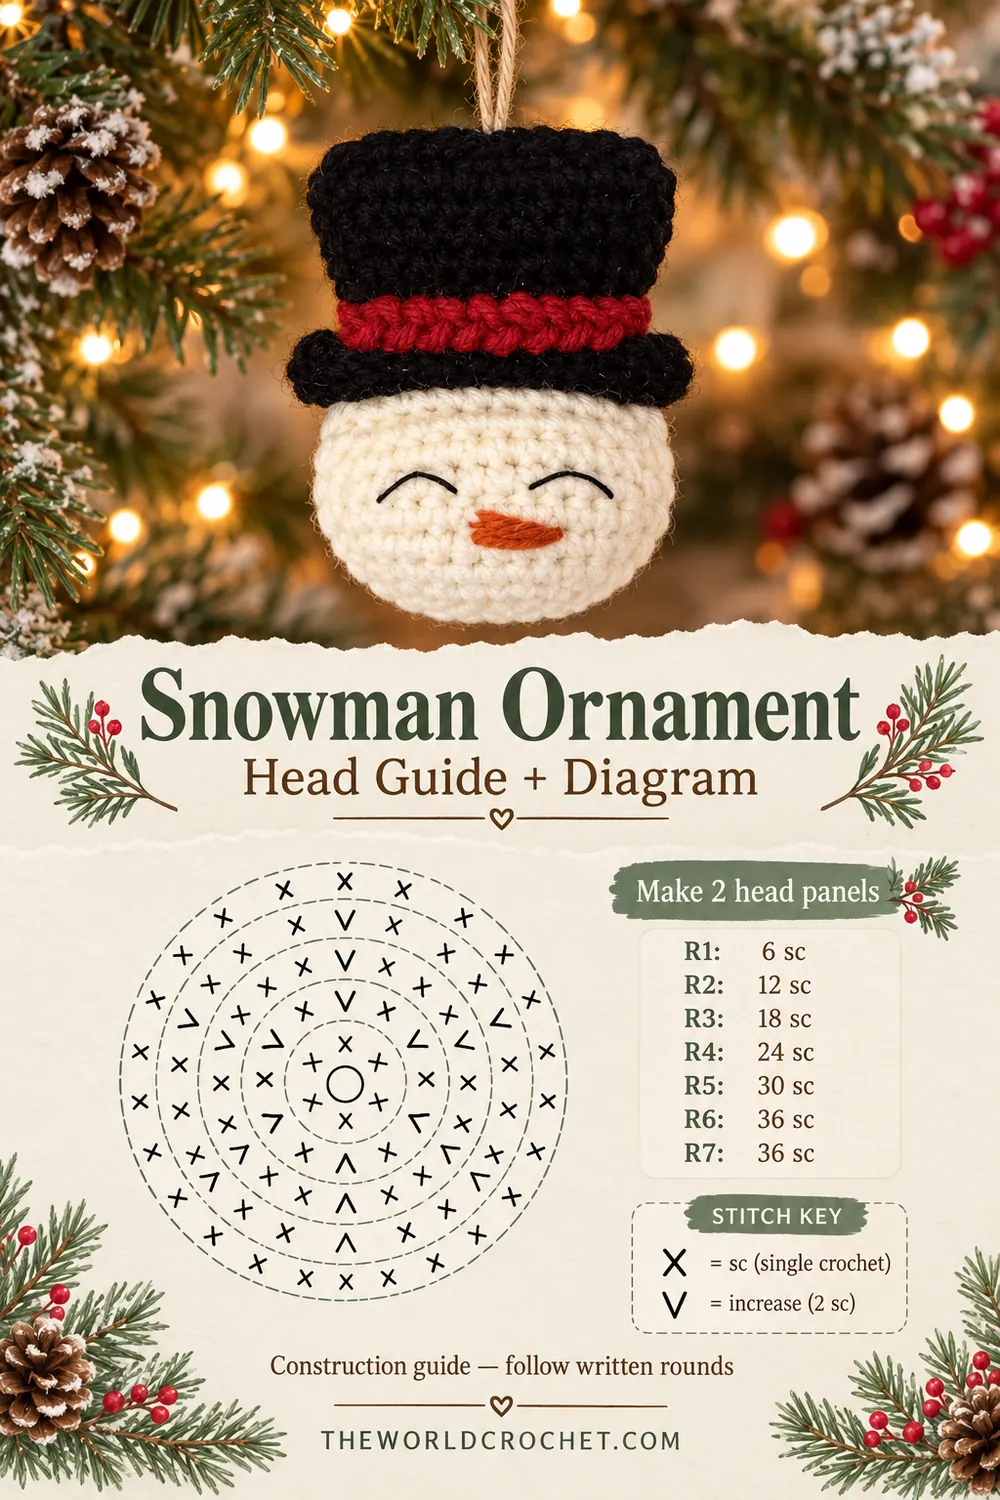
Crochet snowman ornament: make two head panels
With ivory, make a magic ring. Repeat the following instructions twice to create matching front and back panels.
- Round 1: 6 sc in the ring. Pull the ring closed. (6 sts)
- Round 2: Inc in each stitch around. (12 sts)
- Round 3: Repeat (sc, inc) six times. (18 sts)
- Round 4: Repeat (2 sc, inc) six times. (24 sts)
- Round 5: Repeat (3 sc, inc) six times. (30 sts)
- Round 6: Repeat (4 sc, inc) six times. (36 sts)
- Round 7: Sc in each stitch around. (36 sts)
After Round 7, make a slip stitch in the next stitch to finish the edge, then fasten off. This finishing slip stitch does not add to the 36-stitch joining count. Weave the magic-ring tail securely through the back of the stitches. Keep the two panels facing the same way when comparing them.
The last round adds a slight curve at the edge, helping the joined panels hold a little filling. Check that the circles have the same number of stitches before embroidering. A missing increase will make one panel smaller and harder to align.
Give the face its sleepy expression
Choose the front panel and place a marker at its top. Lay the hat pieces against it once they are made to find the visible face area. The eyes should sit below the brim, with the nose between them and a little lower.
With black thread, embroider two short upward-curving arches for closed smiling eyes. Use a few small stitches for each curve rather than one loose strand. Check the spacing from the front before securing the thread on the back.
For the nose, make a short horizontal orange triangle with satin stitches: the left end is a little wider, and the right end narrows to a point. Keep the stitches close to the fabric so they do not snag. The reference has a simple face without a mouth; leaving that space clear keeps the expression soft.
The black crown and red band
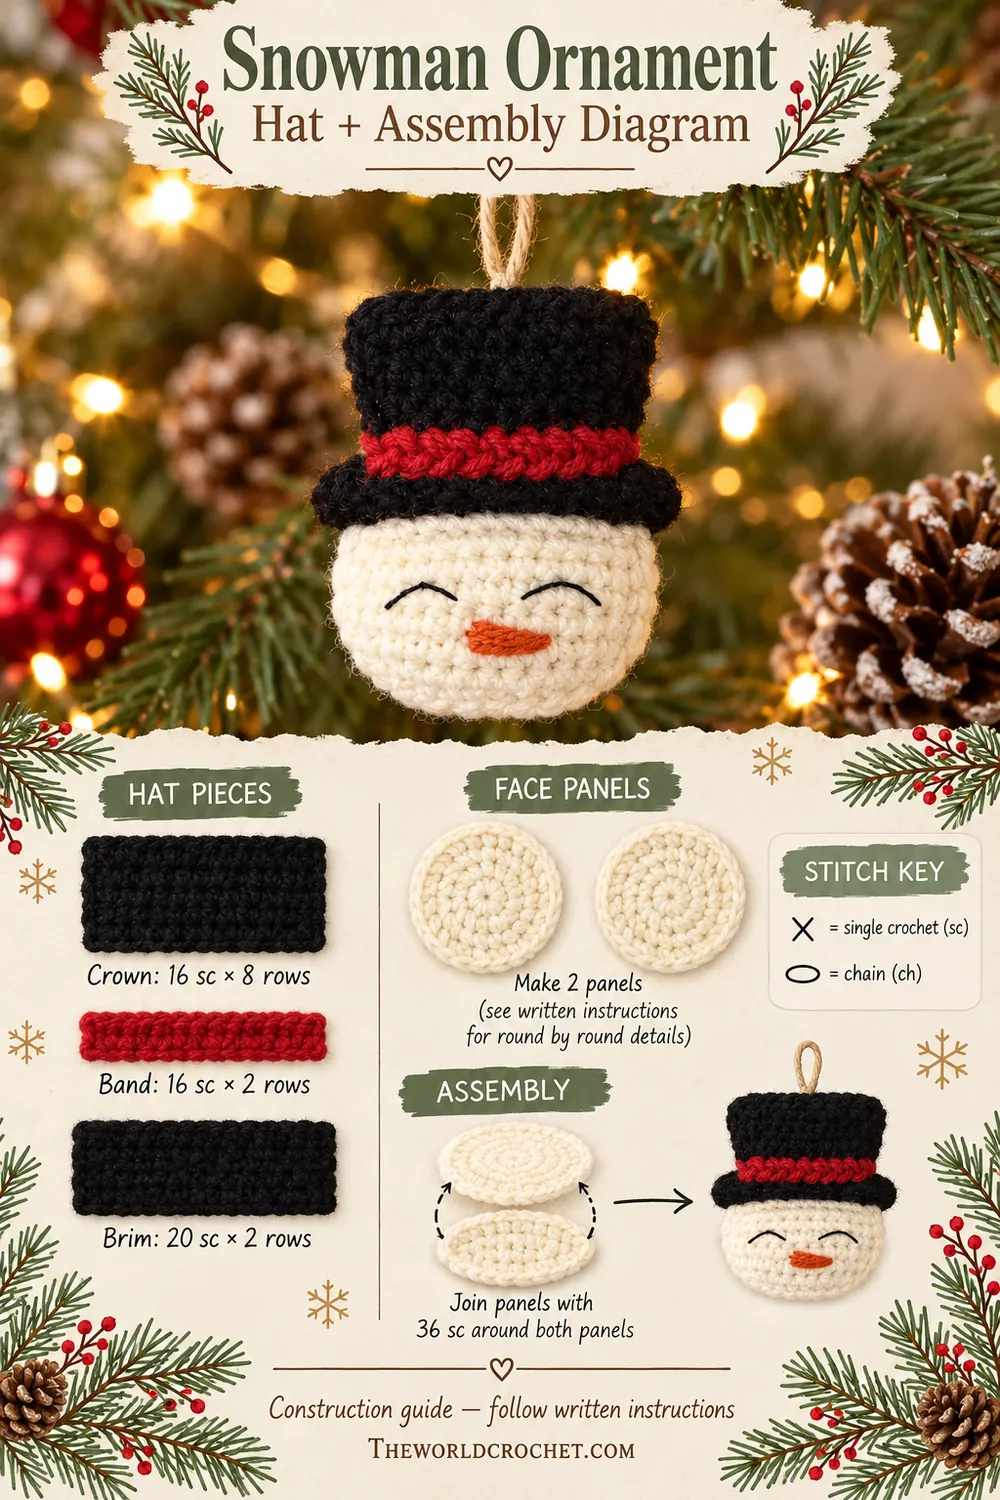
Hat crown
With black, ch 17. In the second chain from the hook, work 1 sc, then sc in each remaining chain. Row 1 has 16 sc.
Rows 2–8: Ch 1, turn, sc in all 16 stitches. Each row has 16 sc. Fasten off after Row 8, leaving a sewing tail. This makes a simple flat crown with a straight lower edge.
Red band
With red, ch 17. Sc in the second chain from the hook and each remaining chain: 16 sc. For Row 2, ch 1, turn and sc in all 16 stitches. Fasten off with a sewing tail.
Sew the band across the lower two rows of the crown, aligning the ends. Use small stitches through both layers, with red sewing stitches hidden in the red fabric. The band overlays the crown; it does not extend its height.
Black brim
With black, ch 21. Sc in the second chain from the hook and each remaining chain: 20 sc. For Row 2, ch 1, turn and sc in all 20 stitches. Fasten off, leaving a long tail.
Center the brim across the bottom of the crown. Its extra four stitches leave about two stitches extending on each side. Sew along the shared edge so the brim stays straight, and secure the red band just above it.
Join the face and add a little filling
Place the panels with their wrong sides together and the face pointing outward. Align the 36 edge stitches, including the marked top. Join ivory through the first matching pair of stitches. Ch 1 without counting it.
Work one sc through each matching pair of edge stitches around both panels. Crochet through the two loops of the front stitch and the two loops of its matching back stitch. Each joining sc joins one front stitch to one back stitch; do not alternate separate stitches on the two panels.
After about 28 joining sc, add a small, even layer of filling. Keep it away from the remaining opening and smooth it toward the edges. Finish the last eight joining sc. You now have 36 joining sc. Slip stitch to the first joining sc and fasten off; the joining slip stitch is separate from that count.
If the head feels hard or bulges strongly, remove some filling before closing the seam. A gently padded shape leaves room for the hat to sit across the top without tilting forward.
Sew the hat and hanging loop securely
Center the hat above the eyes, with the brim covering the upper edge of the head. Pin or hold it in position before sewing. Attach the brim across the upper front arc with small stitches through the brim and the head fabric. Catch the crown’s lower edge in the same seam where needed.
The black sewing yarn should stay in the area hidden by the brim. Check from the back that the hat is securely attached and the face is still upright. The flat crown extends above the head; it does not need stuffing.
Pass a strong cord through several stitches near the top center of the crown. Tie a closed hanging loop and secure its knot on the back. Spread the load over more than one stitch rather than pulling the entire ornament from a single loose loop.
Keep the pieces in proportion
| Piece | Count | Construction |
|---|---|---|
| Head front and back | 6, 12, 18, 24, 30, 36, 36 | Two panels, seven rounds each |
| Crown | 16 sc per row | Eight rows |
| Red band | 16 sc per row | Two rows, sewn over crown |
| Brim | 20 sc per row | Two rows |
| Panel seam | 36 sc | One sc through each matching pair |
If the hat leans, check its placement before tightening the sewing thread. If the panel edges do not match, count both circles and repair a missed increase instead of forcing them together. If the eyes disappear under the brim, reposition the hat before sewing the final seam.
For a different palette, keep the ivory face and try a forest-green band or a deep burgundy accent. Using the same yarn thickness and hook throughout a set helps the ornaments hang at a similar size. This crochet snowman ornament is intended for decoration, with its hanging cord kept out of children’s reach.
Spot-clean the finished piece according to the yarn label and let it dry completely before storing. Avoid soaking any cord or decorative thread that may release dye. Wrap ornaments loosely so the hat stays flat between seasons.
For a coordinated handmade tree, pair the snowman with a shell stitch crochet bell. A crochet Christmas tree keychain also makes a small gift accent in the same red-and-green palette.
Snowman ornament images and construction diagrams
The four vertical designs show different ways to style the finished ornament. The two photo-and-diagram guides summarize the head rounds and flat hat assembly. Read their labels with the written pattern; the drawings are construction overviews rather than a complete stitch-by-stitch chart.