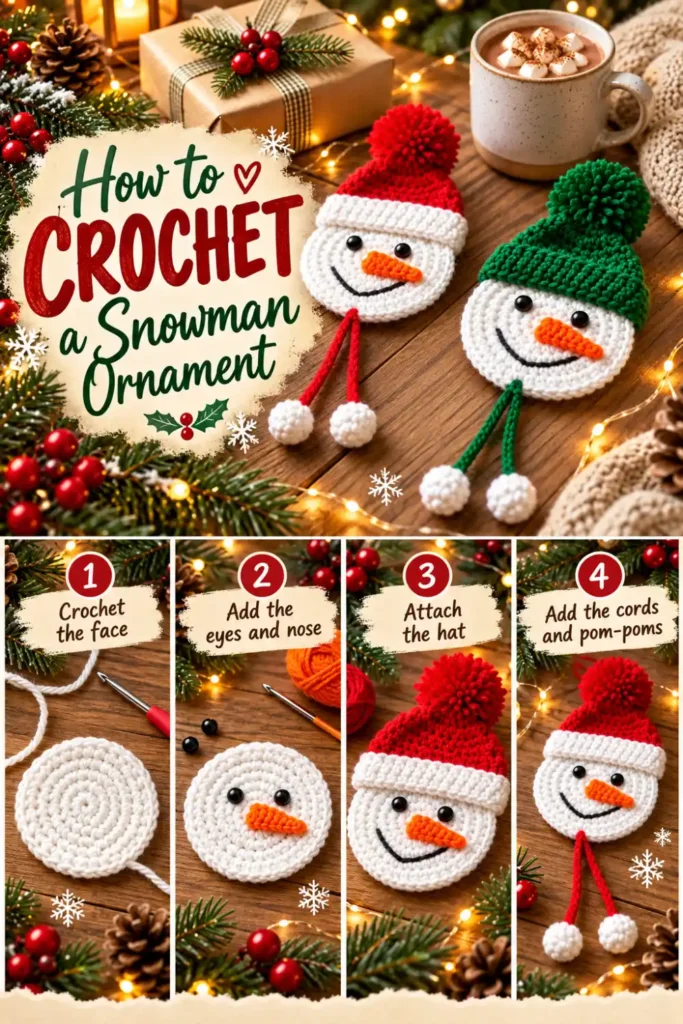
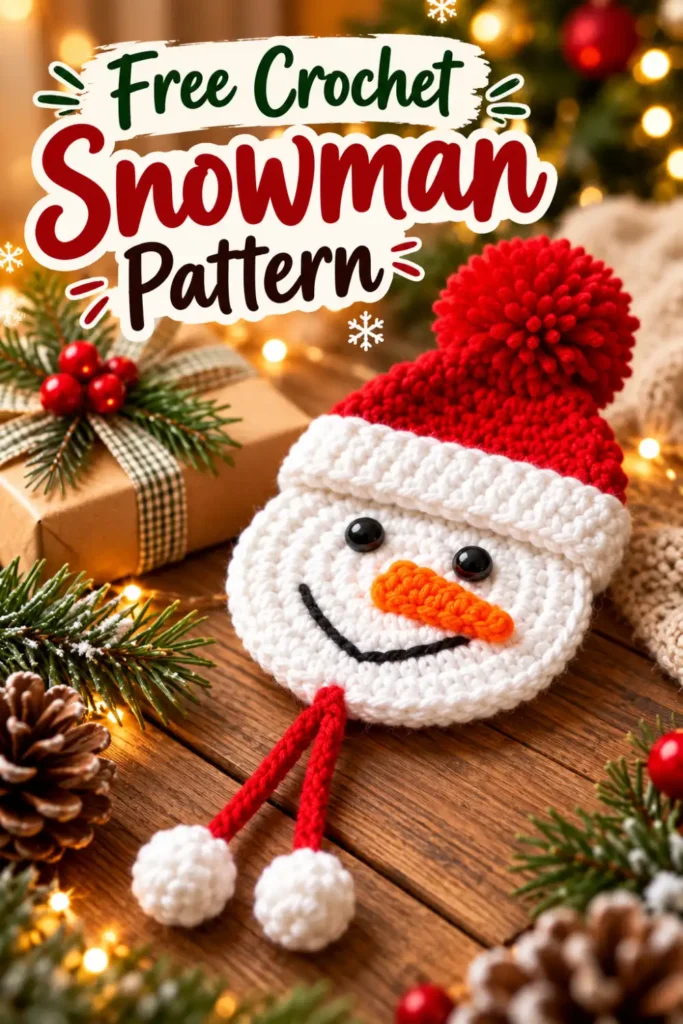
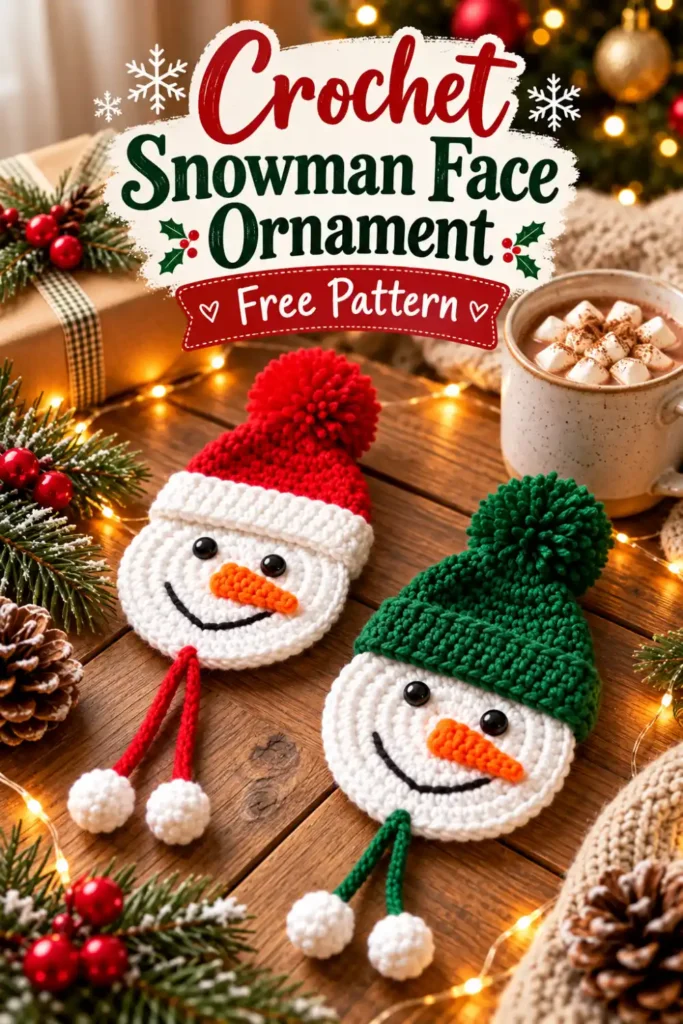
A handmade snowman always brings a little personality to Christmas decorating, and this crochet snowman face ornament is small enough to make without turning into a long holiday project.
The design is mostly flat, so it works beautifully as a Christmas tree ornament, gift topper, garland decoration, or little handmade present.
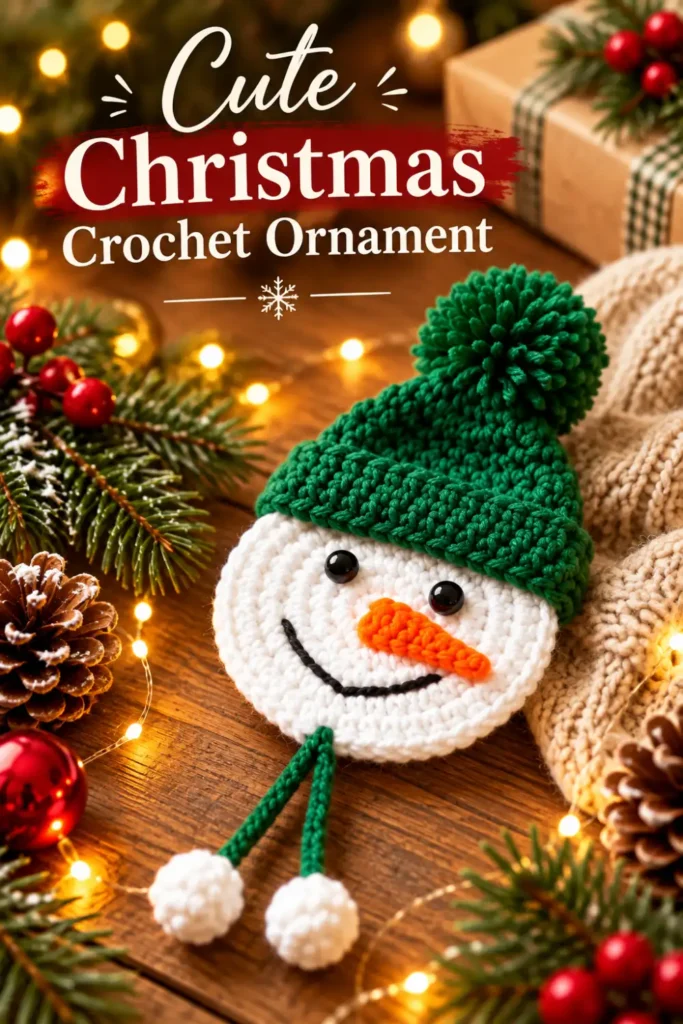
What makes this version especially fun is the hat. You can make the exact same snowman several times and completely change the look just by switching colors.
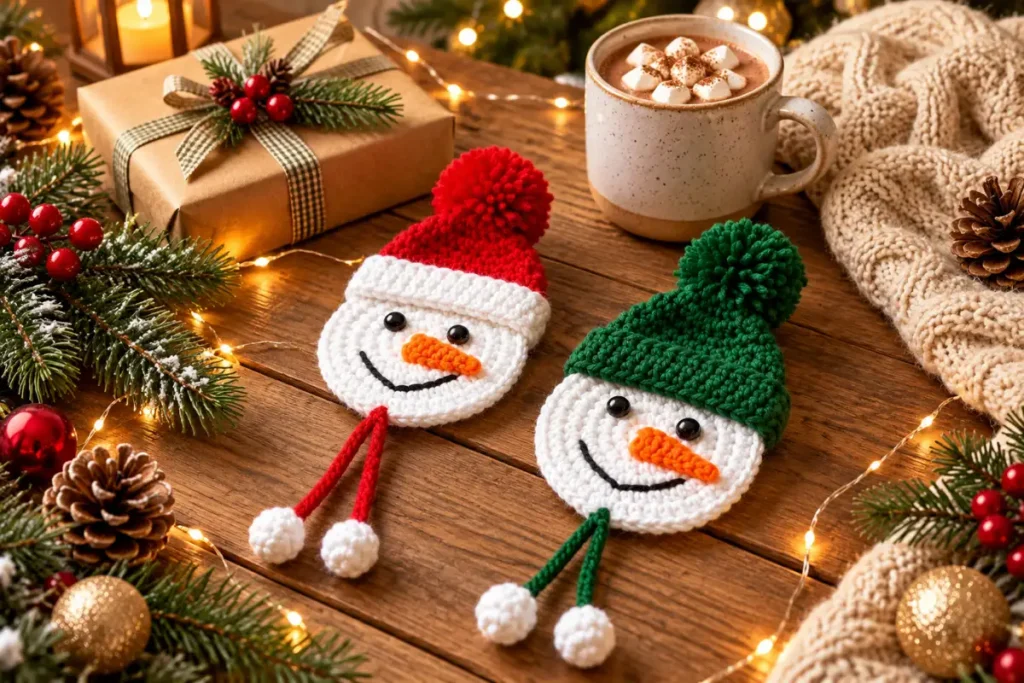
Traditional red and deep Christmas green are perfect for the holidays, but soft pink, light blue, beige, or even mustard can give the ornament a completely different personality.
The face is made from two simple crochet circles joined together, which gives the ornament a cleaner back and enough structure to hold its shape without making it bulky.
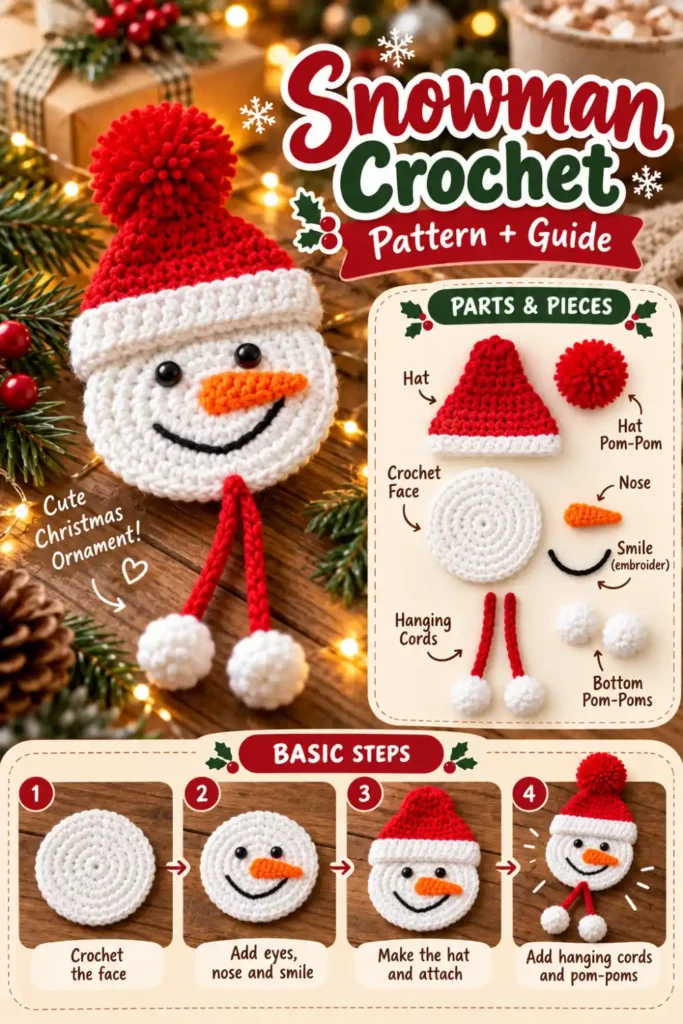
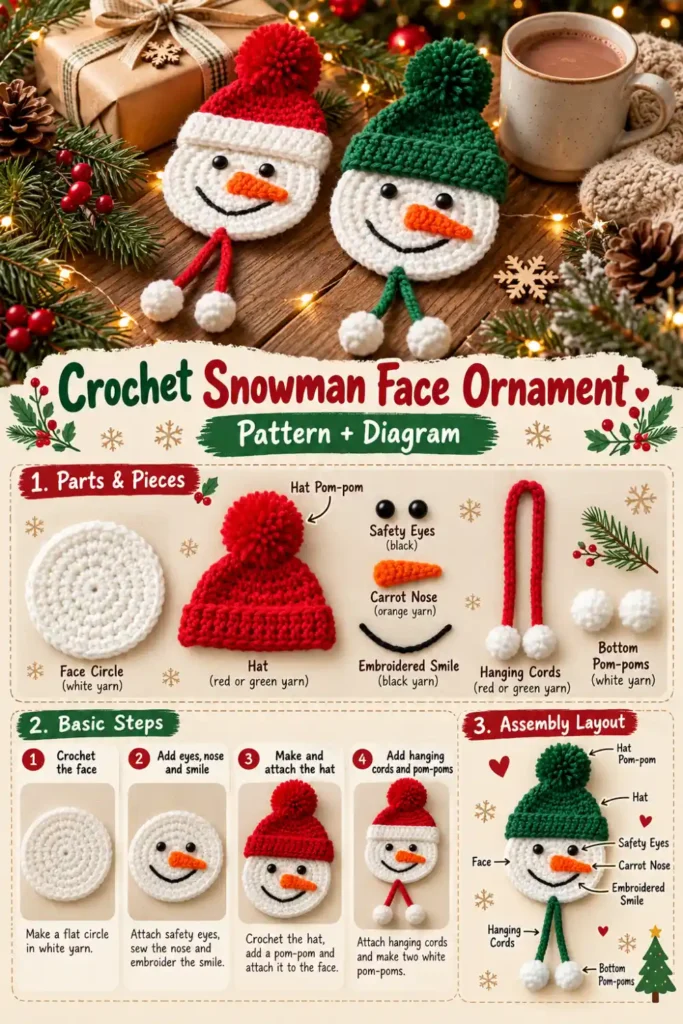
How the Snowman Is Made
The ornament is built from a few simple parts:
- two flat white circles for the face;
- a ribbed crochet hat;
- a small orange carrot nose;
- embroidered smile;
- eyes;
- two decorative hanging cords;
- three small pom-poms.
The pieces are made separately and then assembled.
This construction also makes it easy to personalize the ornament before joining the two face layers.
Materials
You will need:
- Worsted-weight white yarn
- Worsted-weight red, green, or another color for the hat
- Small amount of orange yarn
- Small amount of black yarn
- 4 mm crochet hook
- Yarn needle
- Scissors
- Two 8–10 mm safety eyes or black yarn for embroidered eyes
- Pom-pom maker or a small piece of cardboard
- Optional small amount of fiberfill
You only need small amounts of each color, so this is also a useful project for leftover yarn.
Finished Size
The finished snowman is approximately:
4–4.5 in (10–11.5 cm) wide
and approximately:
6–7 in (15–18 cm) tall
including the hat and hanging pom-poms.
Your finished size may vary depending on yarn, hook size, and tension.
Crochet Abbreviations
ch – chain
sl st – slip stitch
sc – single crochet
hdc – half double crochet
dec – decrease
st – stitch
sts – stitches
rnd – round
BLO – back loop only
Snowman Face
Make two identical white circles.
The first will be the front of the snowman and the second will create a clean backing.
Round 1
Make a magic ring.
Work:
8 hdc into the ring.
Pull the ring closed.
8 sts
Round 2
Work:
2 hdc in each st around.
16 sts
Round 3
Repeat around:
1 hdc in next st, 2 hdc in next st.
24 sts
Round 4
Repeat around:
1 hdc in next 2 sts, 2 hdc in next st.
32 sts
Round 5
Repeat around:
1 hdc in next 3 sts, 2 hdc in next st.
40 sts
Round 6
Repeat around:
1 hdc in next 4 sts, 2 hdc in next st.
48 sts
Round 7
Hdc in each st around.
48 sts
Fasten off.
Make the second circle exactly the same way.
Add the Eyes
Before joining the two face pieces, add the eyes to the front circle.
Position them slightly above the center of the face.
Leave enough space between them for the carrot nose.
If the ornament may be handled by a young child, embroidered eyes are a better option than removable plastic pieces.
Crochet Carrot Nose
Use orange yarn.
Ch 8.
Starting in the second ch from the hook:
- sl st in next ch;
- sc in next ch;
- hdc in next ch;
- hdc in next ch;
- dc in next ch;
- dc in next ch;
- hdc in final ch.
Fasten off, leaving a long tail.
The piece should naturally form a small tapered shape.
Position the wider end near the center of the snowman’s face and point the narrow end slightly upward or sideways.
Sew securely in place.
Add the Smile
Using black yarn and a yarn needle, embroider a gentle curved smile underneath the nose.
You can create one continuous curved line or use several smaller stitches.
Avoid pulling the yarn too tightly because this can distort the circle.
A slightly imperfect smile can actually give each snowman more personality.
Join the Face Pieces
Place the two white circles together with the wrong sides facing inward.
Join white yarn anywhere along the edge.
Sc through both layers all the way around.
Join with a sl st.
Fasten off and weave in the ends.
Flat version
Leave the ornament completely unstuffed.
This works particularly well for Christmas trees and garlands.
Slightly padded version
Before closing the last few stitches, add a very small amount of fiberfill.
Do not overstuff.
The snowman should remain mostly flat.
Crochet the Hat Brim
Use your chosen hat color.
Ch 19.
Row 1
Starting in the second ch from the hook:
Hdc across.
18 sts
Ch 1 and turn.
Rows 2–4
Work hdc in the back loop only across.
18 sts
Ch 1 and turn after Rows 2 and 3.
Fasten off after Row 4.
The back-loop stitches create the ribbed texture seen on a classic winter hat.
Hat Body
Join the same color yarn evenly along one long edge of the brim.
Row 1
Work 18 sc evenly across.
Ch 1 and turn.
Row 2
Sc across.
18 sts
Ch 1 and turn.
Row 3
Repeat:
sc in next 4 sts, dec
across.
15 sts
Ch 1 and turn.
Row 4
Sc across.
15 sts
Ch 1 and turn.
Row 5
Repeat:
sc in next 3 sts, dec
across.
12 sts
Ch 1 and turn.
Row 6
Sc across.
12 sts
Ch 1 and turn.
Row 7
Repeat:
sc in next 2 sts, dec
across.
9 sts
Ch 1 and turn.
Row 8
Repeat:
sc in next st, dec
across.
6 sts
Ch 1 and turn.
Row 9
Work:
dec 3 times.
3 sts
Fasten off, leaving a long tail.
Thread the tail through the remaining stitches and gently pull them together.
Secure the yarn.
Hat Pom-Pom
Make a small pom-pom using the same yarn as the hat.
Trim it until it looks round and compact.
Attach it securely to the top of the hat.
Attach the Hat
Position the ribbed brim across the upper portion of the snowman’s face.
The brim should overlap the white circle slightly.
Pin the hat in place before sewing if that helps you keep it centered.
Using matching yarn, sew along:
- the lower edge of the brim;
- the sides of the hat;
- any area that needs a little extra support.
The hat should sit naturally over the snowman’s forehead.
Decorative Hanging Cords
The two small cords underneath the snowman add movement and make the ornament a little more playful.
Using the same yarn color as the hat, join yarn near the lower part of the face.
Ch 18–22.
Fasten off.
Make a second cord beside it.
You can make them slightly different lengths for a more relaxed handmade look.
White Mini Pom-Poms
Make two small white pom-poms.
Trim them evenly.
Attach one to the end of each cord.
Secure them firmly with several stitches.
Hanging Loop
If you want to hang the snowman on a Christmas tree, add a loop to the top of the hat.
Join yarn near the top.
Ch approximately:
20–25
and sl st back into the same point.
Fasten off securely.
You can also use:
- cotton cord;
- ribbon;
- twine;
- metallic thread.
Red or Green? Try Both
One of the easiest ways to turn this into a coordinated Christmas set is to make the same ornament in several colors.
A few combinations that work especially well:
Classic Christmas
White face + red hat
Traditional Green
White face + dark green hat
Soft Winter
White face + light blue hat
Neutral Christmas
White face + beige or oatmeal hat
Pastel Holiday
White face + dusty pink hat
Because the construction stays the same, you can make an entire collection without learning another pattern.
A Few Details That Make a Difference
Small changes can have a surprisingly big effect on the finished ornament.
Keep the face flat
If the circle begins to cup noticeably, your stitches may be too tight.
Try relaxing your tension or moving up slightly in hook size.
Check the hat before sewing
Different yarns behave differently.
Place the finished brim against the face before attaching the hat.
It should cover the top of the circle without pulling it inward.
Position the facial features first
Before sewing anything permanently, place the eyes and nose on the face and look at the ornament from a short distance.
Moving the eyes only one stitch can change the expression completely.
Don’t overstuff
If you choose to add filling, use very little.
This design looks best when it stays relatively flat.
Make It Completely Yarn-Based
You don’t need plastic eyes to make this snowman.
Black yarn can be used to embroider small round or oval eyes.
This creates an entirely soft ornament and also gives you more control over the expression.
You can even embroider tiny eyebrows or change the shape of the smile to make each snowman unique.
Ways to Use the Finished Snowman
This pattern doesn’t have to be used only as a Christmas tree ornament.
Try using it as a:
- gift topper;
- Christmas garland decoration;
- stocking decoration;
- wreath accent;
- holiday package embellishment;
- small handmade gift;
- Christmas market item.
A pair in red and green also makes a cute matching set.
Common Questions
Can I use cotton yarn?
Yes. Cotton will create a firmer ornament with very clear stitch definition.
Acrylic yarn usually gives the snowman a softer look.
Can I make the snowman smaller?
Yes.
Use lighter yarn and a smaller hook while keeping the same pattern.
Can I make it larger?
Yes.
Use thicker yarn and a hook appropriate for that yarn.
Do I have to make two face circles?
No.
You can make only one if you prefer a very lightweight ornament.
However, two layers create a cleaner back and make it easier to hide embroidery and eye attachments.
Can I leave off the hanging cords?
Absolutely.
They are decorative.
Without them, the project becomes an even simpler flat snowman ornament.
A Handmade Snowman for Christmas
Small ornaments are some of the most enjoyable Christmas crochet projects because they don’t require much yarn and they’re easy to personalize.
Make one snowman in traditional red, another in green, and then experiment with colors that match your own Christmas decorations.
You could even give each family member a different hat color and create a small handmade collection that comes back to the tree every year.