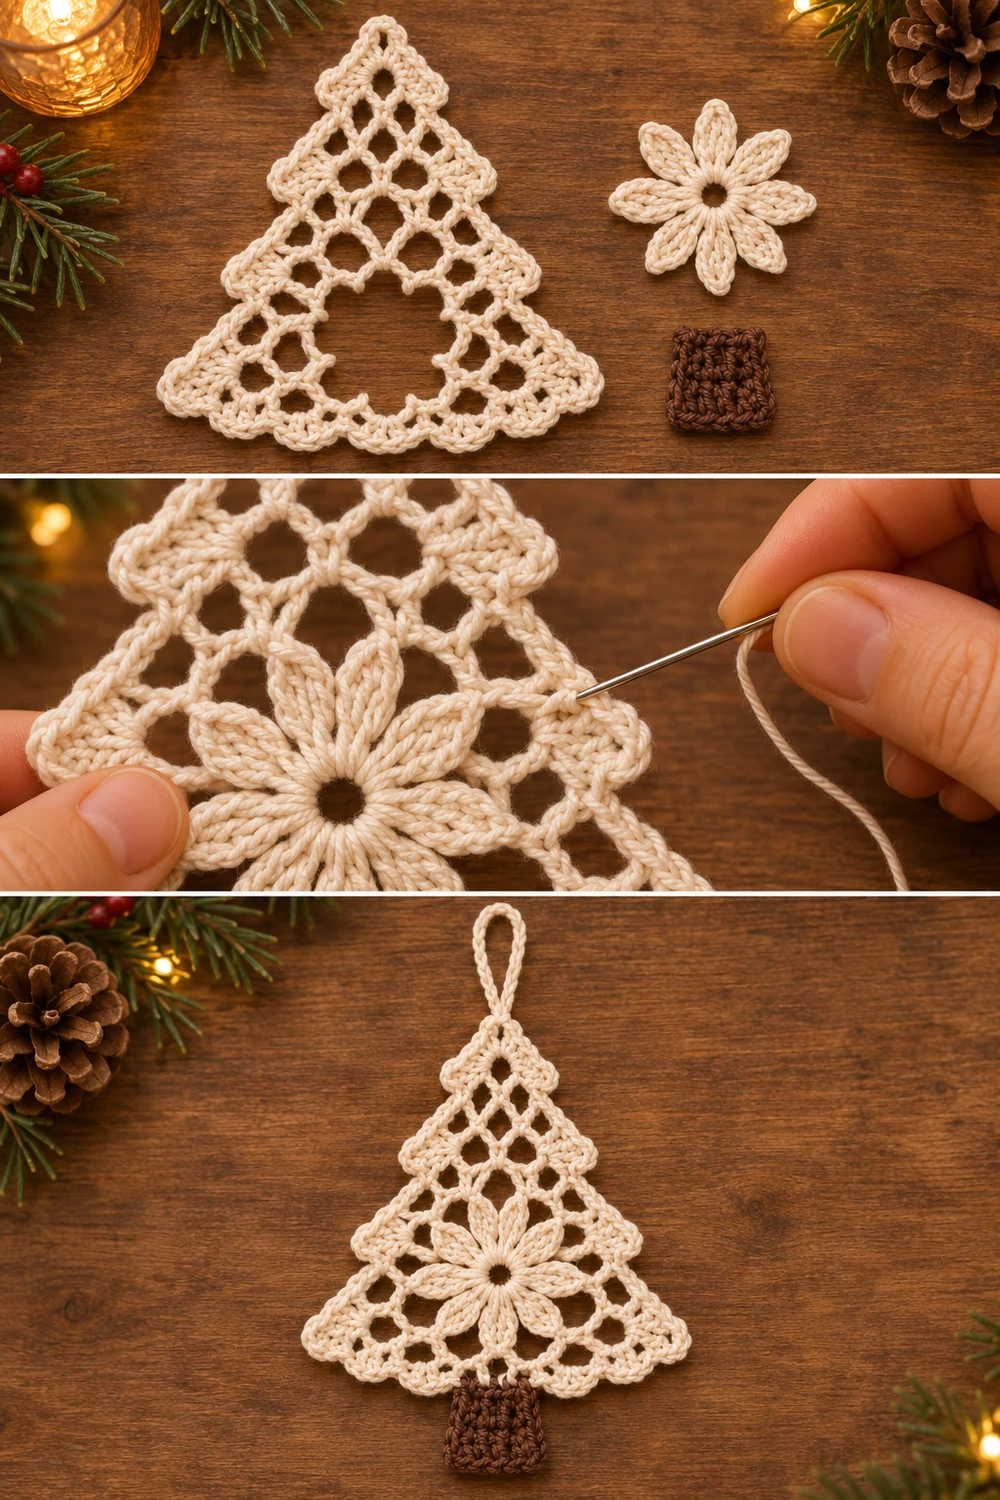
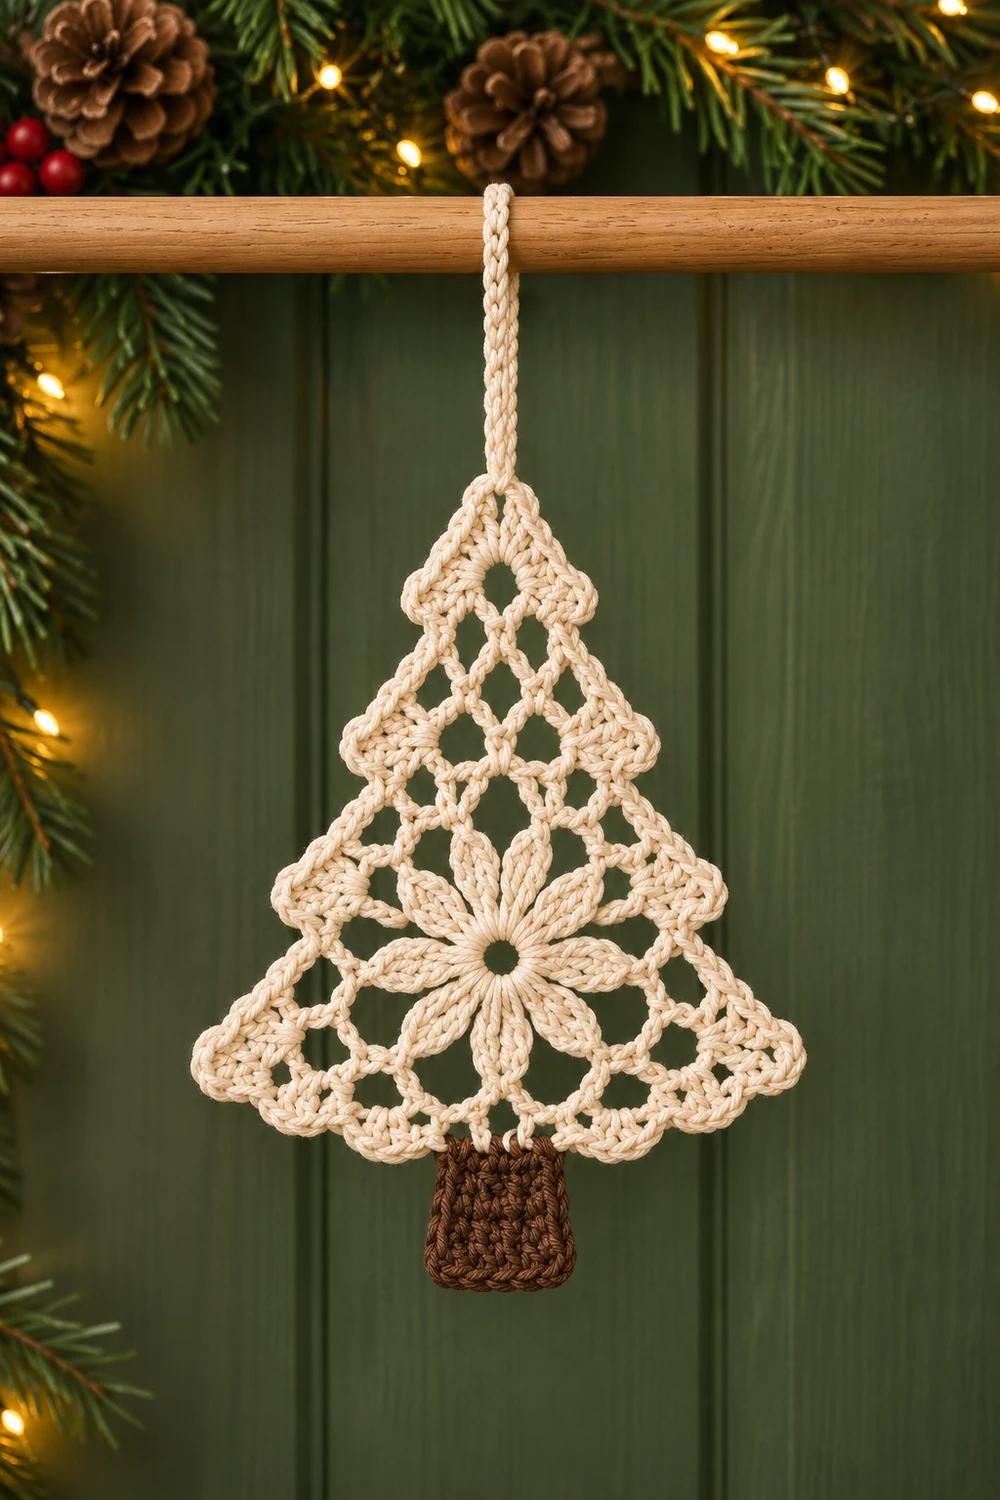
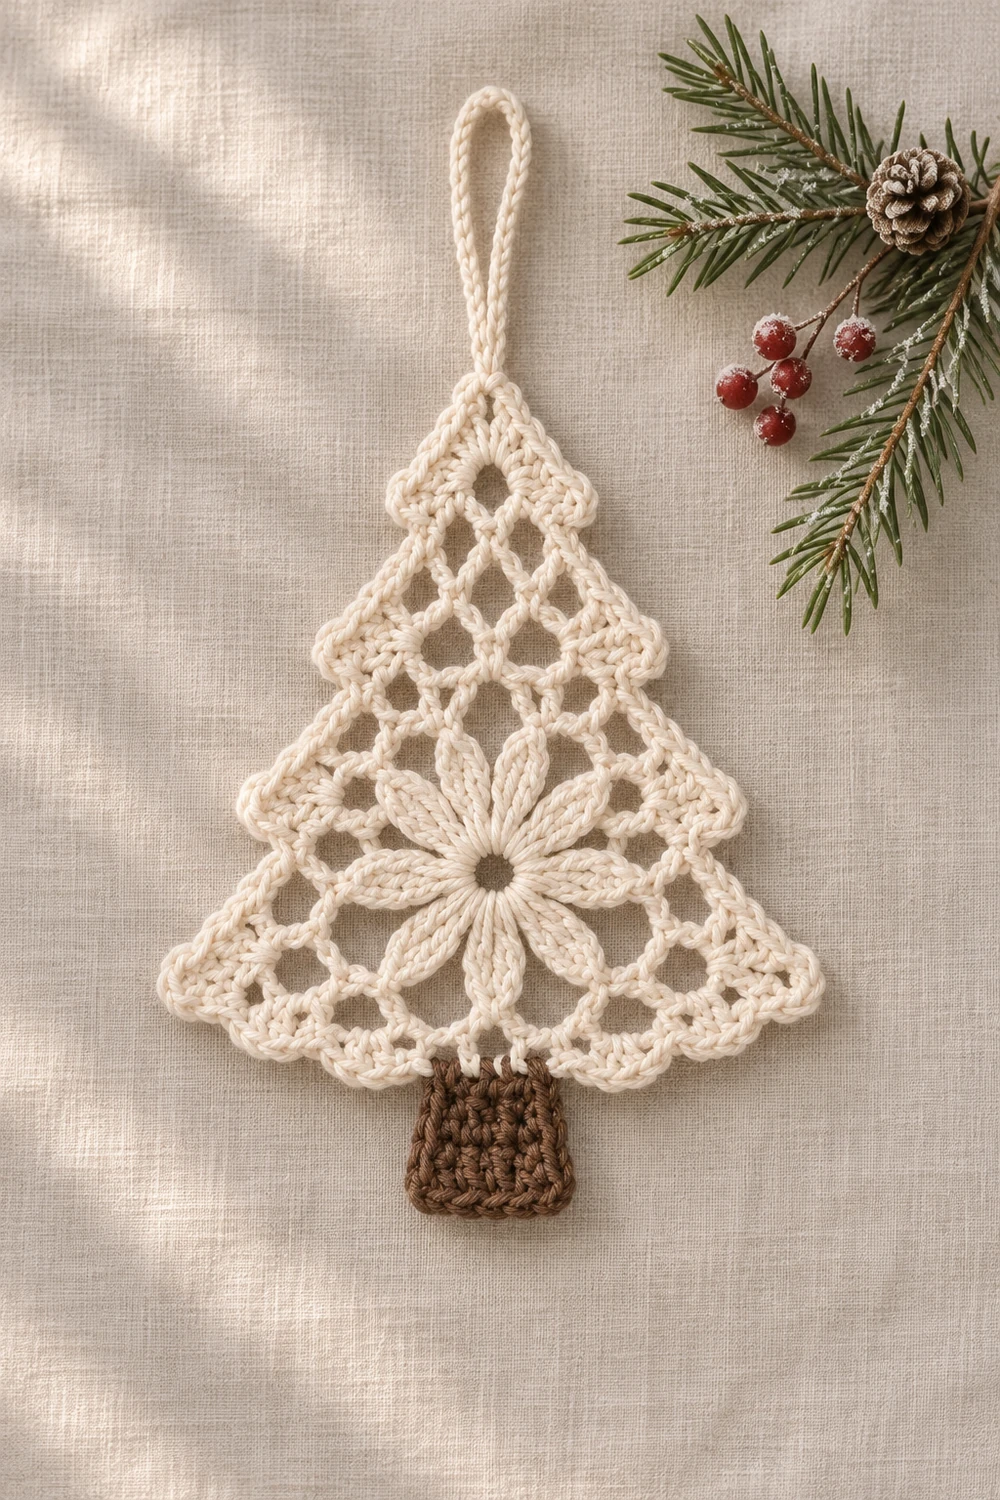
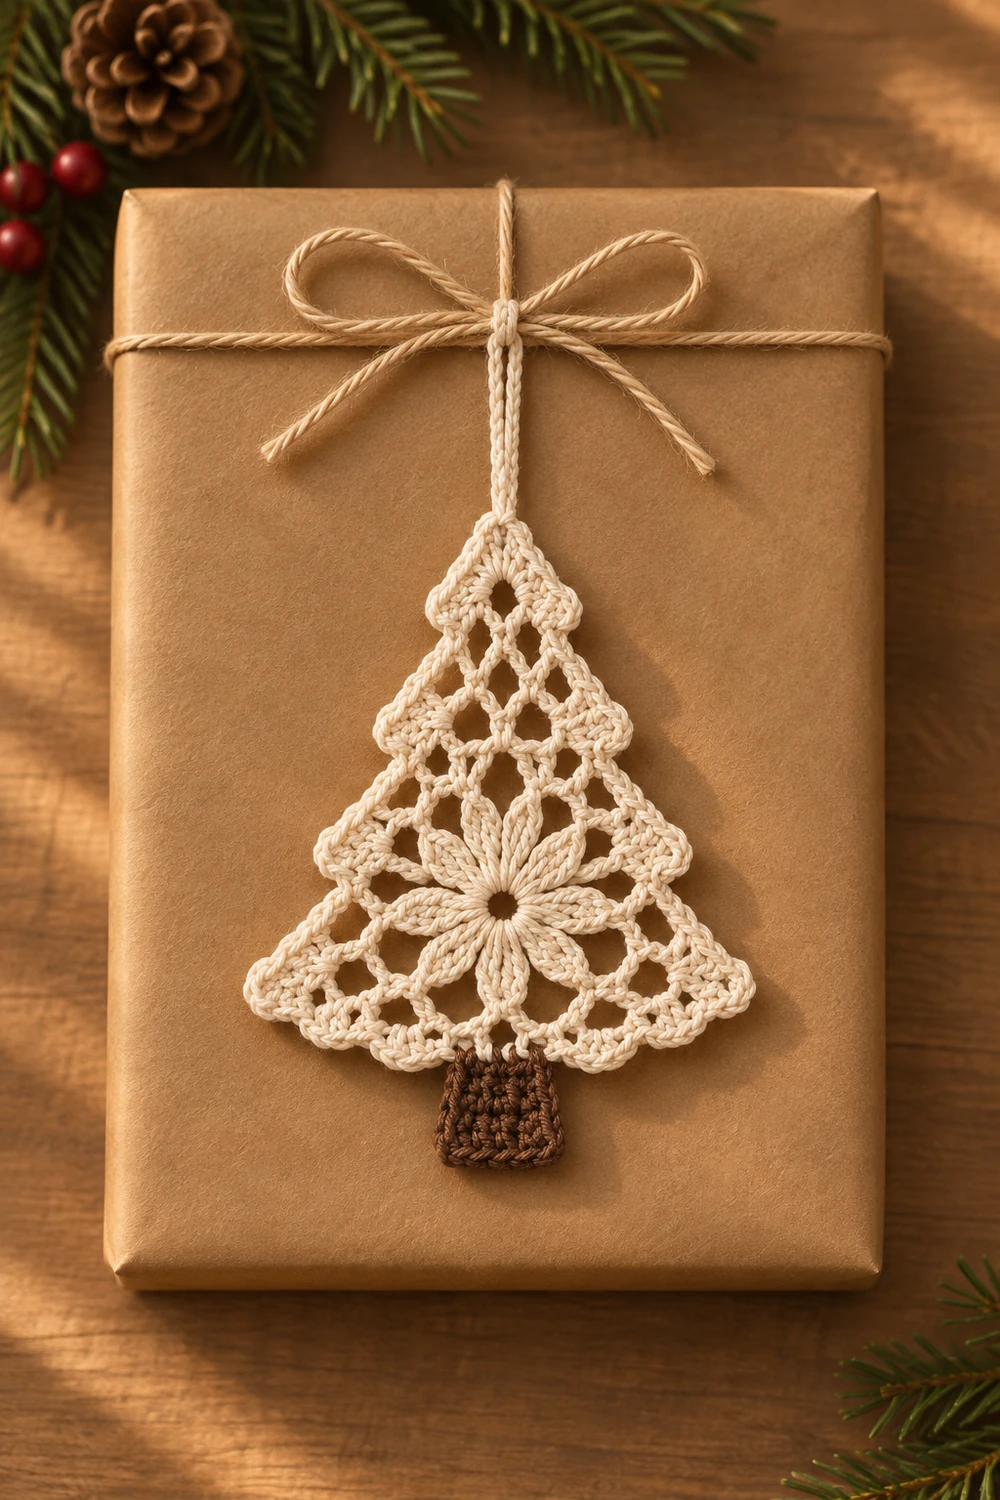
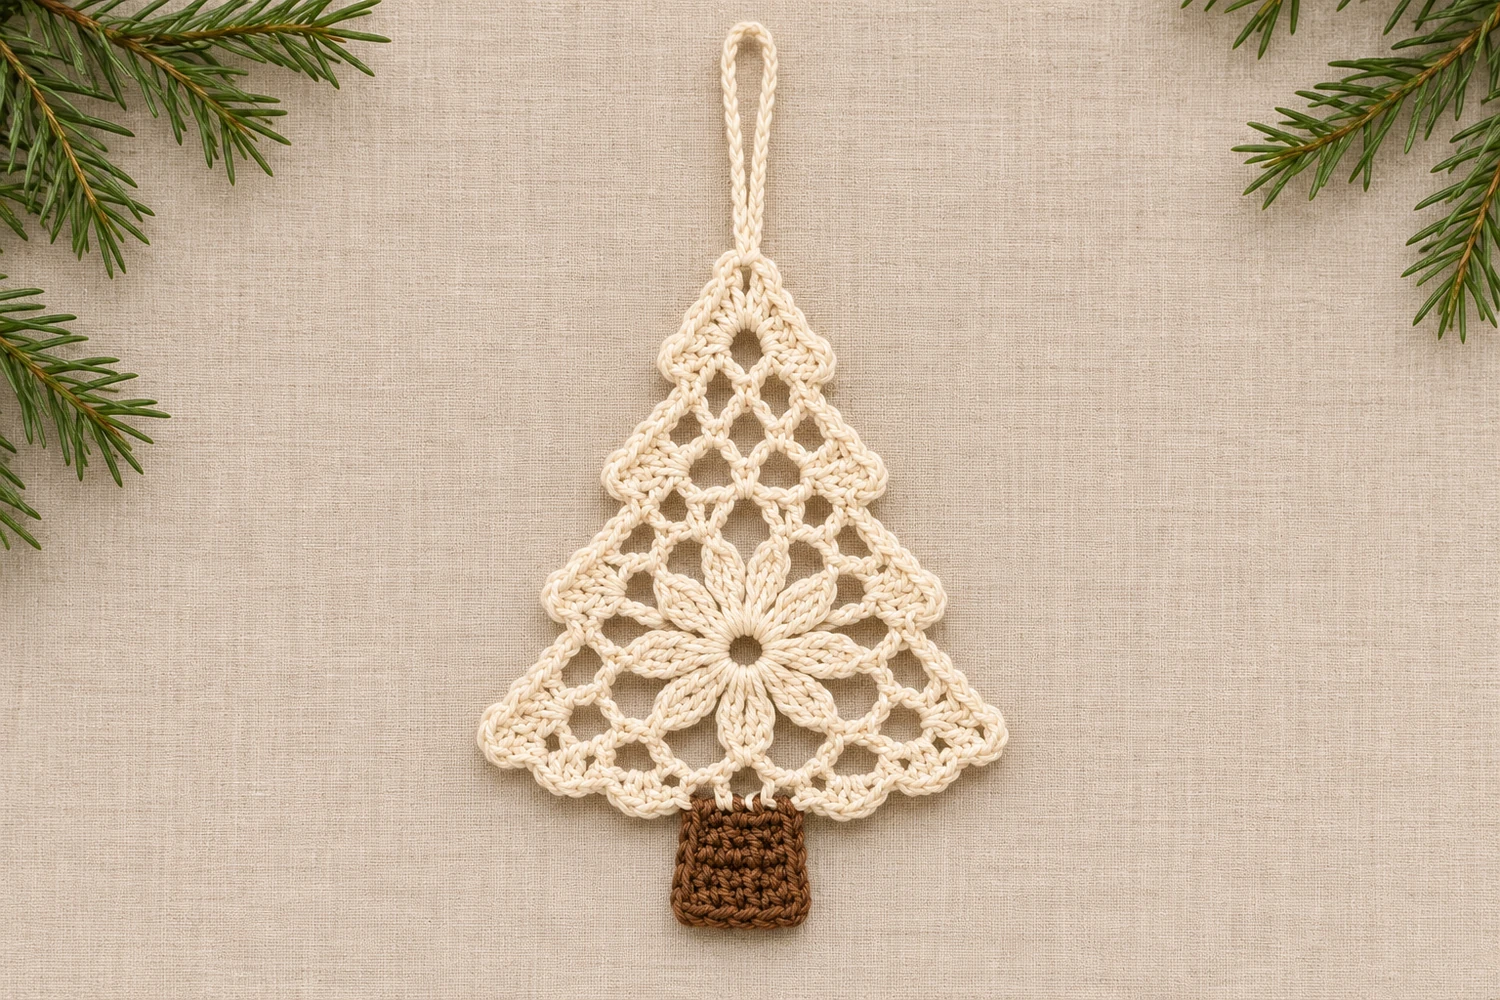
A Snowflower Lace Crochet Tree pairs an open ivory flower with scalloped branches and a small brown trunk. The tree begins at the tip and widens toward the hem. A wide chain opening gives the flower a place to sit without closing its center.
Make the flower and trunk separately. Block the lace before sewing so the petals and branches can lie flat. This original pattern is inspired by the reference image.
Snowflower Lace Crochet Tree Materials
- Smooth ivory sport-weight cotton for the tree, flower and hanging loop.
- Brown sport-weight cotton for the trunk.
- A 2.75 mm crochet hook.
- Scissors, a tapestry needle and two removable stitch markers.
- A blocking mat and rustproof pins.
Skill level: Intermediate.
Estimated size: About 4–5 in (10–13 cm) tall and wide, excluding the hanging loop. Yarn and tension affect the finished size. The counts were checked on paper. The pattern has not been physically tested.
US Crochet Terms and Special Stitches
- ch = chain
- sl st = slip stitch
- sc = single crochet
- dc = double crochet
- tr = treble crochet
- st = stitch
- sp = space
3-tr cluster: For each of the three partial trebles, yarn over twice, insert the hook into the same ring, pull up a loop, then yarn over and pull through two loops twice. After the third partial treble, yarn over and pull through all four loops.
Fan: Work 5 dc in the same stitch or around the same row end, as directed.
Before You Start
Turning chains do not count as stitches. Work into the top of each dc post unless directed otherwise. Keep the center ch-5 bridge loose enough to span the two mesh cells it replaces. If you have trouble finding the bridge after turning, mark the two dc posts beside it.
Snowflower Lace Crochet Tree Pattern
Ivory lace tree
Increase row: Ch 2. Work (dc, ch 2, dc) in the first dc. For each space, ch 2 and dc in the next dc, except where a bridge instruction replaces that step. In the last dc, add ch 2 and another dc. Turn.
Even row: Ch 2 and dc in the first dc. For each space, ch 2 and dc in the next dc, except where a bridge instruction replaces that step. Turn.
- Row 1: Ch 4. Work (dc, ch 2, dc, ch 2, dc) in the fourth ch from the hook. Turn. 3 dc and 2 ch-2 spaces.
- Row 2: Work an increase row. 5 dc and 4 ch-2 spaces.
- Row 3: Work an even row. 5 dc and 4 ch-2 spaces.
- Row 4: Work an increase row. 7 dc and 6 ch-2 spaces.
- Row 5: Ch 2 and dc in the first dc. (Ch 2, dc in next dc) twice. Ch 5, skip the central dc and dc in the next dc. (Ch 2, dc in next dc) twice. Turn. 6 dc, 4 ch-2 spaces and one ch-5 bridge.
- Row 6: Work an increase row. At the bridge, ch 5 and dc in the next dc post. 8 dc, 6 ch-2 spaces and one ch-5 bridge.
- Row 7: Work an even row. At the bridge, ch 5 and dc in the next dc post. 8 dc, 6 ch-2 spaces and one ch-5 bridge.
- Row 8: Work an increase row. At the bridge, ch 2, dc in the third chain of the bridge, ch 2 and dc in the next dc post. Continue across and complete the edge increase. 11 dc and 10 ch-2 spaces.
Scalloped branches and hem
Fasten off after Row 8. Lay the tree flat with the tip up and join ivory at one bottom corner. Sc in the first Row 8 dc. Skipping the ch-2 spaces, repeat (5 dc in the next dc, sc in the next dc) five times. Fasten off. 5 hem fans and 6 sc.
For each sloping side, join at its bottom corner with a sl st. Work a fan around the row end of Row 8 and sc around the row end of Row 7. Repeat the fan-and-sc pairing in row ends 6 and 5, 4 and 3, and 2 and 1. Work the second side from the hem toward the tip as well. 4 fans and 4 sc per side.
Eight-petal flower
- With ivory, ch 6 and sl st to the first ch to form a ring.
- Ch 3 for height. Work a 3-tr cluster into the ring. Repeat (ch 3, 3-tr cluster into the ring) seven times.
- Ch 3 and sl st into the top of the first cluster. Fasten off with a sewing tail. 8 clusters and 8 ch-3 spaces.
Spread the clusters evenly before weaving the starting tail through the back of the foundation chains. Keep the center round as you secure the tail.
Brown trunk
- Row 1: With brown, ch 7. Sc in the second ch from the hook and each remaining chain. Turn. 6 sc.
- Rows 2–4: Ch 1, sc in each st across. Turn after Rows 2 and 3. 6 sc per row. Fasten off with a sewing tail.
Block and Assemble
- Damp block the tree and flower flat. Pin the tip and bottom corners first. Then pin matching branch fans on each side at the same height. Let the cotton dry.
- Set the flower over the open bridge area and rotate it until one petal points down. Center the ring over a clear opening. Tack the upper, lower and side petal tips to the nearest mesh strands with ivory. Add small stitches at the remaining tips as needed. Keep the sewing yarn outside the center ring.
- Place the top of the trunk behind the hem with three brown stitches on each side of the centerline. Sew through the back of the hem and the six brown stitches. The trunk should extend below the scallops.
- Join ivory at the tip, ch 36 and sl st back into the same tip. Fasten off and weave in the tails. Hold the tree by the loop to check that the trunk hangs straight.
Troubleshooting
The tree leans to one side
Check both edge increases on Rows 2, 4, 6 and 8. Each adds a post and a space at each end. Work both side borders from hem to tip so the fans sit at matching heights.
The flower opening looks blocked
Look through the ring before sewing and shift the flower until the mesh sits outside the eyelet. Tack the outer petals first so you can still adjust the center.
The hem cups
Spread the five fans during blocking. If the edge pulls before blocking, redo the hem with a looser hand so the sc anchors do not draw the mesh inward.
More Christmas Crochet Ornaments
Assembly Photos, Charts and Pinterest Images
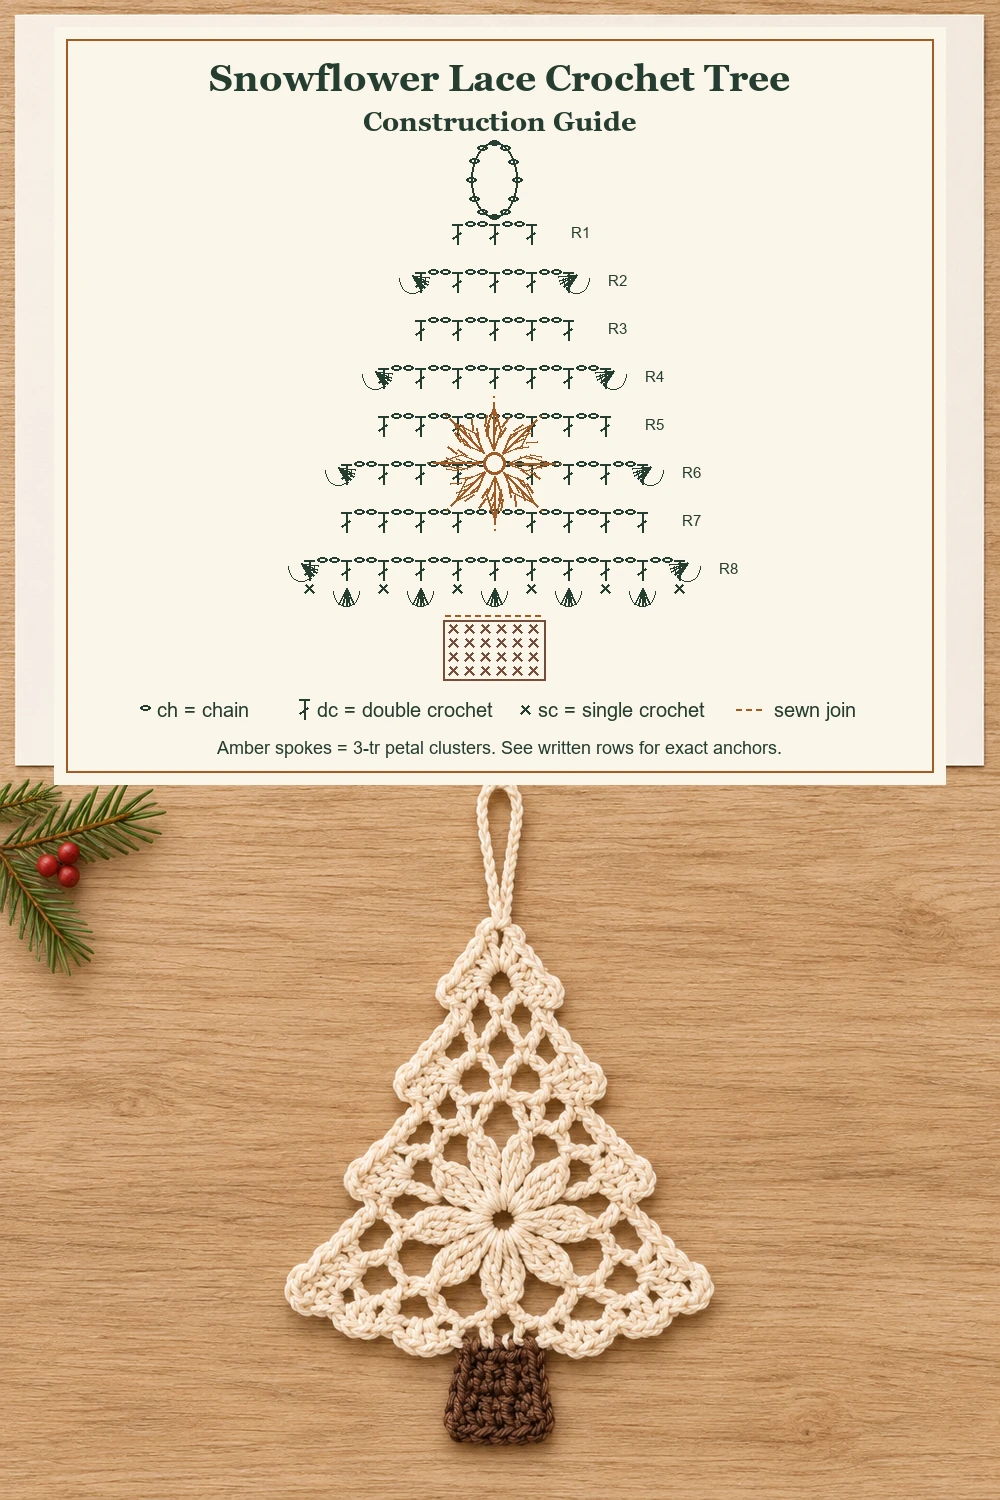
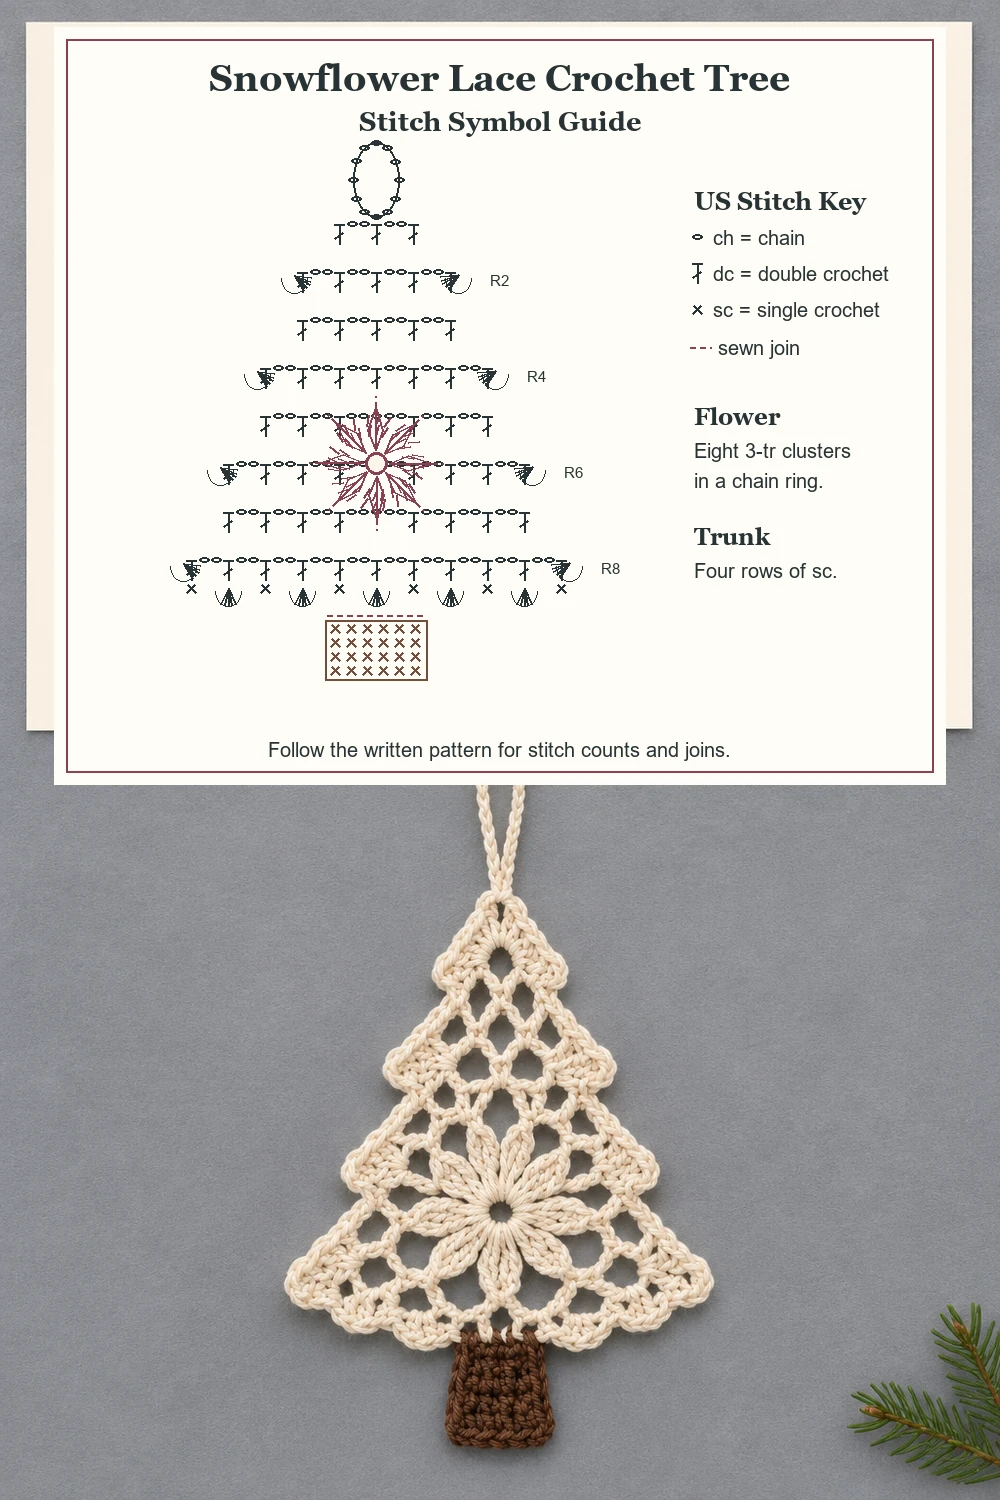
The two construction charts show how the lace tree, flower, trunk and hanging loop fit together. The dashed lines mark sewn attachments. Follow the written rows for exact counts, stitch placement and turns.