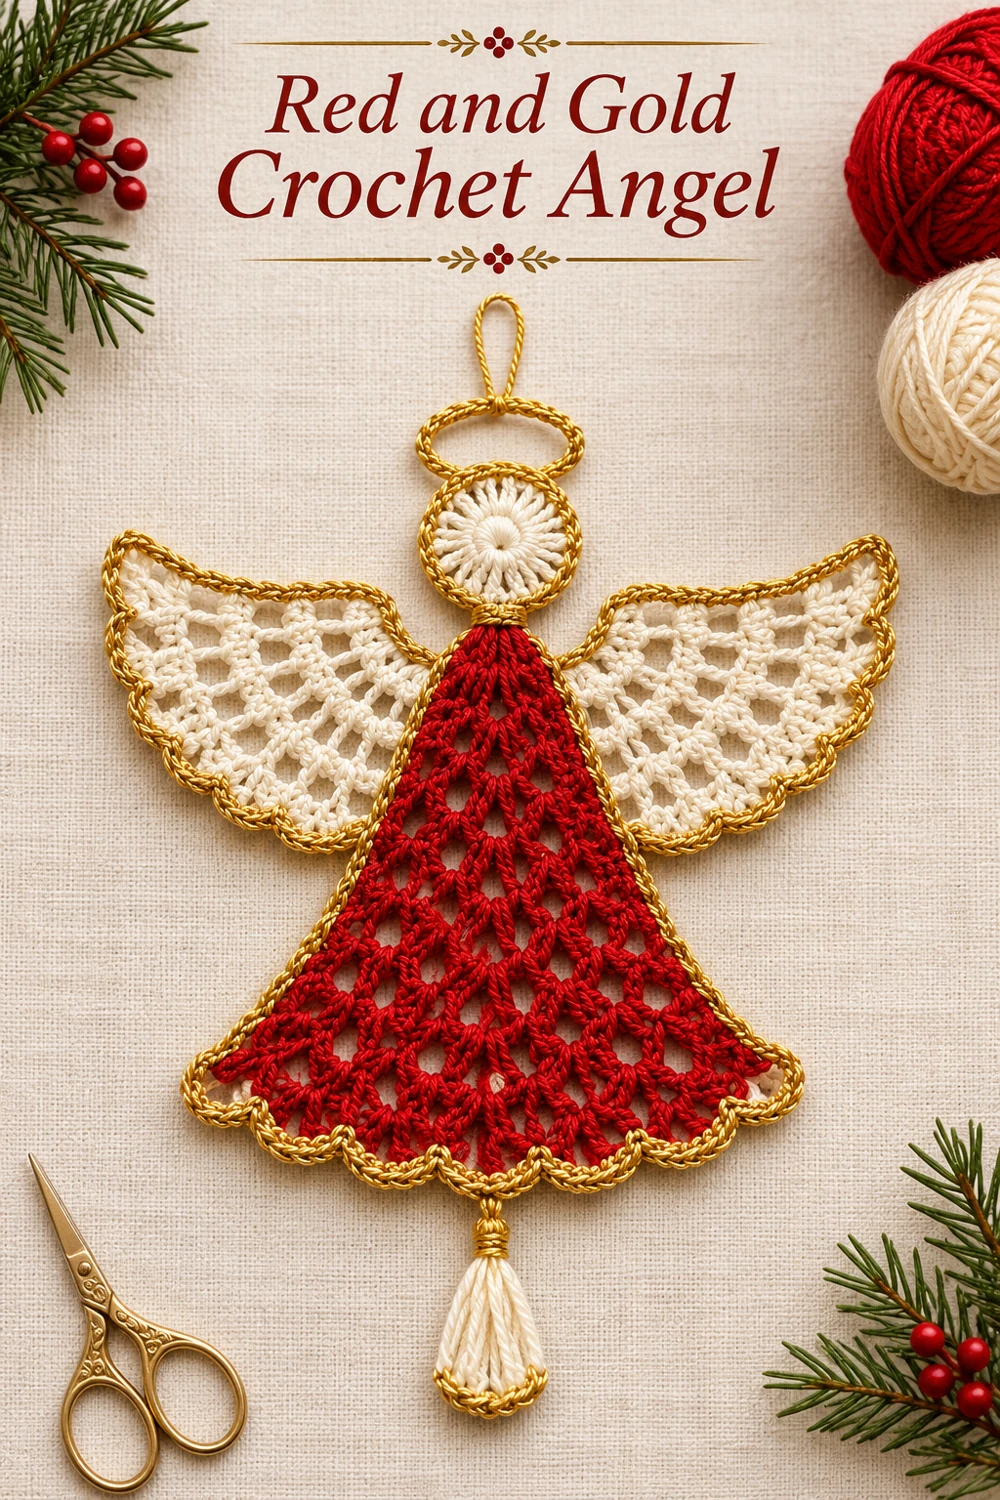
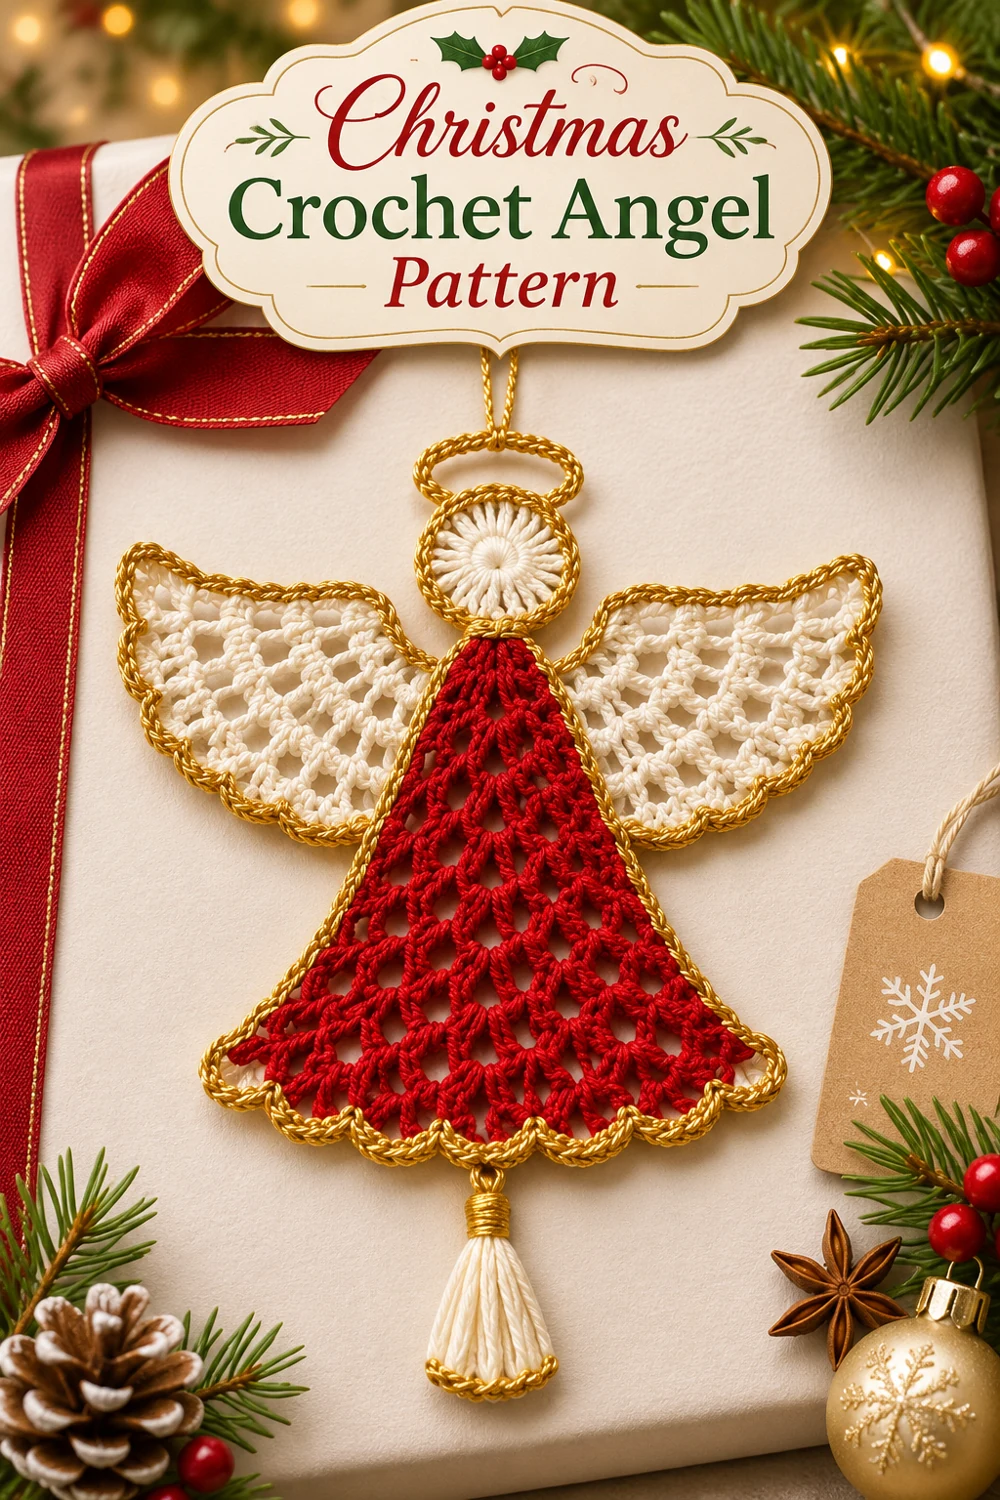
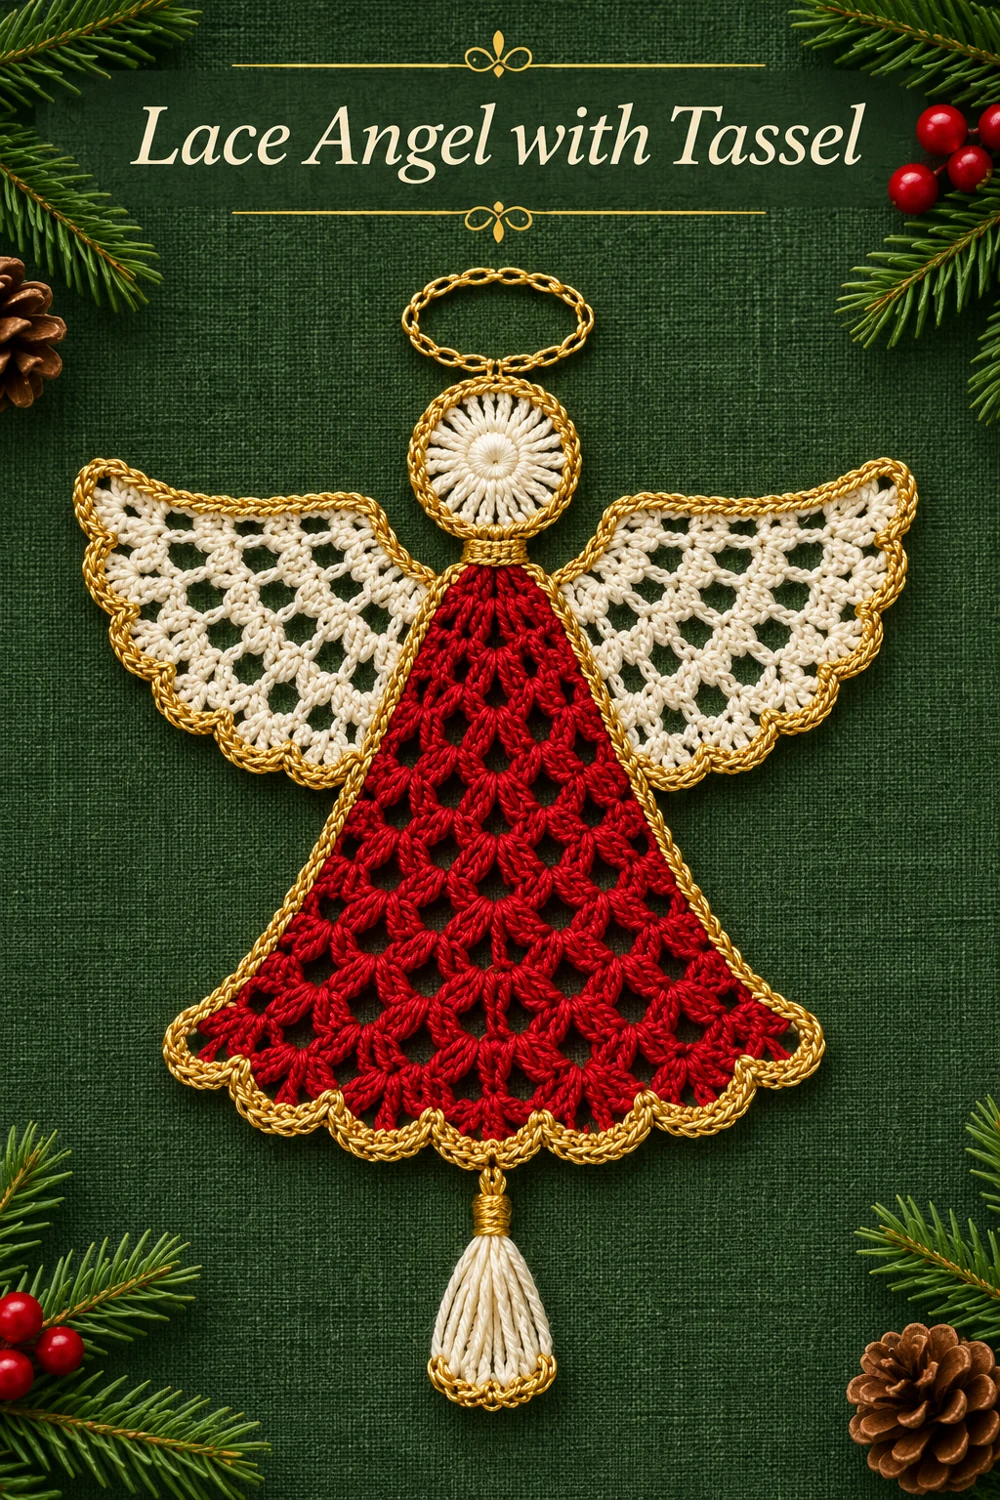
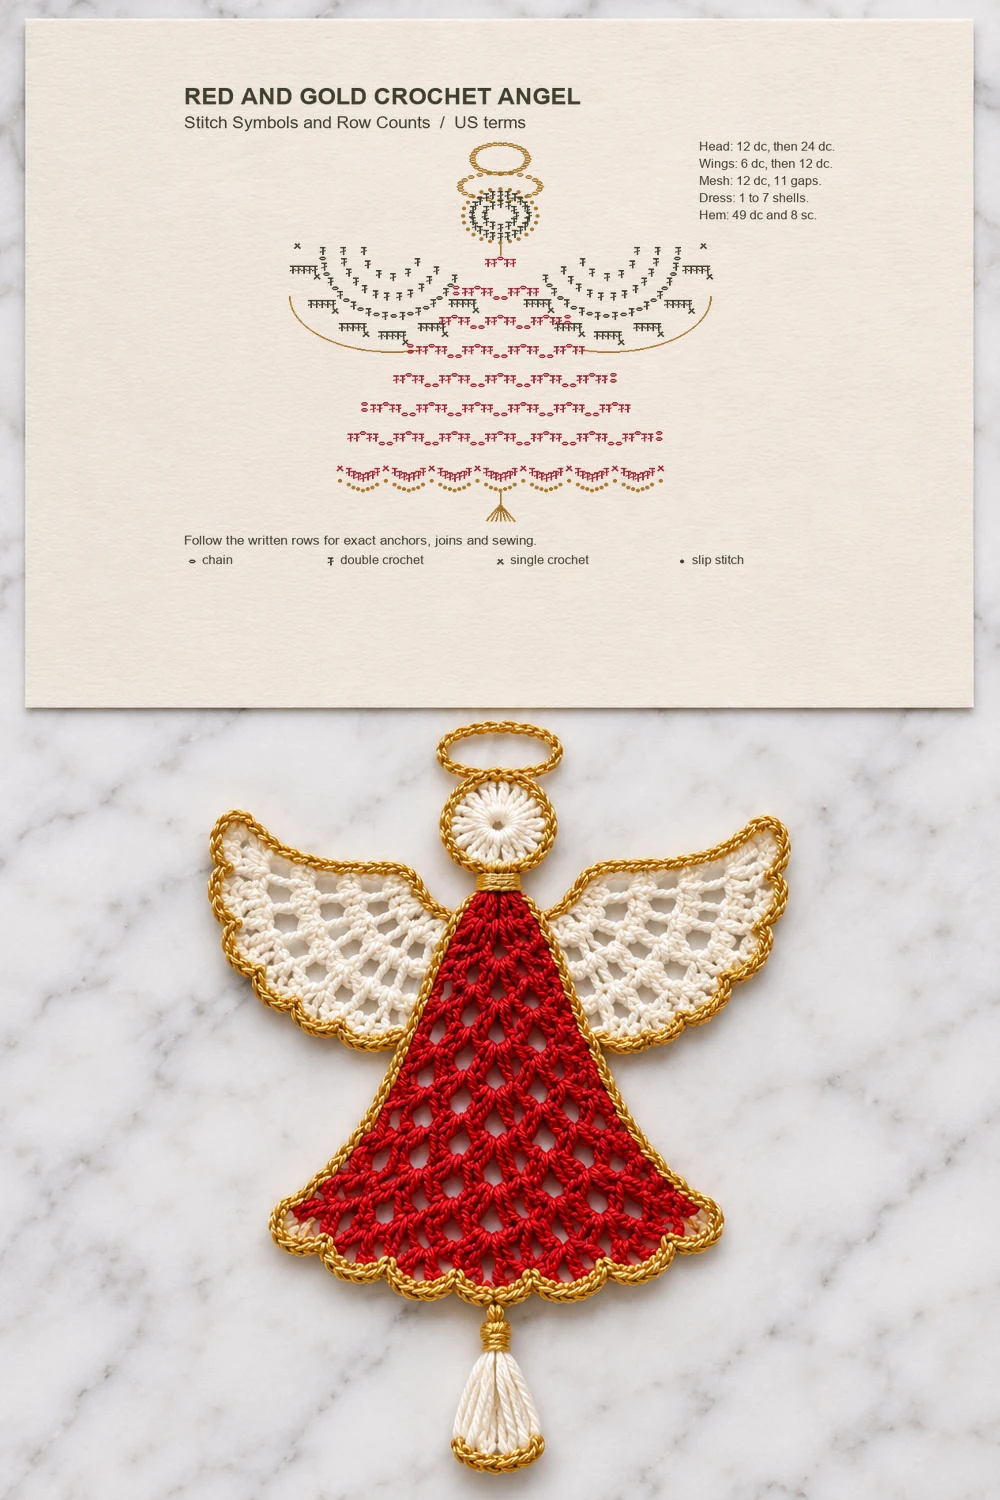
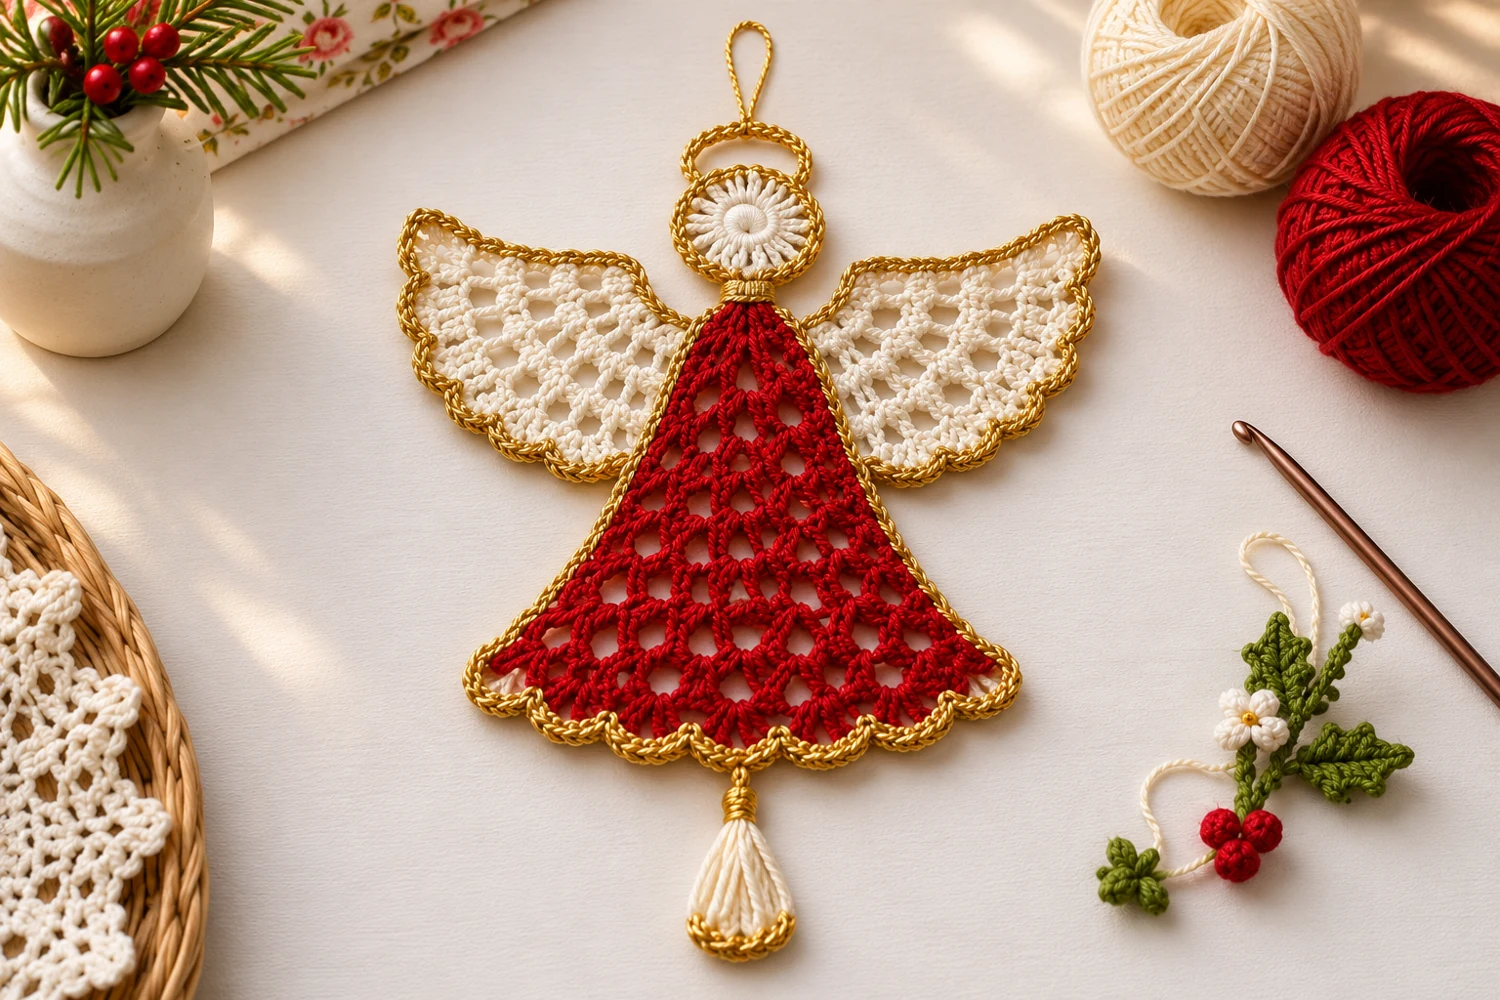
A red and gold crochet angel brings three textures together: open red shells, ivory lace wings and a soft tassel. Metallic thread outlines the dress, wings and round head.
Work the pieces separately and arrange them flat before sewing. The dress starts at the neckline and widens one shell at a time. A gold chain forms the halo behind the ivory head.
Block the dress and wings before adding the metallic edging. This lets you see the true outline and helps you keep the gold thread from pulling the pieces inward.
Red and Gold Crochet Angel Materials
- Smooth sport-weight cotton in red for the dress.
- Smooth sport-weight cotton in ivory for the wings, head and tassel.
- A 2.75 mm crochet hook for the cotton.
- Metallic gold crochet thread for the edging, halo and hanging loop.
- Scissors, a tapestry needle and removable stitch markers.
- A blocking mat and rustproof pins.
- A piece of cardboard about 2 inches (5 cm) wide for wrapping the tassel.
Skill level: Intermediate.
Estimated height: 5–7 inches (13–18 cm), including the tassel and excluding the hanging loop. Yarn and tension affect the finished size.
This original pattern is inspired by the reference. The stitch counts were checked on paper. The pattern has not been physically tested.
Before You Start
Choose smooth red and ivory cotton of the same weight so the wing bases and neckline lie at a similar thickness. Make both wings with the same hook. For the gold border, test a short run of slip stitches along a few row ends. Lay that edge on the table and check whether it still lies flat before edging the whole piece.
In the dress, a shell center is the ch-1 opening between the two pairs of double crochet stitches. A gap is the ch-2 opening between neighboring shells. Mark the first and last shell centers before turning if you tend to lose the edge. Starting chains sit beside the first working stitch and stay outside the counts.
US Crochet Terms and Special Stitches
- ch = chain
- sl st = slip stitch
- sc = single crochet
- dc = double crochet
- st(s) = stitch(es)
- sp(s) = space(s)
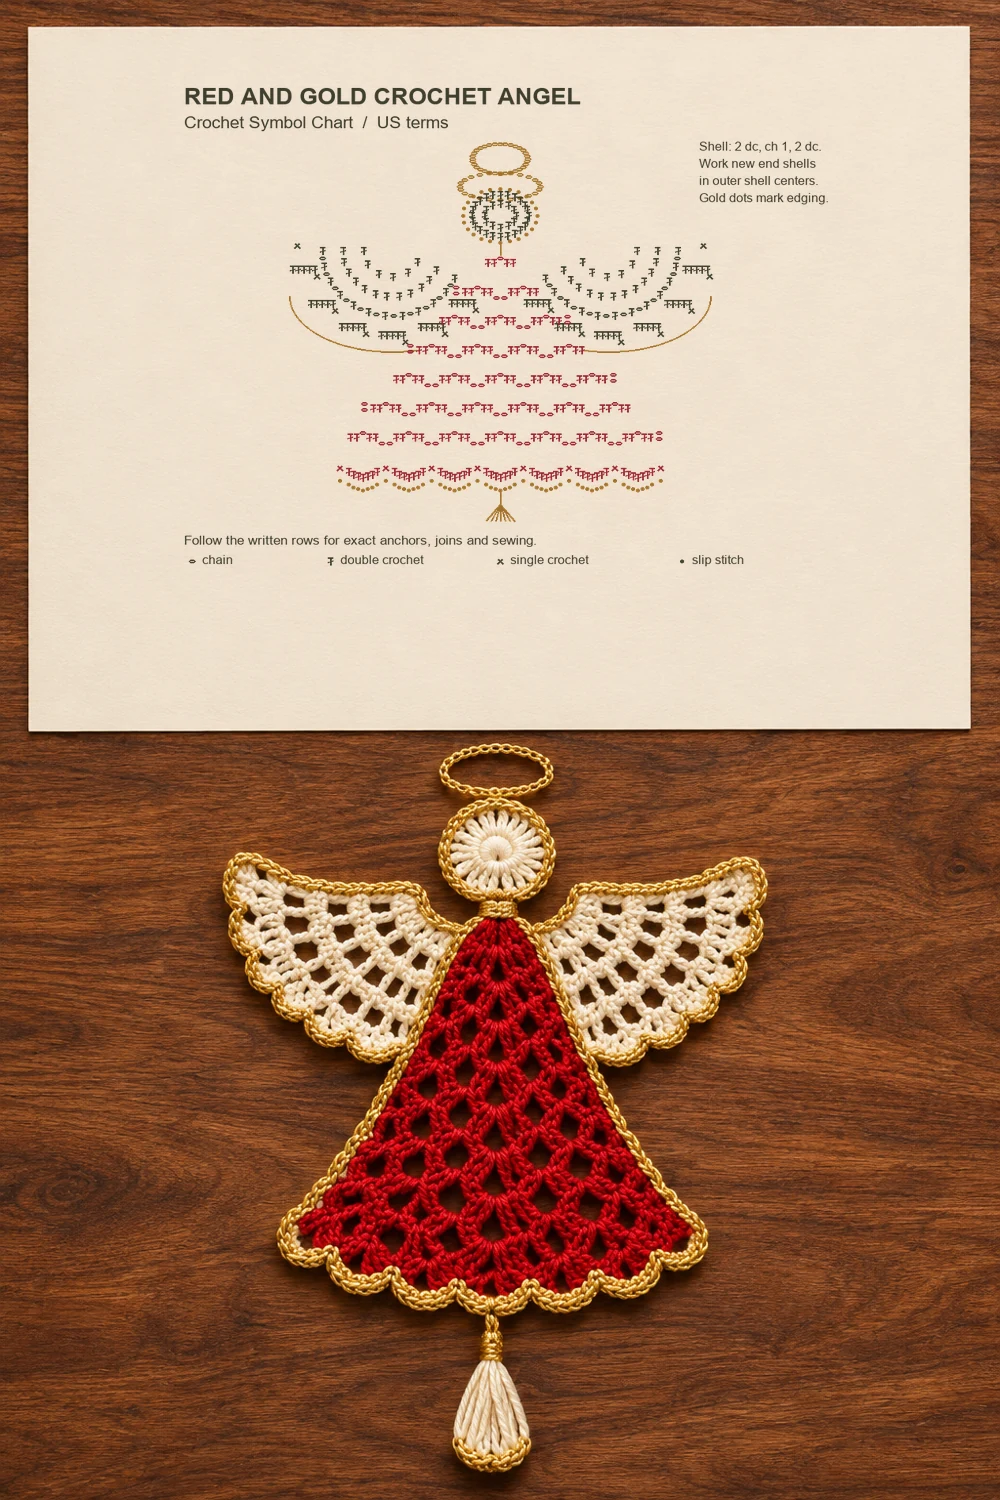
Shell: Work (2 dc, ch 1, 2 dc) in the same chain or space. The ch-1 opening is the shell center. The ch-2 openings between shells are the gaps.
Fan: Work all the double crochet stitches for a fan in the same space. Use 7 dc per fan for the dress hem and 5 dc per fan for the wings.
Starting and turning chains do not count. See the Craft Yarn Council abbreviations for more US terms.
Stitch Counts Before You Begin
| Piece | Row or round | Count at the end |
|---|---|---|
| Dress | Rows 1–7 | 1, 2, 3, 4, 5, 6 and 7 shells. Each row has one fewer ch-2 gap than shells. |
| Dress hem | Row 8 | 7 fans of 7 dc and 8 sc anchors |
| Each wing | Rows 1–4 | 6 dc, then 12 dc, then 12 dc with 11 ch-1 spaces, then 6 fans of 5 dc and 7 sc anchors |
| Head | Rounds 1–2 | 12 dc, then 24 dc |
| Gold loops | Halo and hanger | 24 chains for the halo and 32 chains for the hanger |
The dress and wings are worked flat and turned. The head is worked in joined rounds without turning. Gold edging along row ends is spaced to fit the fabric. Around the head and along the finished scallops, work one slip stitch per outer stitch.
Red and Gold Crochet Angel Pattern
Red shell dress
- Row 1: Ch 4. Work one shell into the fourth ch from the hook. Turn. 1 shell.
- Row 2: Ch 2. Work (shell, ch 2, shell) into the single ch-1 shell center. Turn. 2 shells and 1 ch-2 gap.
- Rows 3–7: Ch 2. Work a shell in the first shell center. Work (ch 2, shell in the next ch-2 gap) across all gaps. Ch 2, work a shell in the last shell center. Turn after each row. 3, 4, 5, 6 and 7 shells.
- Row 8: Ch 1. Sc in the first dc. Work 7 dc in each shell center, with 1 sc in each intervening ch-2 gap. After the last fan, sc in the last dc. Fasten off. 49 dc and 8 sc.
Ivory lace wings, make two
- Row 1: Make an adjustable ring. Ch 2, work 6 dc in the ring, pull it closed and turn without joining. 6 dc.
- Row 2: Ch 2, work 2 dc in each dc and turn. 12 dc.
- Row 3: Ch 2, dc in first dc, then repeat (ch 1, dc in next dc) eleven times. Turn. 12 dc and 11 ch-1 spaces.
- Row 4: Ch 1, sc in first dc. Five times, work 5 dc in the next ch-1 sp, skip the next dc and the following ch-1 sp, then sc in the next dc. Work 5 dc in the remaining ch-1 sp and sc in the final dc. Fasten off. 6 fans and 7 sc.
Ivory head and gold halo
Make an adjustable ring in ivory. Ch 2, work 12 dc into the ring, close the ring and sl st to the first dc. Ch 2, work 2 dc in each dc and join. Fasten off. 12 dc, then 24 dc. With gold, ch 24 and sl st in the first chain to form a ring. Shape it into an oval and sew its lower edge behind the top of the head.
Metallic edging and tassel
Join gold at the tip of the dress. Slip stitch loosely along the row ends, spacing the stitches evenly. Work one sl st in every stitch of the scalloped hem, then continue along the other side and fasten off at the tip. Edge the wings the same way, working in each outer stitch and spacing the stitches along the row ends. For the head, work one gold sl st per dc. If the edging shortens the fabric, redo it with a larger hook or a looser hand.
Wrap ivory yarn around the short dimension of the cardboard 12 times. Slide the bundle off, tie through the top loops and cut the opposite loops. Wrap gold thread several times around the bundle just below the tie, knot it securely and trim the ivory ends even. Use the top tie to sew the tassel to the center scallop.
Assembly and Count Check
Lay the dress right side up. Rotate and flip one wing so the pair mirrors. Position the narrow ends behind the dress near the shoulders and pin both before sewing. Catch the wing bases and the back of the dress with matching yarn. Keep the outer lace edges free.
Sew the lower edge of the head to the dress tip. For the hanger, ch 32 in gold, join the ends with a sl st and sew that join to the back of the head behind the halo. Hang the ornament briefly and adjust the hanger and tassel before weaving in the ends.
The dress has 1 to 7 shells and a seven-fan hem. If it stops widening, count the chain-two gaps between shells and use only the outer shell centers at the two ends. Each wing has eleven chain spaces before its six-fan edging. If one wing sits lower, reposition its base before securing the seam.
Troubleshooting and Finishing
The dress is narrower on one side
Lay it flat and count the two edge shells first. In Rows 3–7, each end shell goes into a ch-1 center. Every shell between those ends goes into a ch-2 gap from the row below. If you worked into an interior shell center, undo that row before adding the hem. On Row 8, mark the fourth fan as you make it so you can center the tassel later.
One wing has five fans
Count the eleven ch-1 spaces in Row 3. The fans go into spaces 1, 3, 5, 7, 9 and 11 as you encounter them on Row 4. The single crochet after each fan anchors the edge. After the fifth repeat, work the last fan in the one remaining space and anchor it in the final dc.
The gold edge curls or draws the lace inward
Lay the piece flat after edging one side. If the cotton puckers, pull back the tight section and use a looser slip stitch. Add an extra edging stitch at a corner only if the thread needs it to turn without pulling. Damp block the finished piece only if both the cotton and metallic thread labels allow it.
The head tilts or the tassel sits off center
Find the centerline from the middle of the head to the fourth fan of the hem. Pin the two wing bases at equal distances from that line. Sew the tassel through the gold edging and the red stitches beneath it so the attachment does not pull on the metallic thread alone. Check the balance from the hanger before securing the last tails.
More Christmas Crochet Ornaments
Try the lace fan angel, the layered lace angel or the wooden bead angel.
Pins and Red and Gold Crochet Angel Charts
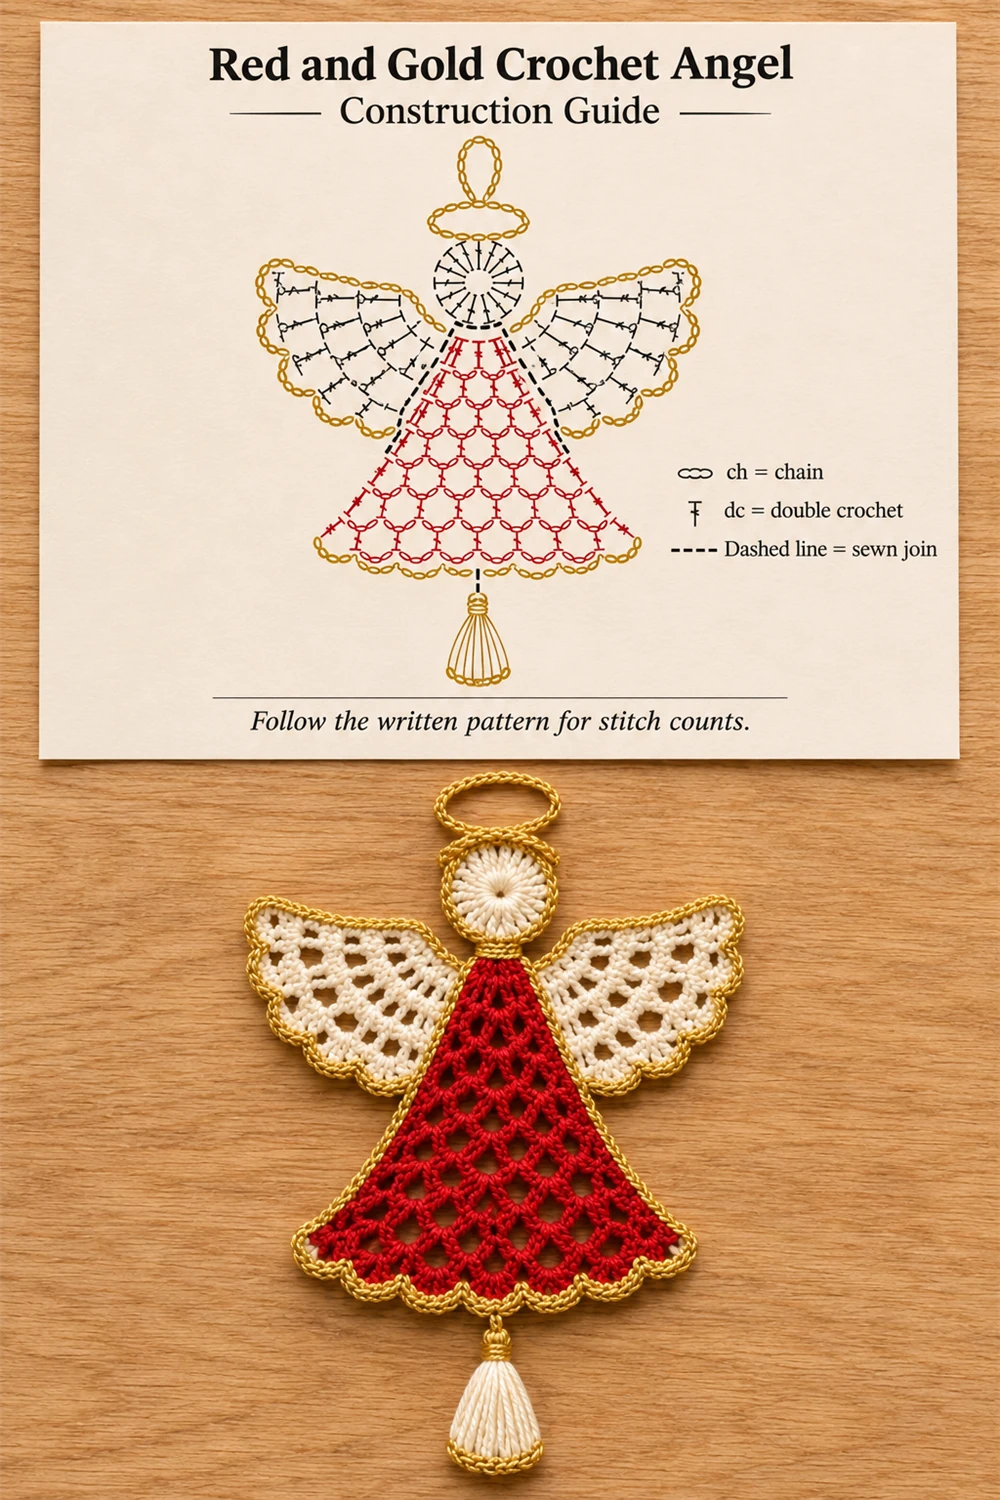
The construction guide marks the sewn attachments. The count guide summarizes the rows and rounds. The symbol chart shows the stitch layout and gold edging. Follow the written rows for exact stitch anchors, turns and joins. The styled photographs illustrate the silhouette and colors.