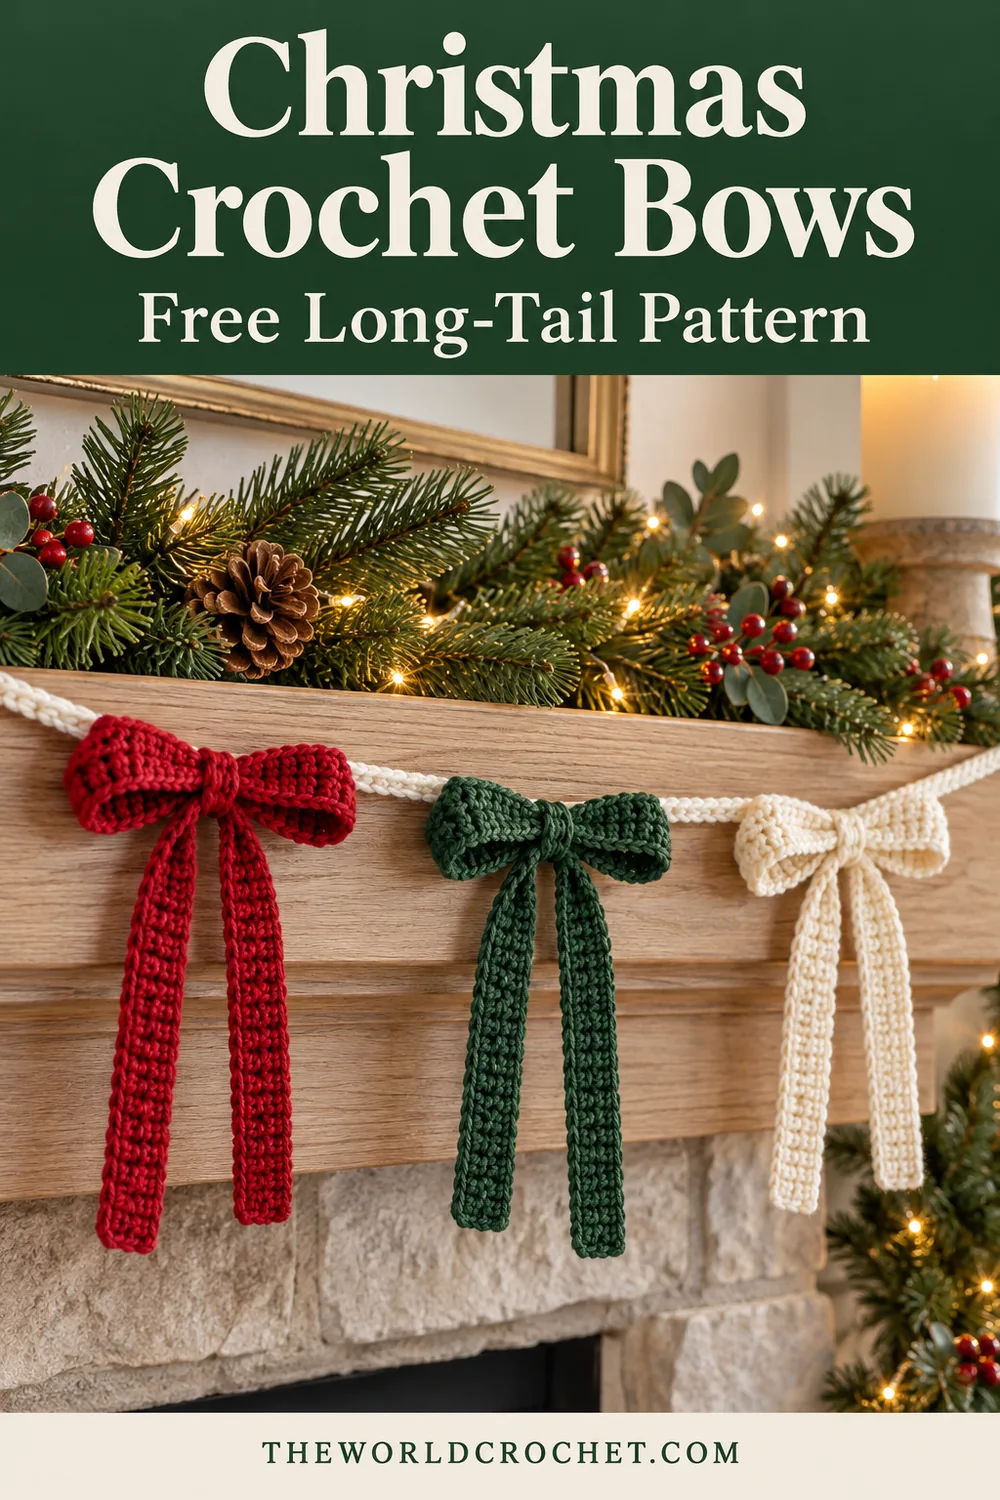
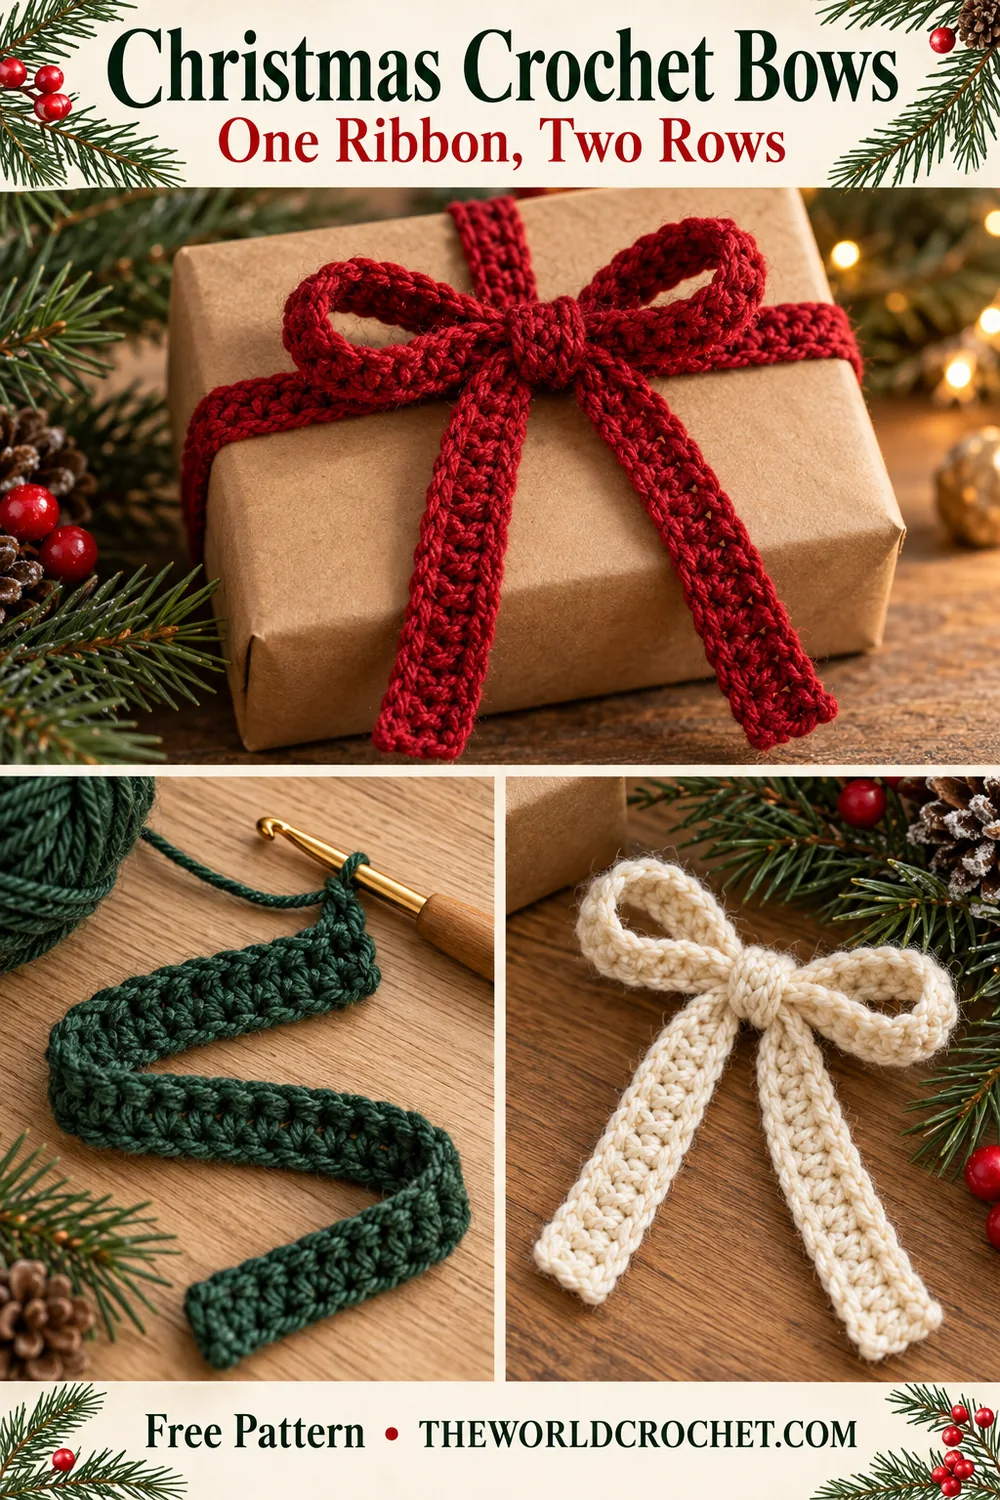
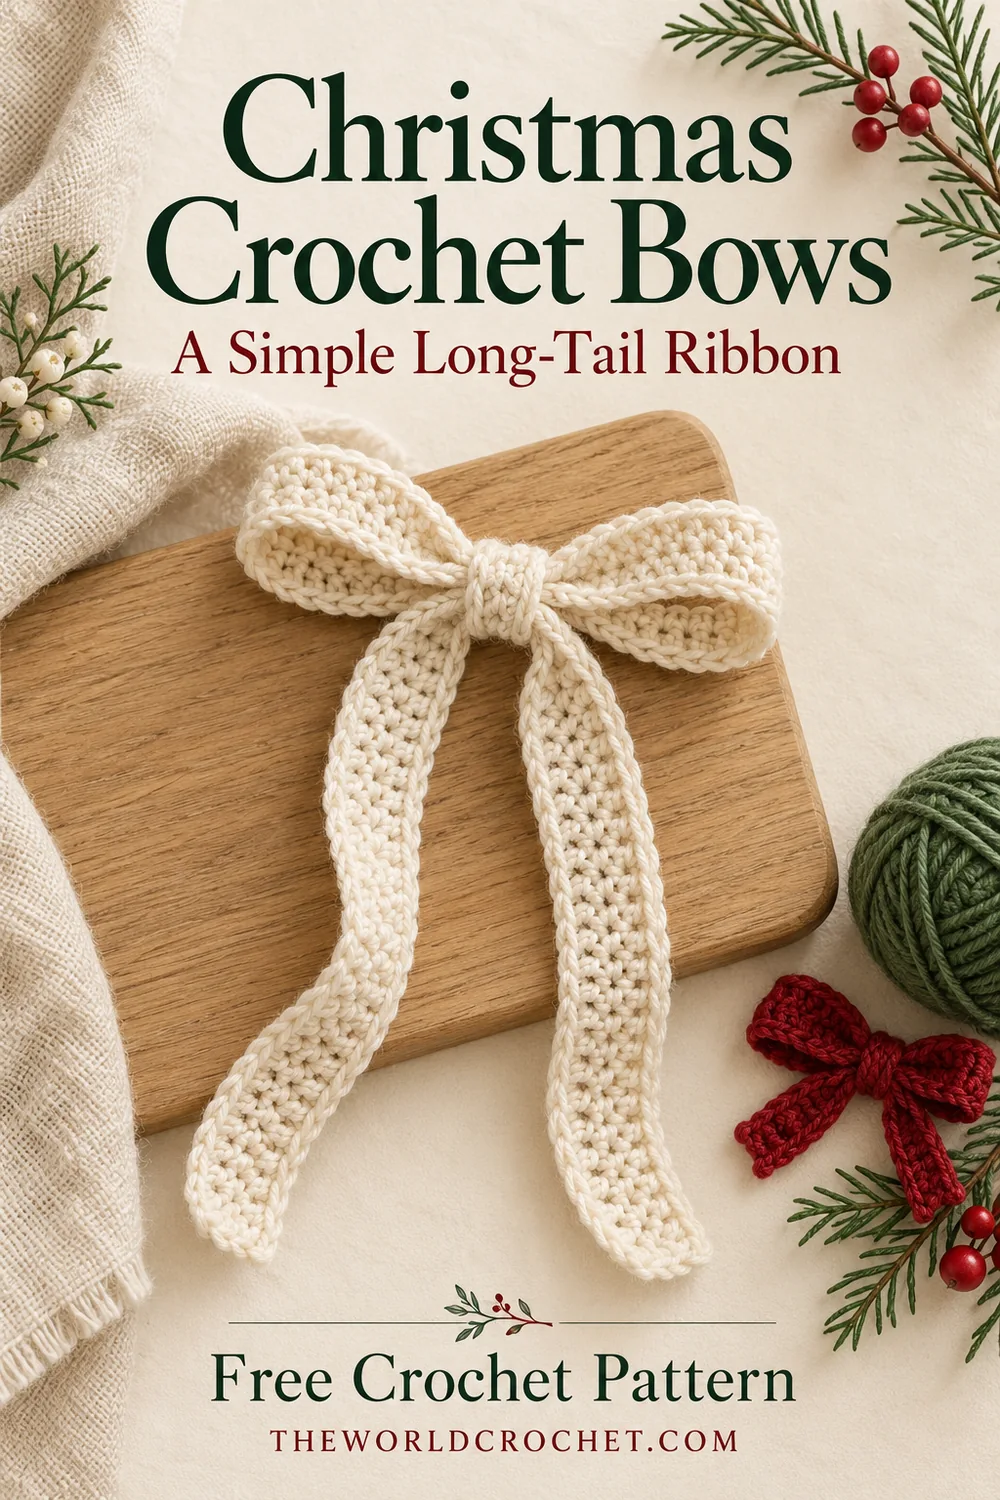
Christmas crochet bows bring a little softness to a wooden mantel, a wrapped parcel or a plain evergreen branch. Red, forest green and ivory keep the look close to the reference: open loops at the top, a small knot in the middle and two narrow tails hanging below.
This version starts with one long crochet ribbon. Two rows of half double crochet make a slim band, and working the second row in the back loop adds a gentle ridge. The bow shape comes from tying that finished ribbon rather than sewing a wide rectangle into a bow.
Make a single bow for a gift, or repeat the same ribbon in three colors for a garland. For another decoration with a soft ivory texture, the leaf point crochet star works well beside these long tails.
One ribbon makes the loops and tails
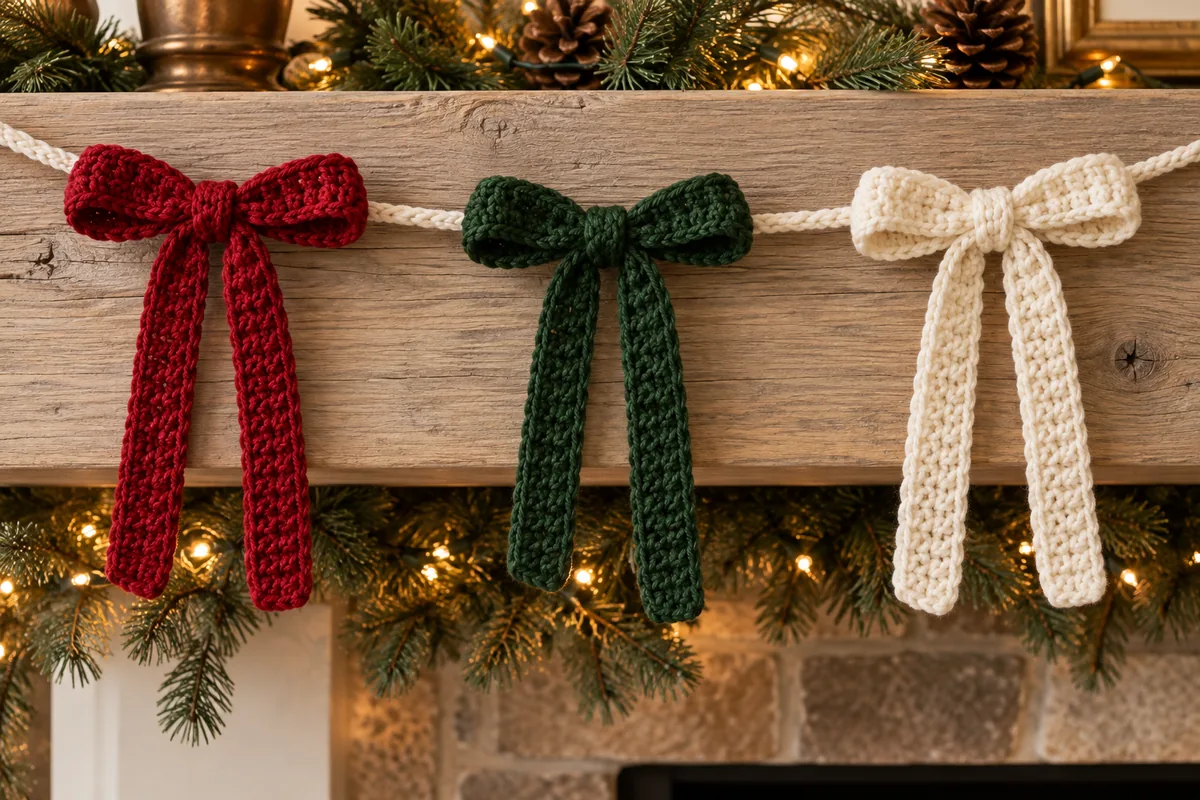
The reference suggests narrow, textured bows displayed in a row. This original interpretation uses separate tied ribbons attached to a supporting cord; it does not reproduce any interlinked construction in the photograph. The styling images show the intended look, while the written instructions define the two-row ribbon.
The stitch arithmetic is checked, but no physical sample, measured gauge, finished dimensions or yarn consumption is supplied. Make one ribbon with your chosen yarn before planning a matching set. Its flexibility matters more than a particular hook number: it needs to bend around a knot without becoming a bulky bundle.
Materials for Christmas crochet bows
- Smooth medium-weight yarn in red, forest green or ivory. Use the same yarn type and thickness for a coordinated set.
- A 4 mm crochet hook as a starting point, adjusted to the yarn label and the fabric you obtain.
- Scissors and a blunt yarn needle.
- Removable stitch markers for the row ends and for counting longer sections.
- Matching sewing thread and a needle, or a short length of matching yarn, to secure the knot.
- A separate cotton cord for a garland, if desired.
A smooth plied yarn makes the back loops easier to identify. Cotton gives a defined edge; a soft acrylic or wool blend may bend more readily when you tie it. Compare the fabrics before making all three colors, and follow the yarn label for cleaning and blocking.
Keep the ribbon narrow. Extra rows can make the center knot much thicker than the loops, particularly in a firm cotton yarn. If you choose a heavier yarn, assess a small two-row strip first instead of assuming the same hook will give a flexible bow.
US terms and the two stitches you need
ch = chain; hdc = half double crochet; BLO = back loop only; st/sts = stitch/stitches. These instructions use US terminology. The Craft Yarn Council crochet abbreviation guide is a useful reference for standard stitch names.
Half double crochet
Yarn over, insert the hook in the indicated chain or stitch, yarn over and pull up a loop. You now have three loops on the hook. Yarn over once more and pull through all three loops to complete one hdc.
Find the back loop after turning
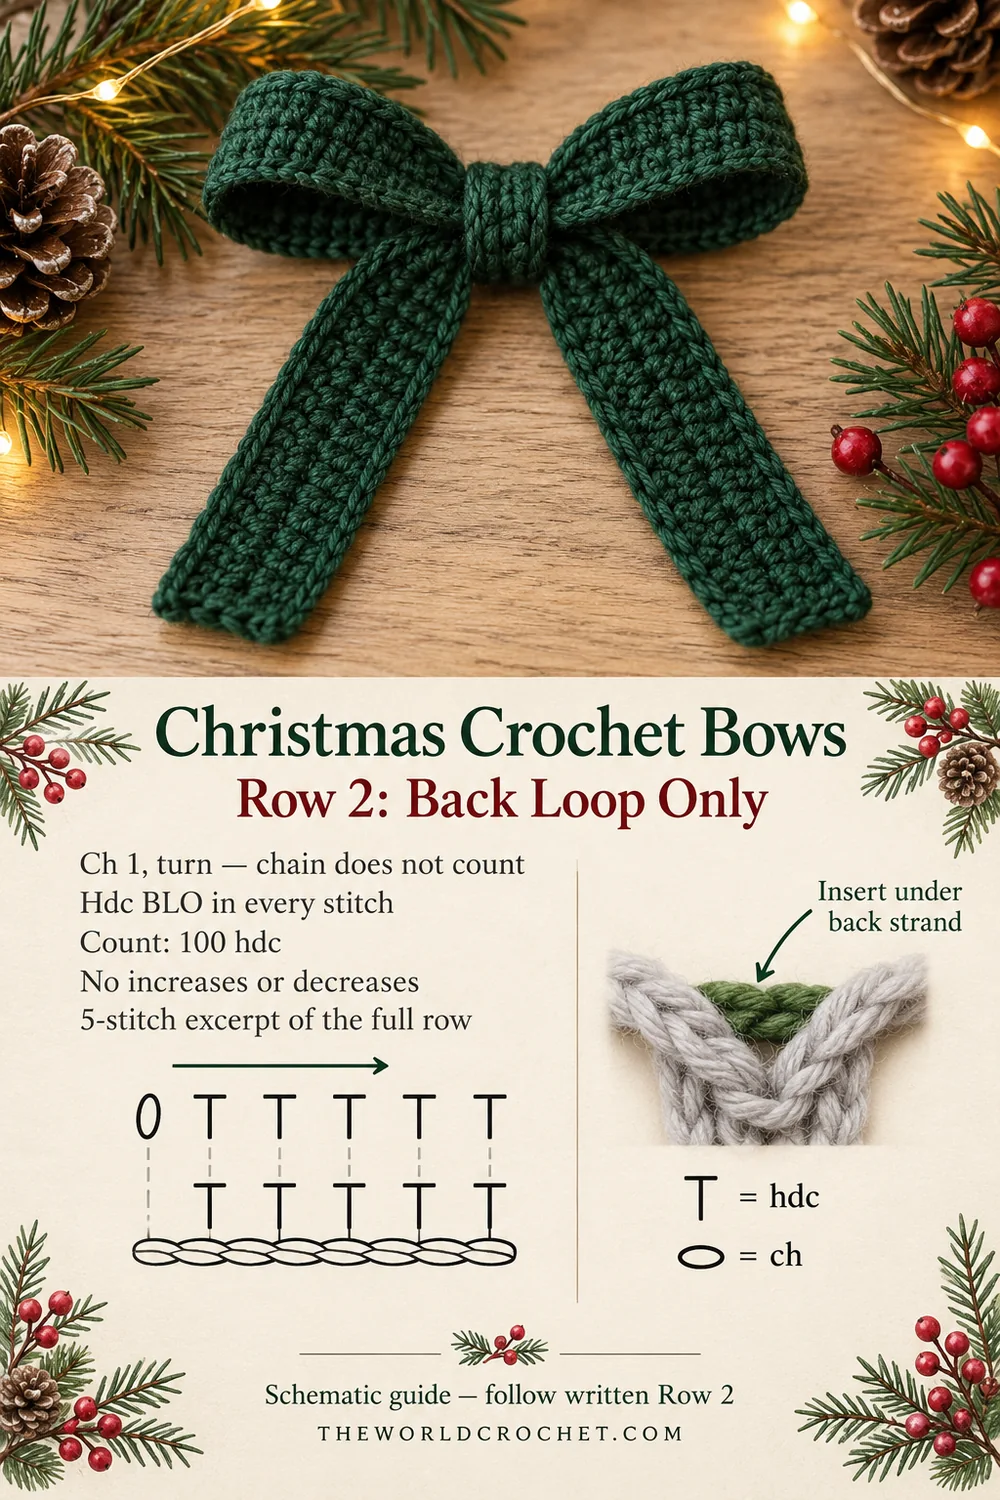
The top of each stitch looks like a V. With the work turned and the next row facing you, the strand farther from you is the back loop. Insert under that strand only in Row 2. Leave the nearer strand unworked to form the ridge.
Half double crochet also has an extra horizontal strand below its top V. That third loop is not the back loop specified here. Locate the two strands of the actual stitch top before inserting the hook.
The turning ch 1 never counts as a stitch. There are no joined rounds, increases, decreases or slip-stitch borders in this ribbon. Work flat and turn once between the two rows.
Christmas crochet bows: the two-row ribbon pattern
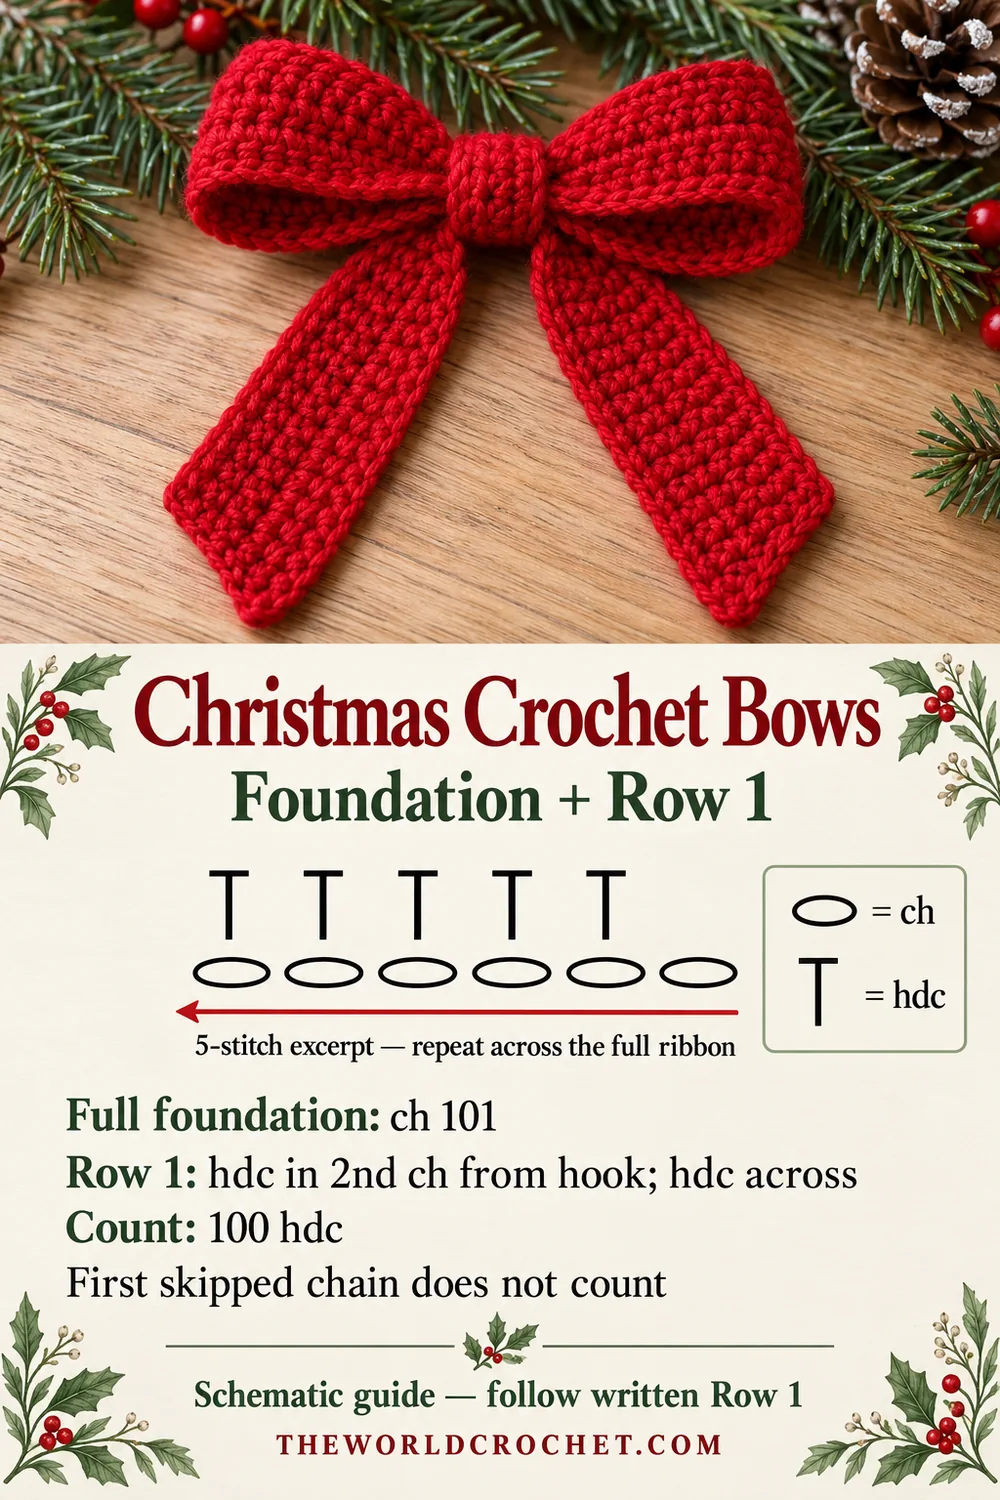
Foundation: chain 101
Make a slip knot and ch 101. Keep the chains relaxed enough for the hook to pass through them without forcing it. Count from the first chain above the slip knot; the loop on the hook is not a chain.
The first chain skipped in Row 1 provides turning height. The other 100 chains each receive one hdc. For counting, place a marker every 20 chains and check the complete foundation before you start the row.
Row 1: work 100 half double crochet stitches
Hdc in the second chain from the hook, then hdc in each remaining chain to the slip-knot end. Work under the top strand of each foundation chain consistently. Do not add a stitch into the slip knot.
Count: 100 hdc. There are 101 foundation chains minus one skipped chain. Mark the first and last hdc so the ends remain easy to recognize in the next row.
Row 2: work back loop only
Ch 1 and turn. Hdc BLO in the first hdc, then hdc BLO in each of the remaining 99 hdc. Work the last stitch into the marked final hdc, leaving the turning chain unworked.
Count: 100 hdc. Every stitch from Row 1 receives exactly one stitch. Fasten off and weave both ends through the backs of several stitches, changing direction before trimming. Avoid pulling either end into a tight curl.
| Section | Count | Check |
|---|---|---|
| Foundation | 101 chains | The hook loop is excluded |
| Row 1 | 100 hdc | 101 chains minus one skipped chain |
| Row 2 | 100 hdc BLO | One hdc in each previous stitch |
| Finished ribbon | Two rows | No edging row or joined round |
Lay the finished ribbon down before tying it. If the foundation is noticeably tighter than the second row, fix that tension difference first. Gentle blocking may relax the fabric if the yarn allows it, but it will not replace a missing stitch or lengthen a severely tight chain edge.
Tie two loops without twisting the ribbon
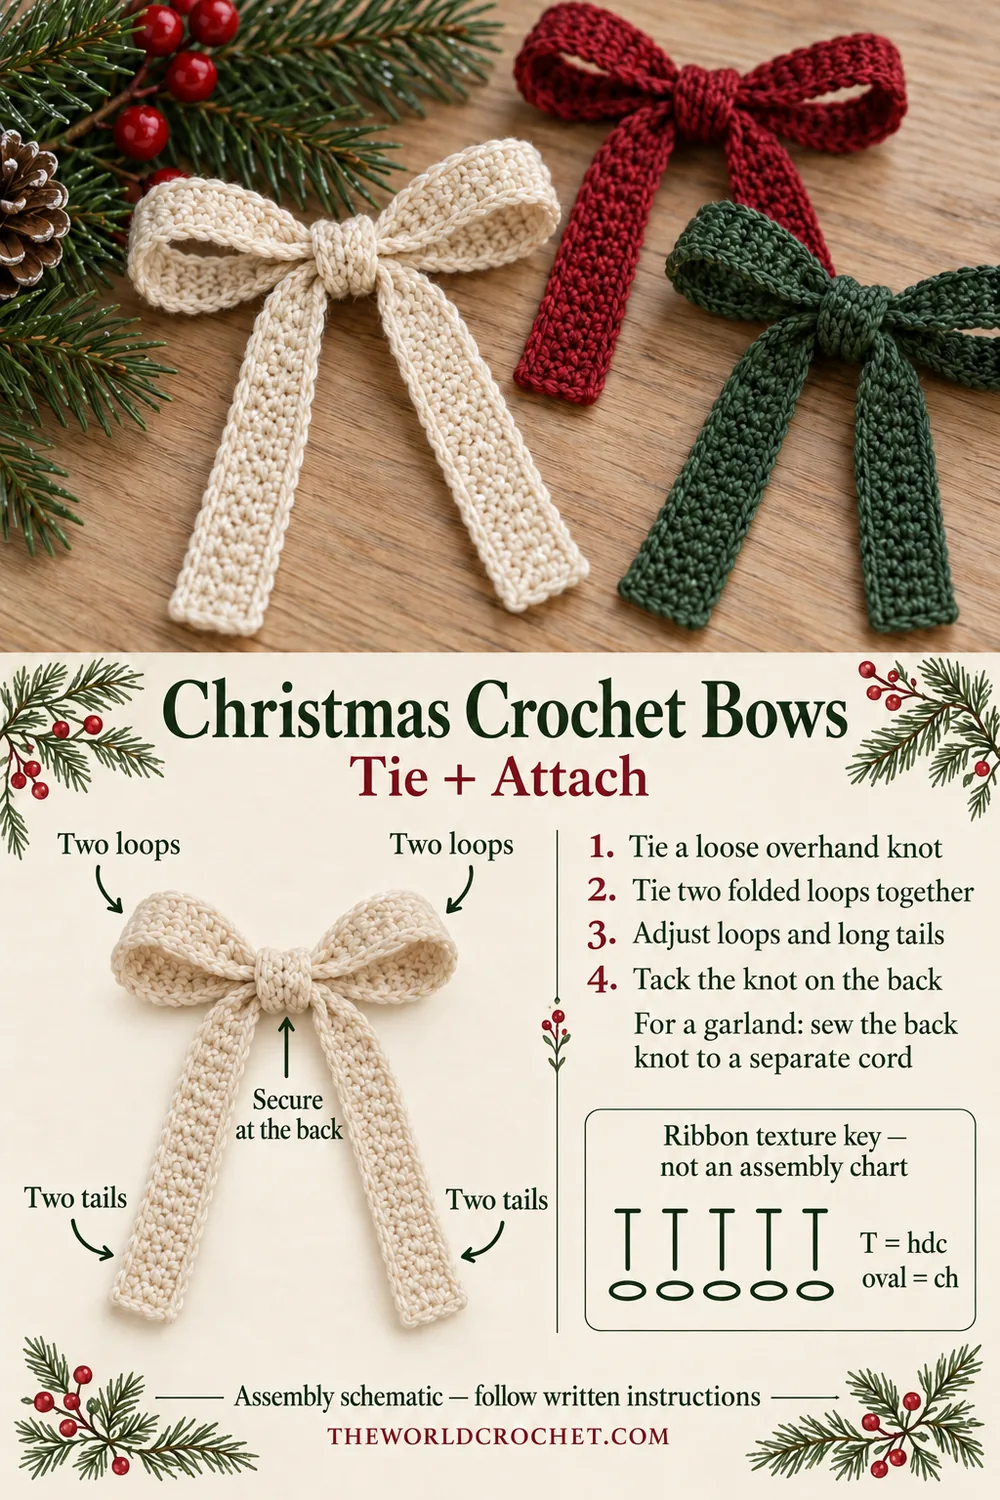
- Find the midpoint of the ribbon. Cross the two ends near that midpoint, pass one end through the crossing and make a loose overhand knot. Leave enough ribbon on both sides for a loop and a tail.
- Fold each side into a loop. Hold the folded loops close to the knot, allowing the remaining ends to hang down.
- Cross the two folded loops, pass one folded loop through the opening and draw both loops outward. This is the two-loop method used for tying shoelaces.
- Ease small amounts of ribbon through the knot until the loops are similar in size. Adjust a loop by pulling its tail shorter or feeding ribbon back from its tail. Keep both long sides of the band flat as you work.
- Arrange the tails below the knot. Once you like the proportions, use a few small matching stitches through overlapping layers at the back of the knot to hold the bow. Keep the sewing out of the visible front.
Do not tighten the first knot as hard as you can. A compact center is useful, but crushing it can make the loops difficult to adjust. Spread each loop gently after tying and smooth the ribbon along its length rather than pulling only on the tip.
The tails are the two ends of the same ribbon. There is no separate center wrap or sewn-on tail piece. If one tail looks substantially shorter, loosen the bow and redistribute the ribbon before adding the securing stitches.
Turn Christmas crochet bows into a garland
Make each bow separately, then lay them along a supporting cotton cord to plan the arrangement. Alternate red, green and ivory, or keep a single color for a quieter display. Choose the cord length and bow spacing to suit the place where it will hang.
Place the cord across the back of each finished knot. Sew the knot to the cord with several small stitches, catching the cord and the back layers of the ribbon together. Secure and weave in the sewing ends. Lift the garland gently and check that each bow stays upright before hanging it.
Attach through the knot rather than pulling the cord through a loop. Hanging from a loop can stretch that side and change the bow’s shape. The supporting cord carries the garland; the crochet loops remain decorative.
For a tree ornament, sew a separate yarn hanging loop to the back knot. For a parcel, tie the package with its own cord first and secure the bow to that cord. The crochet ribbon is a decoration rather than the part responsible for keeping a heavy gift closed.
When the ribbon or knot needs adjustment
The row has 99 or 101 stitches
Check the marked ends before reworking the middle. In Row 1, begin in the second chain and finish in the final chain above the slip knot. In Row 2, work into the first and last hdc, and skip the turning ch 1. Counting that chain as an extra stitch often creates a wider end.
The strip curves along one edge
A tight foundation is the first thing to check. Compare the chain edge with the hdc edge while the ribbon is untied. If the difference is strong, remake the foundation with looser chains or try a larger hook for the foundation only, returning to your chosen hook for the rows.
The knot is too bulky
Check that you made two rows and did not add an edging. A stiff yarn or small hook can also make the strip hard to fold. Try a softer yarn or a hook that gives a more flexible fabric, then compare one complete ribbon before making a set.
The tails twist
Untie the bow and smooth the entire ribbon. Retie it while keeping the ridge on a consistent side and the bands flat at the crossing. A single twist caught inside the knot can turn a tail outward even when the strip itself is straight.
Change the length while keeping the count clear
For a different ribbon length, choose a new working stitch count N. Chain N + 1, work N hdc in Row 1, then N hdc BLO in Row 2. The width stays at two rows. For example, ch 81 gives 80 hdc in each row; ch 121 gives 120 hdc in each row.
Length changes affect both the loops and the tails, so tie the first altered ribbon before committing to the rest. Larger loops use up ribbon that would otherwise become a tail. There is no fixed finished size implied by the stitch count.
For a matching holiday display, place the bows beside a crochet wreath coaster or add a crochet snowman ornament to the same branch. Leave enough space for the long tails to hang freely.
Finishing and storing the bows
Check the knot stitches and woven ends before displaying each bow. Follow the yarn label when washing; keep colors separate if you are unsure of colorfastness. Reshape the loops and tails gently and let the ribbon dry completely before storing it.
Store the bows with their tails laid flat rather than folded sharply across the center. If a loop becomes crushed, loosen and reshape it before hanging. Keep the garland away from heat sources and open flames.
Christmas crochet bows: styling images and guides
The three Pin designs show different ways to arrange the bows. The three photo-and-diagram guides cover the foundation, back-loop row and assembly. Their small symbol excerpts explain the stitches; they are schematic guides rather than a complete tested chart. Use the written counts for the full ribbon.