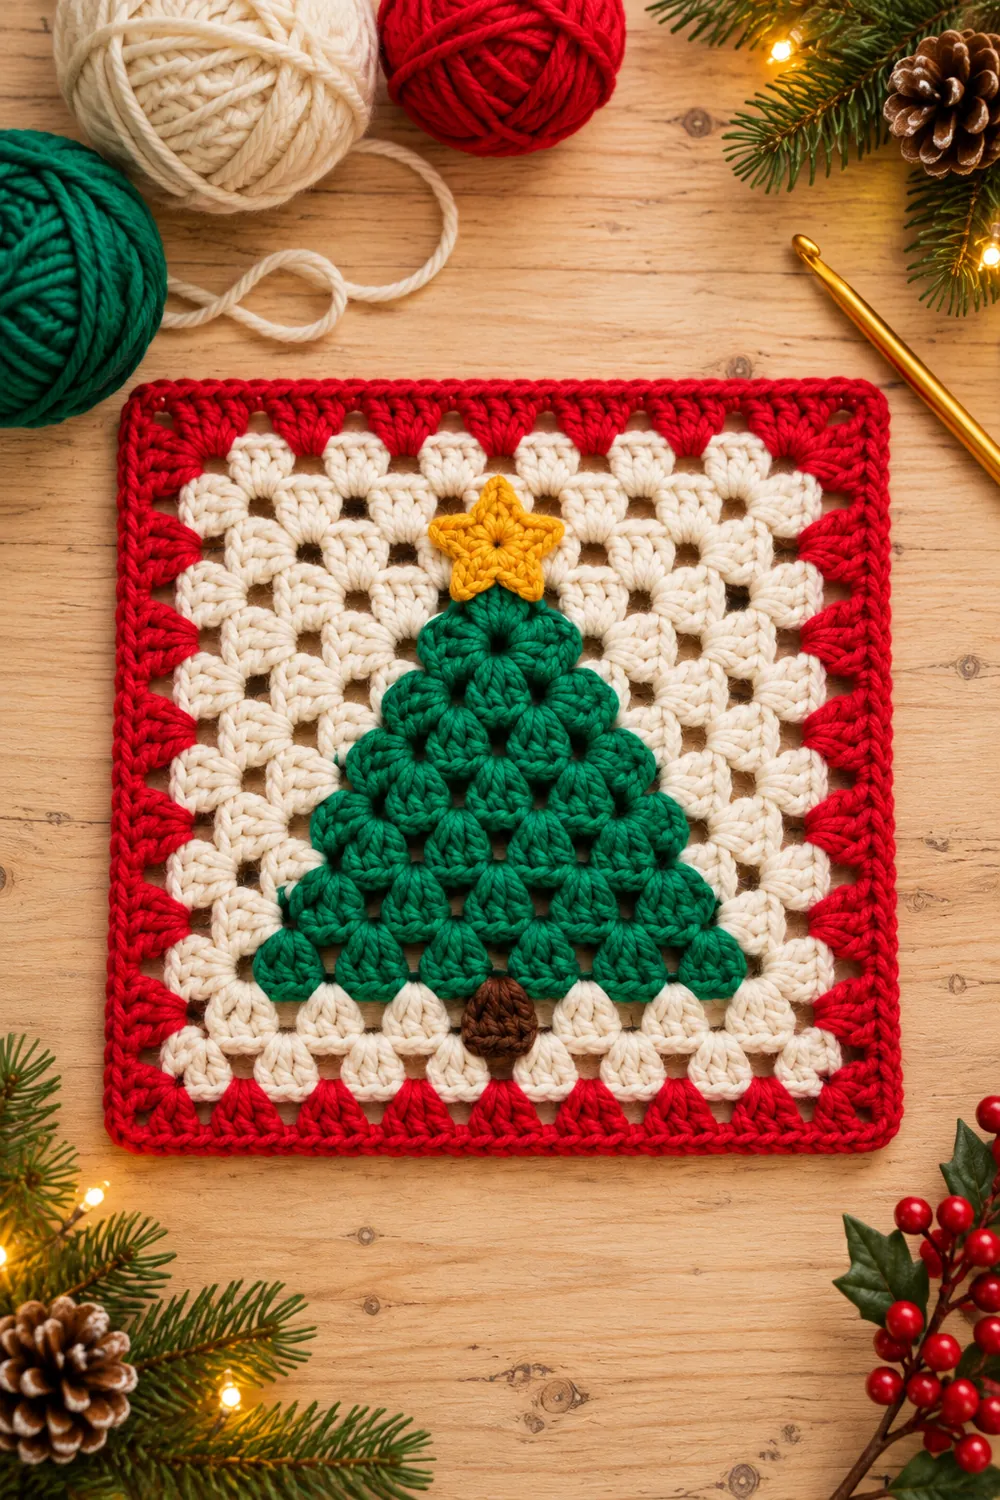
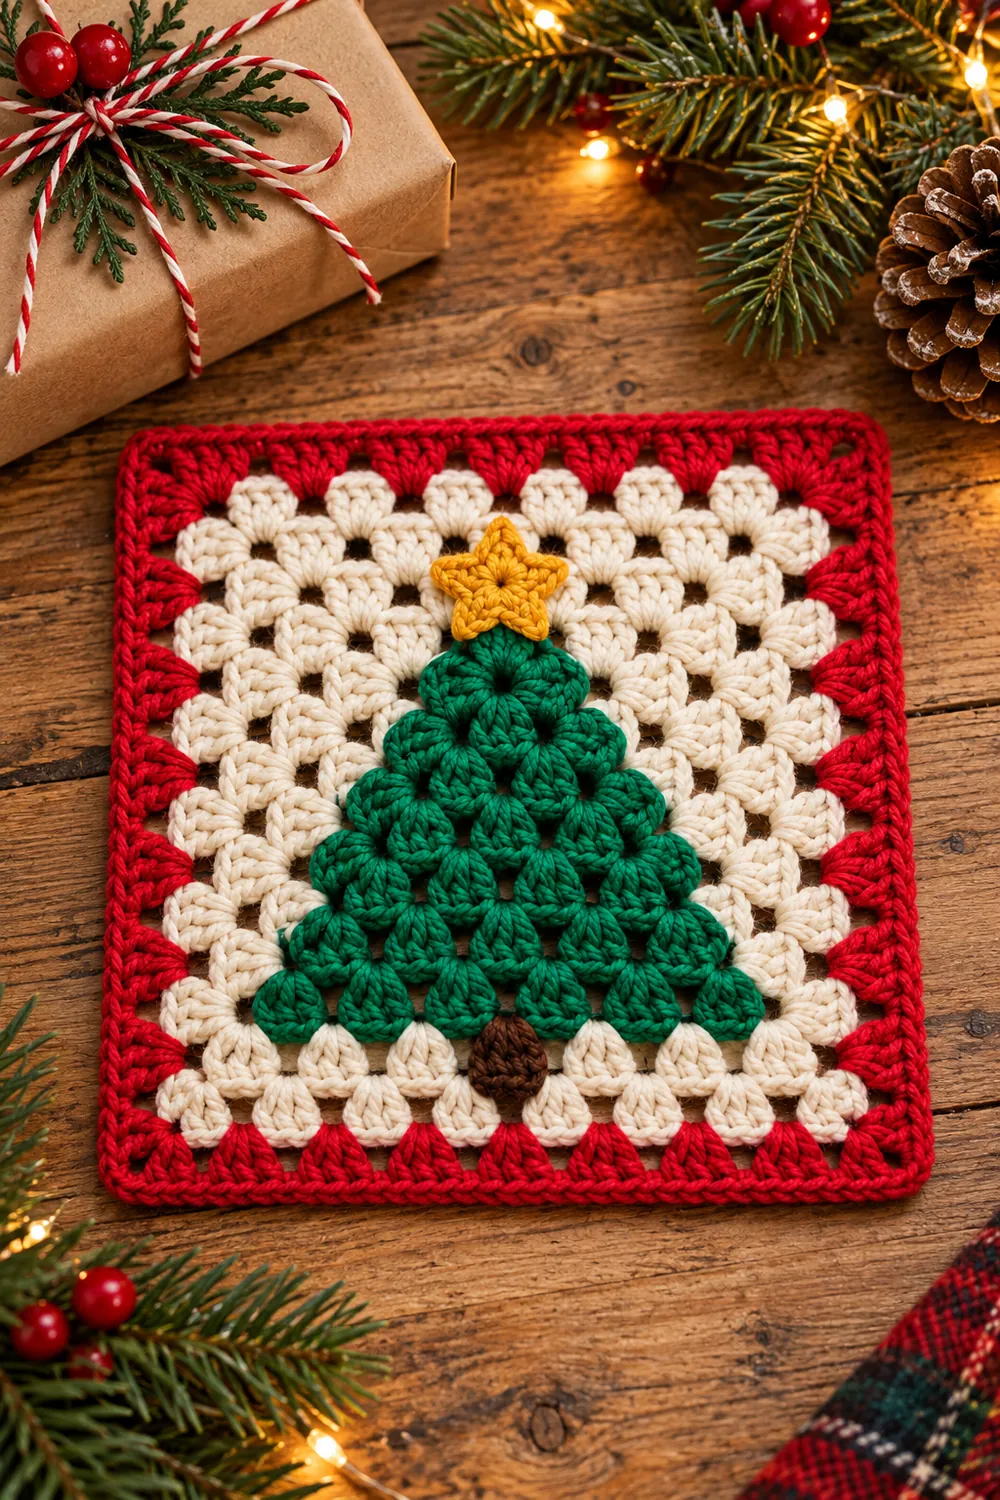
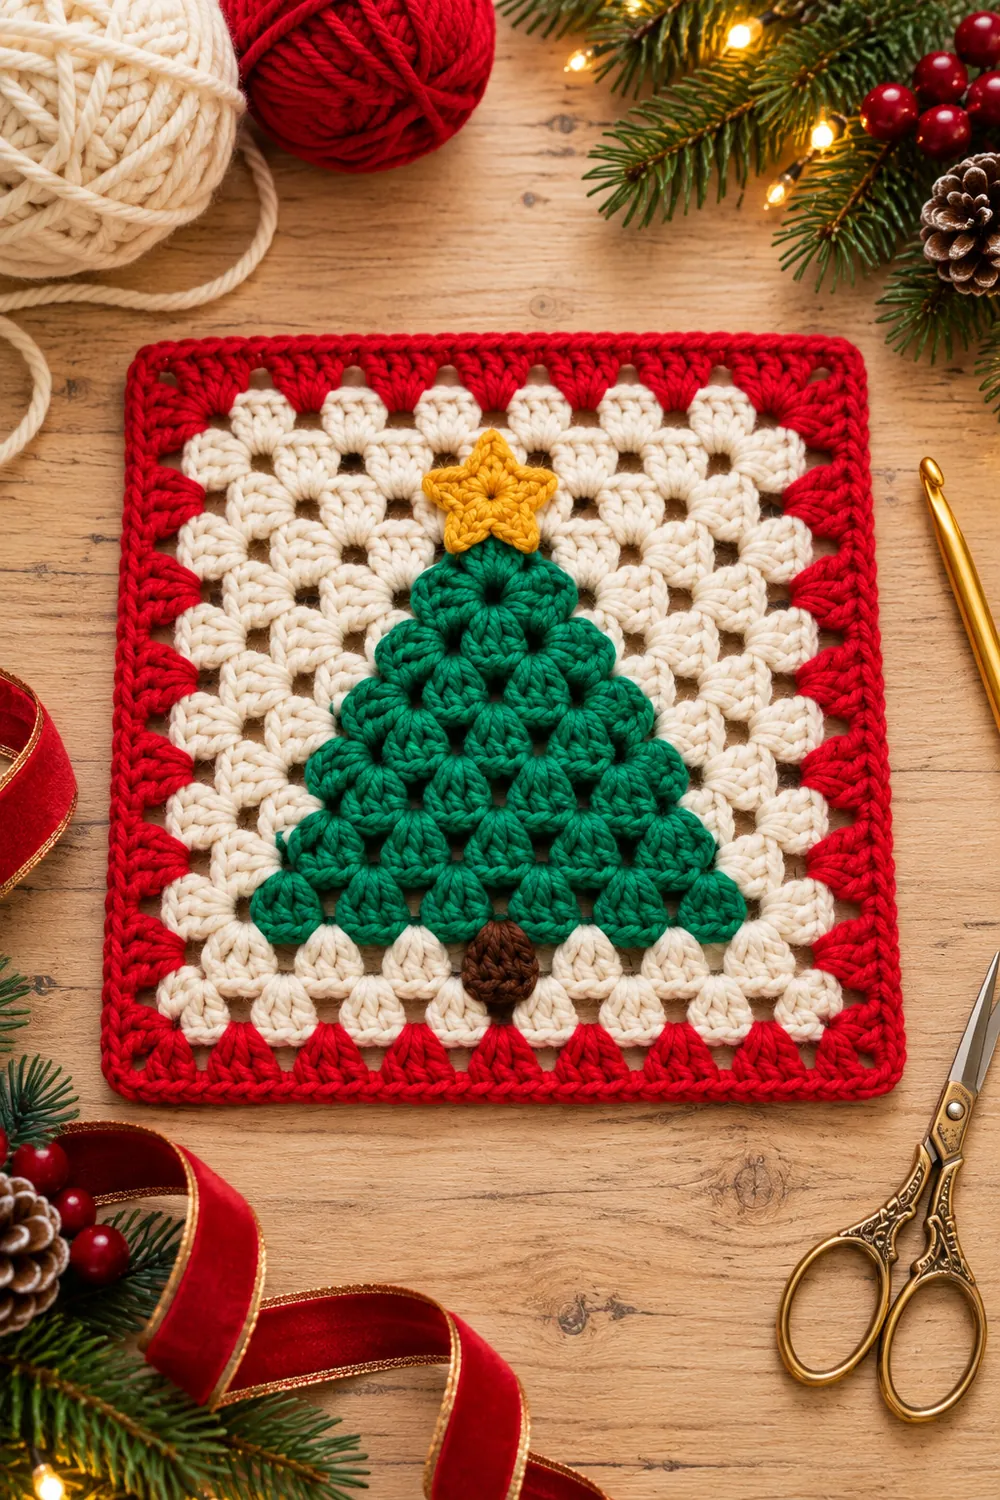
A Christmas tree granny square puts a green tree against a cream openwork background, with a red border framing the whole motif. The reference combines familiar three-stitch groups with a raised tree, a brown trunk and a golden topper, making the tree shape easy to read from across the room.
This free pattern is an original interpretation inspired by that reference: crochet the square and the triangular tree separately, then sew on the tree, trunk and small star. The counts have been reviewed for internal consistency, but the design has not been physically crocheted or tested. The AI-generated images illustrate the intended appearance, rather than a tested sample.
Working the pieces separately gives you a chance to check their proportions before assembly. Block the cream-and-red square first, lay the green triangle in its center and leave room above and below for the star and trunk. The result is a decorative block for a wall display, cushion panel or a larger holiday project.
Plan the tree and its frame together
The cream background uses a classic granny square worked in rounds. The tree uses rows of three double crochets, gaining one group each row. Keeping the same yarn weight across both pieces helps the raised tree sit neatly on the background without overwhelming it.
Start with smooth worsted-weight yarn and a 4 mm hook. Cotton gives a defined, washable decorative panel; a washable wool or acrylic may suit a soft cushion or blanket block. Choose similar thicknesses for all five colors, even if their labels give the same weight category.
- Cream for six background rounds and red for two border rounds.
- Green for the six-row tree, plus small amounts of brown and golden yellow.
- A 4 mm crochet hook, or a size suited to your yarn and tension.
- A blunt yarn needle, scissors, removable markers and blocking pins.
Allow roughly 100–150 yards total as a planning estimate, with cream taking the largest share. An approximately 8–10-inch square is a tentative size target, not a measured sample dimension. There is no established gauge for this untested design; measure your pieces and adjust the background before sewing.
This is a confident-beginner project if you already work double crochet, recognize chain spaces and sew on appliques. The layered center makes it decorative rather than a flat cup surface. For drinks, the crochet wreath coaster has a solid, flat cup area with its decoration kept near the outside.
Read the groups and spaces before starting
Instructions use U.S. terms. A granny group means three complete double crochets worked into one indicated space or stitch; do not close them together as a decrease. The Craft Yarn Council crochet abbreviations guide is a useful reference for the standard stitch names below.
- ch: chain
- sl st: slip stitch
- sc: single crochet
- hdc: half double crochet
- dc: double crochet
- st/sts: stitch/stitches
- ch-sp: chain space
The starting ch 3 counts as one dc in both the square and tree. Ch 1 does not count as a stitch in the trunk or star center. Count groups as well as stitches: the background keeps four corners, while the tree gains one three-dc group every row.
Christmas Tree Granny Square: Cream Base and Red Border
Round 1: Establish four corners
With cream, make a magic ring. Ch 3, work 2 dc into the ring, ch 2. Repeat [3 dc into the ring, ch 2] three times. Close the ring and sl st to the top of the beginning ch 3. Count: 4 groups, 12 dc and four ch-2 corners.
Before each new round, sl st across the next two dc and into the first ch-2 corner. These positioning slip stitches do not count in the round totals. Keep the right side facing you and work without turning.
Round 2: Put two groups in each corner
Ch 3, then work [2 dc, ch 2, 3 dc] in the same corner space. Ch 1. Repeat [3 dc, ch 2, 3 dc in the next corner, ch 1] three times. Sl st to the top of the beginning ch 3. Count: 8 groups, 24 dc, four ch-2 corners and four ch-1 side spaces.
Rounds 3–6: Grow the cream background
Position in the first corner as described above. Ch 3 and work [2 dc, ch 2, 3 dc] in that corner. Ch 1, then work 3 dc in every ch-1 space along the next side, making ch 1 after each group. Work [3 dc, ch 2, 3 dc] in the next corner.
Continue around: ch 1, work the side groups with ch 1 after each, then work the next corner. After the fourth corner, complete the remaining side and its final ch 1. Join to the beginning ch 3. Repeat this method through Round 6. Do not work into the tops of the side dc; the groups go into spaces.
- Round 3: 12 groups, 36 dc; four corners and 8 side spaces.
- Round 4: 16 groups, 48 dc; four corners and 12 side spaces.
- Round 5: 20 groups, 60 dc; four corners and 16 side spaces.
- Round 6: 24 groups, 72 dc; four corners and 20 side spaces.
Fasten off cream after Round 6. Each additional square round adds four groups: one new side group per side. This is a useful check when a corner looks crowded or a side seems shorter than the others.
Rounds 7–8: Frame the square in red
Join red with a sl st in any ch-2 corner. Work Round 7 with the same corner-and-side method: the starting ch 3 counts as the first dc. Join. Count: 28 groups, 84 dc, four corners and 24 side spaces.
Position in a corner and repeat for Round 8. Count: 32 groups, 96 dc, four corners and 28 side spaces. Fasten off and weave in the ends. There is no extra edging round in this version.
A six-row green triangle for the tree
The tree is worked from its narrow top toward the broad base. Turn after every row. At the row ends, work into the first and last dc, including the top of the previous starting ch 3. Along the middle, use only the ch-1 spaces.
Row 1: With green, ch 4. Work 2 dc in the fourth chain from the hook. The three skipped chains count as one dc. Count: 1 group, 3 dc.
Row 2: Ch 3, turn. Work 2 dc in the first dc at the base of that ch 3. Ch 1, skip the middle dc and work 3 dc in the last dc. Count: 2 groups, 6 dc and one ch-1 space.
Row 3: Ch 3, turn; 2 dc in the first dc. Ch 1, work 3 dc in the central ch-1 space, ch 1, then 3 dc in the last dc. Count: 3 groups, 9 dc and two ch-1 spaces.
Rows 4–6: Ch 3, turn; 2 dc in the first dc. Ch 1. Work 3 dc in every ch-1 space across, making ch 1 after each group. Finish with 3 dc in the last dc. Row 4: 4 groups/12 dc; Row 5: 5 groups/15 dc; Row 6: 6 groups/18 dc. These rows have 3, 4 and 5 ch-1 spaces respectively.
Fasten off with a sewing tail about three times the triangle’s perimeter. The two outer groups create the widening edges. Do not add groups into the tops of the middle dc: that would increase the tree faster than intended and change its proportions.
Make a short trunk and five-point topper
Trunk: With brown, ch 4. Sc in the second chain from the hook and each of the next two chains: 3 sc. Ch 1, turn; sc in each stitch for 3 sc. Repeat that second row once more, giving three rows total. Fasten off with a sewing tail.
Star center: With yellow, make a magic ring. Ch 1 and work 5 sc into the ring. Close the ring and sl st to the first sc. Mark that first sc so the five anchor stitches remain easy to identify.
Star points: From the first sc, ch 4. Sc in the second chain from the hook, hdc in the next chain and dc in the last chain. Sl st in the next sc of the center. Repeat the point sequence four more times, advancing one center sc each time. The fifth point ends with a sl st back in the first sc. Count: five points, each with one sc, one hdc and one dc along its chain. Fasten off with a sewing tail.
Spread the points gently and check that the star fits above the green tip. It is a small embellishment, so yarn thickness can make a noticeable difference. If it overwhelms the tree, use a thinner yellow yarn and suitable hook, then recheck the fit.
Sew the layers without pulling the background
Block the square and triangle separately according to the yarn label. Shape the four square corners evenly and straighten the triangle’s base without stretching it. Let both pieces dry fully before placing the tree.
Lay the square upright, center the tree left to right and position the trunk underneath the middle of the broad base. Tuck the trunk’s upper edge behind the triangle. Place the star over the narrow tree tip. Leave a visible cream margin between the appliques and red border.
Pin the pieces temporarily. Sew the trunk first with brown yarn, catching cream stitches rather than bridging large open holes. Sew the green triangle around its perimeter with small stitches that catch corresponding background stitches. Add a few discreet anchoring stitches through the middle so it does not flap away from the square. Finish with the star, securing its center and each point.
Keep the square flat on the table while sewing. Tight stitches can gather the cream fabric and bend the red frame. After a few stitches, lift the piece and check the front, then ease the sewing yarn if the background puckers. Weave the tails into nearby stitches on the back.
Fit adjustments and useful ways to display the block
If the tree, trunk and topper do not fit comfortably inside the frame, add one or two cream rounds before changing to red. The group total remains four times the round number. Adding background space is often easier than forcing the applique to stretch or crowding the border.
For a smaller tree, stop at Row 5: it has five groups across its base. Keep the trunk short and check the star again. For a larger tree, continue the row method; Row 7 has seven groups and 21 dc. Always lay out all three appliques before deciding how large the background should be.
- Square twists: verify four corner spaces and the same number of side groups on every side.
- Tree base curves: check that each row adds exactly one group and that the separating chains are not unusually tight.
- Border gathers after sewing: loosen attachment stitches before attempting to block away the problem.
- Star has fewer points: identify all five center sc and move to the next anchor after every point.
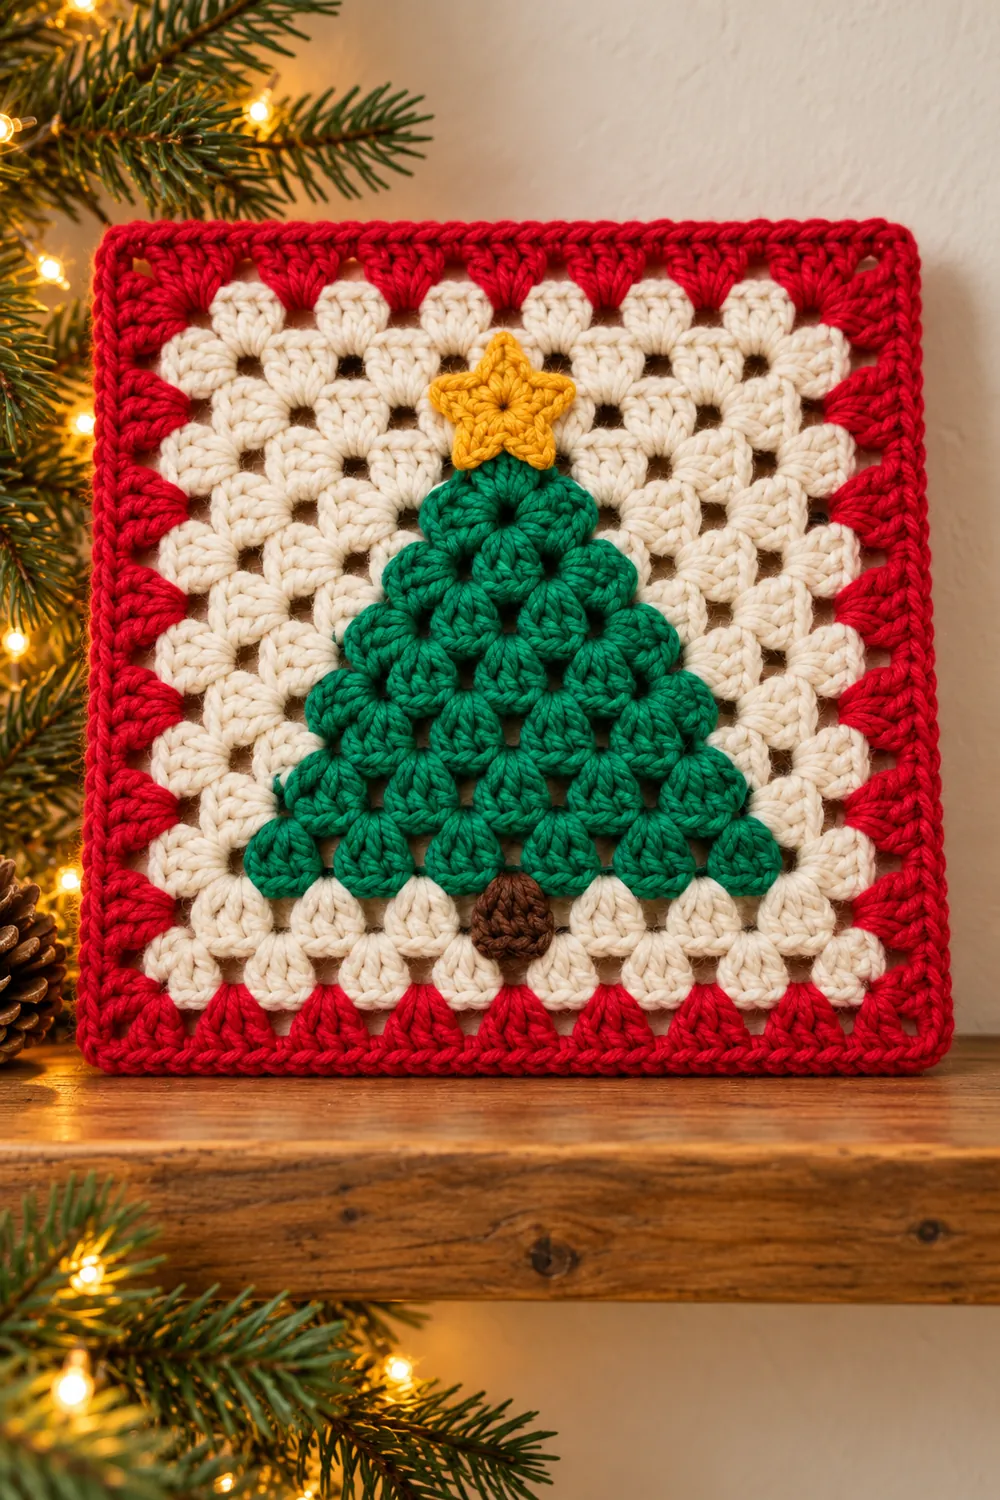
Use the completed Christmas tree granny square as a decorative cushion front, a sewn-on pocket panel or a block in a holiday blanket. Match square dimensions and edge counts before joining it to other blocks. For a small wall display, attach its upper corners to a short dowel with yarn loops.
The layered, openwork construction is not a potholder or a flat drink coaster. For a coordinated table display, the crochet Christmas table set offers a different arrangement of smaller motifs. A shell stitch crochet bell adds a hanging piece beside a wall-mounted square.
Test the red and green yarn for color transfer before combining them with cream. Wash according to the most delicate yarn’s label, reshape the corners and dry flat. Store the panel without folding through the star or tree tip. The seasonal crochet collection has more holiday pieces to pair with the same palette.
The defining detail of this Christmas tree granny square is the layered green triangle inside a simple red frame. Keep the groups regular, check the applique fit before sewing and attach the pieces with relaxed stitches so the cream background stays square.
Tree details and festive display inspiration
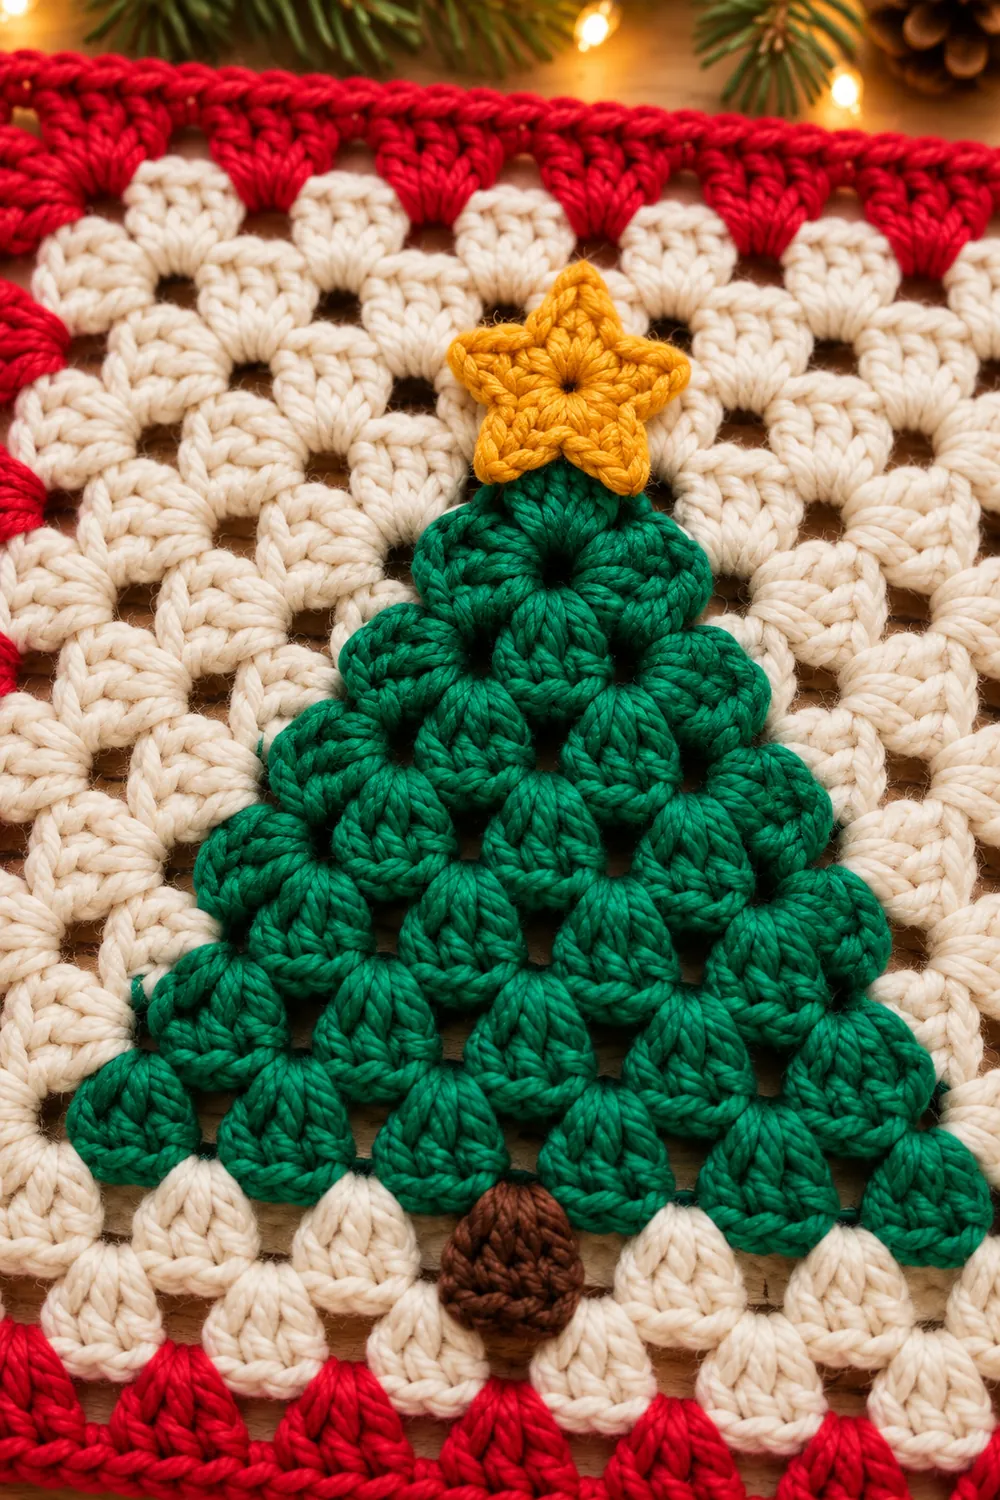
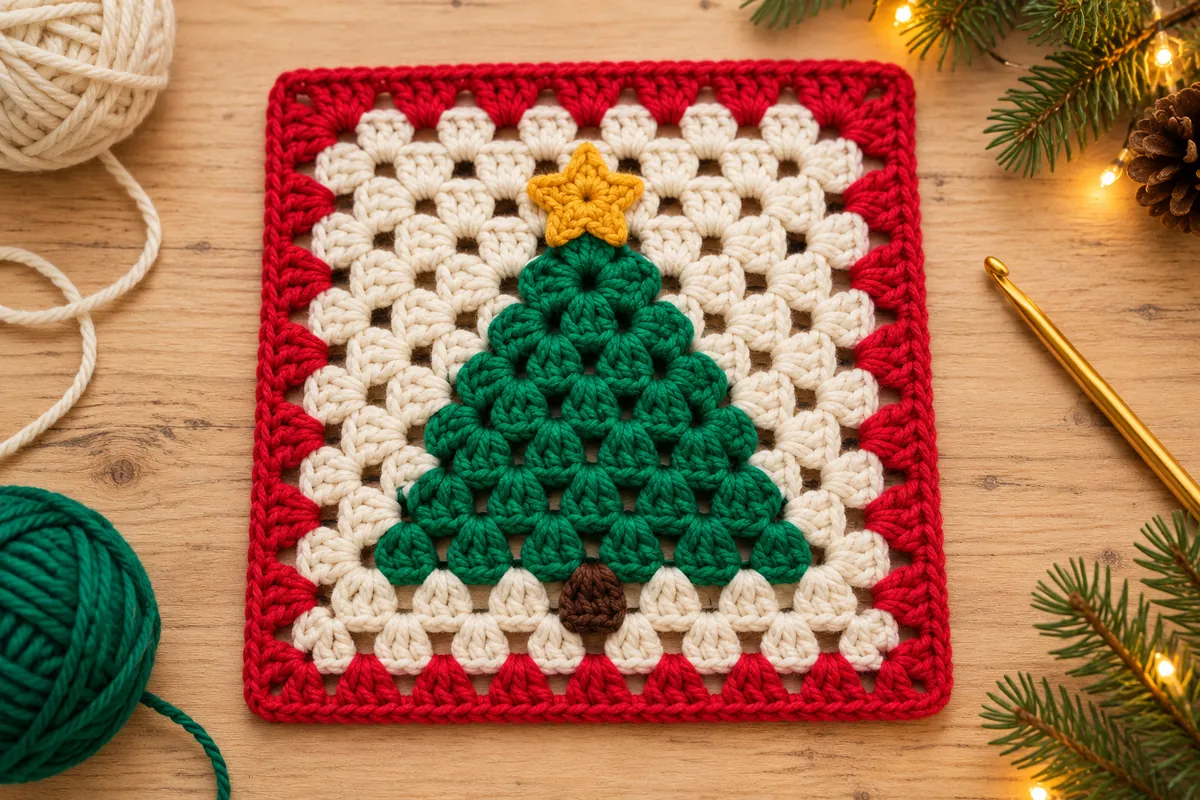
The following AI-generated images explore the reference-inspired colors, textures and display ideas. They are visual inspiration, not progress photographs or verified stitch charts for the written pattern. Follow the written counts above.