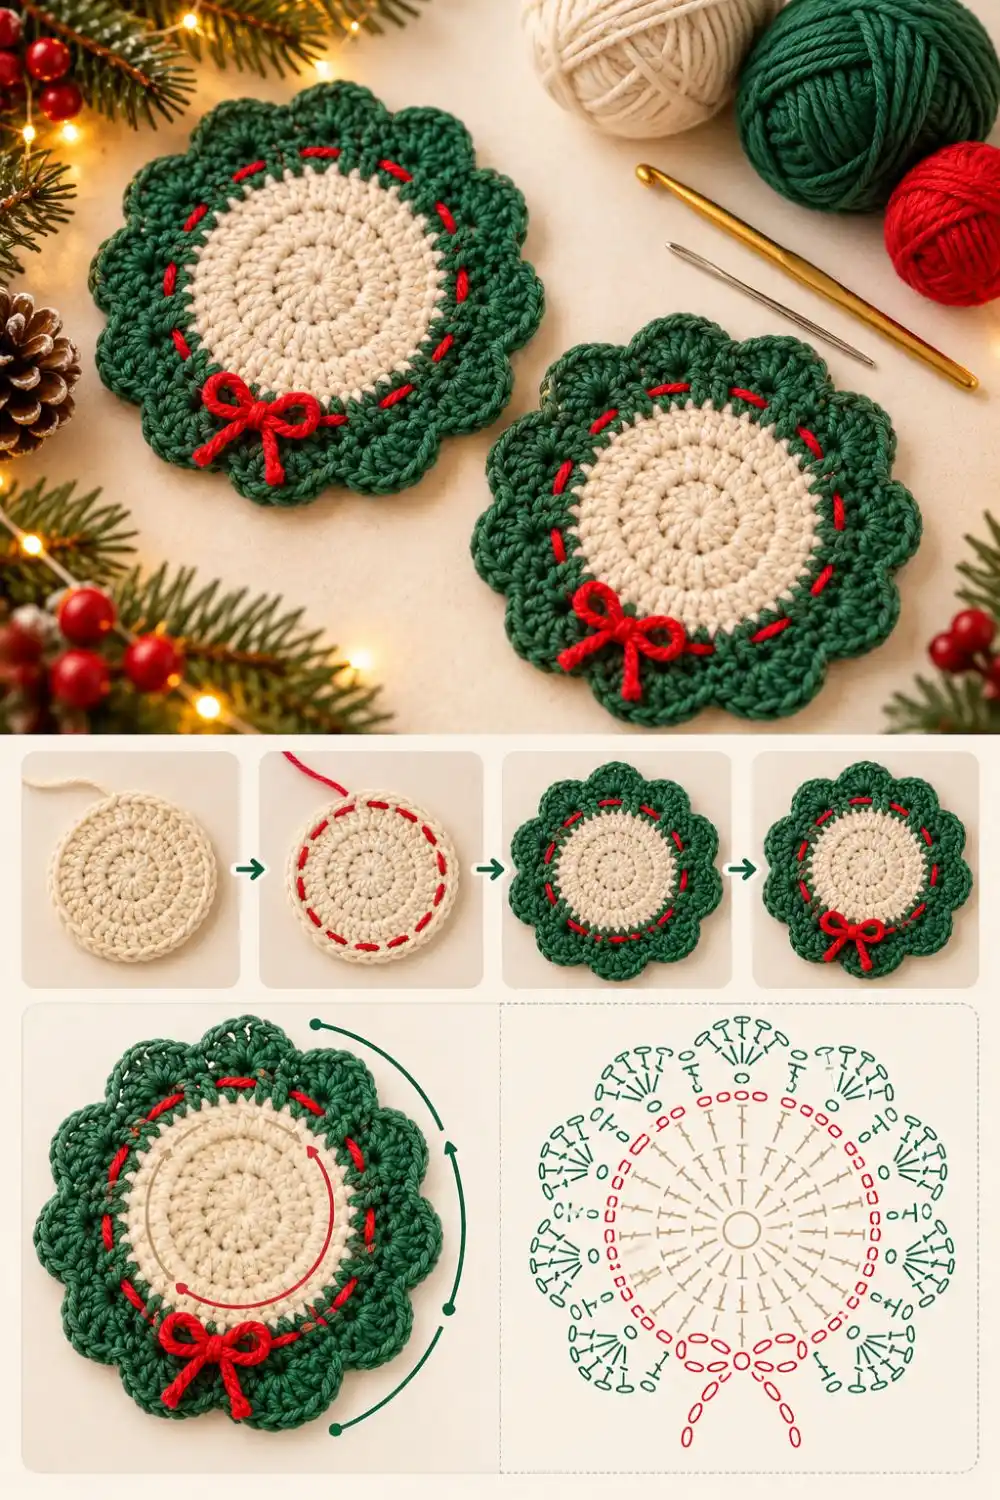
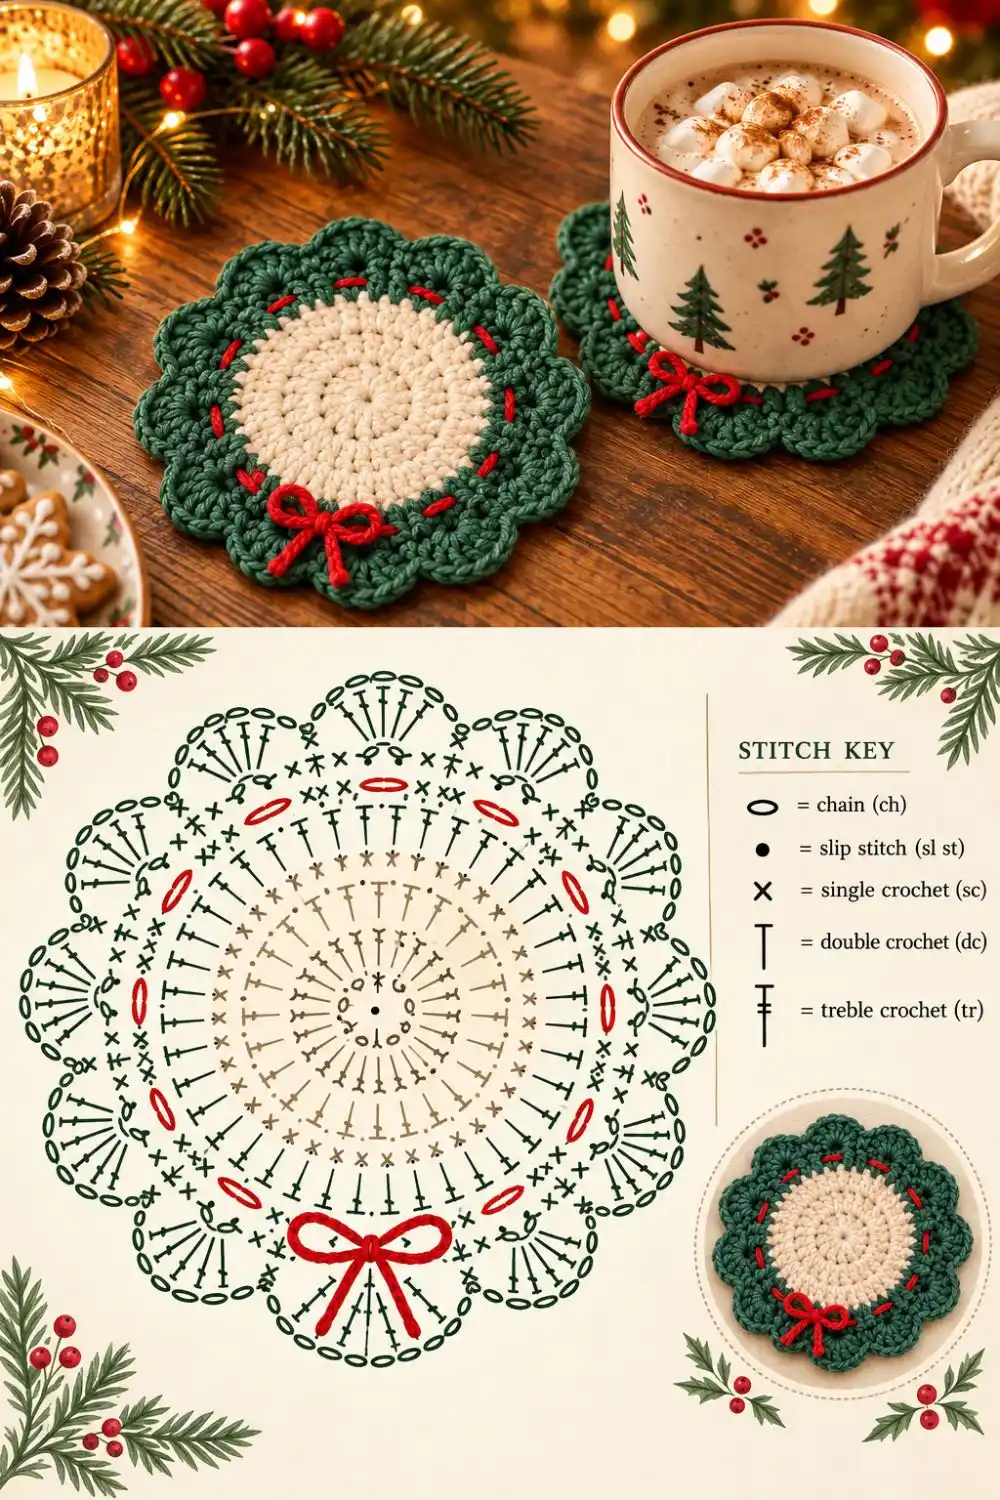
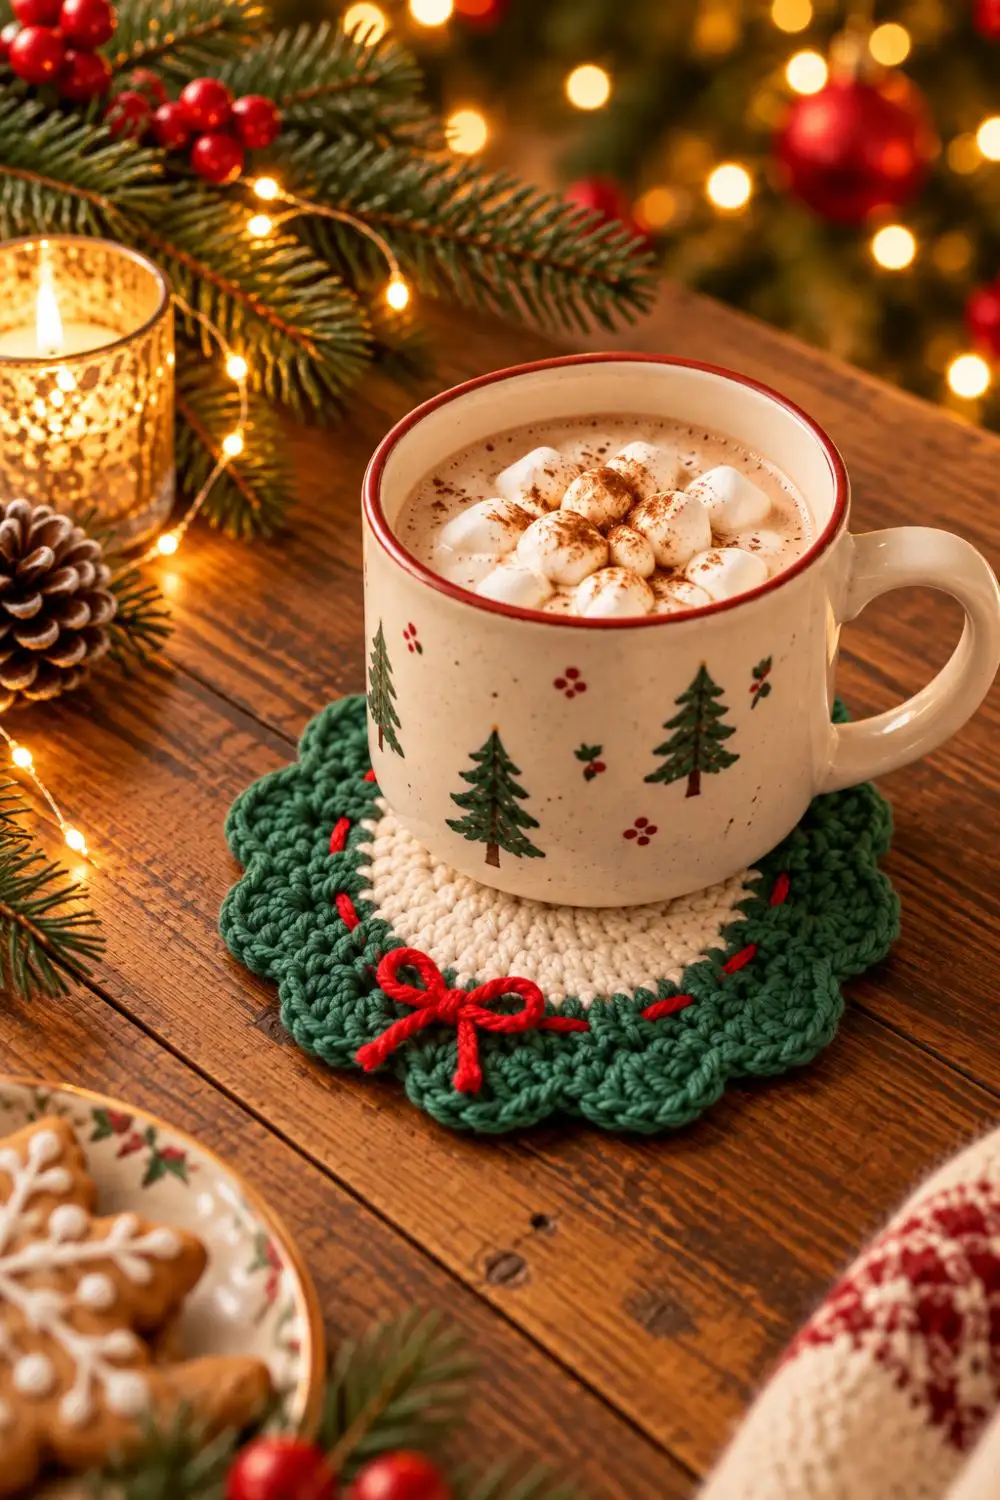
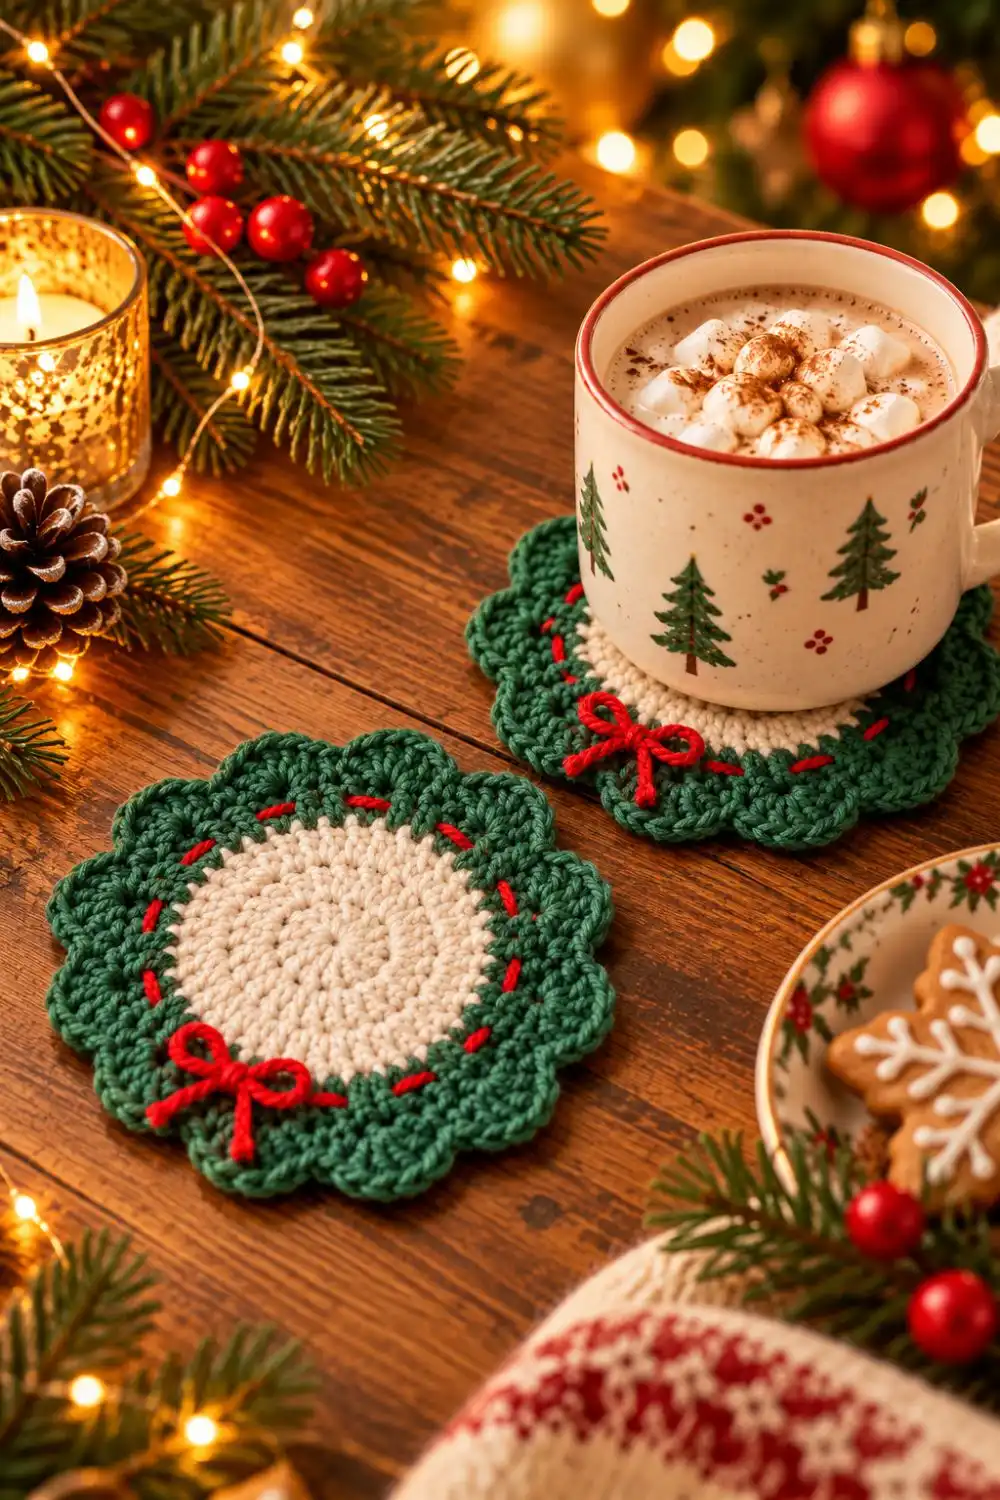
A crochet wreath coaster brings the shape of a Christmas wreath to the table while keeping a solid center underneath the cup. In the reference image, cream circles sit inside green scallops, with small red running stitches and a bow giving each coaster its holiday character.
The free pattern below is an original interpretation inspired by that image, not the photograph’s exact pattern. It uses a dense single-crochet center, twelve green shells and red embellishment added with a yarn needle. The counts have been reviewed for internal consistency; the design has not been physically crocheted or tested.
Make the circle and its border first, check that the cup rests entirely on the flat center, then add the red detail near the edge. Keeping the bow away from the cup’s base lets the decorative wreath outline remain visible without creating a raised spot underneath the drink.
A flat center matters more than a large border
The green shell edging is decorative. The cream disk is the part that needs to support the base of your mug or glass. Measure that base before choosing your yarn: a wide scalloped outline cannot compensate for a center that is too small.
Smooth worsted-weight cotton and a 4 mm hook are a starting combination for this version. Cotton gives clear stitch definition and an absorbent fabric. Aim for firm, even single crochet rather than a loose disk with large gaps, and use the yarn label’s washing directions when deciding whether your colors are suitable for everyday use.
- Cream cotton for the center, dark green cotton for the border and a small amount of red cotton for the embroidery and bow.
- A 4 mm crochet hook, or the size that produces a firm fabric with your yarn.
- A blunt yarn needle, scissors and a removable stitch marker.
- A flat drying surface and rustproof pins if gentle blocking is needed.
Allow approximately 30–45 yards total per coaster as a planning estimate, not measured usage. A tentative finished-size target is 4–5 inches across the scallops. Gauge and the final diameter have not been established from a physical sample, so measure your first coaster and check it with the actual cup before making a set.
This project suits a confident beginner who can count increases and work a five-double-crochet shell. Instructions use U.S. terms. For a different holiday table arrangement, the crochet Christmas table set pairs smaller pieces with a centerpiece; this wreath version focuses on the solid cup area and embroidered trim.
Stitches, joins and the twelve-shell repeat
For a reference to the U.S. stitch names used here, consult the Craft Yarn Council crochet abbreviations guide. Special stitches are explained in this pattern.
- ch: chain
- sl st: slip stitch
- sc: single crochet
- dc: double crochet
- st/sts: stitch/stitches
- inc: work 2 sc in the same stitch
- Shell: 5 dc in the same indicated stitch
Work in joined rounds without turning. Ch 1 at the start of a round does not count as a stitch. Join to the first sc of that round, and do not work into the joining slip stitch. Mark the first sc if it is hard to distinguish from the join.
The center gains six stitches per round until it reaches 48 sc. The green foundation keeps those 48 stitches. Each shell repeat then uses four foundation stitches: one sc, one skipped stitch, one stitch holding the five-dc shell and one more skipped stitch. Forty-eight divided by four gives twelve scallops.
Crochet Wreath Coaster: Free Written Pattern
Rounds 1–4: Start the cream disk
Round 1: With cream, make a magic ring. Ch 1, work 6 sc into the ring. Close the ring and sl st in the first sc. Count: 6 sc.
Round 2: Ch 1, inc in each stitch around. Sl st in the first sc. Count: 12 sc.
Round 3: Ch 1, repeat [sc in the next stitch, inc in the next stitch] 6 times. Join. Count: 18 sc.
Round 4: Ch 1, repeat [sc in each of the next 2 stitches, inc in the next stitch] 6 times. Join. Count: 24 sc.
Rounds 5–8: Expand the cup area
Round 5: Ch 1, repeat [sc in each of the next 3 stitches, inc in the next stitch] 6 times. Join. Count: 30 sc.
Round 6: Ch 1, repeat [sc in each of the next 4 stitches, inc in the next stitch] 6 times. Join. Count: 36 sc.
Round 7: Ch 1, repeat [sc in each of the next 5 stitches, inc in the next stitch] 6 times. Join. Count: 42 sc.
Round 8: Ch 1, repeat [sc in each of the next 6 stitches, inc in the next stitch] 6 times. Join. Count: 48 sc. Fasten off cream.
Set the disk down now. It should lie reasonably flat without being pulled into shape. Check the counts before continuing if the center cups or ruffles. A slight six-sided outline can occur when increases stack; gentle blocking can soften it without changing the stitch count.
Rounds 9–10: Green foundation and scallops
Round 9: Join green with a sl st in any stitch of Round 8. Ch 1, sc in the same stitch and in each remaining stitch around. Sl st in the first sc. Count: 48 sc.
Round 10: Ch 1, sc in the same stitch as the join. Skip the next stitch, work 5 dc in the next stitch, skip the next stitch. Repeat [sc in the next stitch, skip the next stitch, 5 dc in the next stitch, skip the next stitch] 11 times. Sl st in the first sc. Fasten off green and weave in the ends. Count: 12 sc and 12 shells (60 dc).
The last skipped stitch is the final unused stitch of Round 9, immediately before the first sc. Do not add another shell at the join. Count twelve green scallops before moving on to the red decoration.
Add the red stitching without drawing the circle tight
Cut a length of red yarn about three times the coaster’s circumference, leaving extra for tails. Thread the yarn needle and work a running stitch around the green foundation of Round 9. Pass over two stitch-widths on the front, then under two stitch-widths on the back, continuing around all 48 stitches. This creates twelve visible red dashes and twelve hidden sections.
Use the spaces around the green stitch posts as a guide rather than piercing and splitting the yarn. Keep the red line on the border, outside the cream cup area. Lay the coaster flat as you work, and leave the red yarn relaxed enough that the circle does not gather. Join and weave in the tails at the back.
For a separate bow, cut another length of red yarn, tie a small bow and adjust the loops to the desired size. Sew the central knot to one low point between two green shells with a short matching strand. Place it toward the outer edge, then trim the tails. A separate attachment lets you position the bow after checking where the cup sits.
If the mug reaches the green border, omit the bow for that coaster or make a larger center using the modification below. The cup should rest on a level surface without pressing on the knot or loops.
Adjust the size while preserving the shell spacing
The simplest size change is to use a different cotton weight with a suitable hook and keep the written counts. Make one complete coaster before committing to a matching set. Compare its cream center with your cup’s base, rather than judging by the outer scallops.
For a larger center in the same yarn, add two cream increase rounds after Round 8: first repeat [7 sc, inc] 6 times for 54 sc, then [8 sc, inc] 6 times for 60 sc. Join each round as before. Work the green foundation with 60 sc, then use the same four-stitch shell repeat 15 times. The larger version has 15 sc and 15 shells (75 dc) in the edging.
Adding only one increase round gives 54 stitches, which does not divide evenly by four. The two-round extension keeps the shell repeat exact. For embroidery on the larger version, simply space running stitches evenly without pulling; the fixed two-over, two-under sequence above belongs to the 48-stitch version.
Flattening, washing and making a matching set
Weave in ends along several stitches on the back without creating a bulky knot beneath the cream center. If the scallops need evening out, dampen according to the cotton’s care instructions, smooth the center flat and arrange each shell on a drying surface. Let it dry completely. Do not stretch a tight center aggressively to correct a missed increase.
- The center cups: check for missing increases or unusually tight tension before blocking.
- The center ruffles: check that there were exactly six increases per cream round.
- The border has too few scallops: recount the green foundation and confirm that every shell repeat uses four stitches.
- The red line puckers: loosen the running stitches or rework them with the coaster laid flat.
- The cup rocks: move or omit the bow and check for thick woven tails beneath the center.
Test red and green yarn for color transfer on a small damp swatch before combining them with cream. Follow the yarn label for washing, reshape flat and let the coaster dry fully before stacking it. Skip stiffener so the cotton remains washable and absorbent.
A cream center, deep green edge and red bow create the wreath effect in the reference. For a quieter palette, use cream with sage green and burgundy, keeping the same construction. Repeat the same yarn, hook and round counts across the set for consistent sizes.
For a coordinated handmade display beyond the table, the shell stitch crochet bell repeats the scalloped detail in a hanging decoration. The puff stitch crochet snowflake adds a different floral texture. Browse the seasonal crochet collection for other pieces to combine.
The useful part of this crochet wreath coaster is its flat, solid center; the green shells and red trim supply the Christmas character around it. Check the cup fit, keep the embroidery loose and position the bow outside the cup area before making the rest of your set.
More coaster views and holiday table inspiration
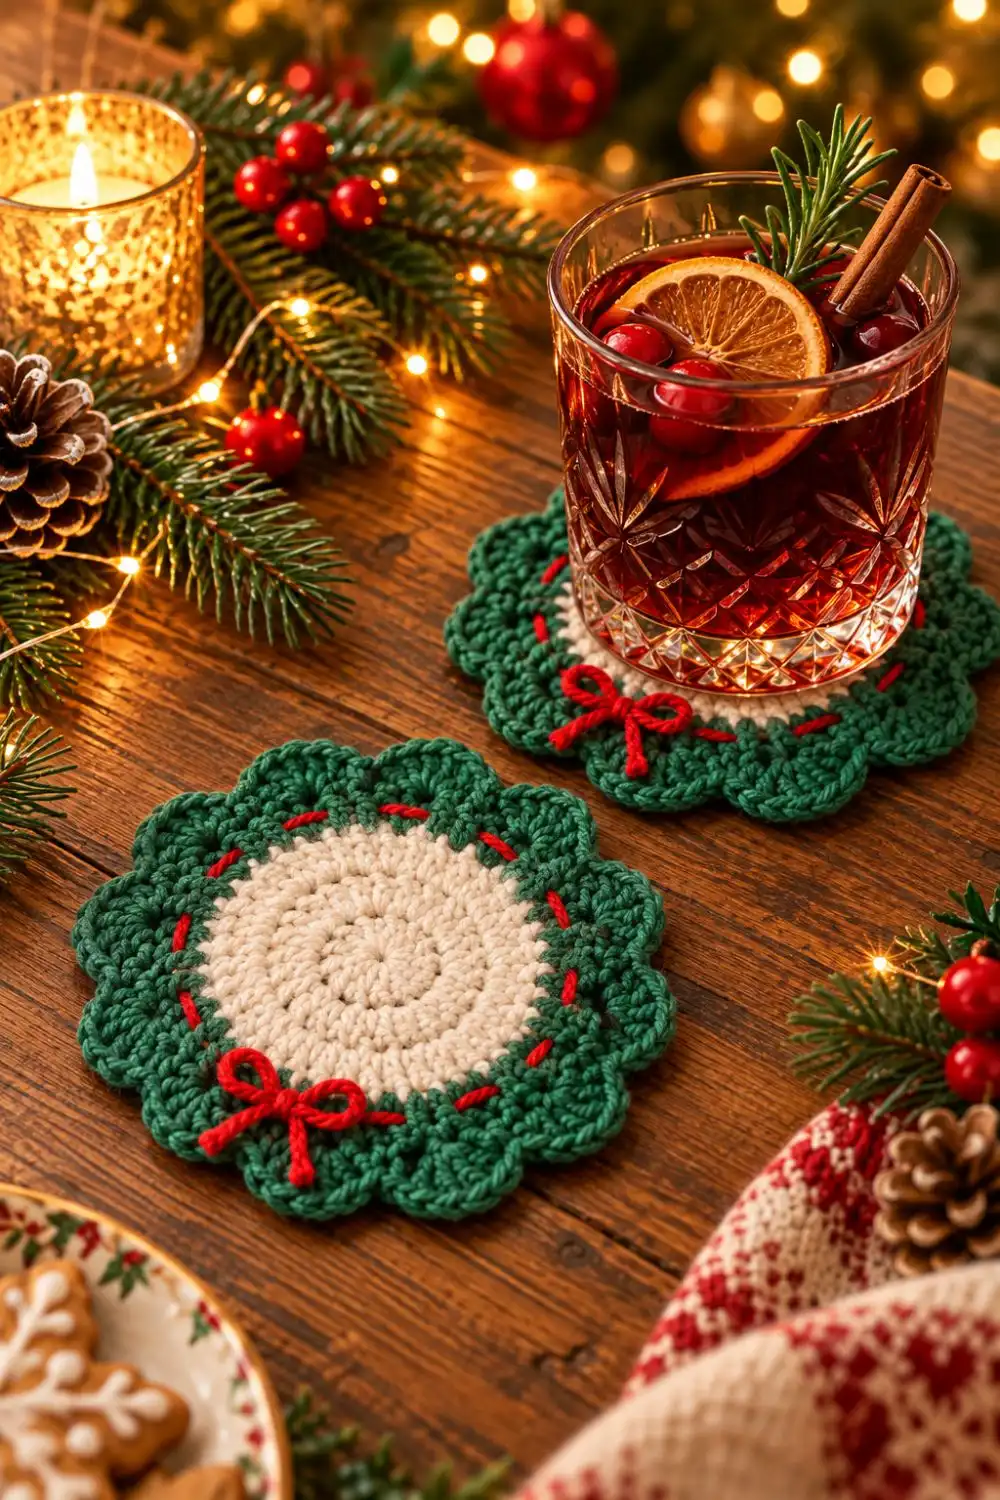
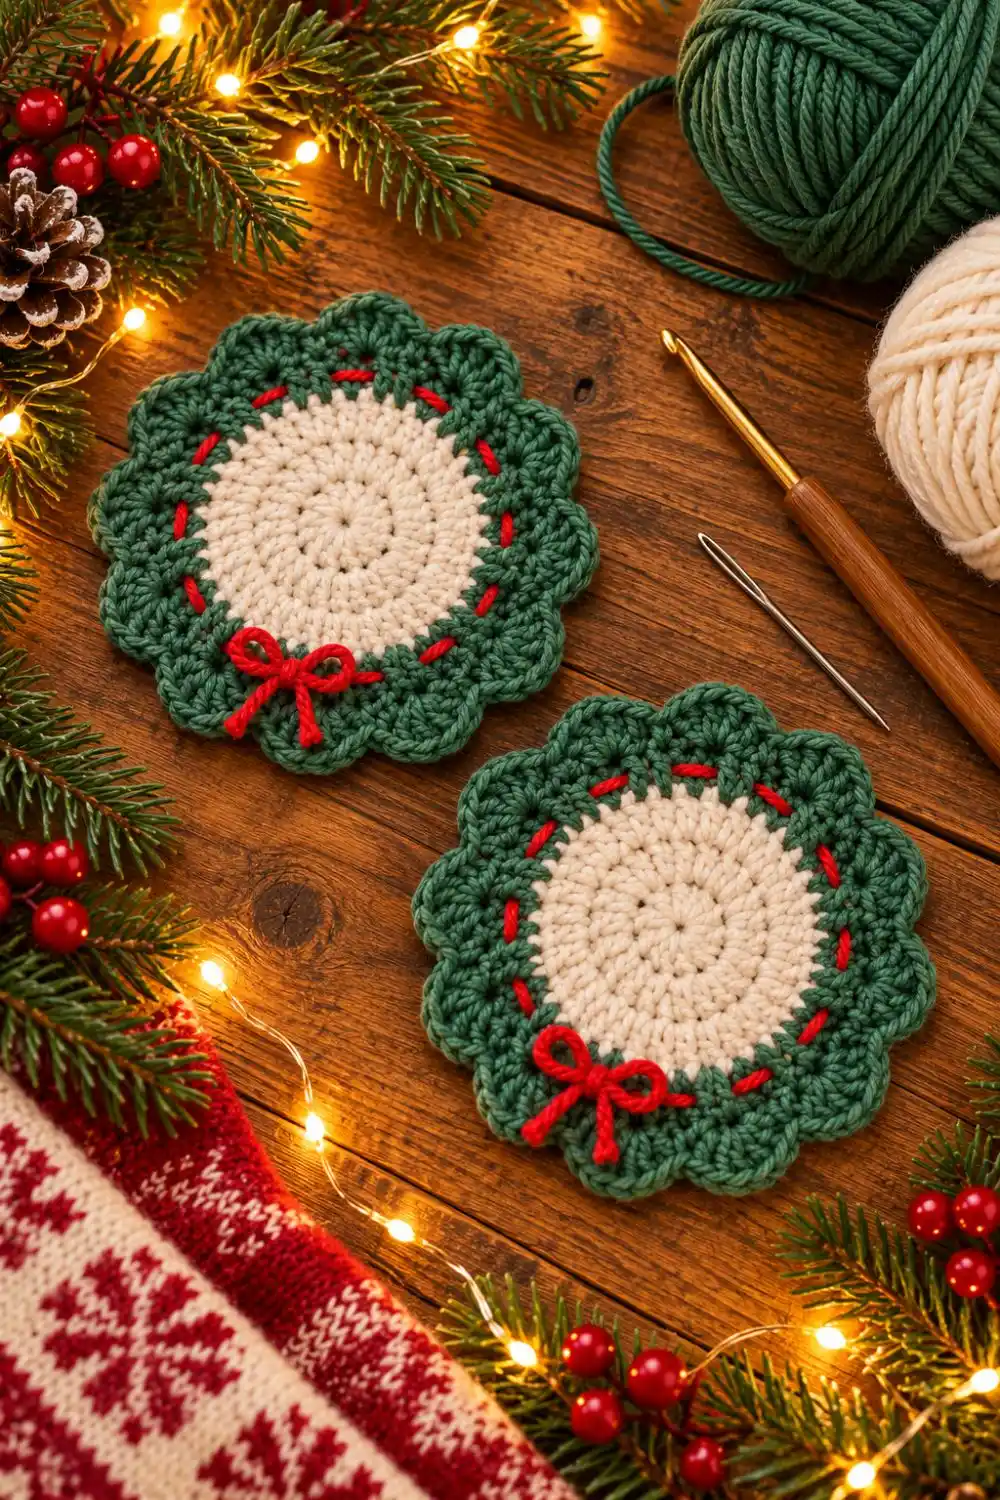
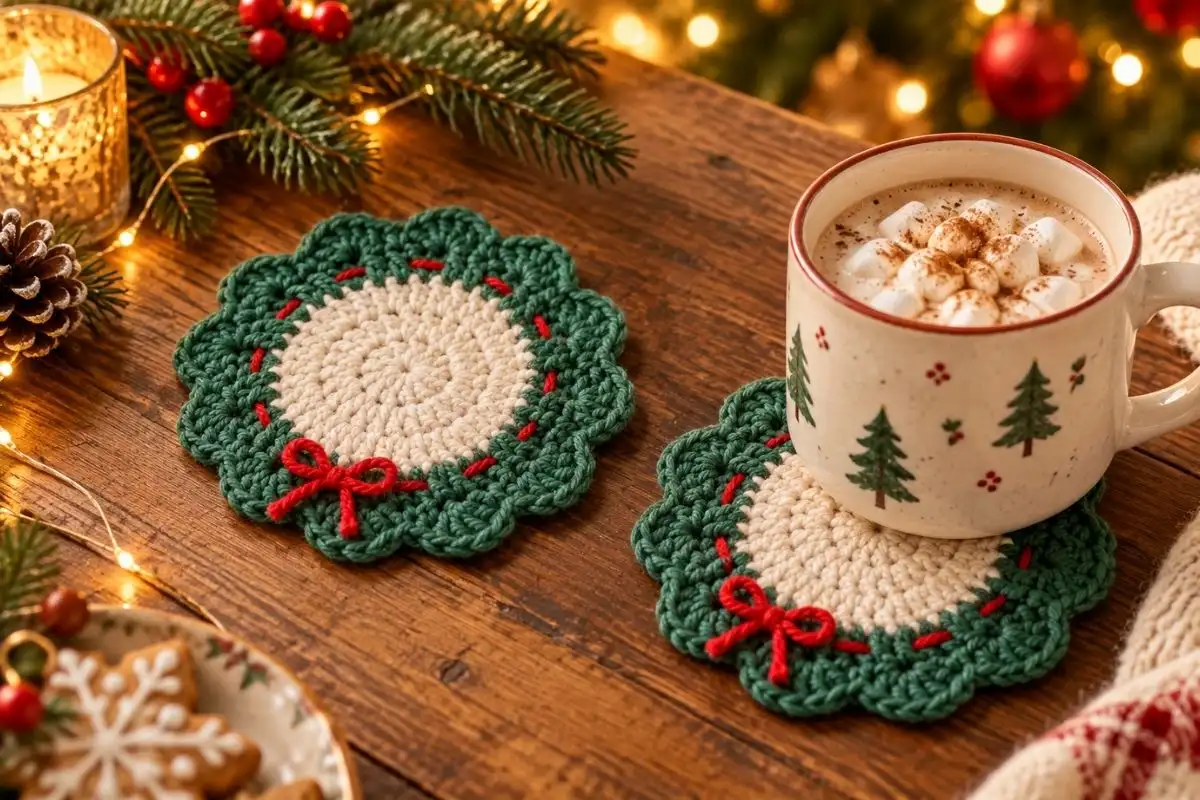
These supplied images show similar wreath coasters, festive styling and decorative construction illustrations. The diagrams and stage pictures are visual inspiration, not verified charts or progress photographs for the written pattern above. Follow the written counts for this original version.