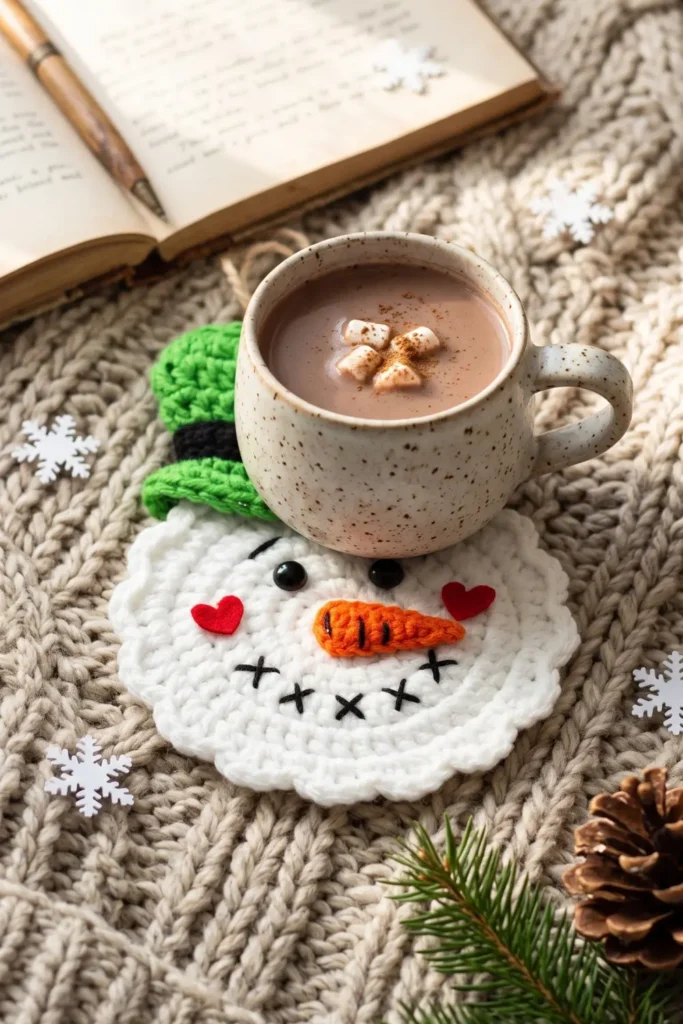
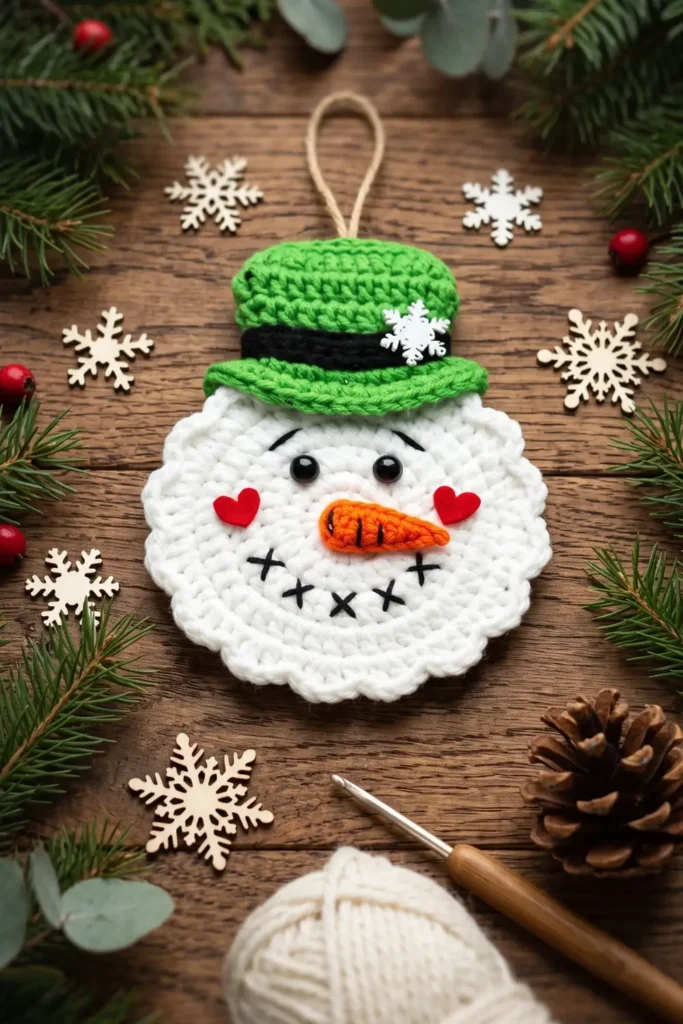
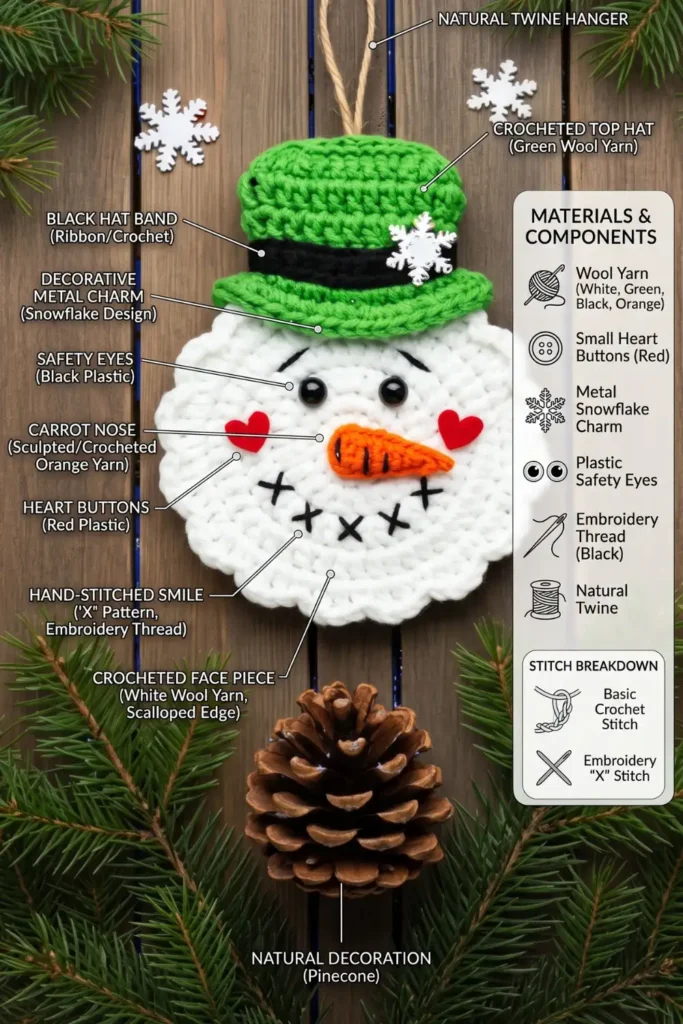
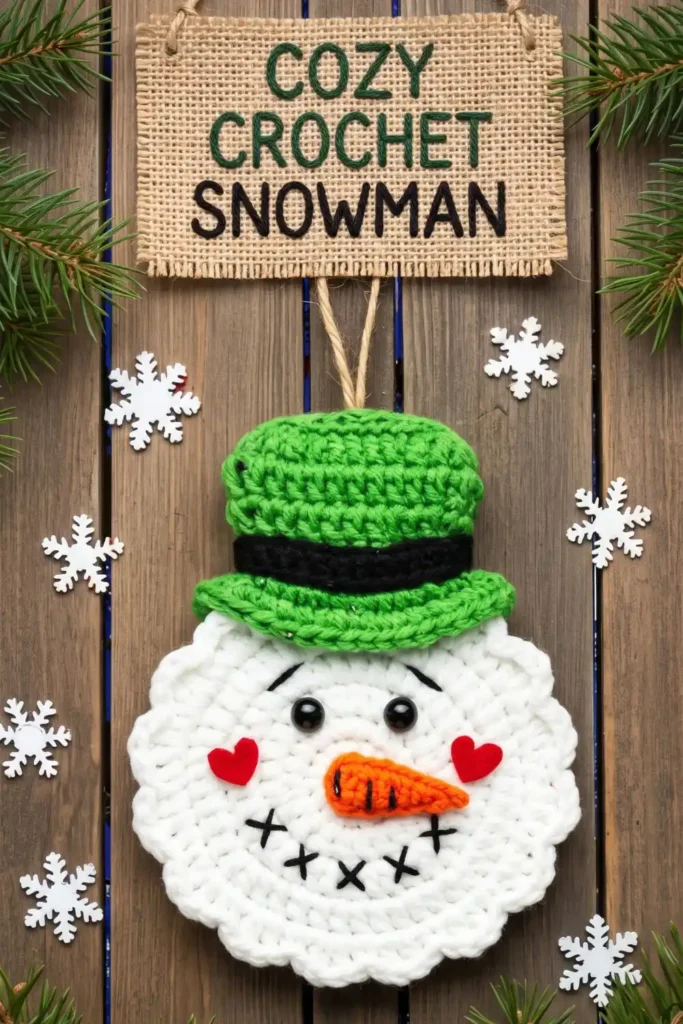
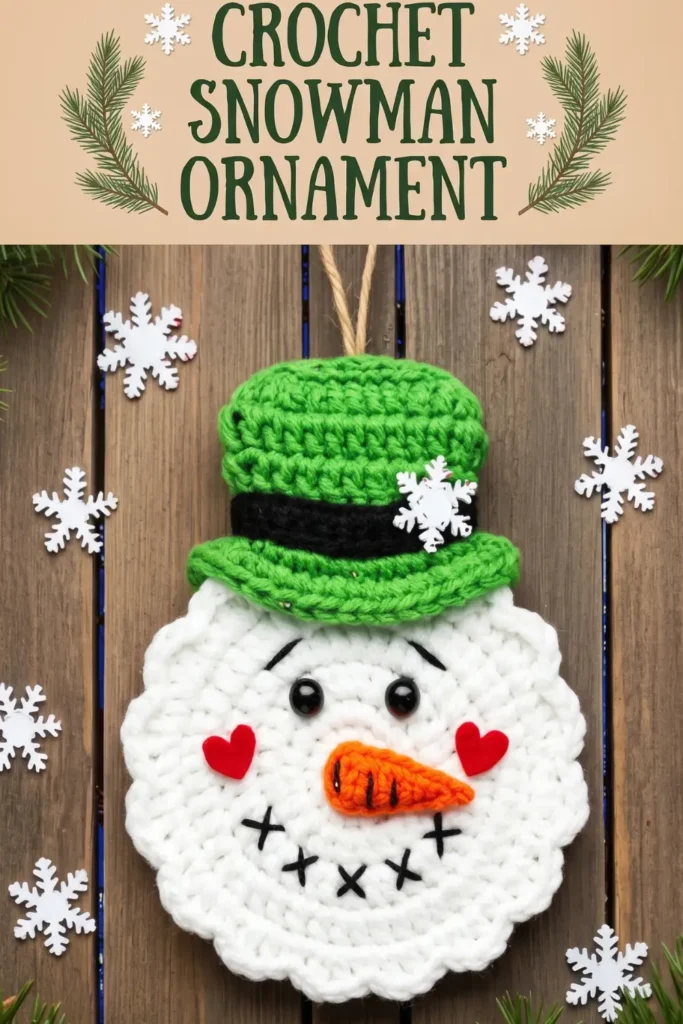
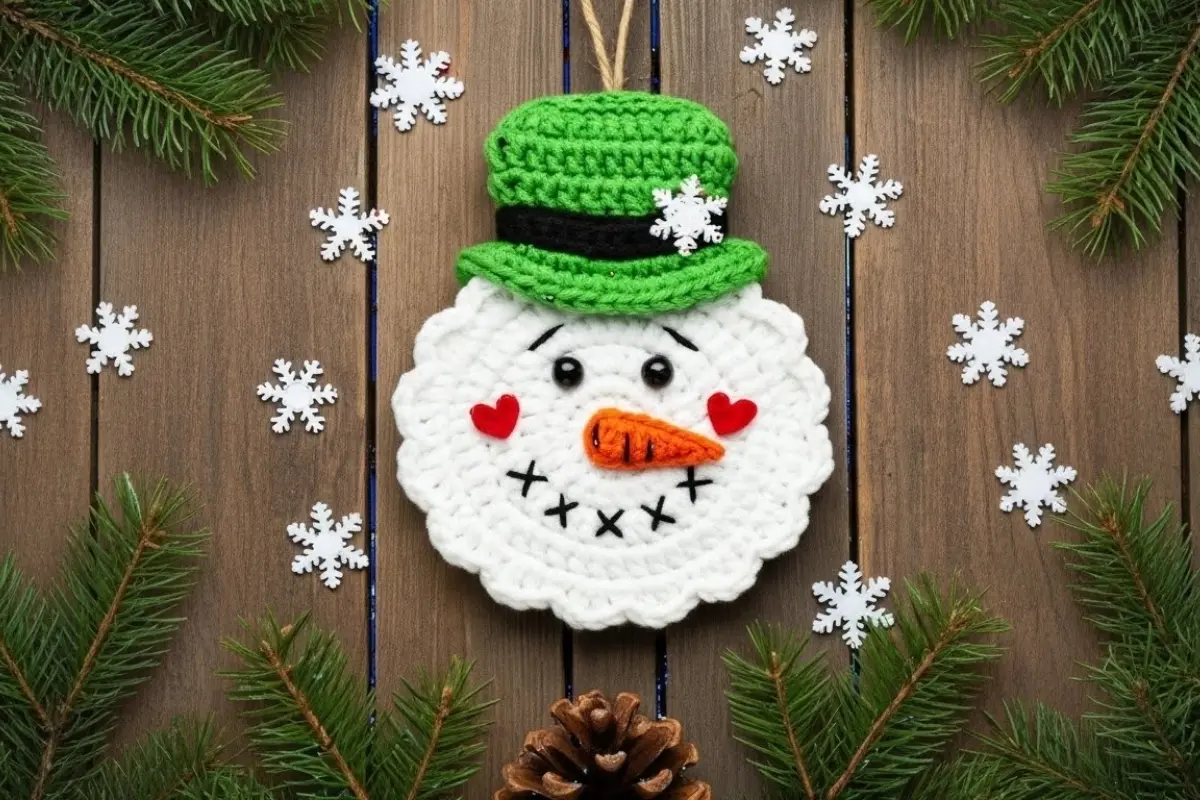
This Crochet Snowman Ornament Pattern brings together a scalloped white face, an orange carrot nose, and a green hat with a contrasting band. Embroidered details give the snowman its expression, while a hanging loop turns the finished piece into a Christmas decoration.
The face and hat are worked separately in joined rounds. The nose is a small flat piece worked in rows. Once the parts are ready, you can arrange the features before sewing everything together.
Leave the ornament as a single-layer decoration, or add the optional back panel for a thicker finish. A lightly padded version can also give the facial details a little more depth.
Pattern Overview
- Skill level: Confident beginner
- Terminology: US crochet terms
- Construction: Separate face, nose, hat, and hat band
- Gauge: Not essential for matching a specific size
- Size: Varies with yarn, hook, tension, and assembly
- Stuffing: Optional, used only with the back panel
Materials
- Worsted-weight yarn in white, green, orange, and black
- 4.0 mm crochet hook
- Two 8 mm black safety eyes, or black embroidery thread
- Tapestry needle
- Scissors
- Stitch marker
- Twine or ribbon for hanging
- Small amount of stuffing, optional
- Felt or embroidery thread for optional cheeks and hat decoration
Use yarns of the same weight for the main pieces. Different yarn weights can change the proportions between the face, nose, and hat.
This project is intended as a decorative ornament. Choose embroidered eyes if avoiding small plastic components.
Abbreviations
| Abbreviation | Meaning |
|---|---|
| MR | Magic ring |
| ch | Chain |
| sl st | Slip stitch |
| sc | Single crochet |
| hdc | Half double crochet |
| dc | Double crochet |
| inc | Work 2 sc in the same stitch |
| dec / sc2tog | Single crochet 2 stitches together |
| BLO | Back loop only |
| st / sts | Stitch / stitches |
Single Crochet Decrease
Insert the hook into the next stitch, yarn over, and pull up a loop. Insert the hook into the following stitch, yarn over, and pull up a loop.
Yarn over and pull through all three loops on the hook.
Pattern Notes
- Work the face and hat in joined rounds without turning.
- Beginning ch 1 does not count as a stitch.
- Join each completed round to its first sc.
- Joining slip stitches do not count as additional stitches.
- Work through both loops unless BLO is specified.
- Turn the nose where instructed.
- Keep the backs of the pieces accessible until the eyes and embroidery are secured.
Crochet Snowman Ornament Pattern
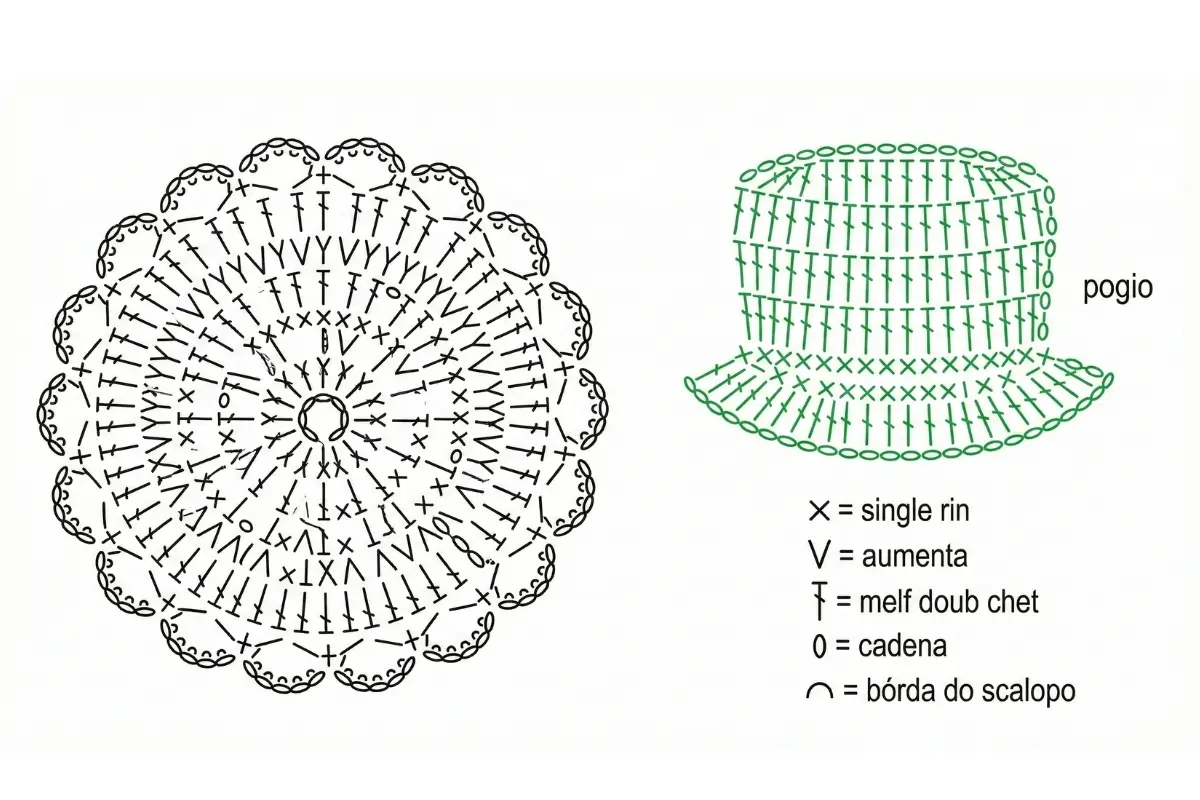
Part 1 — Snowman Face
Use white yarn.
Round 1: Make a MR. Work 10 sc into the ring. Pull the ring closed and join with sl st to the first sc. (10 sts)
Round 2: Ch 1. Inc in each stitch around. Join. (20 sts)
Round 3: Ch 1. Repeat [sc in next stitch, inc in next stitch] around. Join. (30 sts)
Round 4: Ch 1. Repeat [sc in next 2 stitches, inc in next stitch] around. Join. (40 sts)
Round 5 — Scalloped Edge: Repeat [skip 1 stitch, work 5 dc in next stitch, skip 1 stitch, sl st in next stitch] 10 times around.
The final slip stitch completes the last repeat.
Fasten off and weave in the ends.
Count: 10 scallops.
Part 2 — Carrot Nose
Use orange yarn.
Row 1: Ch 5.
Row 2: Sc in the second chain from the hook and in each remaining chain. (4 sts)
Row 3: Ch 1, turn. Sc across. (4 sts)
Row 4: Ch 1, turn. Dec across the first 2 stitches, sc in each of the next 2 stitches. (3 sts)
Row 5: Ch 1, turn. Sc in each stitch. (3 sts)
Row 6: Ch 1, turn. Dec across the first 2 stitches, sc in the last stitch. (2 sts)
Row 7: Ch 1, turn. Sc2tog. (1 st)
Fasten off, leaving a tail for sewing.
Optional: embroider small texture lines on the carrot before attaching it.
Part 3 — Green Hat
Use green yarn.
Round 1: Make a MR. Work 8 sc into the ring. Close the ring and join. (8 sts)
Round 2: Ch 1. Inc in each stitch around. Join. (16 sts)
Round 3: Ch 1. Repeat [sc in next stitch, inc in next stitch] around. Join. (24 sts)
Rounds 4–6: Ch 1. Sc in each stitch around. Join after each round. (24 sts per round)
Do not fasten off.
Hat Brim
Round 7: Ch 1. Working in BLO, repeat [sc in next 2 stitches, inc in next stitch] around. Join. (32 sts)
Round 8: Ch 1. Working through both loops, repeat [sc in next 3 stitches, inc in next stitch] around. Join. (40 sts)
Fasten off, leaving a tail for attachment.
Black Hat Band
Use black yarn.
Row 1: Ch 32.
Row 2: Hdc in the second chain from the hook and in each remaining chain. (31 sts)
Fasten off, leaving a sewing tail.
Wrap the band around Round 6 of the hat and check the fit before sewing. Position any overlap at the back without gathering the hat fabric.
An optional white embroidered or felt snowflake can decorate one side.
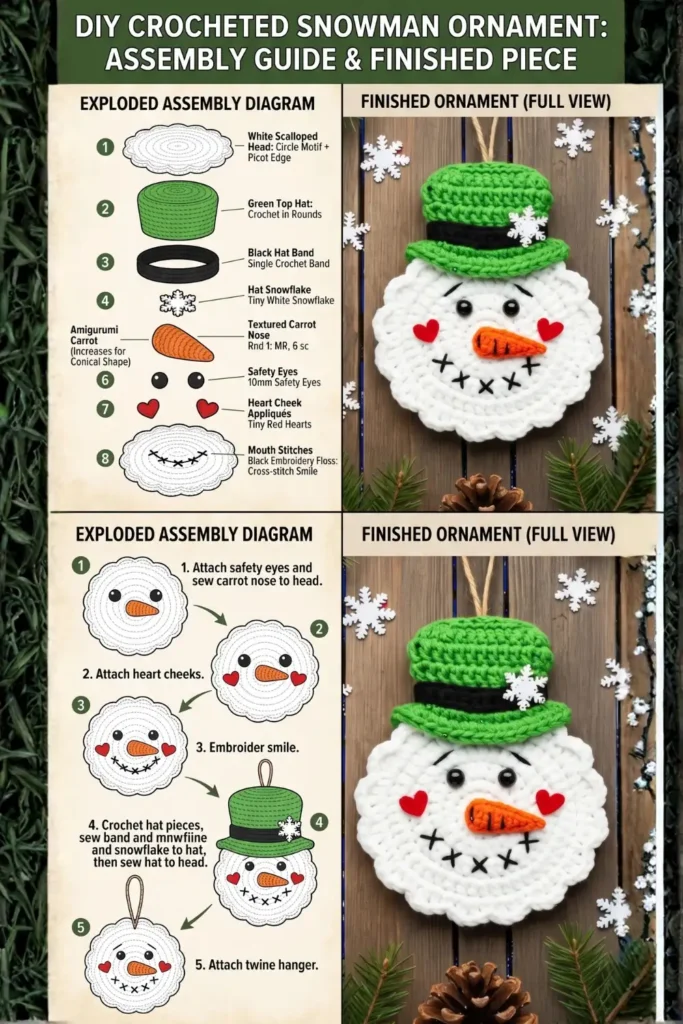
Part 4 — Assembly
Arrange the Features
Lay the face flat. Position the hat slightly overlapping its upper edge, then place the carrot nose and eyes.
Check the arrangement before attaching anything permanently. The hat placement affects how much space remains for the eyebrows and eyes.
Attach the Eyes and Nose
If using safety eyes, install and secure them while the back of the face is still accessible. Follow the eye manufacturer’s attachment instructions.
Sew the carrot nose to the center of the face, keeping its tapered end visible.
Add the Embroidery
Use black thread or yarn to embroider eyebrows and an X-stitch mouth.
Add small heart-shaped cheeks with embroidery or sewn felt, if desired.
Keep the stitching relaxed so it does not pull the face inward.
Attach the Hat
Sew the back portion of the hat’s brim to the upper face edge. Leave the visible front brim free so it retains its shape.
Secure the hanging twine or ribbon to the back of the hat through several stitches.
Optional Back Panel
Using white yarn, repeat Rounds 1–4 of the face.
Place this panel behind the decorated face. Match the 40 stitches of the back panel to the 40-stitch foundation underneath the front scallops.
Whipstitch the panels together, leaving a small opening if adding stuffing.
Insert a very light layer of stuffing, then close the opening. Keep the scallops free of the seam.
Practical Tips
Check the Face Before Adding Details
Lay the face down after Round 4. If it is strongly rippled, investigate the tension and increase distribution before continuing. Embroidery and backing will make later adjustments harder.
Use a Marker for the First Stitch
The beginning ch 1 and joining slip stitch can be mistaken for stitches. Mark the first sc and count before joining.
Fit the Band Before Sewing
The hat band is worked in hdc, while the hat uses sc. Their stitch widths differ, so stitch counts alone do not establish the fit.
Keep the Back Accessible
Complete the eye attachment and embroidery before adding the optional back panel.
Stuff Lightly
Too much filling can stretch the face, spread the features, and pull the scalloped edge out of shape.
Color Ideas and Related Projects
Try a red hat with a black band, a blue hat for a winter theme, or a collection of snowmen with different hat colors.
For a coordinated Christmas display, pair your snowman with the Crochet Snowflake Pattern. You can also explore the Crochet Lace Star Ornament to add a contrasting openwork decoration.
Frequently Asked Questions
Is this pattern suitable for beginners?
The stitches are straightforward, but the project also requires decreases, BLO work, and sewing. It is best suited to a confident beginner.
Can I use cotton yarn?
Yes. Cotton changes the feel and structure of the pieces, so check the face shape and hat fit as you work.
Do I need stuffing?
No. Stuffing is optional and should only be enclosed between the face and back panel.
Can I embroider the eyes?
Yes. Embroidered eyes are an alternative to the plastic eyes listed in the materials.
Does gauge matter?
A specific gauge is not required, but tension affects the size, flatness, and fit of the pieces. Keep it consistent throughout.
Save Your Snowman Pattern
Save this Crochet Snowman Ornament Pattern for your Christmas crochet collection.
Which hat color would you choose for your first snowman? Share your combination in the comments, or make a small set with a different color for each ornament.