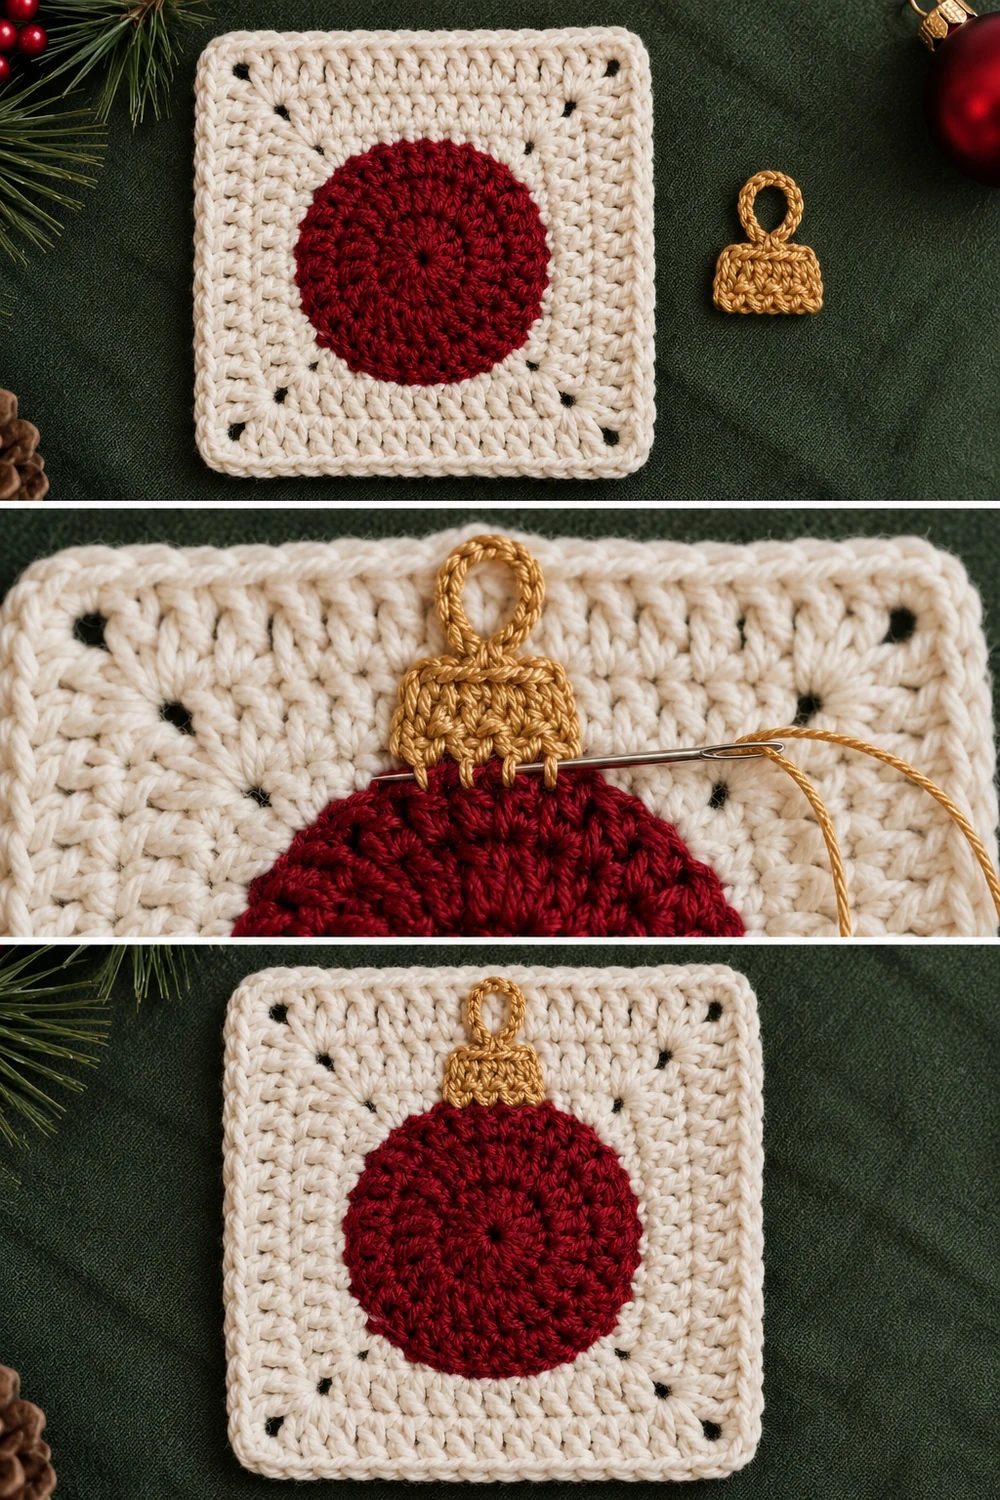
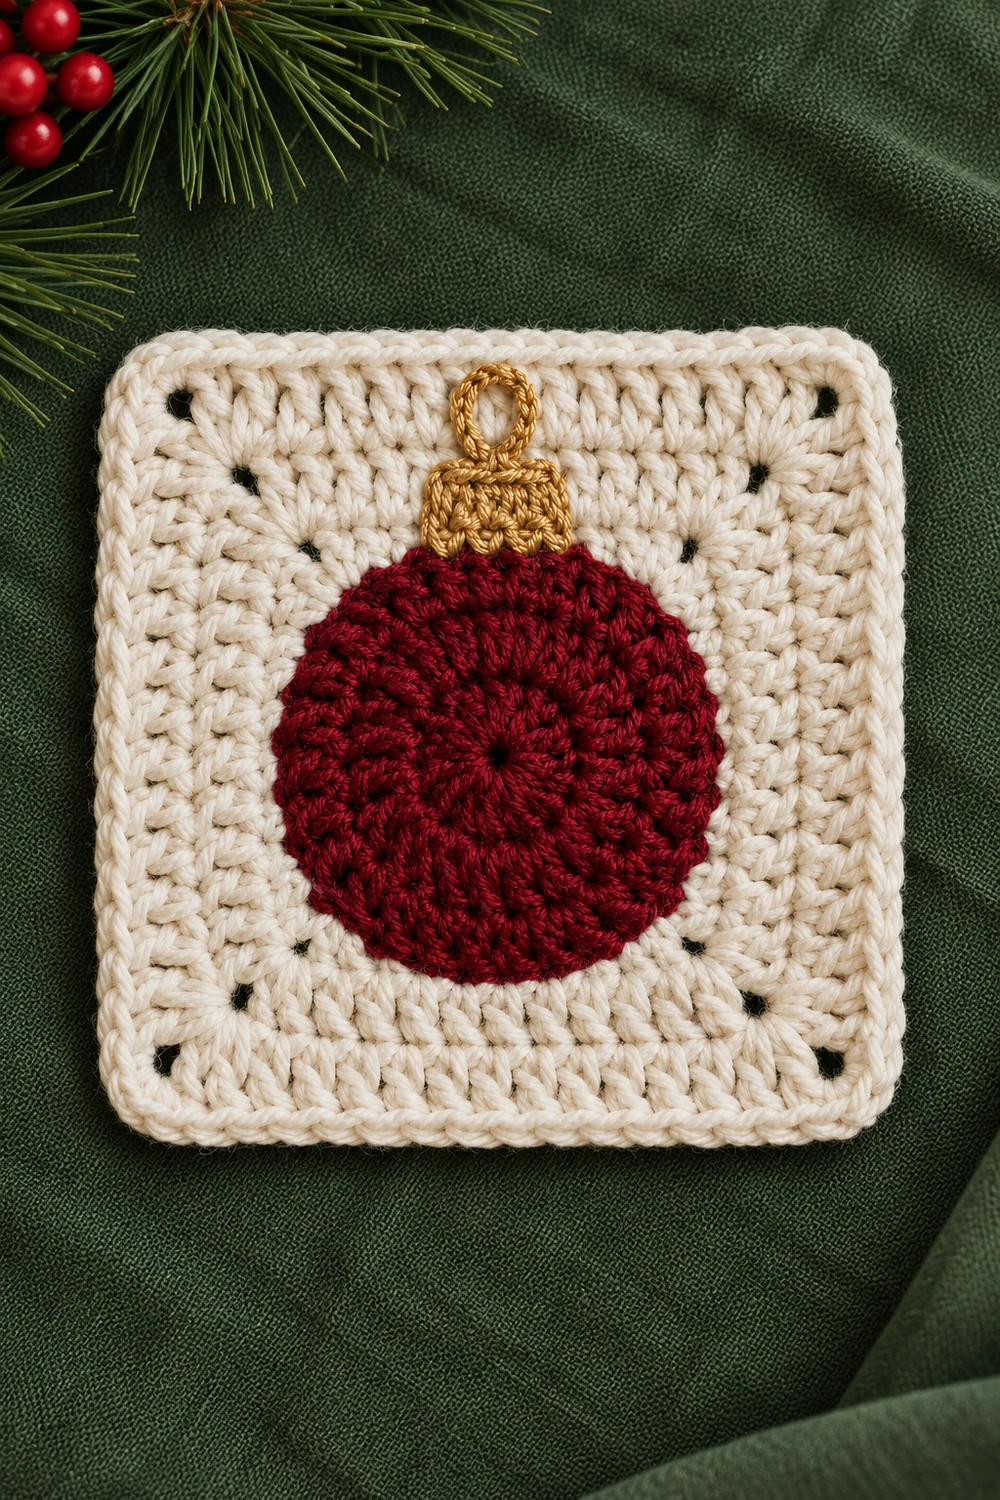
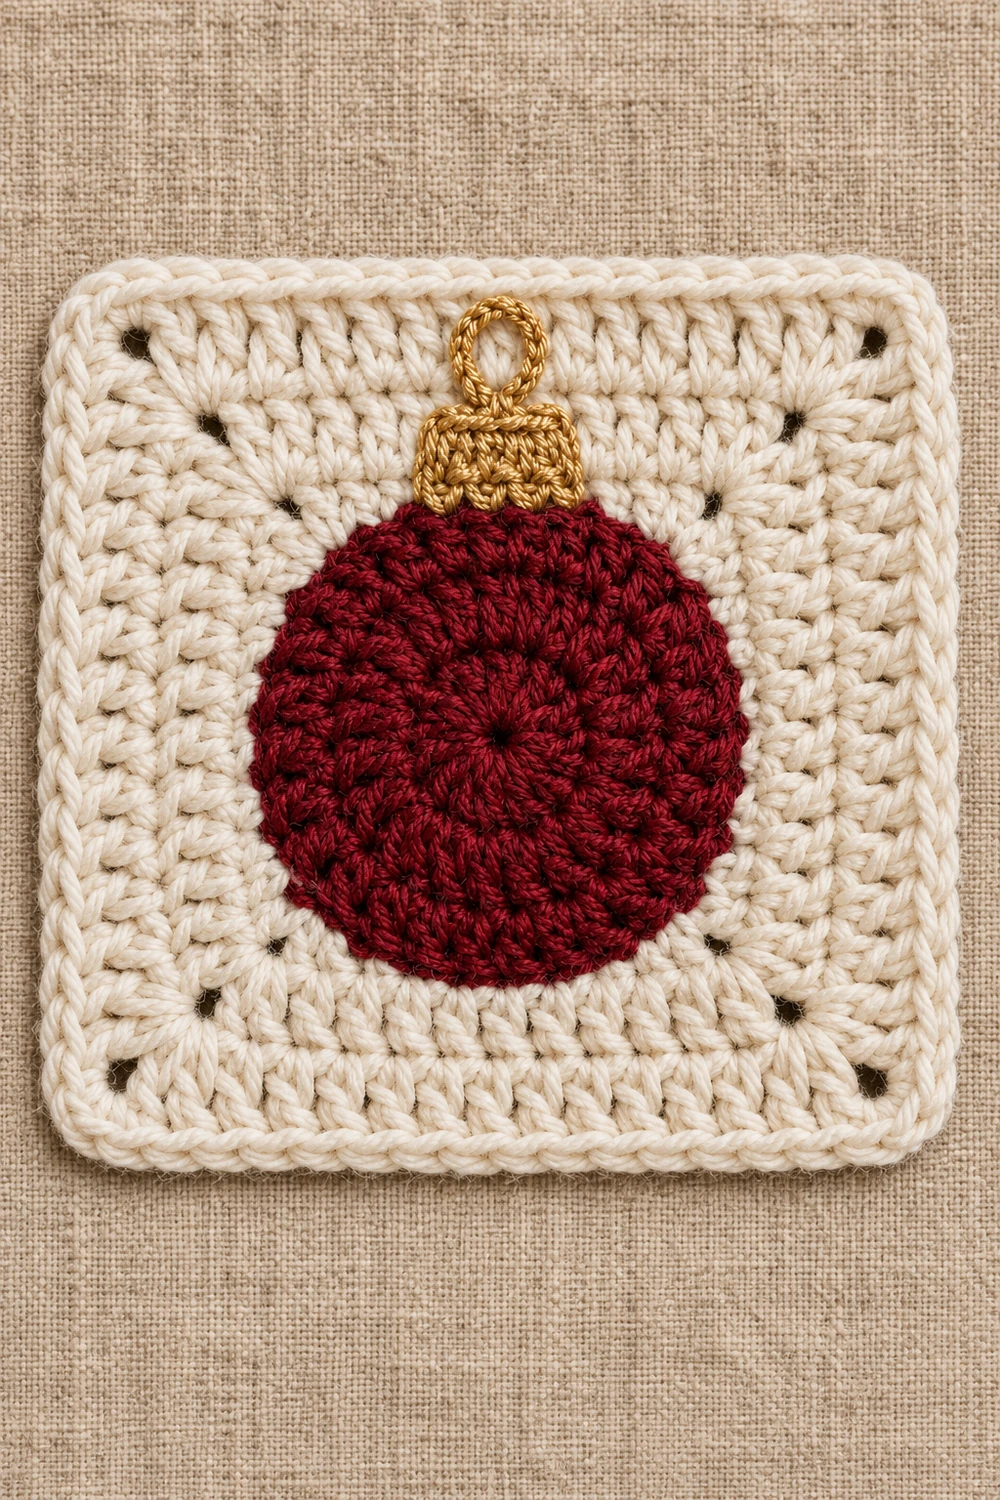
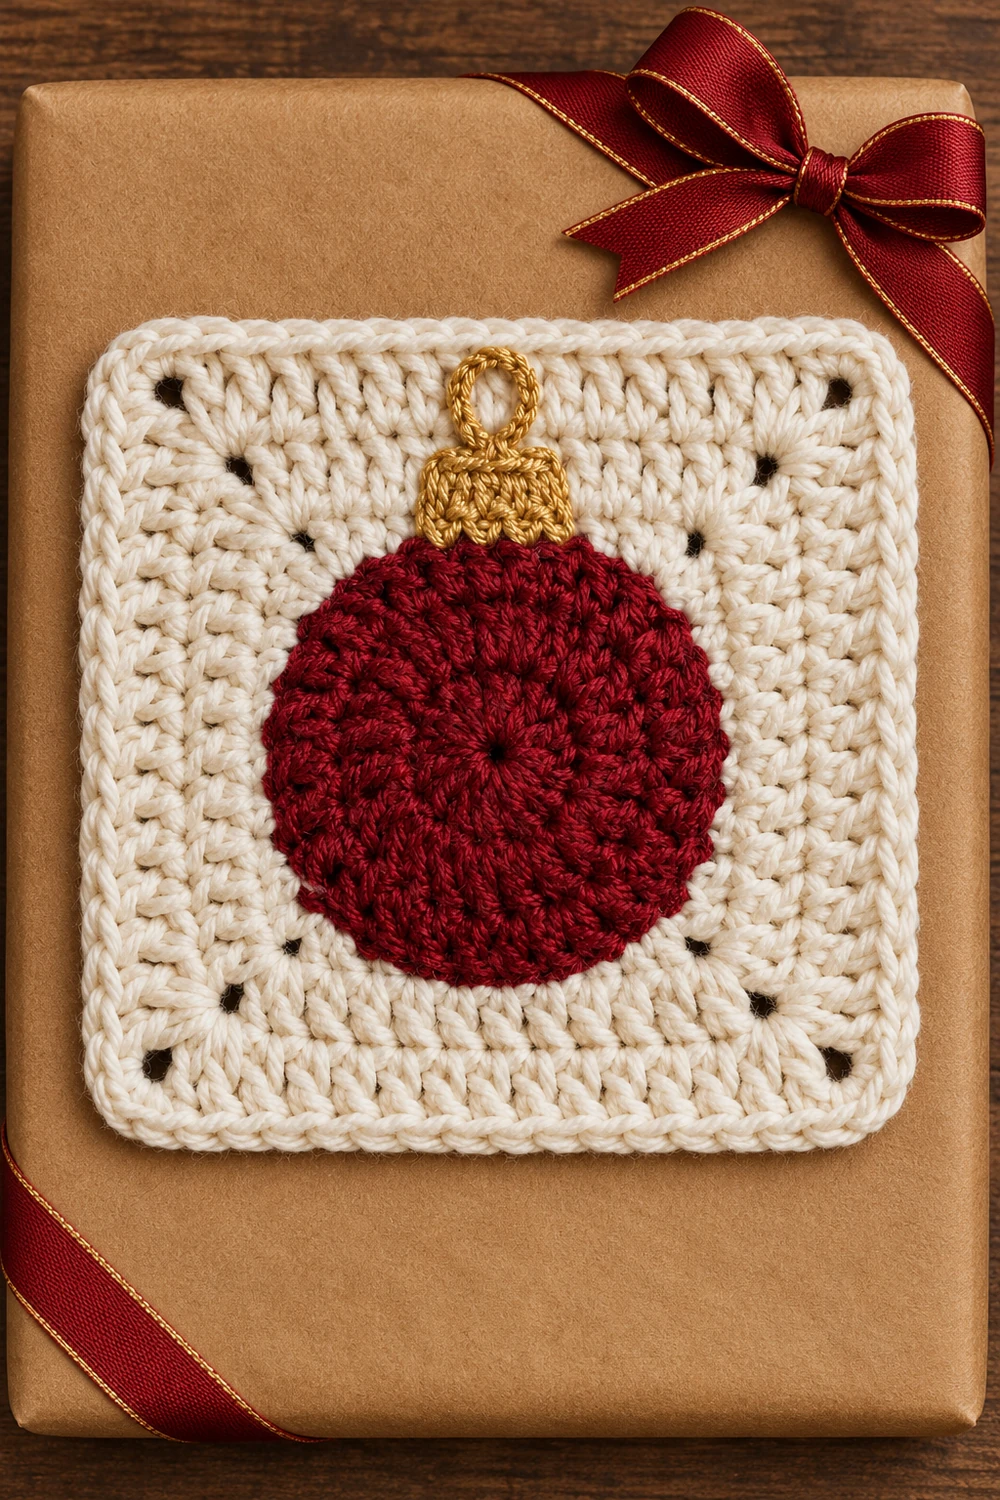
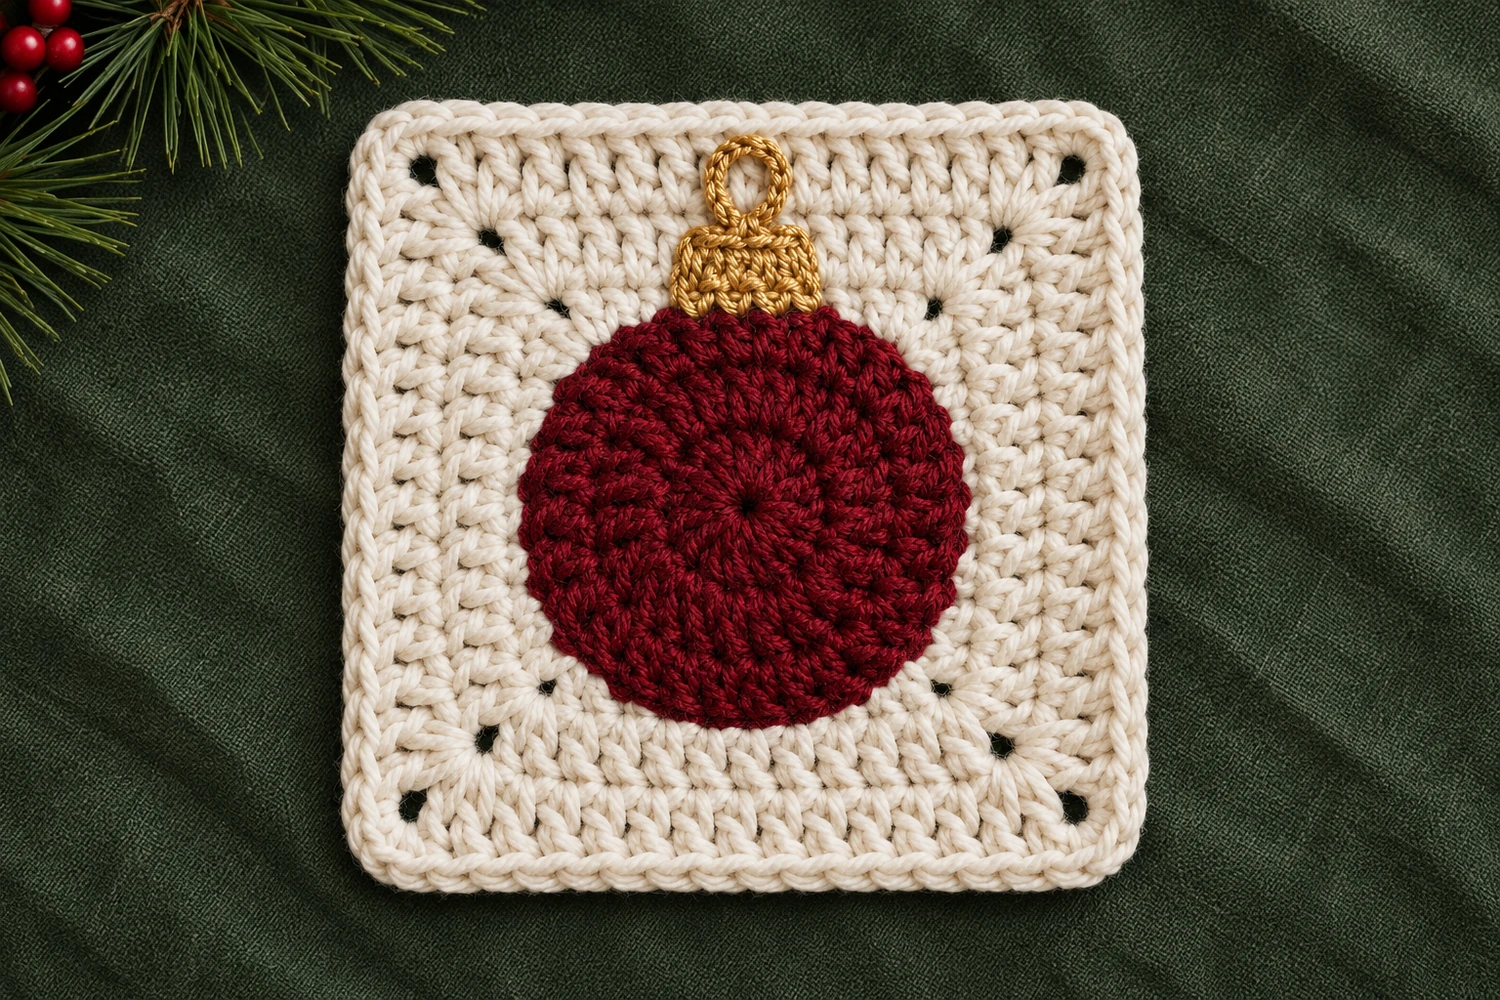
A burgundy Christmas bauble fills the center of this Christmas Bauble Granny Square. The red circle becomes the foundation for the ivory square, and a little gold cap and loop give it the look of a tree ornament.
This original pattern was inspired by the reference image. Make one square as an appliqué or repeat it for a blanket or cushion panel. The gold details are crocheted separately and sewn flat on the front.
Christmas Bauble Granny Square Materials
- Smooth worsted-weight burgundy and ivory yarn in the same fiber and weight.
- A small amount of gold yarn of similar weight. Choose a soft gold yarn for a washable blanket.
- A 4 mm crochet hook, or a size that makes a flat, supple fabric.
- A tapestry needle, scissors and four stitch markers.
- A blocking mat and rustproof pins.
Skill level: Intermediate.
Estimated size: 6–7 in (15–18 cm) square, depending on yarn and tension. The stitch counts were checked on paper. The pattern has not been physically tested.
US Crochet Terms
- MR = magic ring
- ch = chain
- sl st = slip stitch
- sc = single crochet
- hdc = half double crochet
- dc = double crochet
- tr = treble crochet
- st = stitch
- sp = space
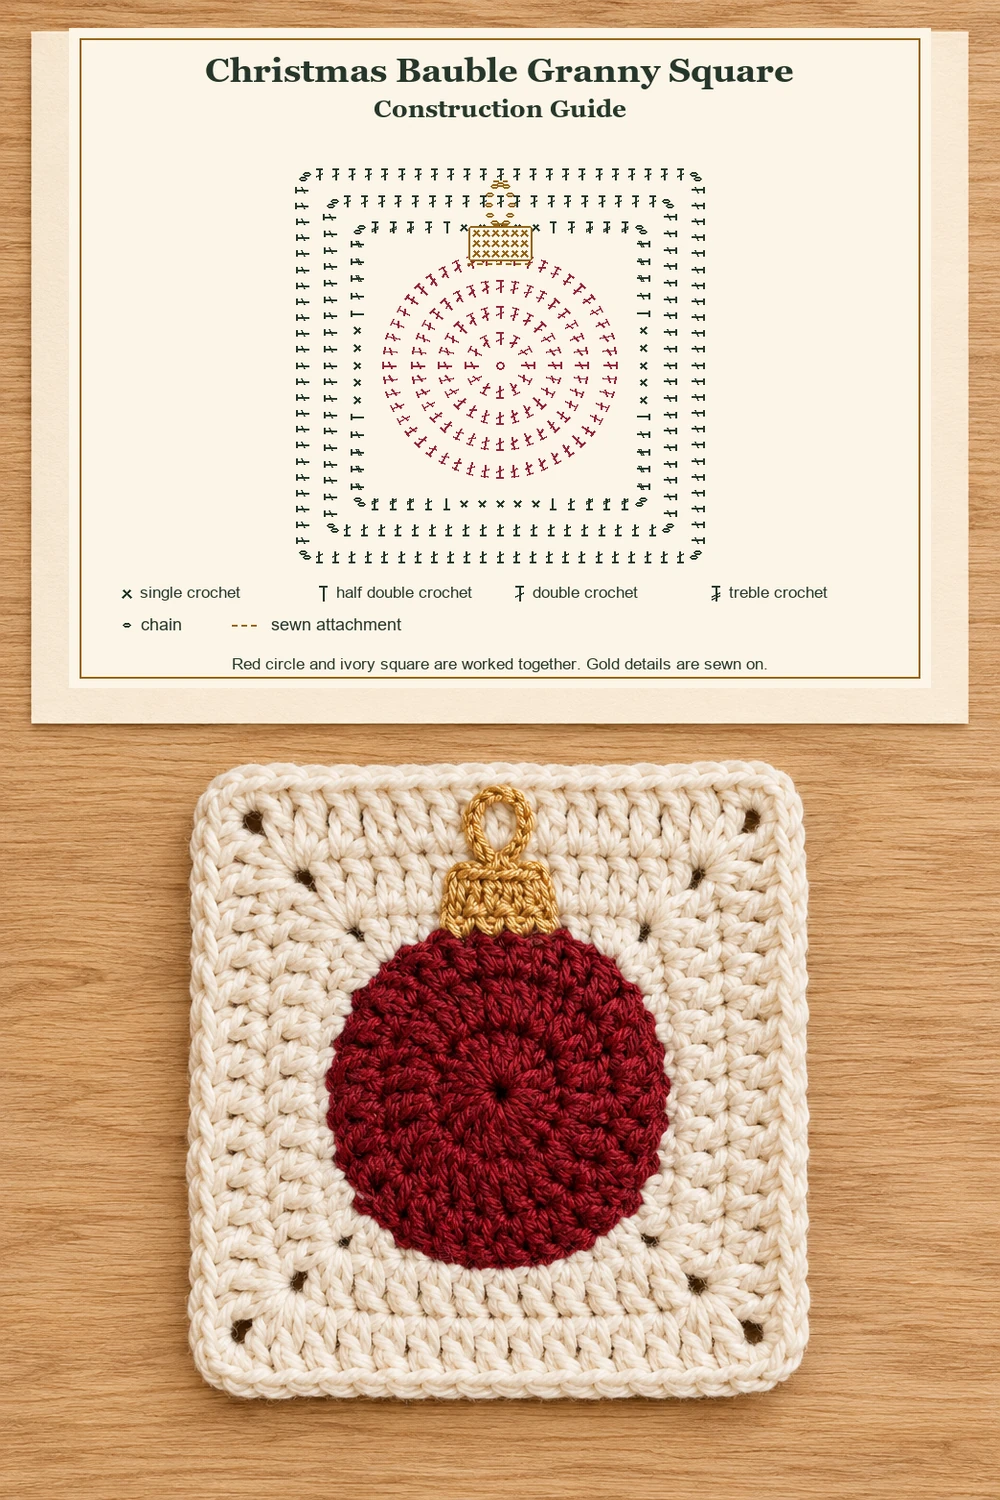
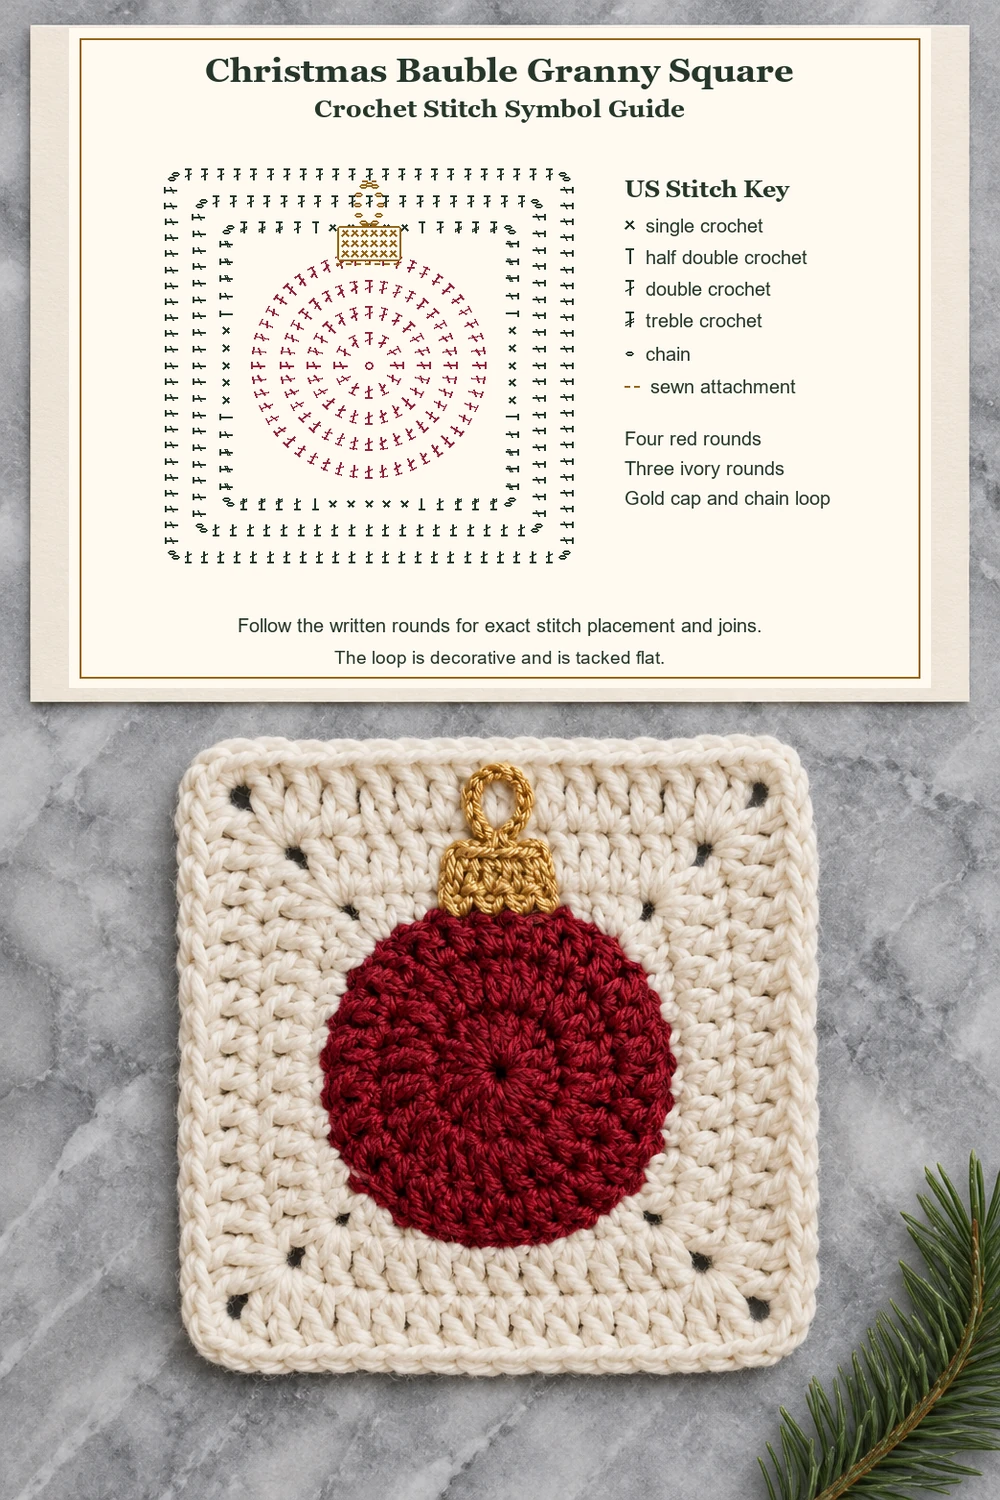
Work in joined rounds without turning. Beginning chains do not count. Join with a sl st to the first actual stitch and skip the joining sl st when counting.
Christmas Bauble Granny Square Pattern
Burgundy circle
- Round 1: Make an MR, ch 2 and work 12 dc in the ring. Close the ring and join. 12 dc.
- Round 2: Ch 2. Work 2 dc in the same st as the join and in each remaining st around. Join. 24 dc.
- Round 3: Ch 2. Begin in the same st as the join. Repeat (dc in next st, 2 dc in next st) 12 times. Join. 36 dc.
- Round 4: Ch 2. Begin in the same st as the join. Repeat (dc in each of next 2 sts, 2 dc in next st) 12 times. Join and fasten off. 48 dc.
Count from the first dc of Round 4. Mark stitches 1, 13, 25 and 37 for the corners. There are 11 unmarked stitches between each pair of markers.
Ivory square
Round 5: Join ivory in the first marked st, ch 3 and work (2 tr, ch 2, 2 tr) in that same st. Across the next 11 sts, work tr, dc, hdc, sc in each of the next 5 sts, hdc, dc, tr. Repeat the corner and side sequence at each of the next three markers. Join to the first tr. 60 sts and four ch-2 corner spaces. There are 15 sts between corner spaces.
Rounds 6–7: At the start of each round, sl st in the next stitch and into the next ch-2 corner sp. Ch 2 and work (2 dc, ch 2, 2 dc) in that space. Dc once in every stitch to the next corner. Work the same corner in each remaining ch-2 sp, with a dc in every stitch between corners. Join to the first dc. Round 6 has 76 dc, 19 per side. Round 7 has 92 dc, 23 per side. Both rounds have four ch-2 corner spaces. Fasten off after Round 7.
Mark each corner opening as you work. Count a side from one corner opening to the next, including the two dc at each end of the side.
Gold cap and decorative loop
- Row 1: Ch 7. Sc in the second ch from the hook and in each remaining ch. Turn. 6 sc.
- Rows 2–3: Ch 1 and sc in each st across. Turn after Row 2. Fasten off after Row 3 with a sewing tail. 6 sc per row.
- Loop: Ch 12 and sl st into the first chain to form a ring. Leave a sewing tail. Sew the join to the center of the cap’s top edge, between stitches 3 and 4.
Block and Assemble
- Weave in the base tails. Damp block if your yarn allows it. Pin the four corner openings first, straighten the sides and let the square dry.
- Center the cap at the 12 o’clock edge of the red circle. Overlap the last red round by about one stitch height. Sew around the cap with small stitches that catch the front strands of the square.
- Tack the top of the gold loop to the ivory base so it lies flat within the square. Weave in the gold tails.
Troubleshooting
A corner pulls toward the center
Check the treble stitches in the marked corner and at both ends of the transition side. The markers should be exactly 12 stitches apart.
The sides ripple
Count one dc per stitch between the corner openings. The increases belong in the four corner spaces.
The cap leans
Mark the middle of the top side before sewing. Align the cap’s midpoint and the loop join with that marker.
Related Christmas Crochet Patterns
Assembly, Charts and Pinterest Images
The charts show the integrated circle and square, plus the cap and loop. Dashed lines mark where the gold details are sewn. Use the written rounds for exact stitch placement and counts.