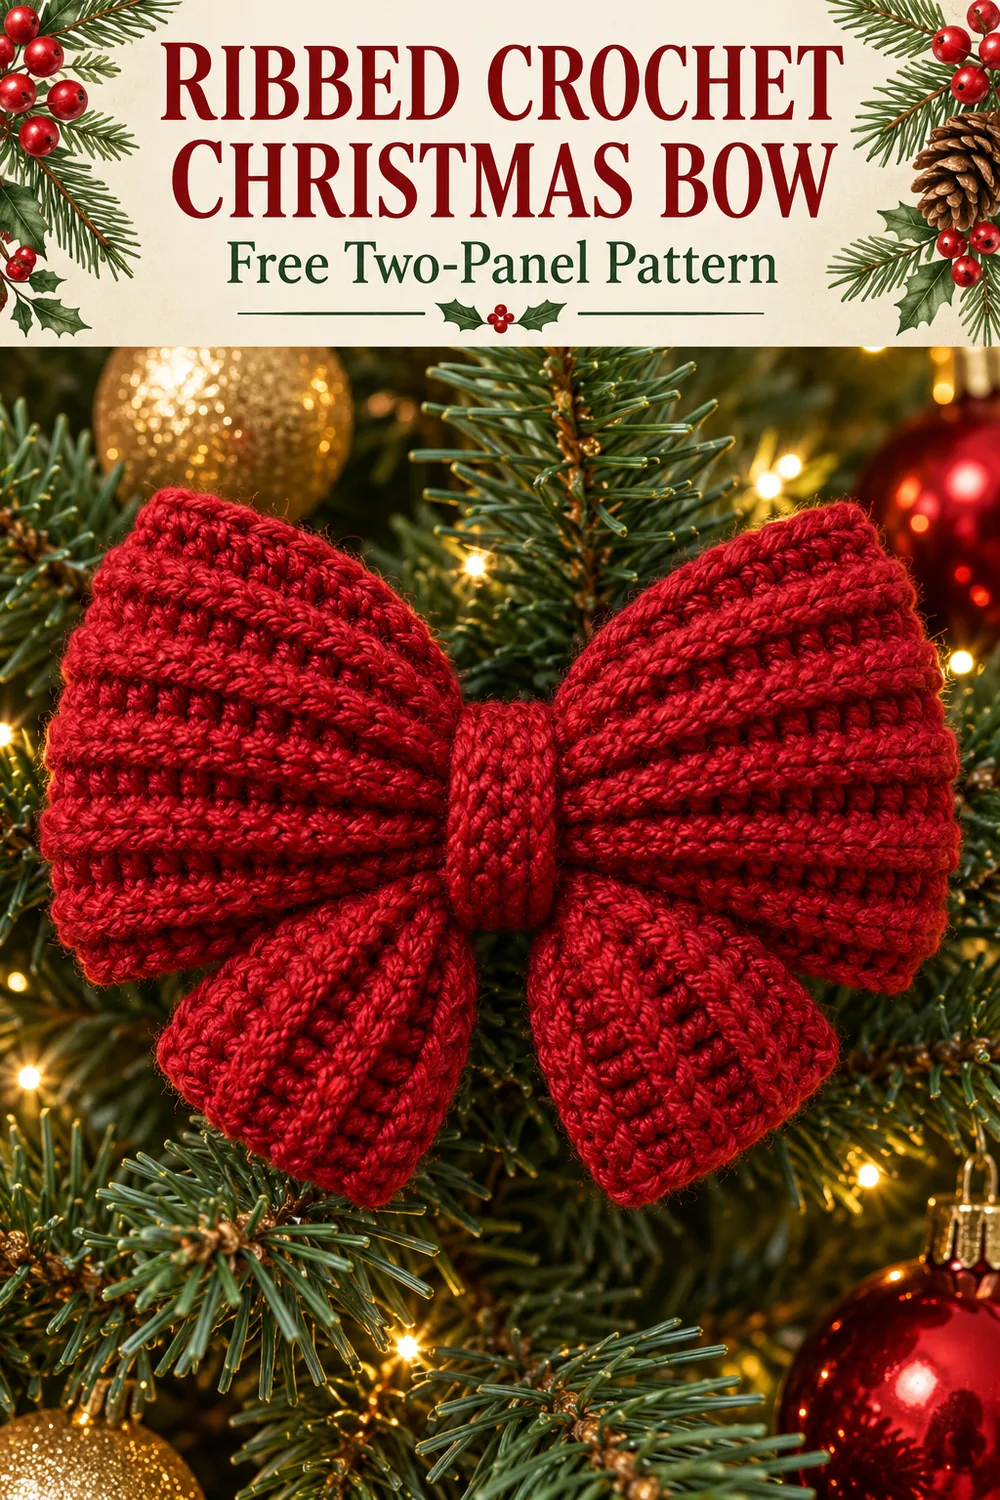
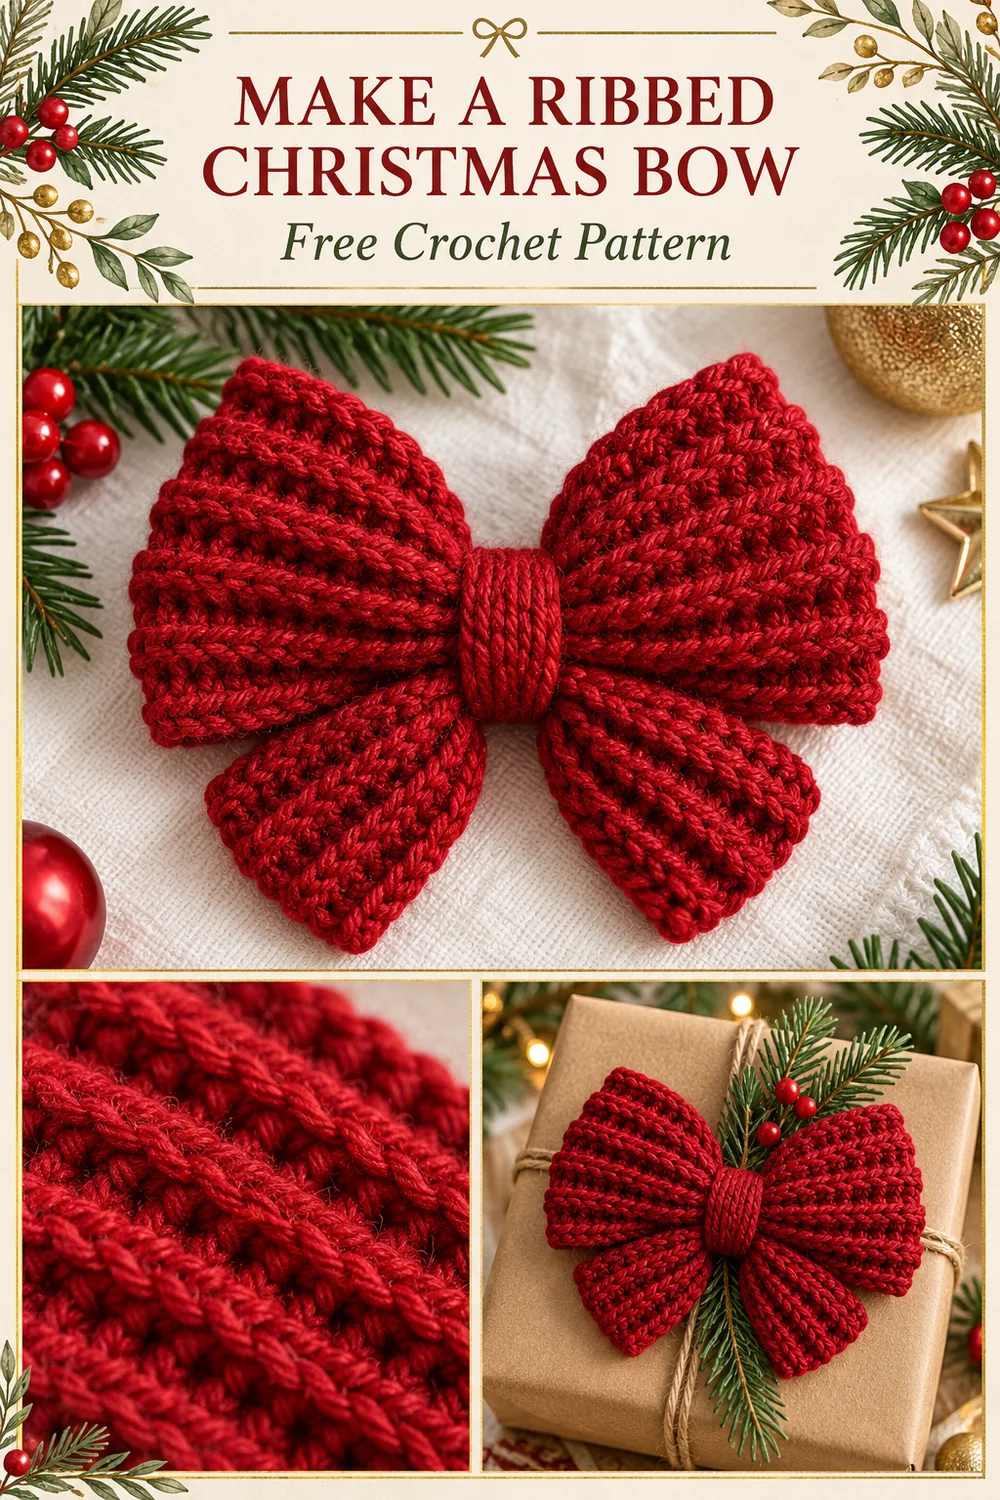
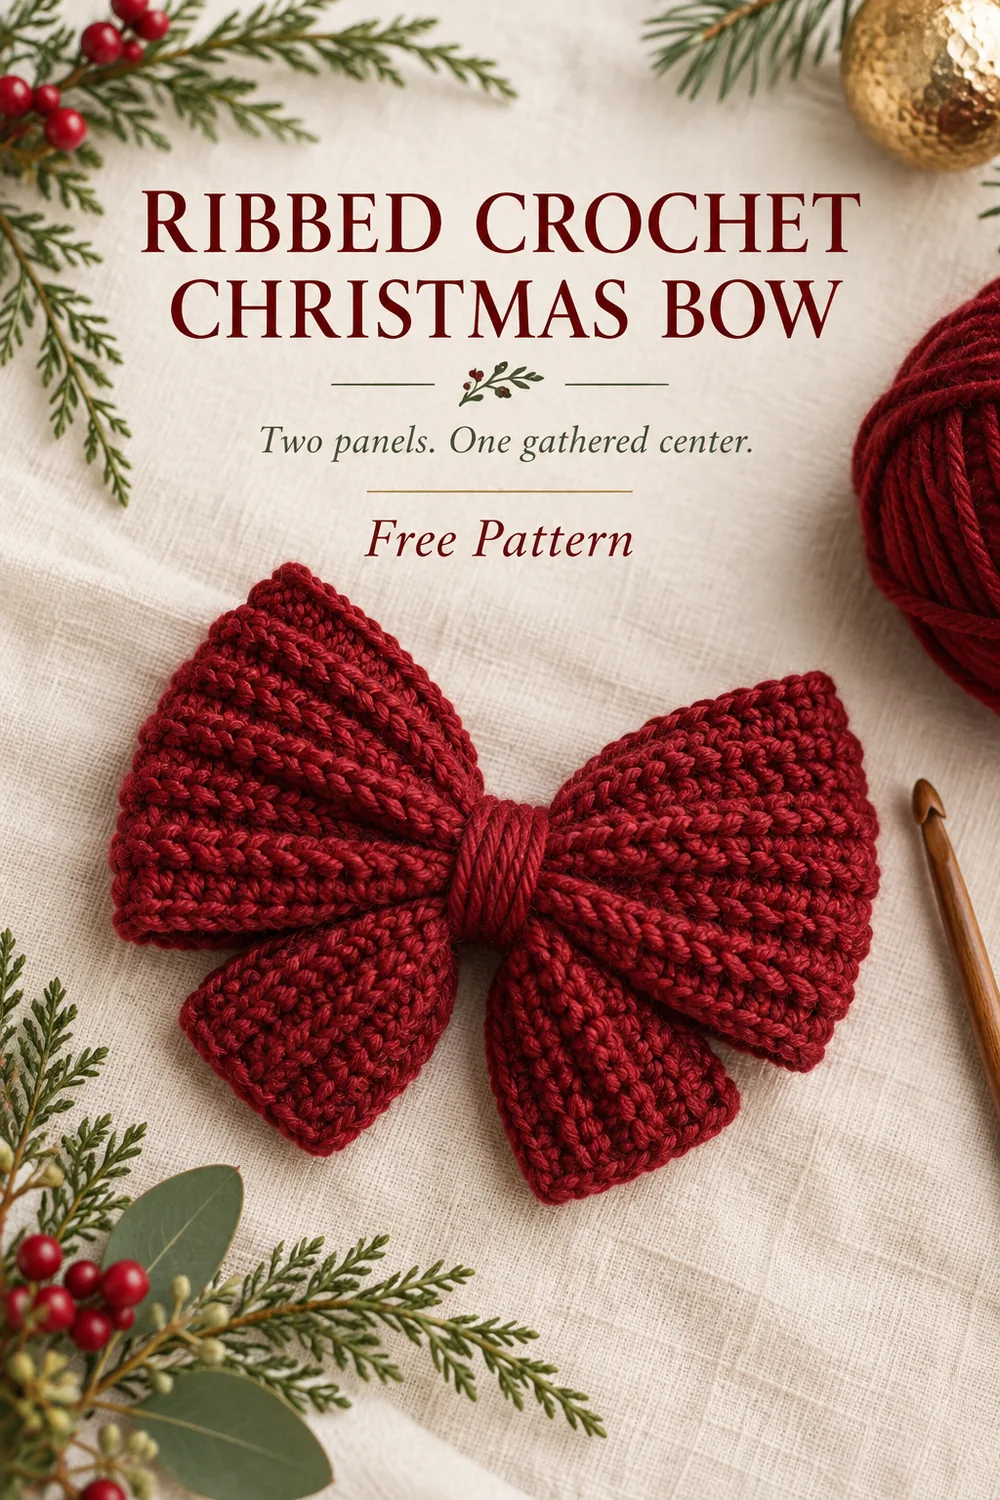
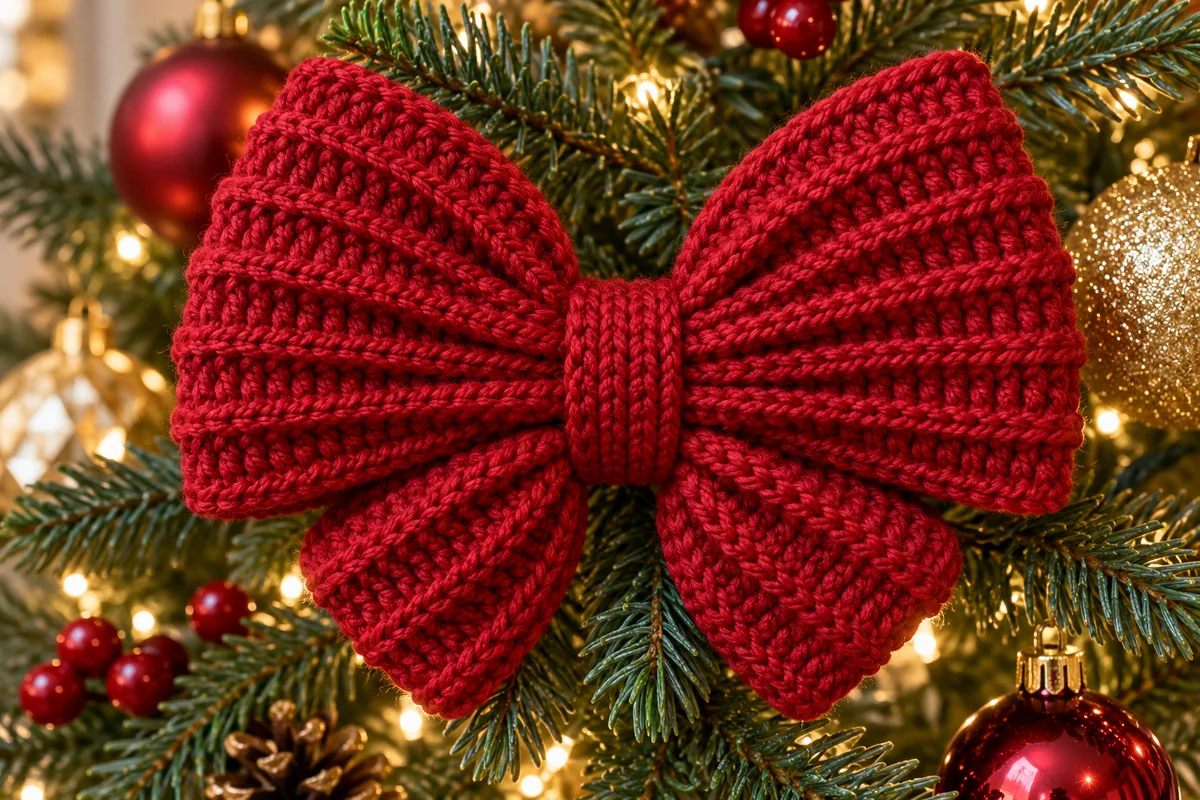
A ribbed crochet Christmas bow adds a broad red accent to an evergreen branch without long ribbon tails. Two gathered panels create the four-part shape: a larger pair of upper wings and a smaller pair of lower lobes.
This original interpretation is inspired by the reference bow, rather than a claim to reproduce its exact stitches. Both panels begin as simple rectangles. Single crochet worked in the back loop gives the fabric its ridges, and the final shape comes from gathering, positioning and sewing the pieces.
Make the panels with the same yarn and hook so their textures agree. If you prefer narrow tied loops and long tails, the long-tail Christmas crochet bows use a different construction. This version focuses on wide folded fabric and a small center band.
Jump to the free written pattern
Materials for a ribbed crochet Christmas bow
- Smooth medium-weight yarn in deep red, or another color suited to your decorations.
- A hook appropriate for the yarn. A 4 mm hook is a starting choice, adjusted until the fabric bends into soft folds.
- A blunt yarn needle, scissors and removable stitch markers.
- Matching yarn for gathering and sewing, plus a separate strong cord for an optional hanger.
No stuffing or wire is used. The crochet is suitable for a beginner comfortable with straight rows; assembly involves gathering and sewing. Finished dimensions, gauge and yarn consumption have not been established from a physical sample. The pattern has not been physically tested. The stitch arithmetic describes the written design; photos illustrate the intended styling rather than a tested stitch-for-stitch sample.
US terms and the ribbed fabric
ch = chain; sc = single crochet; BLO = back loop only; st/sts = stitch/stitches. The Craft Yarn Council crochet abbreviation guide provides the standard US names.
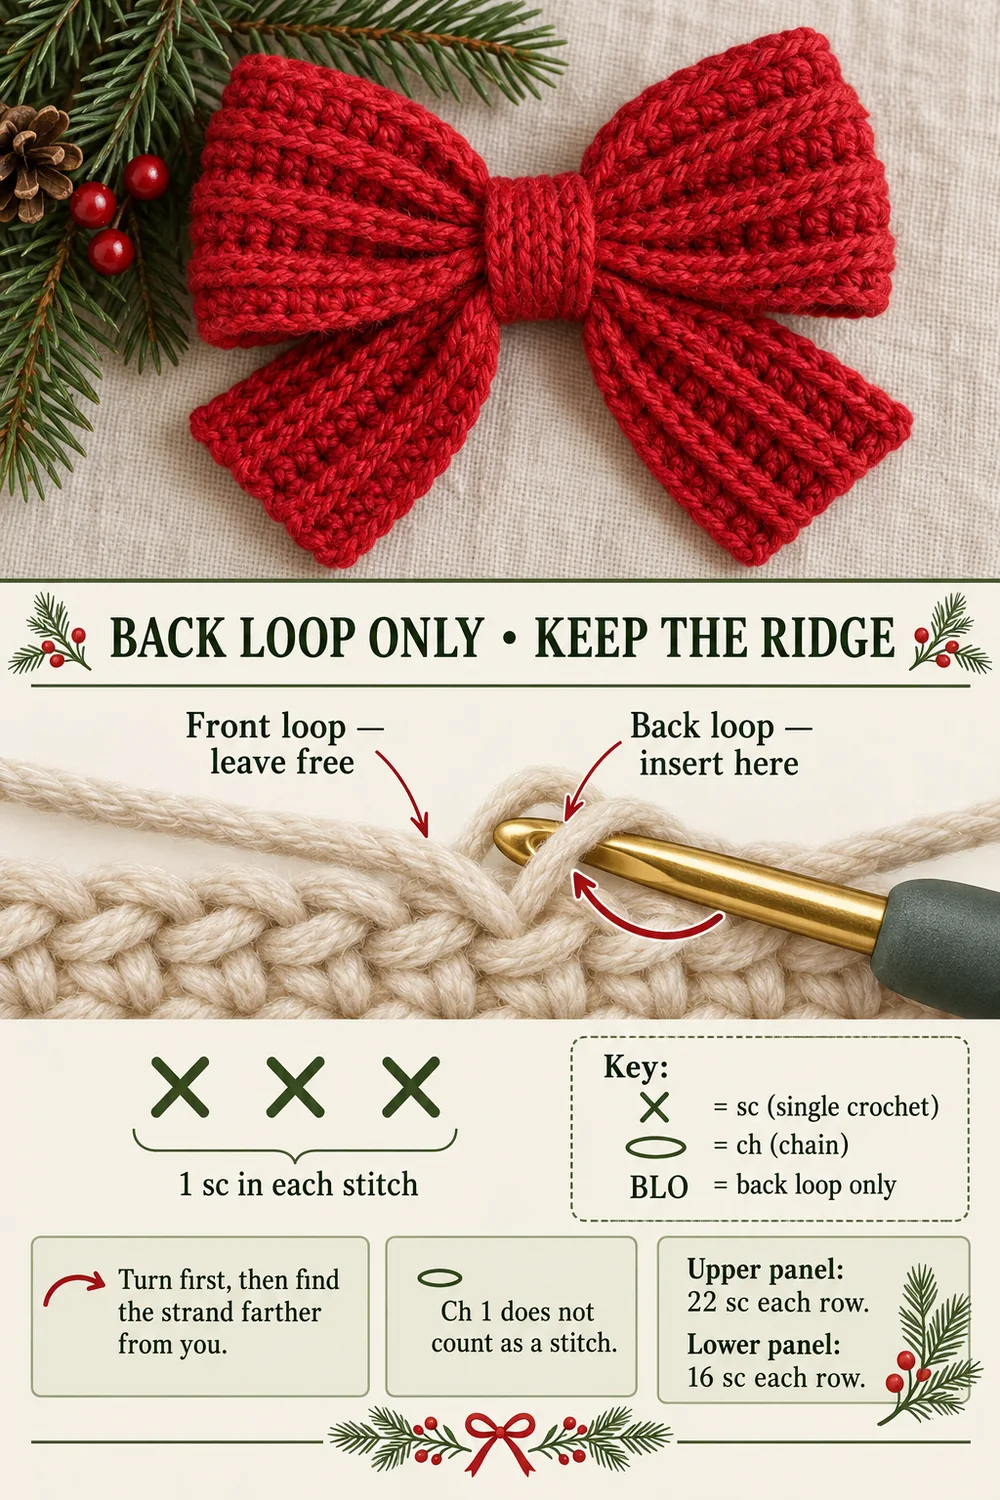
For sc, insert the hook into the indicated chain or stitch, yarn over and pull up a loop, then yarn over and pull through both loops. Beginning with Row 2 of each main panel, insert under the back loop only: after turning, this is the strand of the stitch-top V farther from you. Leave the nearer strand free to form the ridge.
The turning ch 1 never counts as a stitch. Work into the first real sc after turning and stop after the last real sc. There are no increases, decreases or joined rounds. Marking both row ends helps keep the rectangles even.
Ribbed crochet Christmas bow: free two-panel pattern
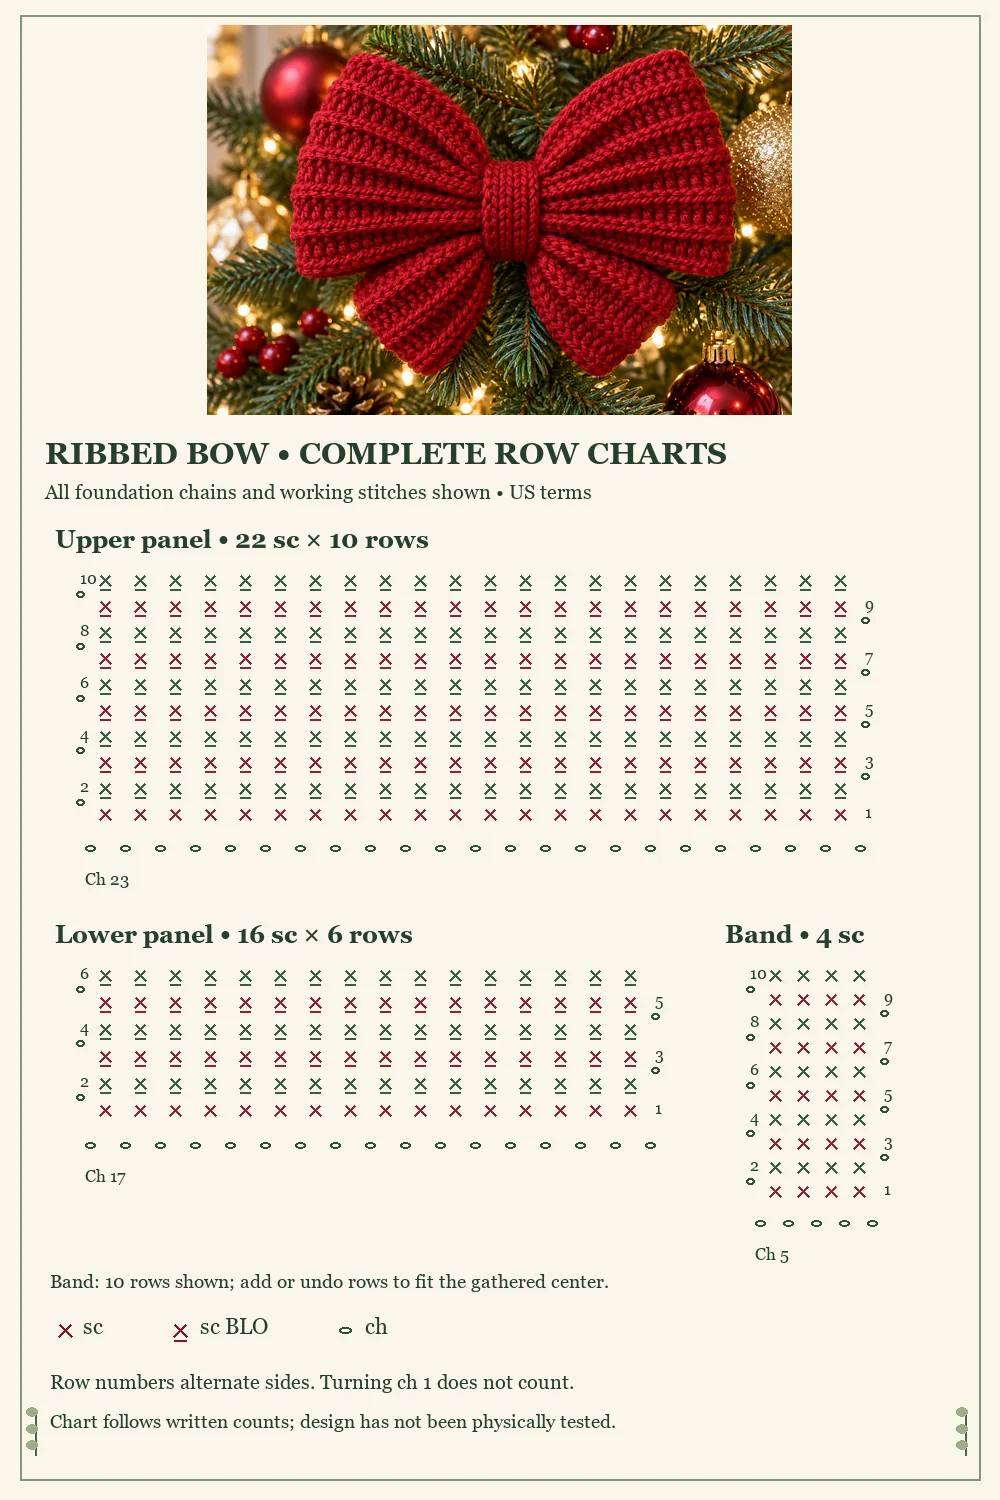
Upper panel: 22 stitches across, 10 rows
Foundation: Ch 23. Keep the chain relaxed enough that the foundation edge does not pull the panel inward.
Row 1: Sc in the second chain from the hook and in every remaining chain. 22 sc.
Row 2: Ch 1 and turn. Sc BLO in each of the 22 sc across. 22 sc.
Rows 3–10: Repeat Row 2, keeping 22 sc in every row. After Row 10, fasten off and secure the ends on the back. Count ten complete rows, including the first foundation row.
The panel contains 22 × 10 = 220 sc. This total is a counting check, not an instruction to count the ridges as rows. Depending on which side faces you, a prominent ridge may represent the relationship between neighboring rows rather than a separate extra row.
Lower panel: 16 stitches across, 6 rows
Foundation: Ch 17.
Row 1: Sc in the second chain from the hook and each remaining chain. 16 sc.
Row 2: Ch 1 and turn. Sc BLO in each stitch across. 16 sc.
Rows 3–6: Repeat Row 2. Keep 16 sc in each row, then fasten off and secure the ends. This panel contains 16 × 6 = 96 sc.
Do not add an edging around either rectangle. The unworked front loops already define the fabric, and an extra border can make the corners and gathered center bulkier.
Center band: 4 stitches wide
Foundation: Ch 5.
Row 1: Sc in the second chain from the hook and in the remaining three chains. 4 sc.
Rows 2–10: Ch 1 and turn, then sc through both loops of each stitch. 4 sc each row. Leave the working loop secured on a marker instead of fastening off yet.
Ten rows are a starting length for the band. Fit it around the gathered panels during assembly. Add rows if its short ends do not meet without crushing the folds; undo rows if it wraps too loosely. The width stays at four sc, so a band with B rows contains 4B sc.
Check the pieces before gathering
| Piece | Foundation | Stitches per row | Rows |
|---|---|---|---|
| Upper panel | Ch 23 | 22 sc | 10 |
| Lower panel | Ch 17 | 16 sc | 6 |
| Center band | Ch 5 | 4 sc | 10 initially; adjust to fit |
Lay the two panels flat with their foundation edges horizontal. Check for consistent width before sewing. If one edge widens, look for an extra stitch worked into the turning chain. If a panel narrows, inspect the last real stitch at each row end.
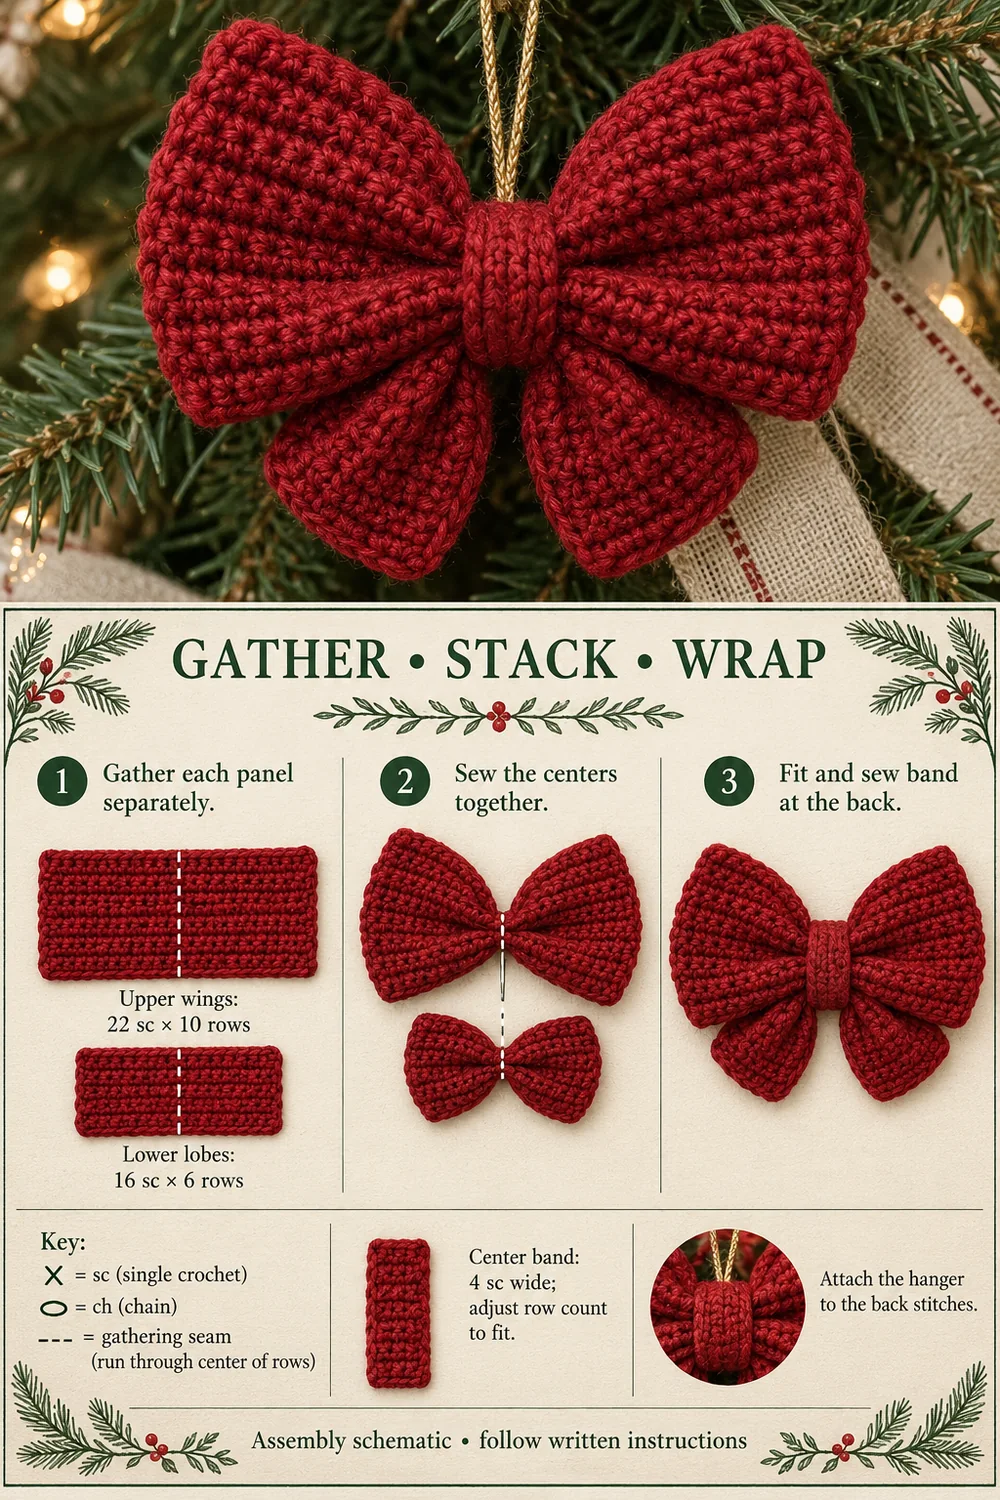
Gather each panel separately
Choose the side with the clearest ridges as the front. On the upper panel, find the halfway line between stitches 11 and 12. Mark that same central position through all ten rows. The gathering line runs vertically across the rows, from the foundation edge toward the final row.
Thread a separate strand of matching yarn through the needle. Secure it at the lower end of the marked line and work short running stitches up the middle of the panel, catching solid crochet fabric on either side of the center line. Do not carry a long loose strand across the front.
Pull gently to compress the middle into small accordion folds. Keep eleven stitch columns on either side of the gathering line so the two wings remain balanced. Wrap the gathering yarn around the pinched middle a few times, secure it on the back and leave a sewing tail.
Gather the lower panel in the same way, using the midpoint between stitches 8 and 9 across its six rows. This leaves eight stitch columns on each side. Gather it firmly enough to hold its shape, without tightening until the yarn cuts into the fabric.
Arrange the four lobes and cover the center
Bring the gathered centers together. Spread the larger panel’s two wings outward and slightly upward. Position the smaller panel at the same central junction, with its two lobes fanned downward and visible below the upper wings. Keep all gathering knots on the back.
Pin or hold this arrangement and compare the front before sewing. The finished outline depends on how the folds are spread: it is not a shaped leaf pattern or a tied ribbon. Sew the gathered centers together with several small passes of matching yarn, catching both panels securely.
Wrap the center band around both gathered middles, keeping its four-stitch width visible at the front. Adjust its row count until the short ends meet at the back with a snug fit. Fasten off with a sewing tail, then whipstitch those two short ends together, matching their four stitches.
Take a few additional stitches from the band’s back seam into the gathered panels to stop the band sliding around. Bury all ends in the center. Fan the wings and lower lobes gently; do not pull the outer corners so hard that the ribs stretch apart.
Add a hanger or gift attachment
For a tree ornament, sew the ends of a folded cord through several stitches on the back of the gathered center. Catch the main panels as well as the band so the hanger does not rely on the band’s seam alone. Lift the bow by the loop and check its balance.
For a gift decoration, sew a separate tie to the back and use that to attach the bow to the package ribbon. This allows the package to be untied without pulling on the gathered fabric. Keep ornaments away from direct heat and from candle flames.
Troubleshooting the ribbed crochet Christmas bow
The ridges are hard to see
Check that Rows 2 onward pass under the farther strand of the stitch-top V after turning. Working through both loops makes a flatter surface. Dark fuzzy yarn can also hide the ridges; use good light and locate the actual stitch tops before continuing.
One wing looks larger
Check the gathering line rather than immediately adding stitches. The upper panel needs eleven columns on either side of its middle, and the lower panel needs eight. Redistribute the folds before tightening and securing the gathering yarn.
The center becomes a thick lump
Loosen the gathering slightly and avoid stacking large knots at the front. The center band should cover the folds without compressing them into a hard bundle. If the fabric itself is too stiff to fold, make a small sample with a more flexible yarn or adjusted hook before remaking the panels.
The lower lobes disappear behind the upper wings
Reposition the smaller panel before the band is sewn closed. Fan its two sides downward and keep its gathered midpoint aligned with the larger panel’s center. A few discreet holding stitches can preserve that angle.
The band moves or twists
Check its length and sew its back seam into the gathered center. Simply closing the strip into a loose ring lets it rotate. Make the fit secure before adding a hanging cord.
Color ideas and care
Deep red suits a traditional tree with gold ornaments. Forest green or ivory gives the same construction a quieter look. For a coordinated set, keep the yarn type, hook and row counts consistent, then compare the plain panels before gathering them.
Pair the bow with a crochet jingle bell star or a spiral crochet Christmas tree. Clean according to the yarn and cord labels. Store the bow loosely with tissue between the wings so the gathered folds are not flattened under heavier decorations.
Ribbed crochet Christmas bow: pins and diagram guides
The first three images show styling options. The last three explain the two-panel layout, back-loop stitch placement and gathering sequence. The complete row chart shows every foundation chain, working stitch and turning chain for both panels and the initial ten-row band. It follows the written counts, but the design has not been physically tested. Use the written instructions and count table for the final band fitting.