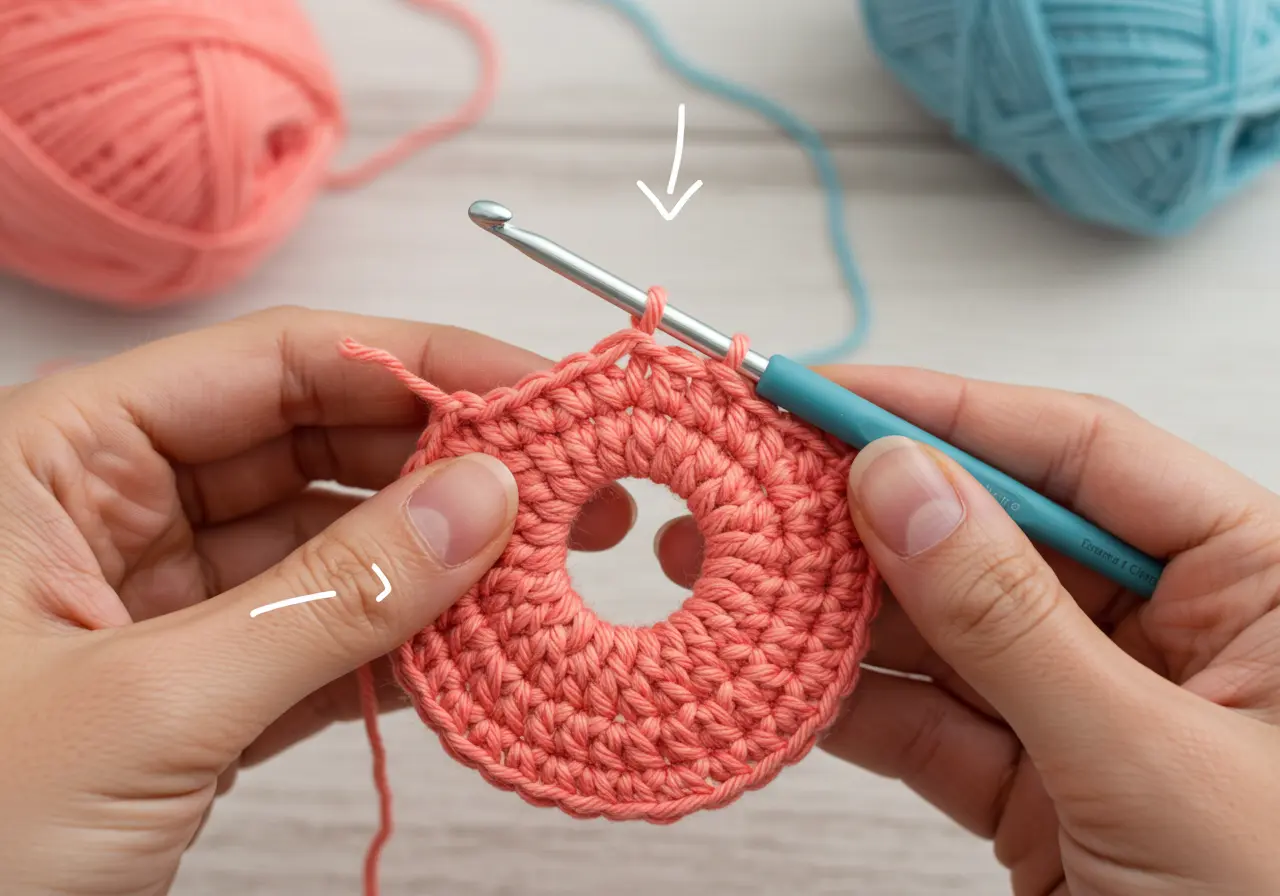
Learning how to make a magic ring is a next step that you should do as a crochet beginner, you will use it a lot to make your crochet rounds and that is why it is also known as adjustable ring or magic circle.
For you who are still a beginner it may seem like a very challenging technique, this will help you a lot in the way you make your crochet pieces in the round for the better. It is also a great technique used for projects like granny squares, amigurumi, hats, cup holders, and many other patterns that you can find on our site.
The nice thing about the magic ring is that a lot of the times the projects have a round center, or we consider it a starting point that begins with a few chain stitches to form the ring, so you can start working on the center of the ring the first round.

How To CrochetThe Magic Circle
But be careful that this can leave a small opening in the middle so you must pull the ends of the thread with a string and close this opening, but it will depend a lot on the hook and thread you are working with, some are bulkier than others, so always be careful when choosing.
The advantage of learning the magic ring compared to other methods is that whenever you start a new project you can create a very closed initial ring and eliminate that small hole that always remains in the first loop.
To create a magic ring with simple crochet stitches there are a few basic steps you need to follow and you can follow them as follows
1 – Start by winding the end of the yarn into a tiny “e” shape. This way the yarn coming from the ball of yarn should cross the loose end, I recommend holding it in your hand when making this initial loop
2 – Now while you hold the loop in place, you should pass the hook between the middle of the circle. The next step is to wrap the working wire over the hook from back to front. You will notice that this is exactly as simple as any other.
3 – In the next step you will insert the yarn through the circle. This may seem a bit awkward at first because the circle is not yet formed and loose. Now you hold the cross stitch of the circle while you draw the loop of yarn and it will hold.
4 – Now you begin to form a chain stitch, you will continue to hold the circle of yarn while you make a spinning chain, backstitch to front.
5 – When you complete the chain stitch you will pass the needle through the loop on the needle so you have just completed your first chain stitch.
This step is the first chain of the swivel that needs only one chain stitch, to start another stitch, use as many chains as needed to form a swivel chain with this size stitch.
You may be wondering when to use the magic ring, this is a technique widely used by many crochet patterns, such as granny squares, amigurumi and other projects, so don’t worry you will use it a lot.
It may seem very confusing at first for you who are still beginners, but at the end of this post I will leave a video tutorial that will help you better intenderara how to make the magic ring, just need to follow the step by step video.
Now you just follow the video tutorial of this pattern and learn in detail this pattern that will help you a lot in your way as a craftswoman, I would like to make it clear that the image and video credits are intended for the same.
learn more crochet tips
How to do Double Crochet for Beginners