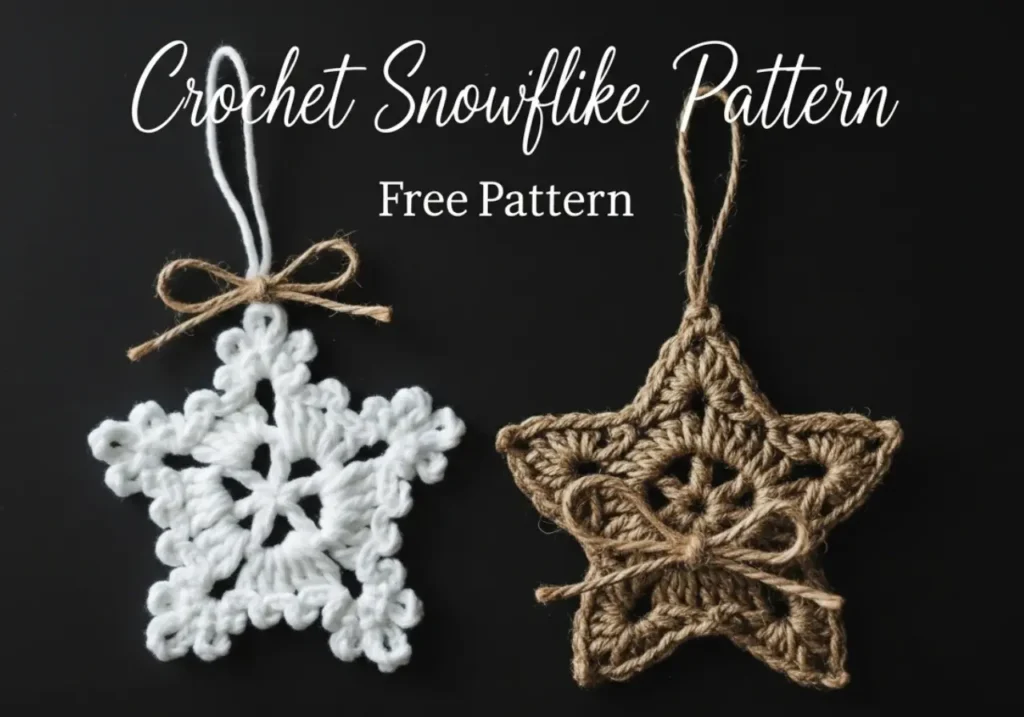
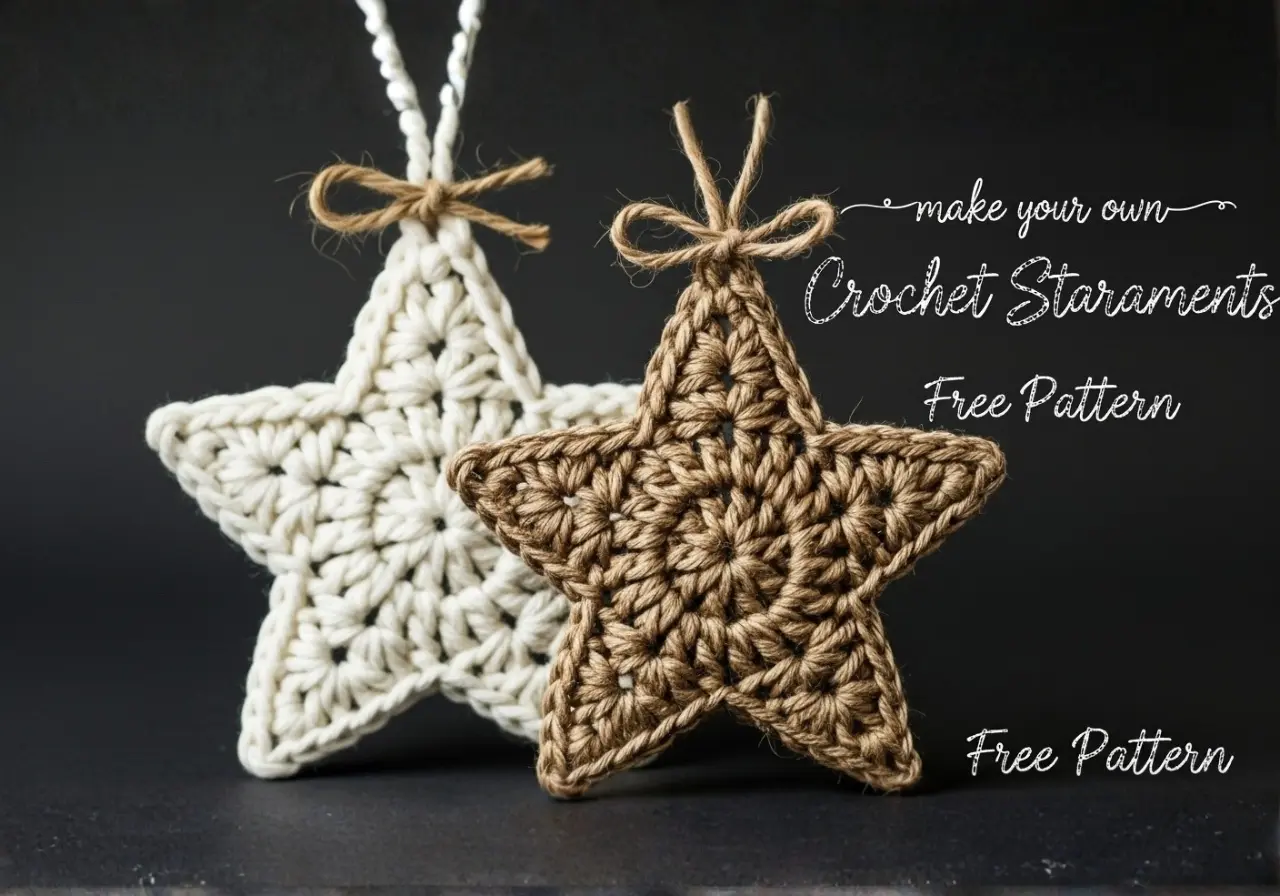
There’s something truly magical about a handmade ornament — especially one that feels warm, cozy, and a little nostalgic. This rustic Christmas crochet stars brings that soft holiday charm to life with its natural texture, simple construction, and lovely farmhouse-inspired look.
Whether you’re decorating your own tree, creating heartfelt handmade gifts, or adding crochet touches to your holiday market inventory, this little star carries a sweetness that never goes out of style. And the best part? It’s quick, relaxing, and perfect for beginners who are ready for something a little more special.
Below you’ll find everything you need to create your own stuffed star — including an untouched, accurate pattern, helpful notes, and finishing ideas to make it uniquely yours.
Let’s crochet something beautiful together. ✨
🧶 What You’ll Need
To make your rustic crochet star ornament, gather these materials:
Yarn: Jute yarn or any medium/Worsted weight (Size 4) yarn
Hook: 4.0 mm (G/6) crochet hook or size needed for your yarn
Stuffing: Polyester fiberfill (Poly-fil)
Notions: Scissors, tapestry needle, and a piece of thin twine or jute for the hanging loop and bow
⭐ The Pattern – Christmas crochet stars
Absolutely! Here is the crochet pattern for the rustic, stuffed five-point star ornament, using the US terms.
⭐ Rustic 5-Point Crochet Star Ornament Pattern
Skill Level: Easy to Intermediate
Finished Size: Varies depending on yarn. Approx. 4 inches (10 cm) point to point (using Worsted/Jute weight yarn).
Abbreviations (US Terms):
MR – Magic Ring
CH – Chain
SL ST – Slip Stitch
SC – Single Crochet
DC – Double Crochet
TR – Treble Crochet
ST / STs – Stitch / Stitches
SP – Space
REP – Repeat
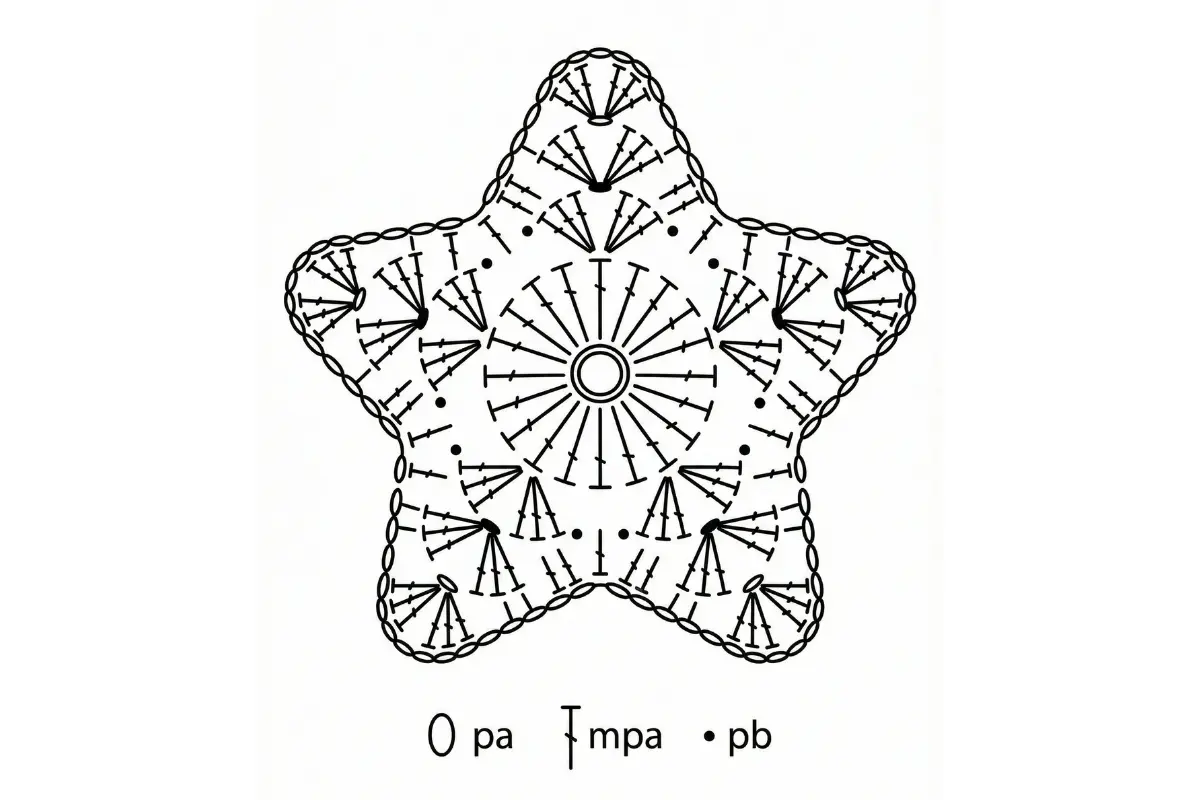
🌟 Christmas Crochet Star Pattern (Do NOT change any step)
Round 1
Make a Magic Ring.
CH 3 (counts as 1 DC here).
Work 14 DC into the ring.
Join with a SL ST to the top of the beginning CH 3.
(15 DC total)
Tighten the magic ring.
Round 2
CH 3 (counts as DC).
DC in the same ST.
In each ST around:
Work 2 DC in each ST.
Join with a SL ST to the top of the beginning CH 3.
(30 DC total)
Round 3 — Increase Round
CH 3 (counts as DC).
DC in the same ST.
DC in next ST, 2 DC in next ST.
REP from * to * around.
Join with a SL ST to the top of the beginning CH 3.
(45 DC total)
Round 4 — Begin the Star Points
You will create 5 equal points, each separated by SC stitches.
Start:
SL ST into next ST.
CH 1.
SC in next 3 STs.
In next ST: work (DC, TR, DC) all in the same stitch (this forms the point).
SC in next 3 STs.
REP from * to * five times total, creating 5 points.
Join with a SL ST to the first SC of the round.
Round 5 — Define Star Shape (Lace Chains)
SL ST to the top of the first DC of the point.
Work on each point:
CH 5.
SL ST into the top of the TR (the peak of the point).
CH 5.
SC in the center SC between points.
REP around the star.
Join with a SL ST to the first CH.
Round 6 — Final Edge
Work SC evenly around, placing:
1 SC in each CH,
1 SC in each ST,
3 SC at the tip of each point for shaping.
Join with SL ST.
Fasten off and weave in ends.
✨ Pattern Notes – Christmas crochet stars
This Christmas Crochet Star Pattern looks great using solid holiday colors like red, white, forest green, or metallic yarns.
For extra sharp points, block your star with pins while it dries.
Cotton yarn gives the cleanest shape; acrylic creates a softer, puffier star.
You can easily make the star larger by increasing hook size or using chunky yarns.
🎨 Tips & Variations
Add sparkle: Use metallic thread held together with your yarn.
Make a garland: Crochet multiple stars and string them on twine.
Use as appliqués: Attach stars to stockings, gift bags, blankets, or sweaters.
Turn into ornaments: Simply add a CH 20 loop and hang it on the tree.
Two-color version: Use one color for the round base and another for the edging.
❓ FAQ (Schema Style)
Q: Can I use thicker yarn for a bigger star?
Yes! Bulky yarn will make a larger, fluffier ornament without any pattern changes.
Q: Does jute hurt the hands when crocheting?
Jute can feel rough. Take breaks, or substitute with a soft worsted yarn for comfort.
Q: Can I make this star unstuffed?
Absolutely — just crochet two flat pieces together without filling.
Q: Is this beginner-friendly?
Yes. If you know basic stitches, this is a wonderful progression project.
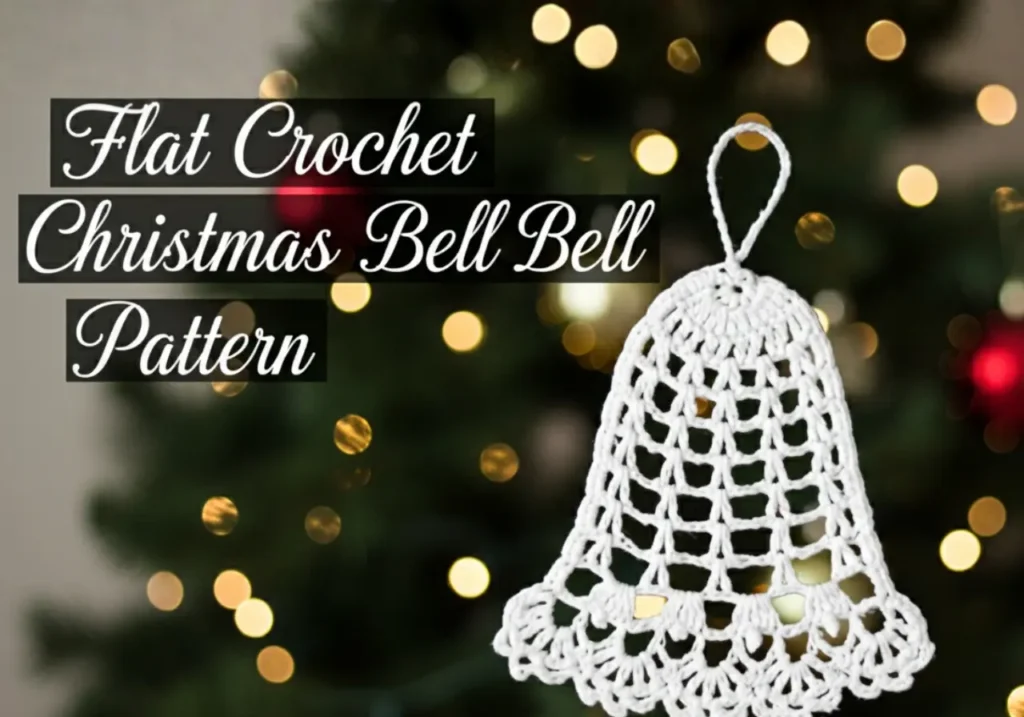
- Flat Crochet Bell Ornament Pattern – A Charming Handmade Touch for Your Holiday Decor
- Christmas Star Crochet Pattern (Free & Easy Tutorial for Beginners)
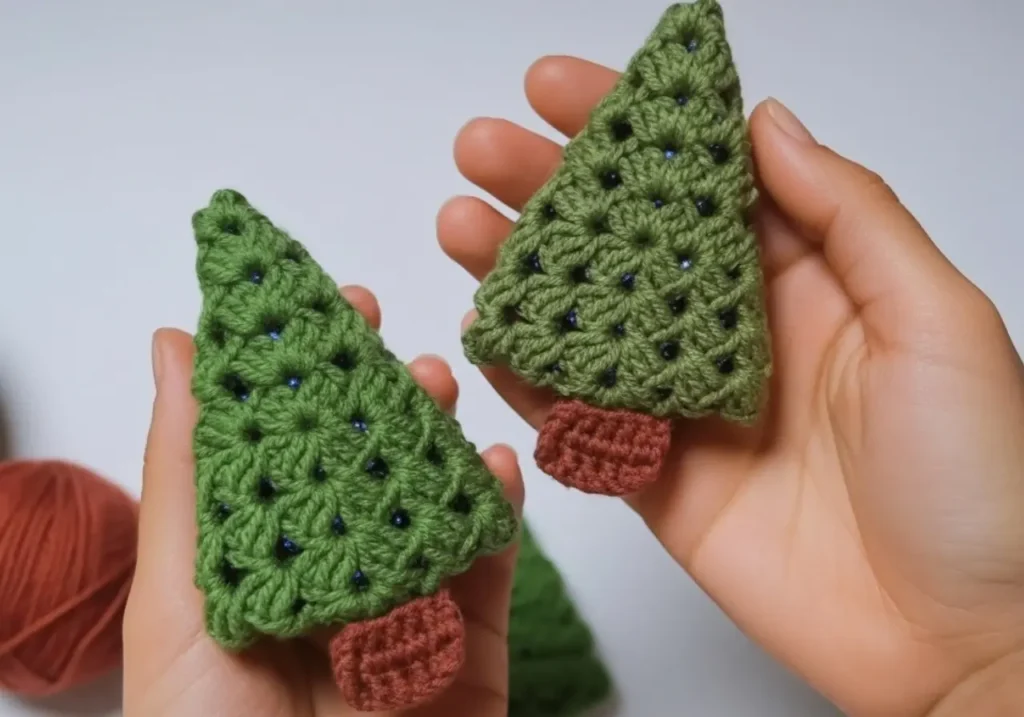
- Easy Crochet Christmas Tree Pattern for Beginners (Step-by-Step)
There’s something special about decorating your home with handmade pieces. This little rustic Christmas crochet stars brings warmth, charm, and a sprinkle of nostalgia to any holiday space. Whether you’re crafting one or a dozen, each star becomes a small gift of joy.
If you enjoyed this pattern, I’d be so grateful if you shared it —
Loved this design Christmas crochet stars? Spread the warmth and share it with your crochet friends! ✨💛