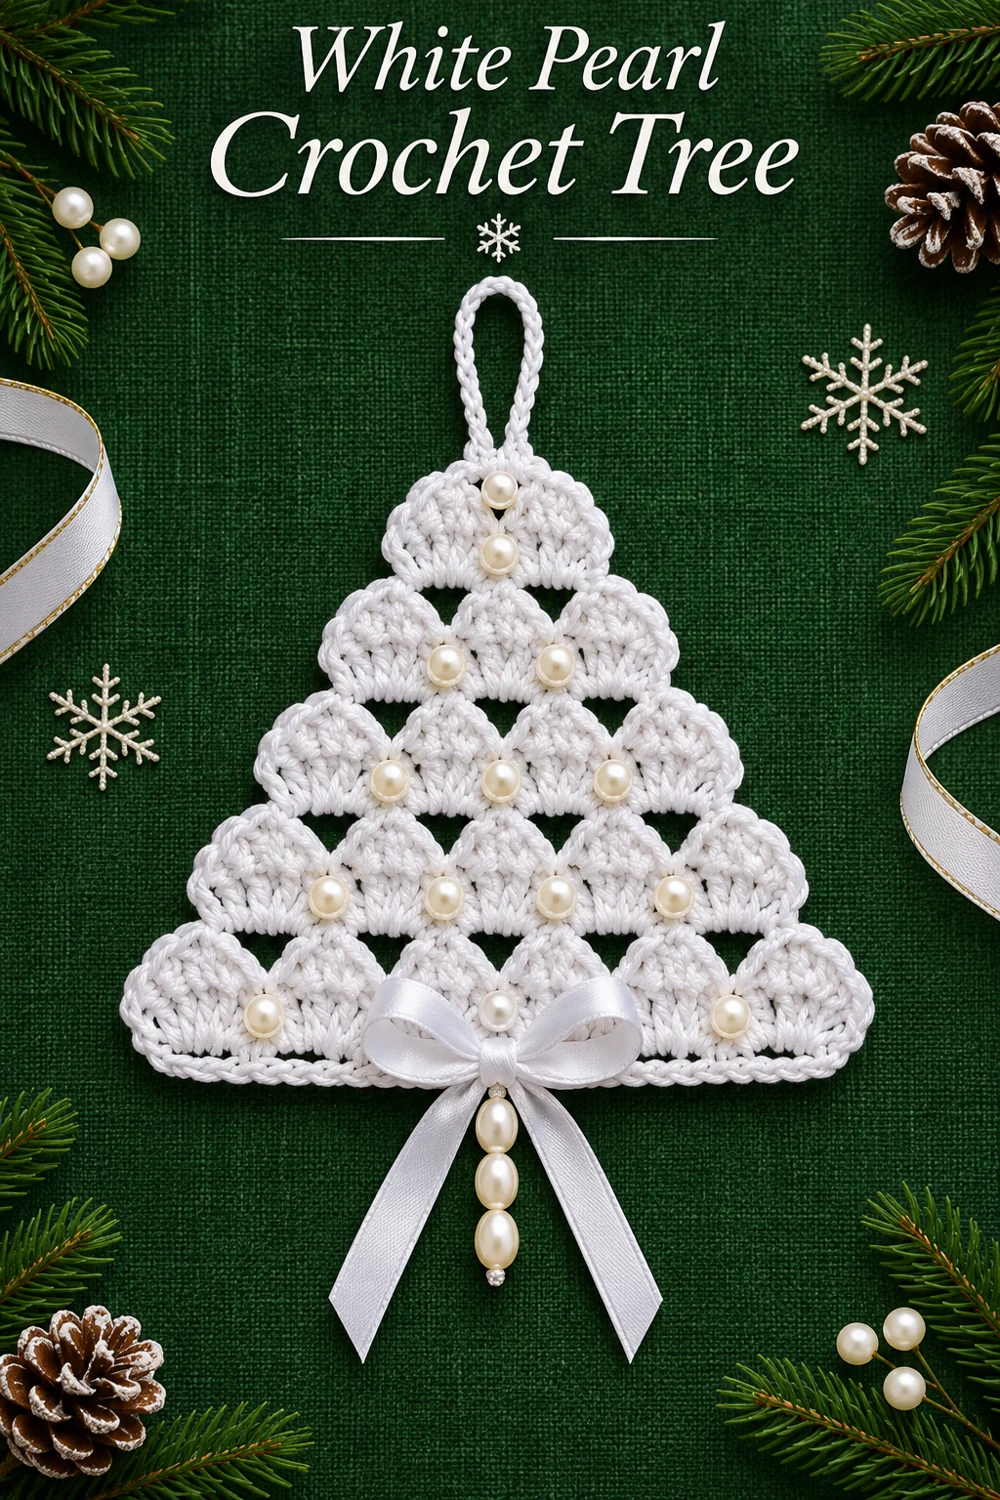
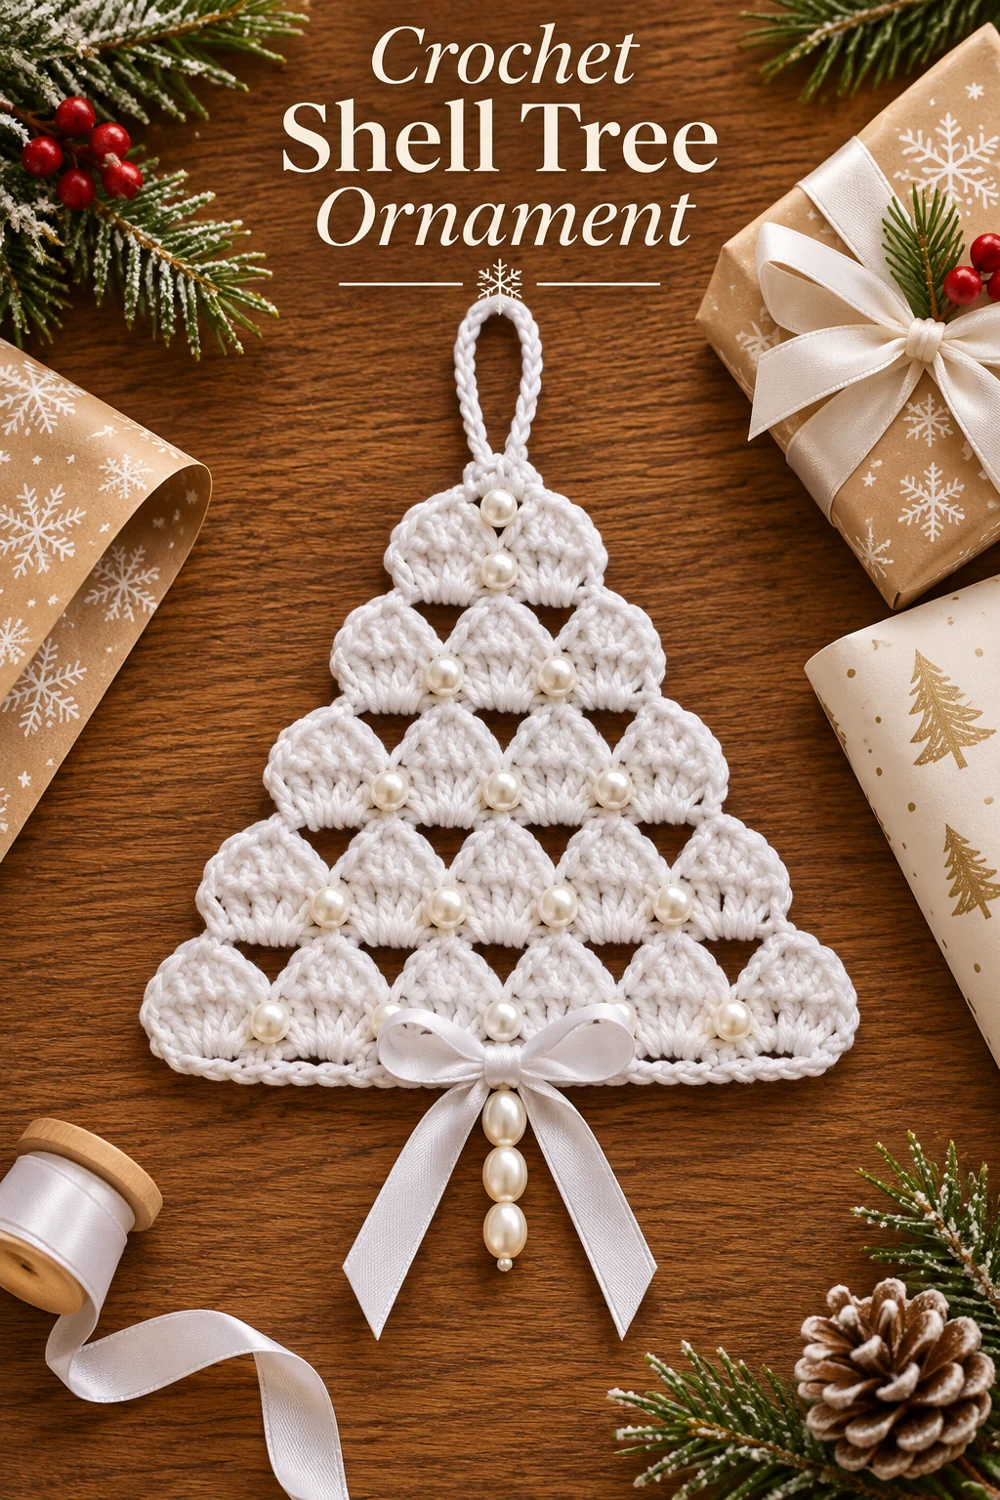
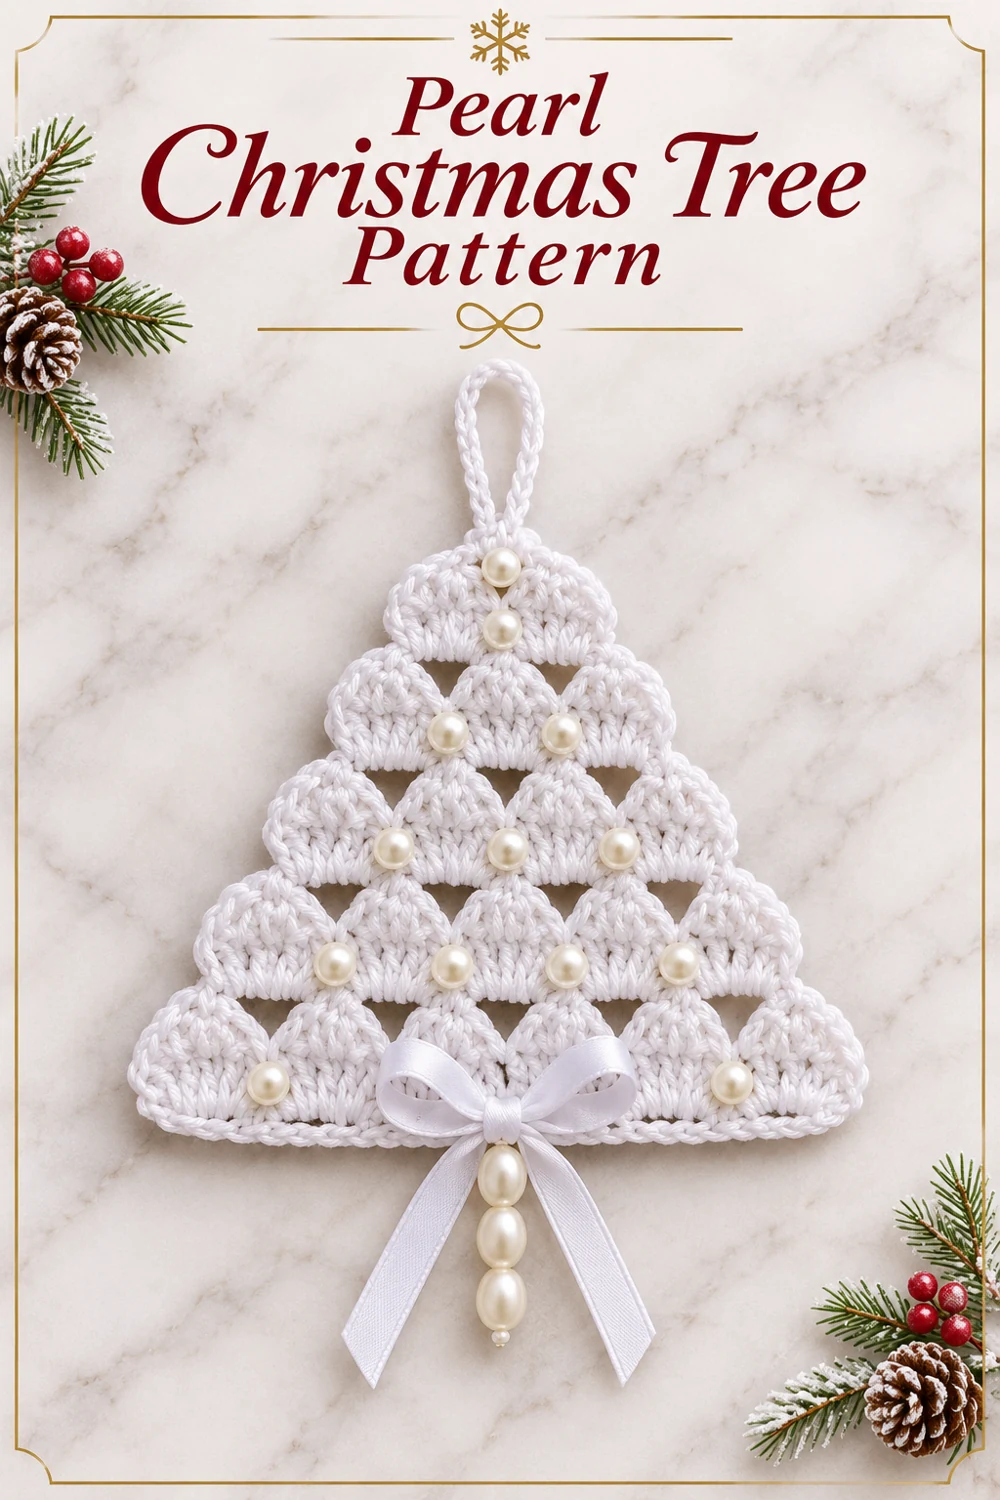
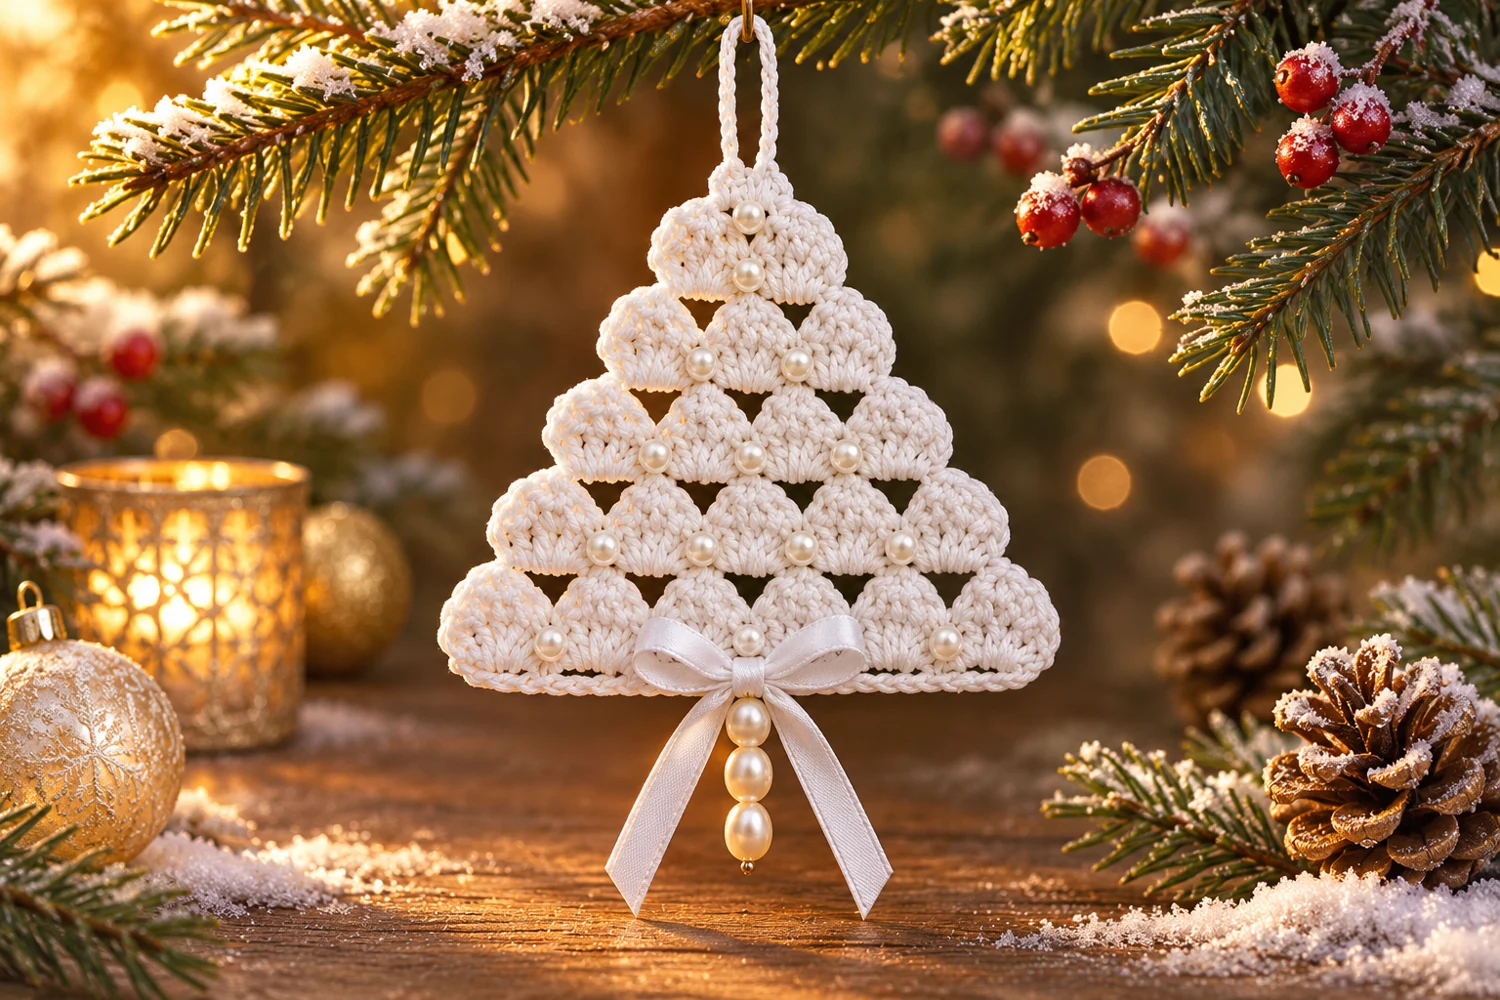
A white pearl crochet tree starts with two small shells and widens to six across the hem. Open gaps separate the five rows, while sewn pearls and a satin bow give the ornament its white-on-white finish.
The tree is worked flat from the tip down. A crocheted chain forms the hanger, and a strand of three oval pearls hangs from the bow at the base.
Block the cotton panel before sewing on the pearls. Spread the shells evenly while the fabric is damp so the bow sits at the center of a level hem.
White Pearl Crochet Tree Materials
- White sport-weight cotton and a 2.75 mm crochet hook.
- White satin ribbon, 13 small sew-on imitation pearls and 3 larger oval pearls.
- Matching sewing thread, beading needle, tapestry needle, scissors and blocking pins.
Skill level: Confident beginner. Estimated width: 4–5 in (10–13 cm), depending on tension. The stitch counts were checked against the written instructions. The pattern has not been physically tested.
US Crochet Terms
ch = chain, sl st = slip stitch, sc = single crochet, dc = double crochet, sp = space. A shell is (2 dc, ch 1, 2 dc) in the same indicated space. Turning chains do not count as stitches. See the Craft Yarn Council abbreviations.
White Pearl Crochet Tree Pattern
Five rows of shells
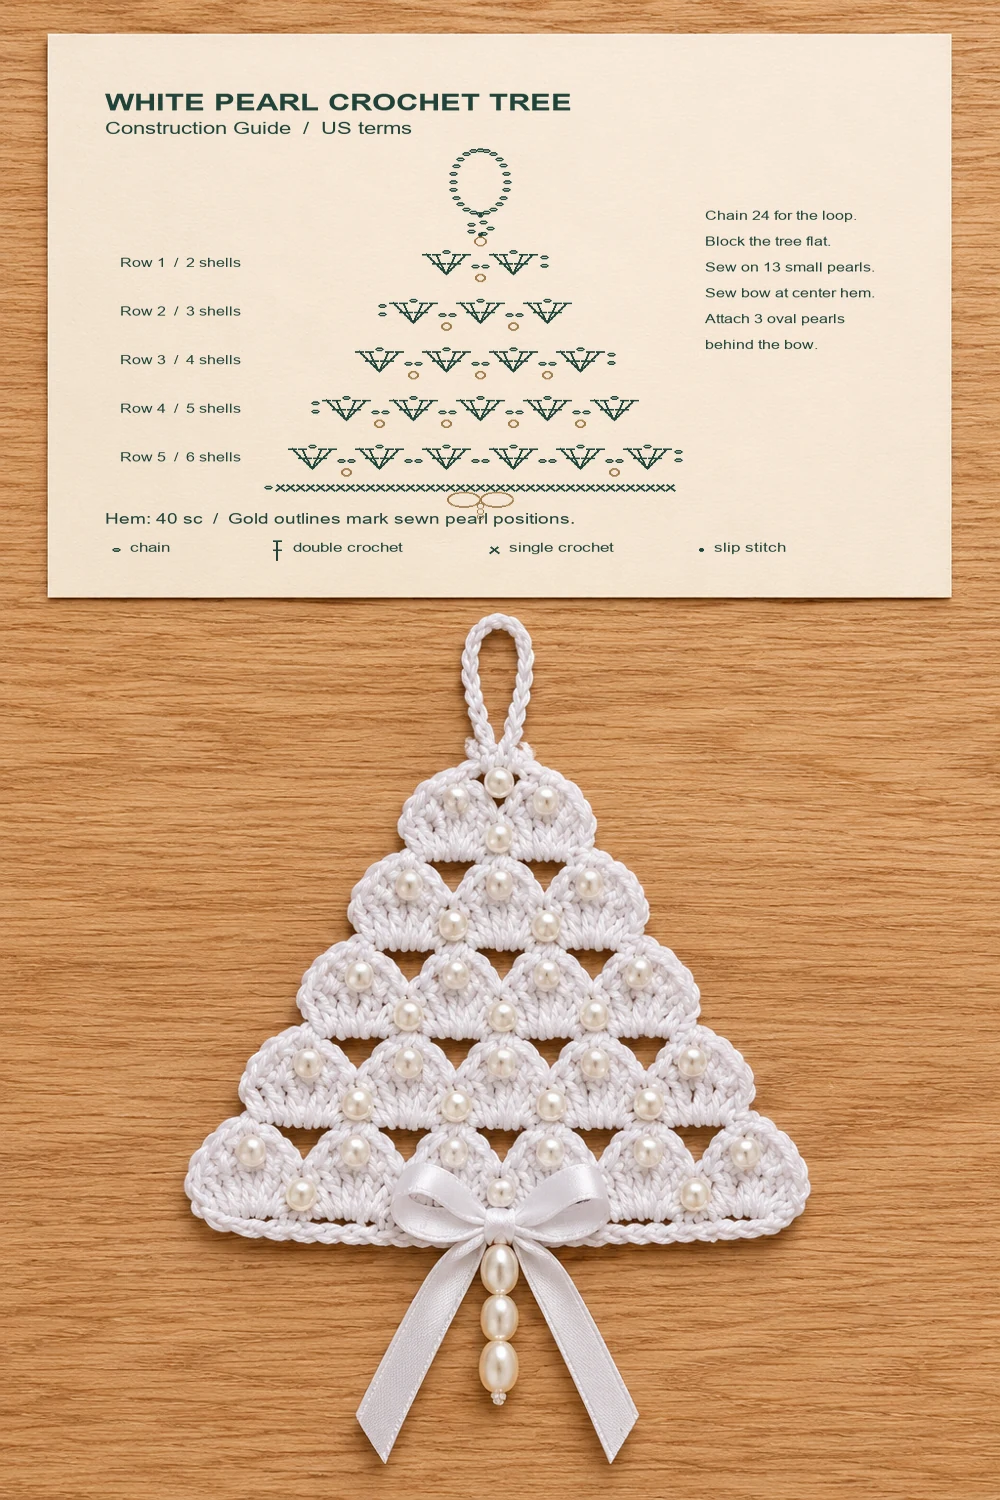
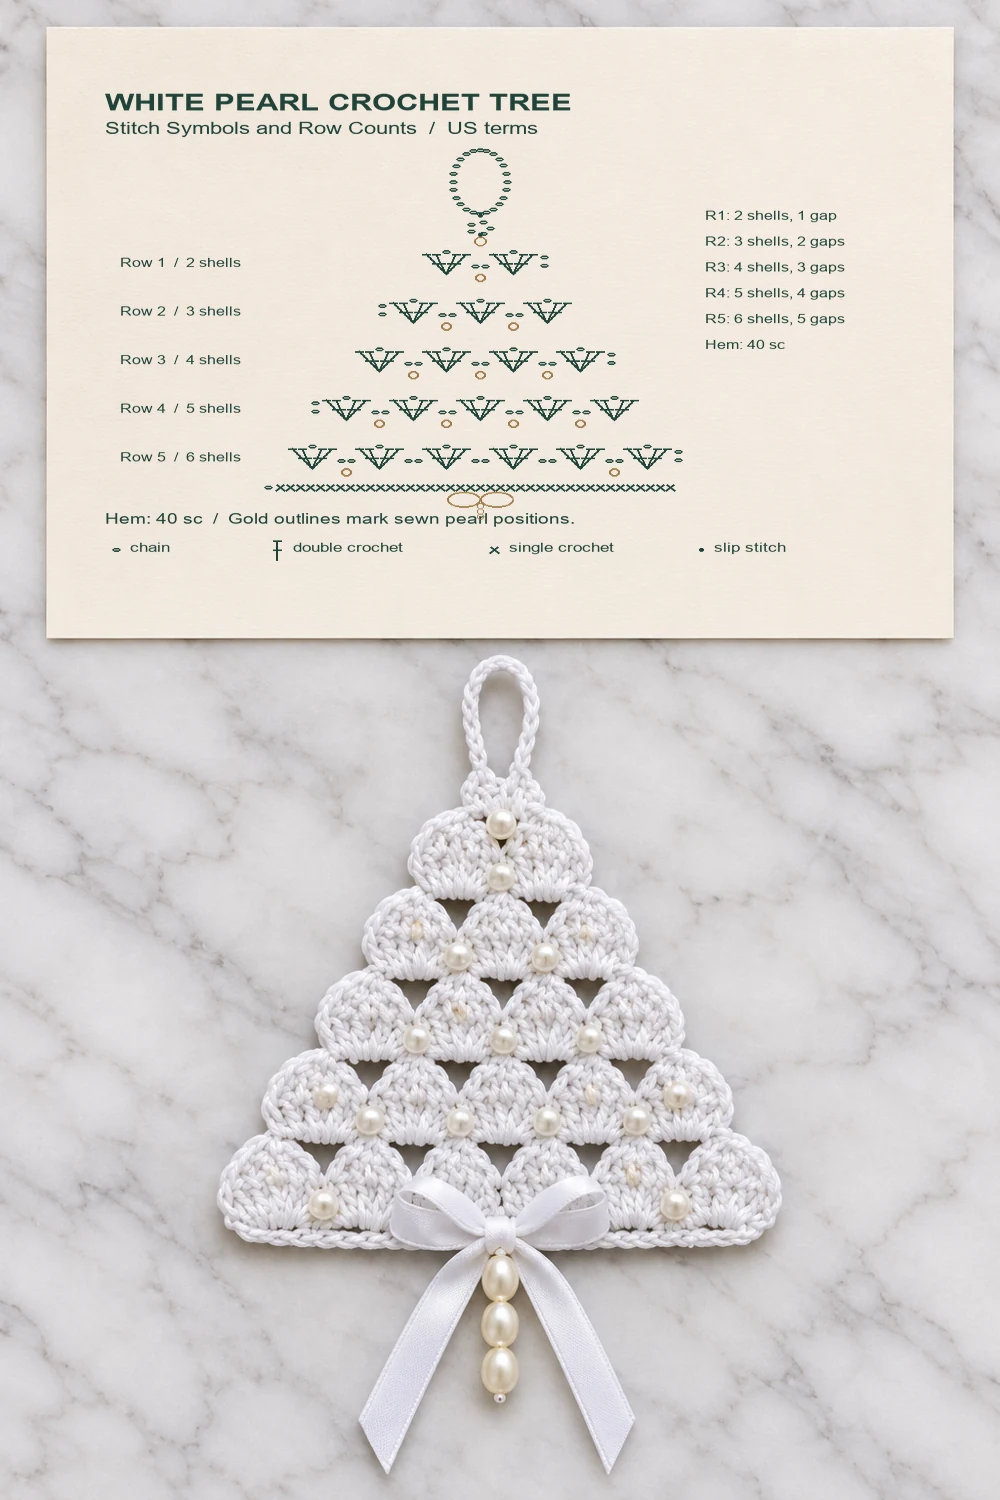
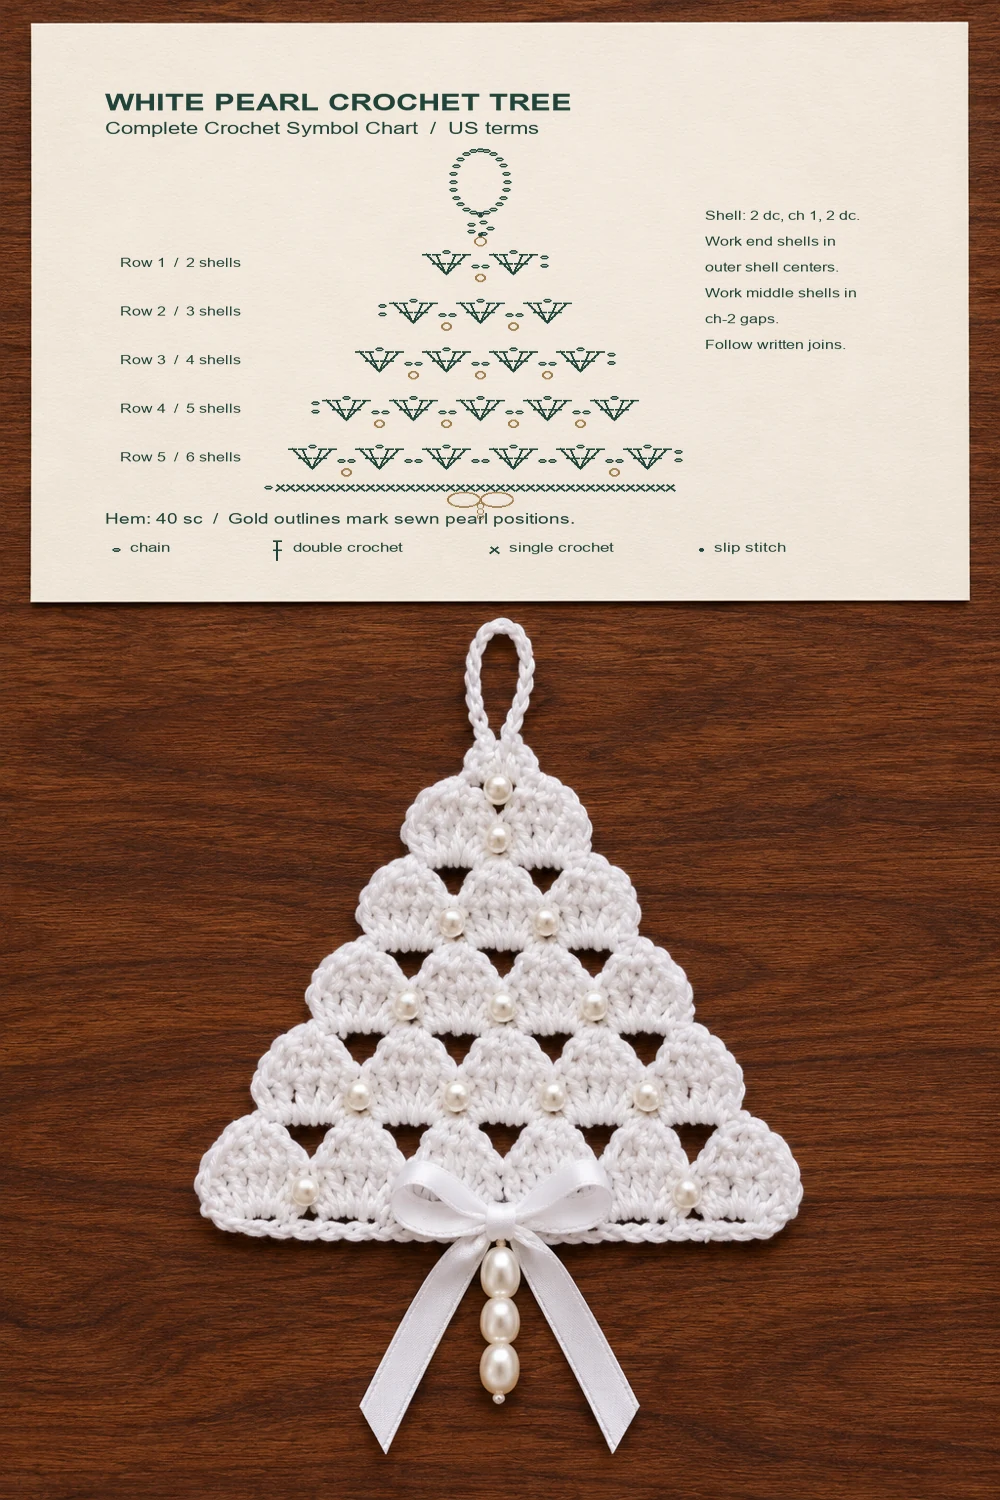
- Row 1: Ch 5 and sl st in the first chain to form a ring. Ch 2, work a shell in the ring, ch 2, then work a second shell in the ring. Turn. 2 shells, 1 gap.
- Row 2: Ch 2. Work a shell in the center ch-1 sp of the first shell. Work (ch 2, shell in the next ch-2 gap) once. Ch 2, work a shell in the center ch-1 sp of the last shell and turn. 3 shells, 2 gaps.
- Rows 3–5: Repeat Row 2, working the parenthesized repeat in each ch-2 gap of the previous row. End with ch 2 and a shell in the last shell center. Turn after Rows 3 and 4. After Row 5, fasten off. 4, 5 and 6 shells.
Hem and hanging loop
With the right side facing, join white yarn to the first dc of Row 5. Ch 1. Sc in each dc and in each shell center, and work 2 sc in each ch-2 gap. Fasten off. 40 sc. Join white yarn at the top ring, ch 24 and sl st into the same ring. Fasten off and weave in the ends.
Adding the Pearls and Satin Bow
Damp block the panel flat and let it dry. Sew one small pearl over the top ring. Sew one in each gap of Rows 1–4 for ten more pearls. On Row 5, sew one pearl in the leftmost gap and one in the rightmost gap. Keep the three center gaps clear for the bow. Knot and secure each bead on the back.
Tie the satin ribbon into a bow and sew its knot at the center of the hem, between stitches 20 and 21. Pass doubled thread through three oval pearls. Secure the bottom pearl with a stop knot that cannot pass through its hole, then return through the strand and sew the upper thread ends behind the bow. This ornament contains small parts and is for decoration.
Count Check and Troubleshooting
Each row adds one shell. The sixth shell of Row 5 should sit at the outside edge, with five gaps across the row. If the panel stops widening, check that the first and last shells are worked into shell centers and the others into the gaps. The hem adds 24 sc over dc, 6 in shell centers and 10 in gaps. If the bow pulls the panel forward, stitch the knot through two or three hem stitches and keep the pearl drop centered.
More Christmas Crochet Ornaments
Try the gold-beaded crochet tree for a solid panel, the tiered crochet tree for layered branches, or the lace fan crochet angel for another openwork ornament.
Pins and White Pearl Crochet Tree Charts
The styled photographs show variations in pearl placement. Use the written pattern and the gold outlines on the charts for the 13-pearl layout.