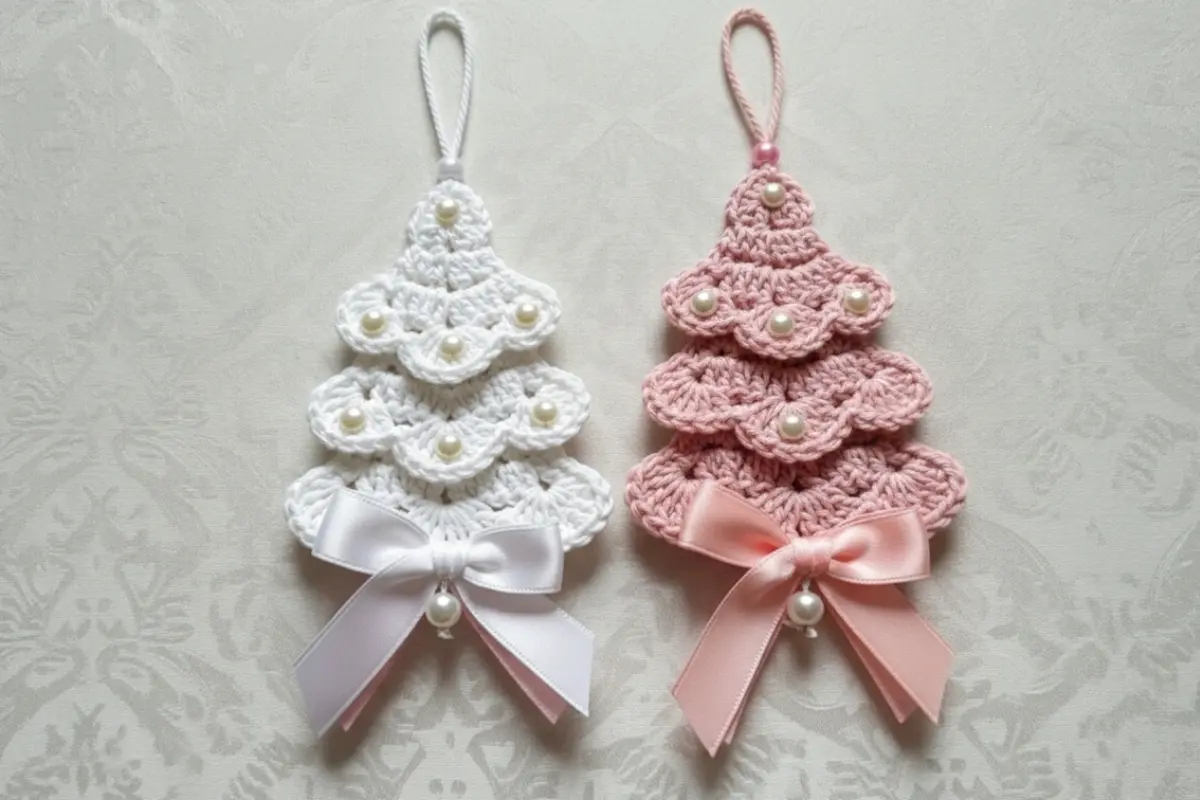
There’s something magical about slowing down during the holiday season, holding a bit of yarn in your hands, and watching a tiny piece of festive beauty form stitch by stitch. This scalloped crochet ornament is one of those projects that instantly brings warmth — the kind that reminds you of soft lights, winter nights, and handmade traditions passed from hand to hand.
Made from three delicate layers of scalloped fans, this ornament feels both classic and modern. Whether you choose soft pastels, bright Christmas reds and greens, or shimmering metallic yarns, the result is always charming. And the best part? Even with its elegant look, this pattern is simple, relaxing, and perfect for crocheters of any level.
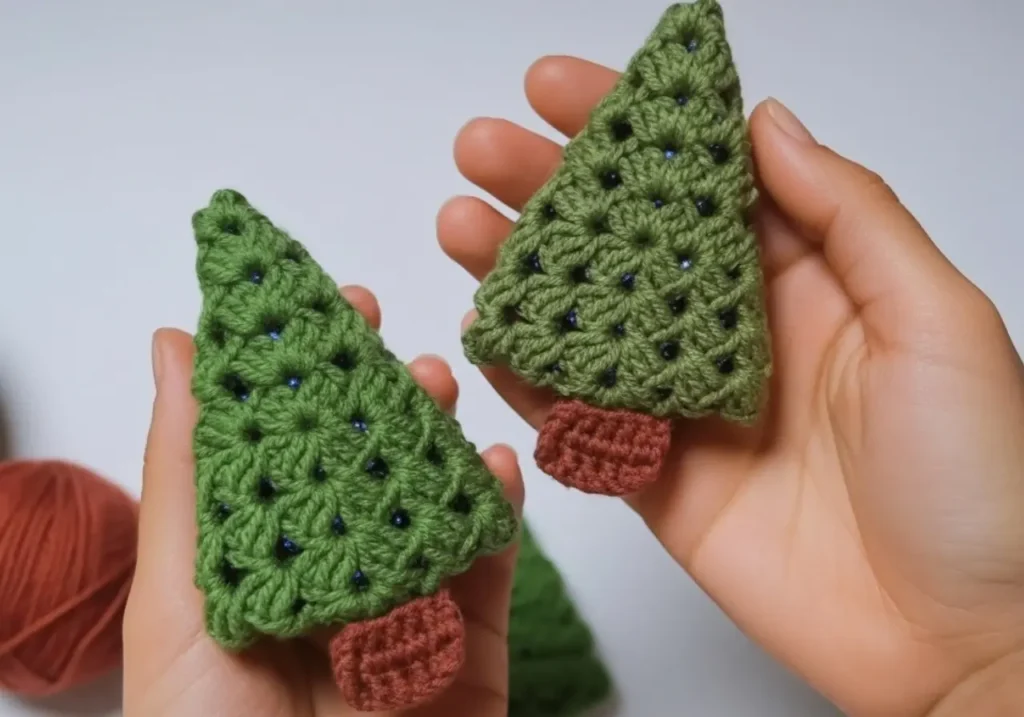
Let’s bring this little tree to life!
🧶 What You’ll Need
DK or Light Worsted Weight Yarn (#3)
Sample colors: white and pastel pinkHook: 4.0 mm (G-6)
(Adjust if you prefer a firmer ornament)Yarn needle for sewing and weaving ends
Pearl beads (approx. 6–8 mm) – 6 beads per tree (optional)
Hot glue or sewing thread for attaching pearls
Ribbon bow (7–8 cm wide)
Optional pearl drop for the centerCraft cord or yarn strand for the hanging loop (12–15 cm)
📝 Pattern Notes
The scalloped crochet ornament is worked in three separate tiers
Each tier forms small fan-shaped scallops, stacked from smallest to largest
Work with slightly firm tension to help the tree keep its shape
Blocking is optional but makes the layers look crisp and polished
✨ Stitches & Abbreviations
MR = Magic ring
CH = Chain
SC = Single crochet
DC = Double crochet
SL ST = Slip stitch
ST(S) = Stitch(es)
REP = Repeat
FO = Fasten off
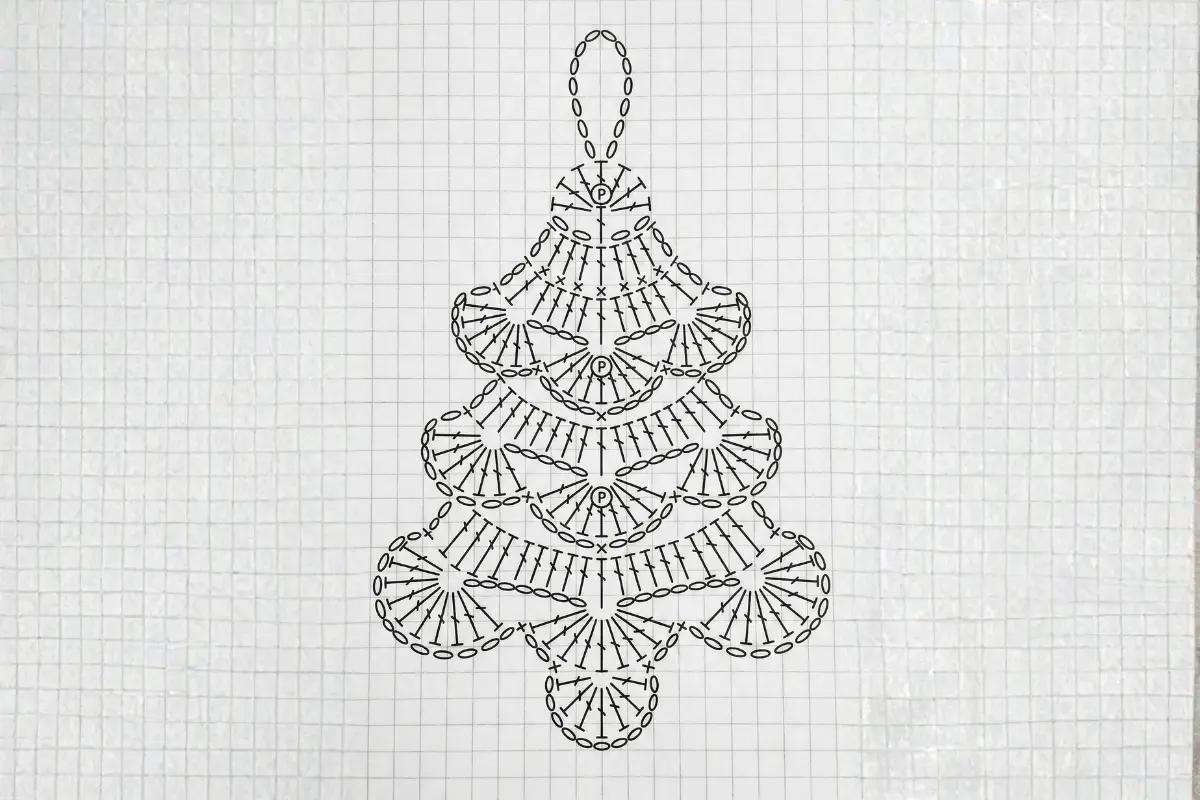
🌲 Understanding the Ornament Structure
Your scalloped crochet ornament is formed by making three small triangular pieces:
Top Tier: 1 scallop
Middle Tier: 2 scallops
Bottom Tier: 3 scallops
Each scallop is a tiny fan cluster, soft and decorative, giving the tree its signature layered look.
🧵 SCALLOP BASE (Used for All Tiers)
Fan (1 scallop):
Into the indicated stitch or space:
3 DC, CH 1, 3 DC
🌟 Top Tier (Small – 1 Scallop)
Row 1:
CH 4, work 1 Fan into the 4th CH from hook.
Turn.
Row 2:
SL ST across to the CH-1 space of the fan.
Work 1 Fan in CH-1 space.
FO and weave ends.
(You now have one scallop.)
🌟 Middle Tier (Medium – 2 Scallops)
Row 1:
CH 7.
Work 1 Fan in the 4th CH from hook.
Skip 2 CH, work 1 Fan in next CH.
Turn.
Row 2:
SL ST across to first CH-1 space.
Work 1 Fan in CH-1 space of first scallop.
SL ST across to next CH-1 space.
Work 1 Fan in CH-1 space of second scallop.
FO and weave ends.
(You now have two joined scallops.)
🌟 Bottom Tier (Large – 3 Scallops)
Row 1:
CH 10.
Work 1 Fan in 4th CH from hook.
Skip 2 CH, work 1 Fan in next CH.
Skip 2 CH, work 1 Fan in next CH.
Turn.
Row 2:
SL ST across to first CH-1 space.
Work 1 Fan in CH-1 space of first scallop.
SL ST across to next CH-1 space.
Work 1 Fan in CH-1 space of second scallop.
SL ST across to next CH-1 space.
Work 1 Fan in CH-1 space of third scallop.
FO and weave ends.
(You now have three scallops.)
🧵 Assembly
1. Stacking the Layers
Lay the pieces in this order:
Top tier → Middle tier → Bottom tier
Overlap them slightly so the scallops cascade naturally, just like layered branches.
2. Sewing the Tiers Together
Using your yarn needle:
Sew the top edge of the middle tier to the back of the top tier
Sew the top edge of the bottom tier to the back of the middle tier
Only stitch along the straight upper edges — this keeps the scallops free and pretty.
🎀 Hanging Loop
Cut a 12–15 cm (5–6 in) cord or yarn strand.
Fold into a loop and attach it to the back of the top tier using glue or sewing.
You can add a bead where the loop meets the tree for a tiny sparkle.
💎 Pearl Decoration
Top Tier: 1 pearl
Middle Tier: 2–3 pearls (1 per scallop)
Bottom Tier: 3 pearls (1 per scallop)
Attach them with glue or by sewing through the stitches.
🎁 Bow & Pearl Drop
Tie or use a ready-made ribbon bow.
Attach it to the bottom center of the tree.
Add a dangling pearl for a sweet, elegant finish.
📏 Finished Size (approx.)
Height: 4.5–5.5 in (11–14 cm)
Width: 3–3.5 in (7.5–9 cm)
💗 Tips, Variations & Creative Ideas
Adding your own personality is what makes this scalloped crochet ornament truly special. Try these variations:
Use metallic yarn for a sparkling holiday look
Add glitter glue along the scallop edges
Create a soft ombré effect by switching colors between tiers
Replace pearls with tiny bells for a jingling effect
Add snow-like accents using fluffy yarn
These little trees also make beautiful gifts, package toppers, and craft fair favorites.
❓ FAQ (Schema Style)
Q: Is this a beginner-friendly ornament?
Yes! The pattern is made of simple fans, slip stitches, and basic shaping. Perfect for confident beginners.
Q: How long does it take to make one?
Most crocheters finish a scalloped crochet ornament in 20–40 minutes.
Q: Can I use a different yarn weight?
Absolutely. Thicker yarn makes a larger tree; thinner yarn creates a delicate mini version.
Q: Do I have to add pearls and a bow?
No—those are optional. Feel free to decorate however you like.
Q: Can I sell finished items made from this pattern?
Yes! Just credit the pattern designer.
- Flat Crochet Bell Ornament Pattern – A Charming Handmade Touch for Your Holiday Decor
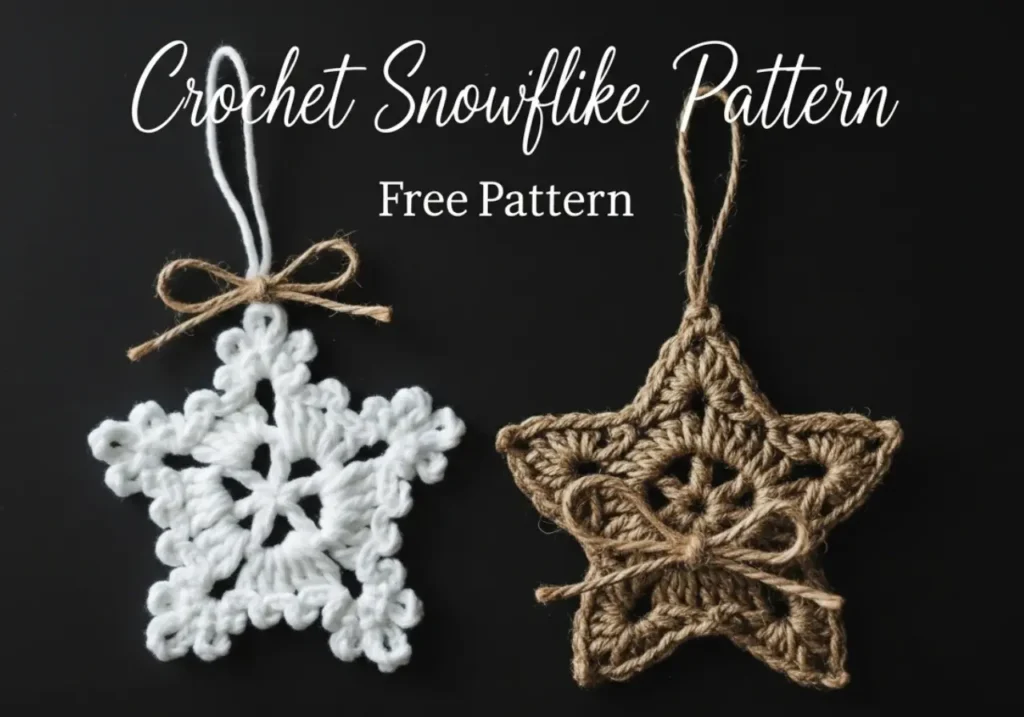
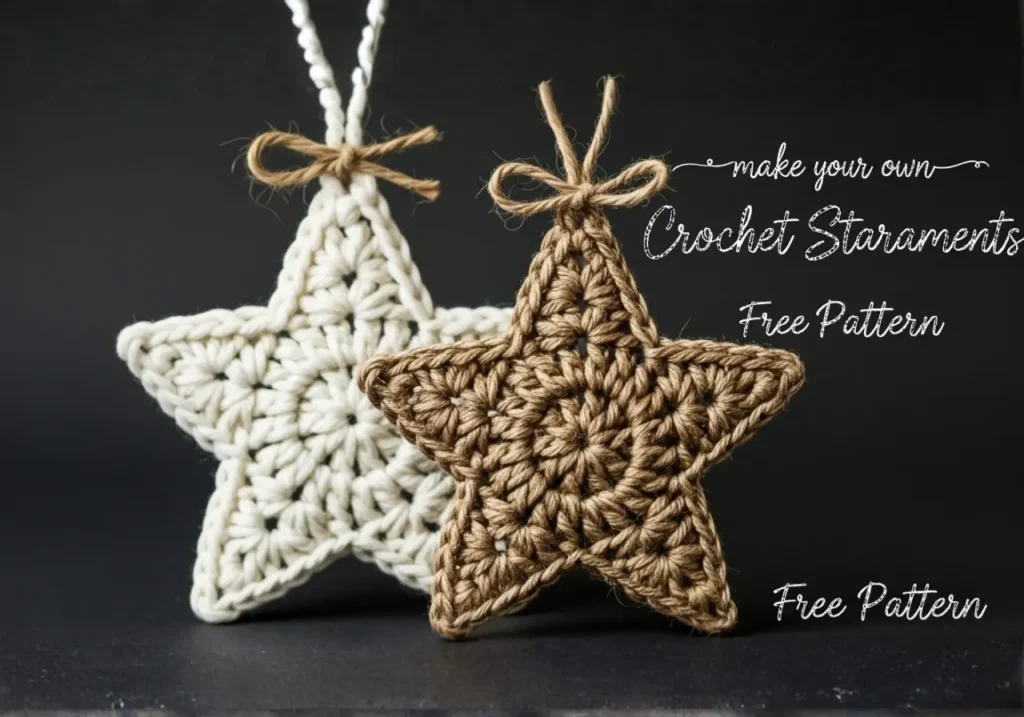
- Christmas Star Crochet Pattern (Free & Easy Tutorial for Beginners)
- Easy Crochet Christmas Tree Pattern for Beginners (Step-by-Step)
If this little scalloped crochet ornament warmed your heart, share it!
Pin it on Pinterest, send it to your crochet group, or gift a handmade ornament to someone you love. Handmade holidays always feel a little more magical. 🎄💗