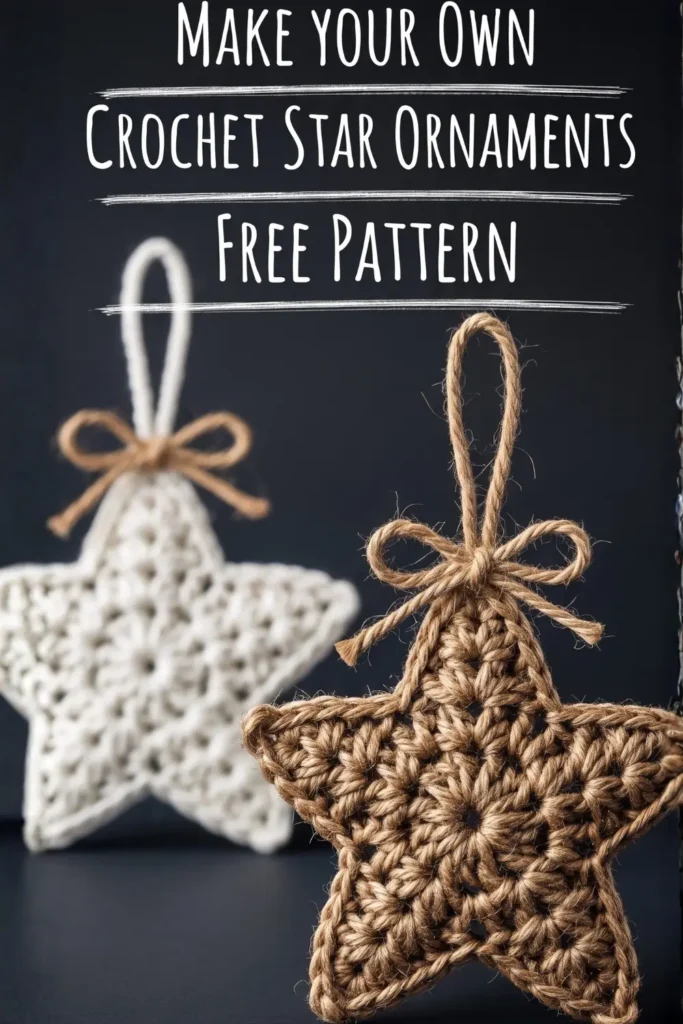
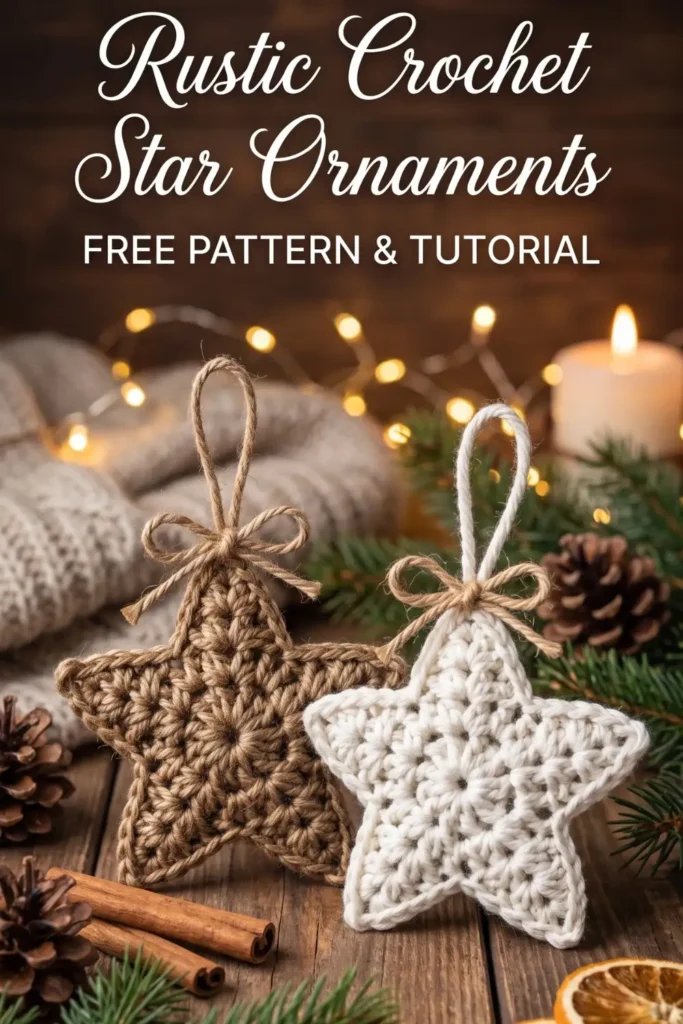
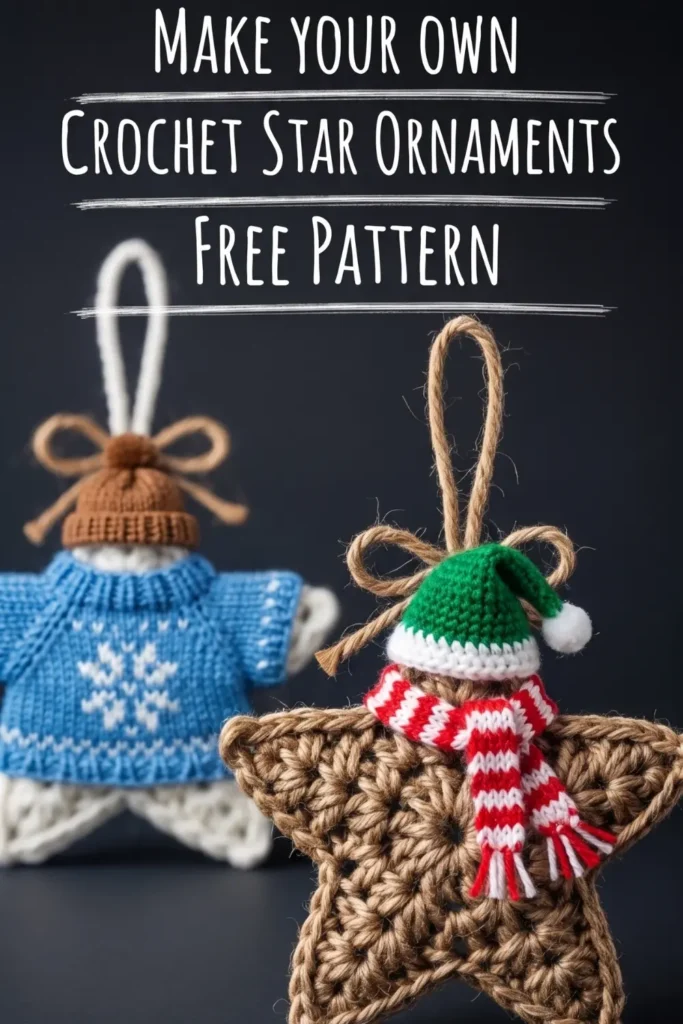
Christmas crochet stars give a tree or wrapped gift a small, textured ornament with five points and a simple hanging loop. Cream and natural brown yarn suit the rustic look in the inspiration photos, while a stitched seam gives a lightly filled version a defined outline.
This revised pattern uses two single-crochet panels. Each panel starts with a circular center, then five short triangular points are worked separately in rows. The instructions replace the earlier openwork construction; the photos show styling inspiration rather than a tested sample of this version. Stitch counts have been checked for consistency, but the design has not been physically crocheted or tested.
Make both panels with the same yarn and hook, compare their outlines, then sew them together with a small amount of filling. For an openwork alternative, try the Christmas granny star ornament. The version below focuses on a closed fabric suitable for a gently padded decoration.
Choose a yarn that keeps the filling inside
Smooth worsted-weight cotton or acrylic is a useful starting choice. A 4 mm hook is a starting point, adjusted to your yarn and tension. Crochet a small section and gently spread the fabric: if large gaps open between stitches, try a smaller hook before making the panels. Jute gives a rougher texture and can make the decreases harder to work.
- One yarn color for both panels, with extra matching yarn for sewing.
- A crochet hook suited to that yarn; begin with 4 mm for smooth worsted-weight yarn.
- A small amount of polyester fiberfill for the padded version.
- A blunt yarn needle, scissors and five removable stitch markers.
- Strong yarn or cord for the hanging loop; optional twine for a decorative bow.
This project suits a confident beginner who can count increases, decrease over two stitches and sew matching edges. Instructions use US crochet terms. Finished dimensions, gauge and yarn use have not been established from a physical sample. Measure your first ornament before planning a set or choosing packaging.
Stitches and the five-point layout
ch = chain; sc = single crochet; sl st = slip stitch; st/sts = stitch/stitches; inc = 2 sc in the same stitch; sc2tog = single crochet two stitches together. Standard US names are listed in the Craft Yarn Council crochet abbreviation guide.
How to work sc2tog
Insert the hook into the first indicated stitch, yarn over and pull up a loop. Insert into the next stitch, yarn over and pull up another loop. With three loops on the hook, yarn over and pull through all three. This consumes two stitches and produces one stitch.
Work the center in joined rounds without turning. The beginning ch 1 and joining sl st never count as stitches. Start each round in the same stitch as the join and join to its first sc. The points are worked back and forth; turn only where instructed.
At the end of the center there are 30 stitches. Divide them into five consecutive groups of six, placing a marker in the first stitch of each group. Each group supports exactly one point. No base stitch is shared by neighboring points or left unused.
Christmas crochet stars: free written pattern
Make the center of the first panel
Round 1: Make a magic ring. Ch 1, work 6 sc into the ring and sl st into the first sc. Tighten the ring. Count: 6 sc.
Round 2: Ch 1, inc in each stitch around. Join to the first sc. Count: 12 sc.
Round 3: Ch 1, repeat [sc in the next stitch, inc in the next stitch] 6 times. Join. Count: 18 sc.
Round 4: Ch 1, repeat [sc in each of the next 2 stitches, inc in the next stitch] 6 times. Join. Count: 24 sc.
Round 5: Ch 1, repeat [sc in each of the next 3 stitches, inc in the next stitch] 6 times. Join, fasten off and mark the five groups of six. Count: 30 sc.
Lay the center down before adding points. If it cups or ripples noticeably, check each round’s count and make sure the join has not been counted as a stitch. Correct a missed increase before continuing.
Shape the first triangular point
With the front of the center facing you, join yarn with a sl st in the marked first stitch of one six-stitch group. Work only over that group.
Row 1: Ch 1, sc in the same stitch and in the next 5 stitches of the center. Ch 1 and turn. Count: 6 sc.
Row 2: Sc2tog over the first 2 stitches, sc in each of the next 2 stitches, sc2tog over the last 2 stitches. Ch 1 and turn. Count: 4 sc.
Row 3: Sc2tog over the first 2 stitches, then sc2tog over the remaining 2 stitches. Ch 1 and turn. Count: 2 sc.
Row 4: Sc2tog over the 2 remaining stitches. Fasten off. Count: 1 sc at the tip.
Complete five points, then make the second panel
Return to the center, keeping the same front side facing you. Join yarn in the marked first stitch of the next unused six-stitch group. Repeat Rows 1–4 for that group. Continue around the center until all five groups have a point. Keep joining tails on the back and weave them in securely.
Make a second panel by repeating the complete center and all five points. Set the panels together before sewing: their tips and valleys should align without stretching. A different hook, tighter decreases or an extra row on one point can make the outlines disagree.
Check the counts before joining
| Section | Input stitches | Finished count |
|---|---|---|
| Center Round 1 | Magic ring | 6 sc |
| Center Round 2 | 6 | 12 sc |
| Center Round 3 | 12 | 18 sc |
| Center Round 4 | 18 | 24 sc |
| Center Round 5 | 24 | 30 sc |
| Each point, Row 1 | 6 center stitches | 6 sc |
| Each point, Row 2 | 6 | 4 sc |
| Each point, Row 3 | 4 | 2 sc |
| Each point, Row 4 | 2 | 1 sc |
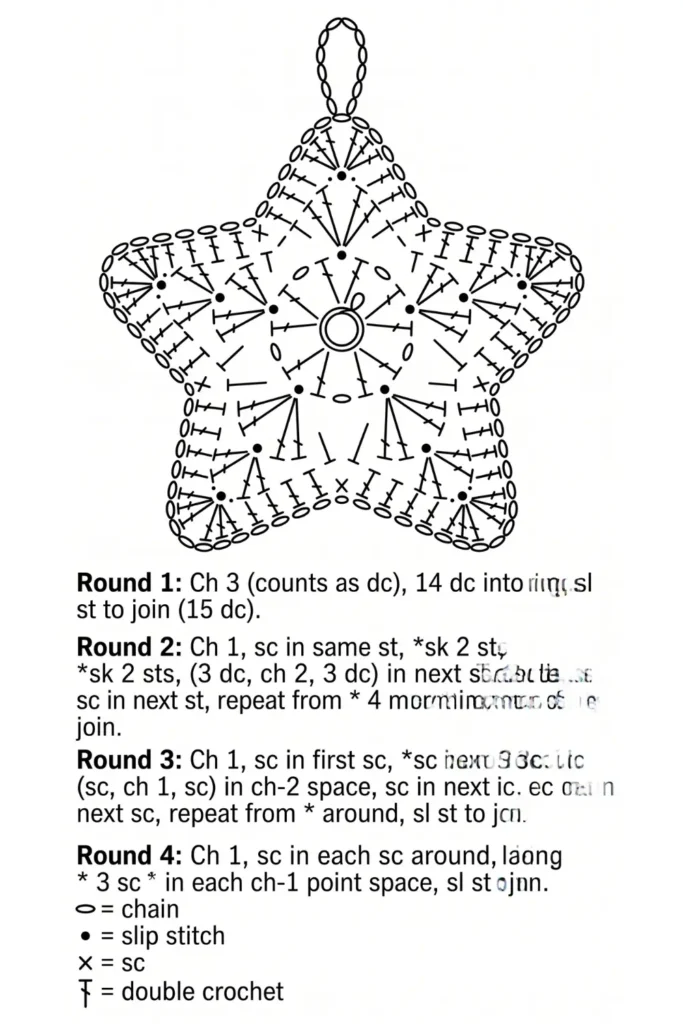
Five groups multiplied by six base stitches use all 30 stitches of the center. The decreasing rows shape the points above those groups; they do not consume additional stitches from the circle. Use the table alongside the written rows rather than treating the inspiration photos as stitch charts.
Sew the panels and add light filling
Secure all panel ends first, especially the magic-ring tails. Place the two panels with their backs together and fronts outward. Pin or mark the five matching tips and valleys. Thread a blunt needle with matching yarn and begin at a valley.
Whipstitch the edges together, passing through corresponding edge loops on both panels. Along each sloping side, match the row ends one by one; at the tip, join the two corresponding Row 4 stitches. Keep the seam relaxed enough that the points lie evenly. There is no fixed perimeter stitch total because this seam follows row ends as well as stitch tops.
Sew around four points and leave the final point open. Feed small tufts of fiberfill into the closed points with the blunt end of the hook, then add a thin layer in the center. Avoid a tightly packed center that rounds the star into a ball. Fill the final point gradually while sewing the remaining opening.
Close the seam, secure the sewing yarn and bury its tail inside the ornament. Attach a cord loop through the seam at one tip, catching stitches from both panels. Knot it securely, then check that the star hangs upright. An optional bow can be sewn beneath the loop; keep its knot away from the tip’s decrease.
If the shape needs an adjustment
A point has a different width
Check its first row: it must contain six sc from its own marked group. Row 2 uses two decreases with two plain sc between them. Taking a stitch from the next group moves the valley and leaves too few stitches for the neighboring point.
The seam pulls the tips inward
Loosen the sewing yarn along the affected side. Match row ends rather than joining several on one panel to a single row end on the other. Correct mismatched panel counts before adding more filling.
Filling is visible between stitches
Remove some filling if the fabric has been stretched. If the unfilled fabric already has large gaps, remake both panels with a smaller hook or a yarn that produces a denser fabric. Increasing the amount of stuffing will make the gaps more noticeable.
Ways to use your Christmas crochet stars
For a flat gift decoration, use one panel without filling and secure all the ends on its back. For a thicker flat ornament, sew two panels together without stuffing. Block unfilled panels only if the yarn’s care instructions allow it, and let them dry completely before joining.
Change the color while keeping the construction the same. A fine metallic strand may add sparkle, but make a first panel to check whether the combined yarn changes the tension. For a garland, attach each star with its own loop so the cord does not pull sideways on the points.
Pair the ornaments with a crochet snowman ornament or bring the same holiday colors to the table with a crochet wreath coaster. Store the finished stars without compressing their points and clean them according to the yarn and filling labels.
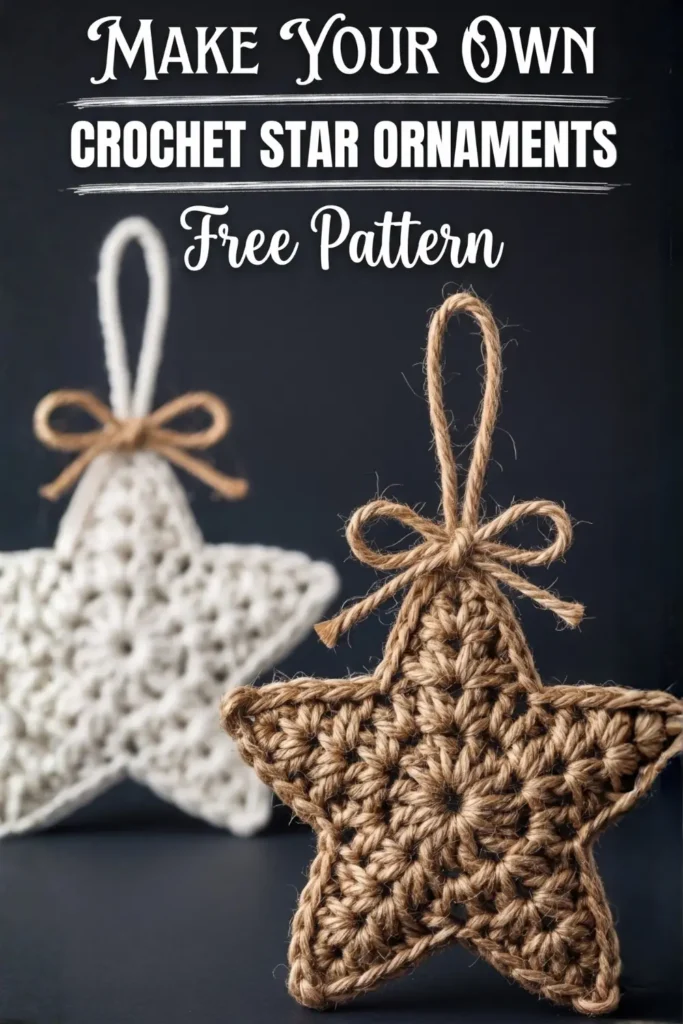
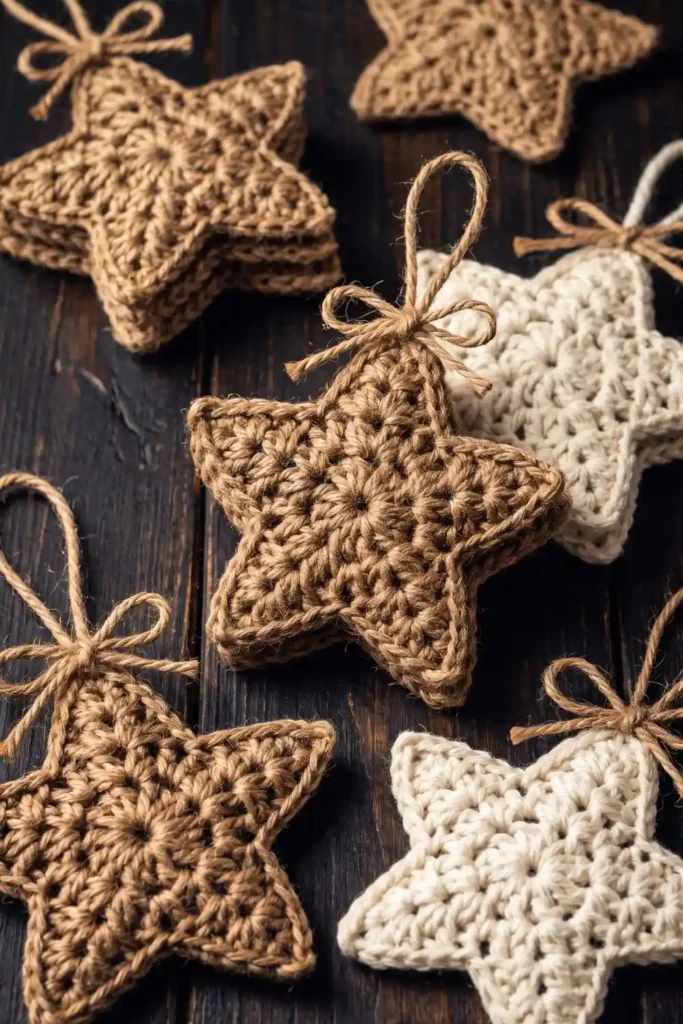
Christmas crochet stars: styling inspiration
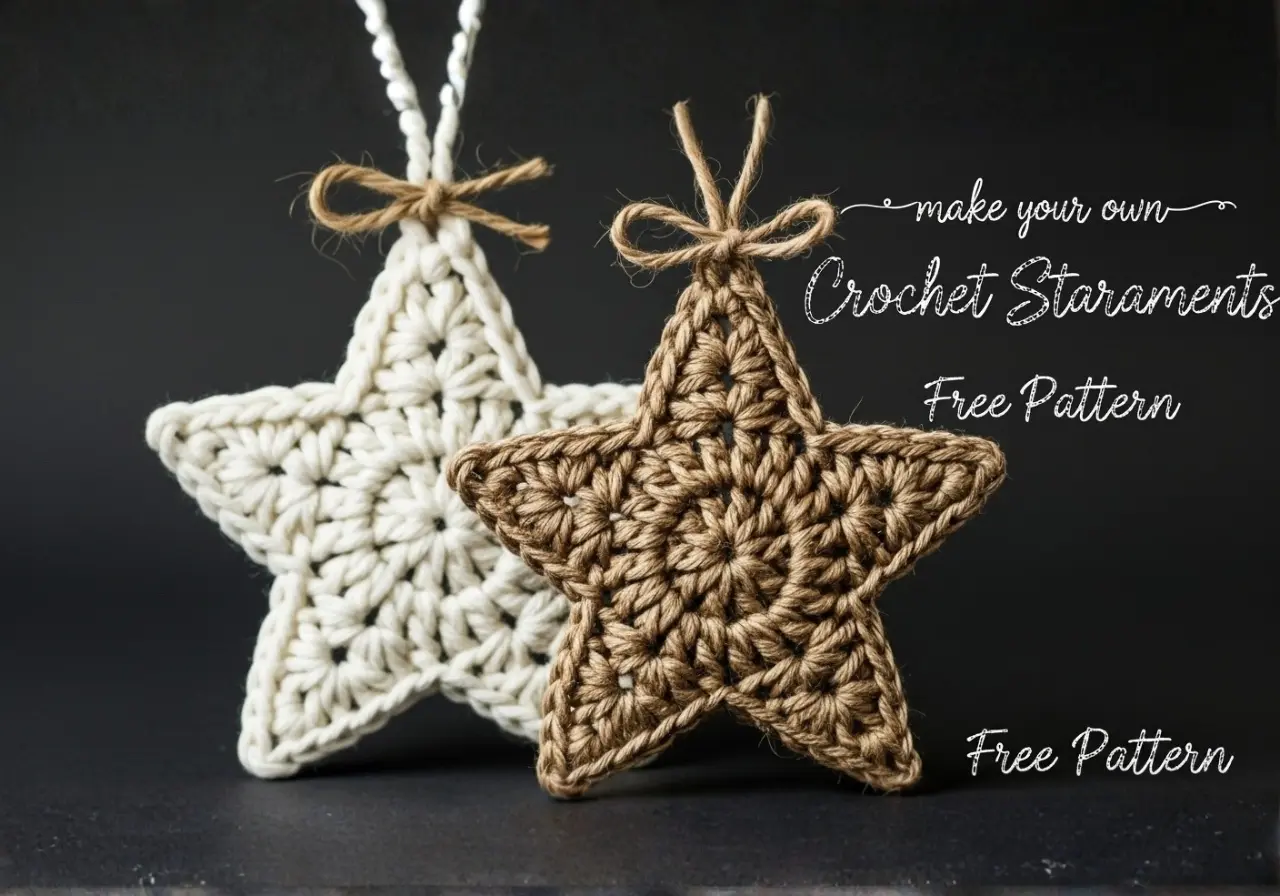
The images below explore rustic colors, hanging loops and festive displays. They are inspiration images rather than photographs of a tested sample or exact stitch diagrams. Hats, scarves and sweater details shown in the final image are separate styling ideas and are not included in this star pattern.