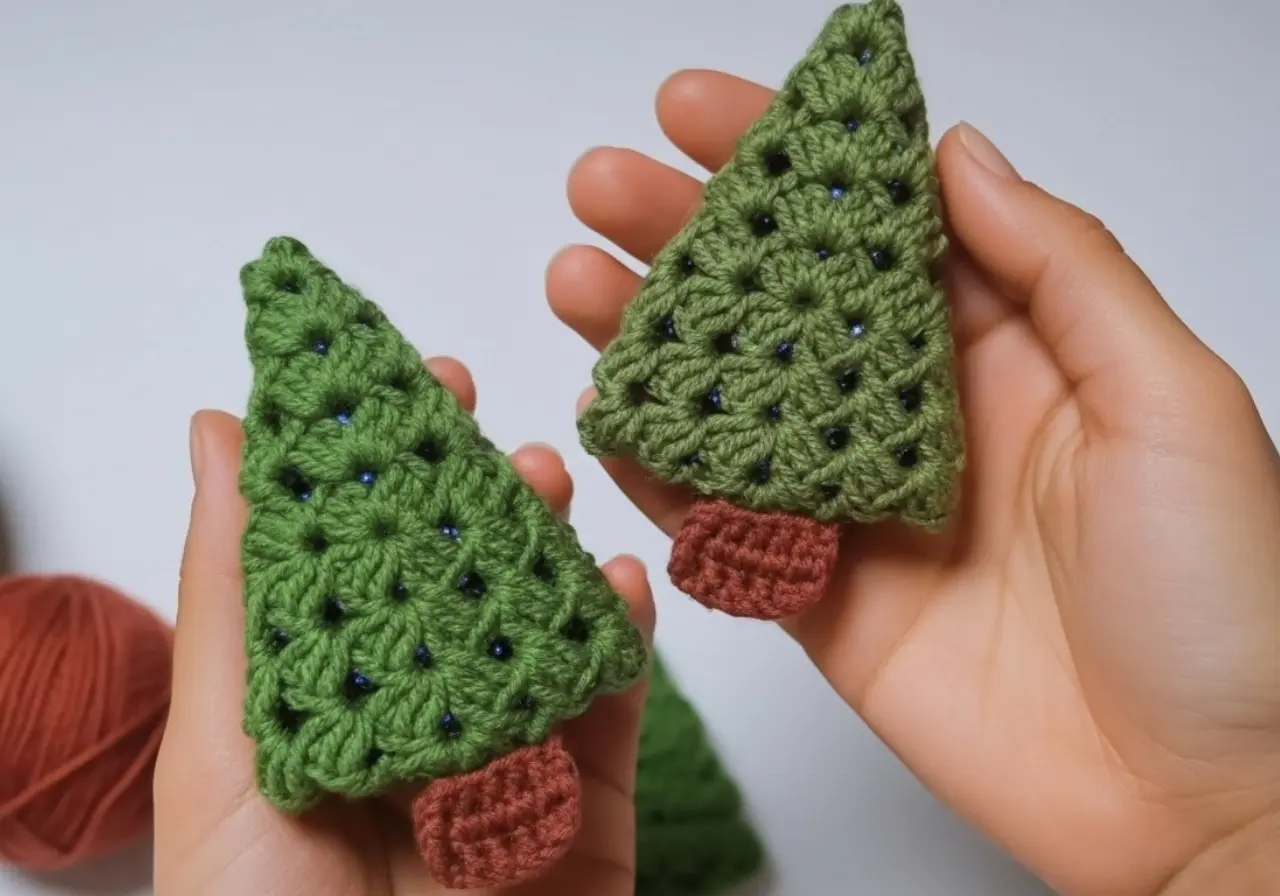
If you’re searching for a crochet Christmas tree pattern that’s both beginner-friendly and incredibly charming, you’re in the right place. This little holiday project is quick to make, relaxing, and perfect for gifting or decorating your home.
What makes this pattern special is how a simple square motif transforms into a lovely pine tree — almost like crochet magic. Whether you’re new to crafting or a seasoned crocheter looking for a fun holiday project, this will become one of your favorite festive makes.
🎄 Crochet Christmas Tree Pattern: Materials & Instructions
⭐ Materials
Yarn: Sport weight or amigurumi cotton yarn (e.g., Himalaya Himagurumi Cotton or any similar yarn)
Hook: 2.50 mm crochet hook
Scissors
Yarn needle
Optional: beads, pearls, or small embellishments for decoration
🧶 Abbreviations (US Terms)
MR – Magic Ring
ch – chain
dc – double crochet
sl st – slip stitch
sp – space
st – stitch
🌲 How to Make This Crochet Christmas Tree Pattern
Below you will find the original step-by-step instructions of the crochet pattern, kept exactly as they should be:
🟩 Make the Square Motif (Tree Body)
Row 1
Begin with a Magic Ring.
Ch 3 (counts as 1 dc).
Work 2 dc into the ring.
Ch 2.
3 dc into the ring, ch 2.
3 dc into the ring, ch 2.
3 dc into the ring, ch 2.
Close the round with a sl st into the top of the beginning ch-3, including the ch-2 corner space.
You now have 4 corners, each separated by a chain-2.
Row 2
Ch 3, 2 dc, ch 2, 3 dc into the same corner space.
Ch 1.
In the next ch-2 corner, work:
➤ 3 dc, ch 2, 3 dc
Ch 1 between corners.
Repeat for all remaining corners.
At end of row: ch 1, sl st into the top of beginning ch-3 (including corner space).
Row 3
Ch 3, 2 dc, ch 2, 3 dc into the first corner.
Ch 1.
In the ch-1 spaces between corners, work 3 dc.
In each ch-2 corner, work:
➤ 3 dc, ch 2, 3 dc
Continue around the square, working:
• 3 dc in each ch-1 space
• Corner: 3 dc, ch 2, 3 dc
Ch 1 between groups
End with ch 1, sl st into top of ch-3.
Rows 4 & 5
Repeat Row 3:
• 3 dc in each side space
• 3 dc, ch 2, 3 dc in each corner
• Ch 1 between groups
At the end of Row 5, ch 1 and sl st into top of beginning ch-3.
Fasten off and weave in the end.
Your square motif is complete.
🌲 Shape the Pine Tree
Fold the square so that it forms a triangular pine-tree shape.
Using a yarn needle, sew only through the back loops to close the folded edges.
When sewing the bottom point, stitch through the inner loops to keep the shape neat.
Your tree shape is now formed.
🟫 Tree Trunk
Row 1
With brown yarn, ch 6.
Starting in the 4th ch from hook, work dc in each chain across. (3 dc total)
Row 2
Ch 3, turn.
Work dc across (3 dc).
Fasten off. Sew the trunk neatly to the base of the tree.
✨ Optional Decoration
Add beads, mini pearls, sequins, or small appliqués.
You can also add a hanging loop at the top.
🌟 Why You’ll Love This Crochet Christmas Tree Pattern
Quick and relaxing holiday make
Great for beginners learning granny motifs
Customizable with colors and embellishments
Ideal for ornaments, garlands, gift toppers, or table décor
❓ FAQ About This Crochet Christmas Tree Pattern
Can I use thicker yarn?
Yes! Your tree will simply be larger and may require stronger blocking.
Is this pattern beginner-friendly?
Absolutely. It’s built from a simple square motif.
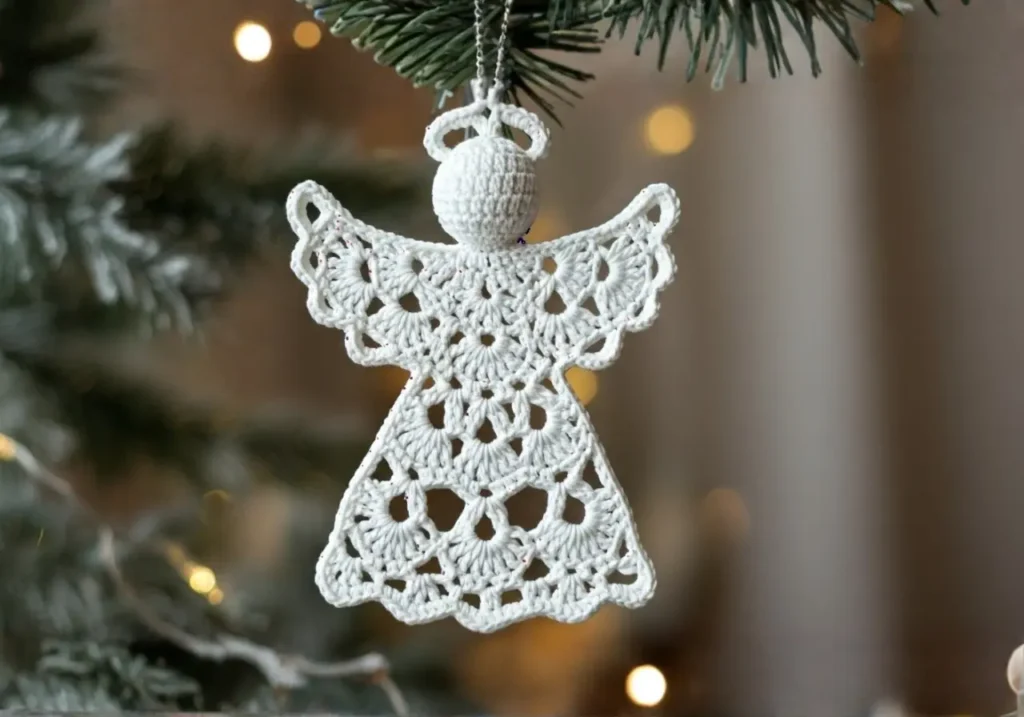
Delicate Crochet Angel Pattern – A Timeless Christmas Ornament
Flat Crochet Christmas Bell Pattern: Elegant Ornament for Your Holiday Tree
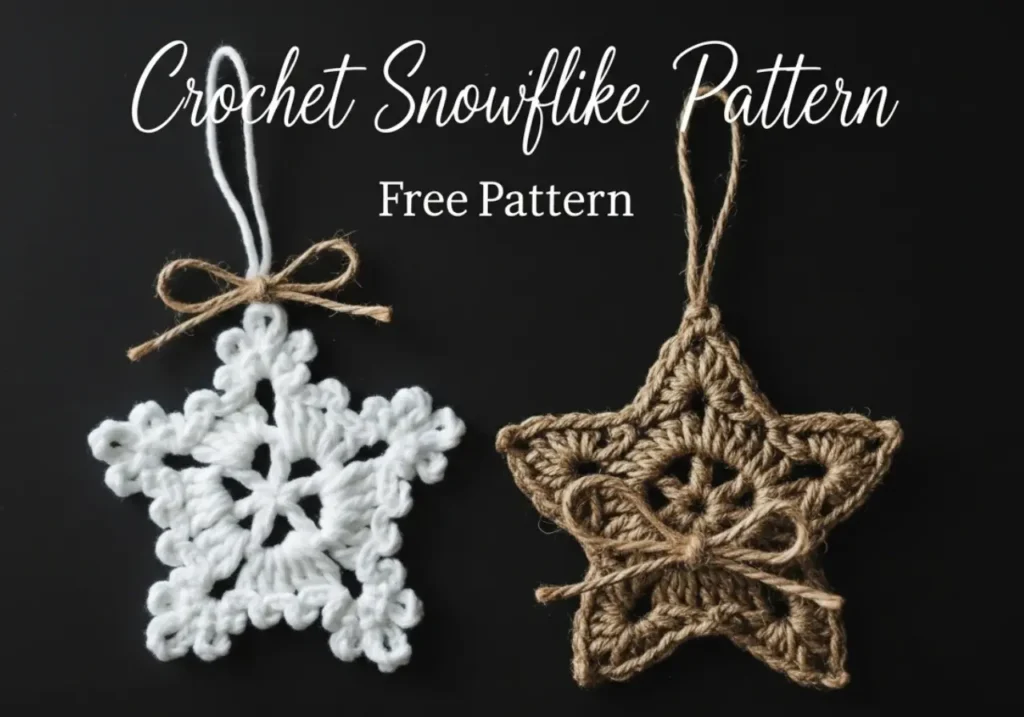
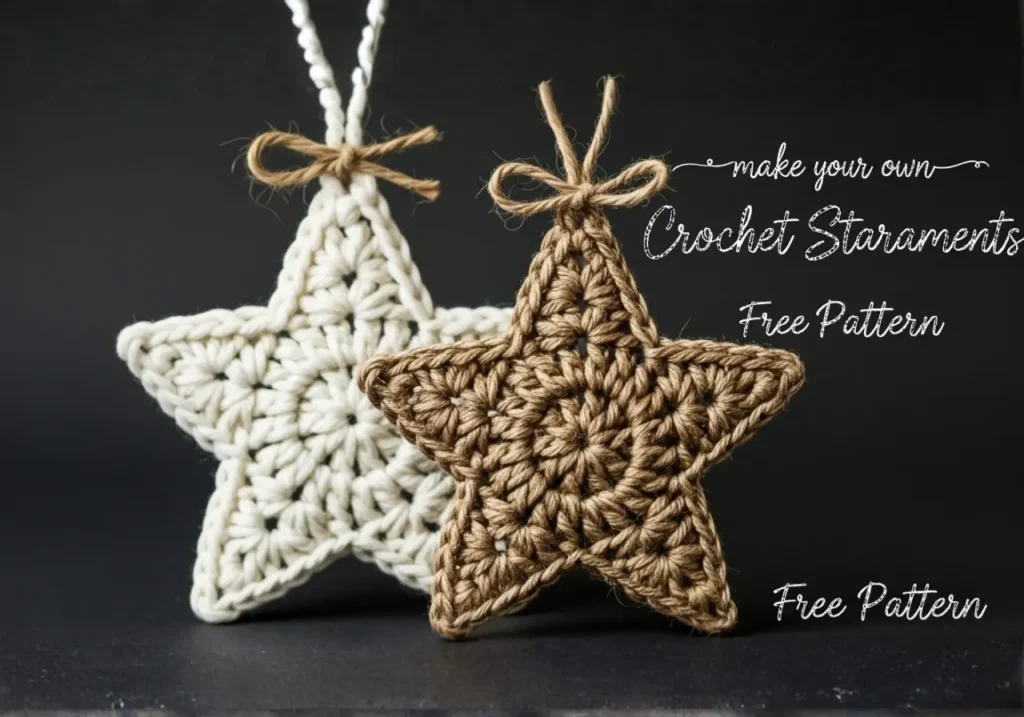
Quick & Charming Christmas Crochet Stars (Free, Easy Pattern)
If you enjoyed this crochet Christmas tree pattern, share it with a friend who loves holiday crafting — and tag us when you make yours! 🎄💛