How to make a Crochet Granny Square Pattern
This is the classic crochet Grandma’s Square pattern. A pattern for new crocheters who wish to expand their skills. This basic granny square pattern is versatile for many crochet projects, even though they may seem complicated, but once you learn they really are very easy.
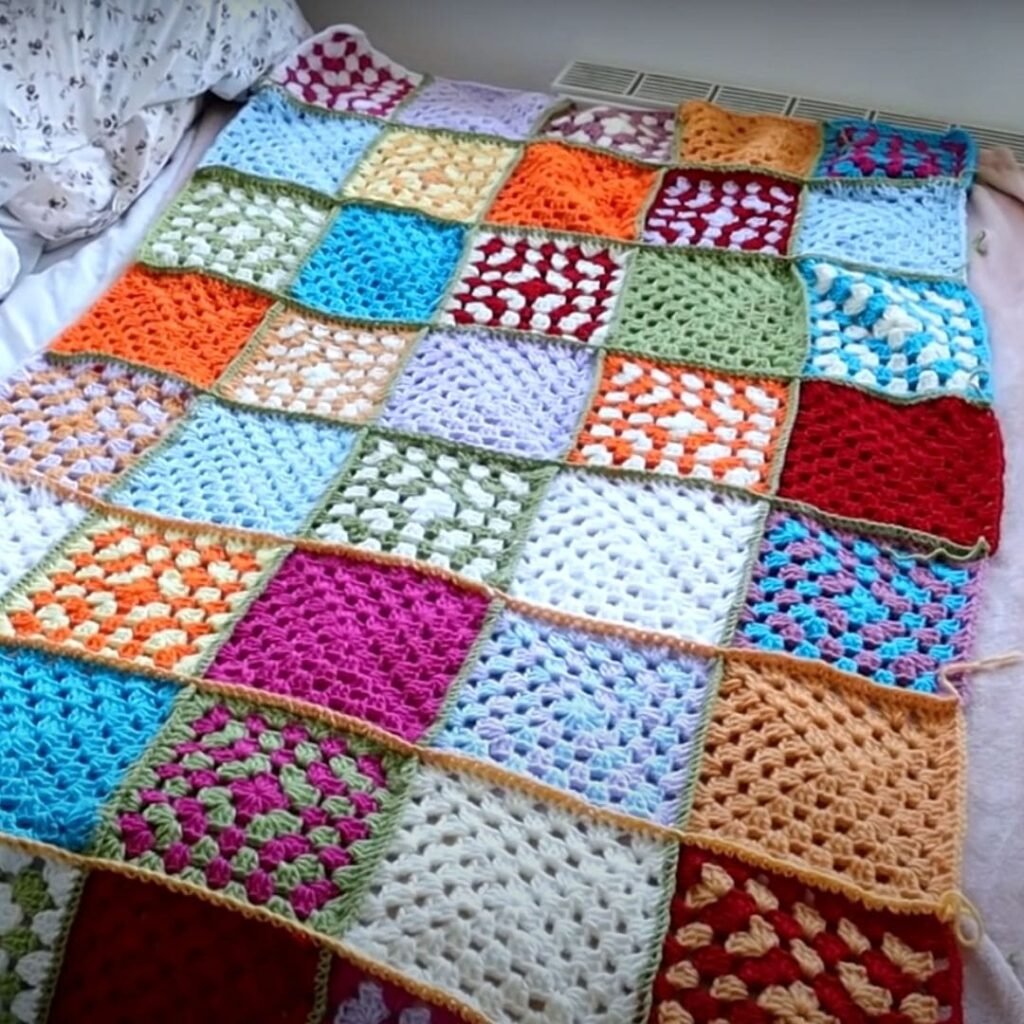
In this granny square pattern the general process is to make a handful of squares and sew them together in any shape and size you wish. This is the coolest part, as you can create several different sizes to suit every room in your house.
To start this granny square pattern project you can work with any size crochet thread or yarn and needle. But if you are in doubt about which yarn or hook to choose for your project, you can always follow the directions on the label that are usually marked with their specifications.

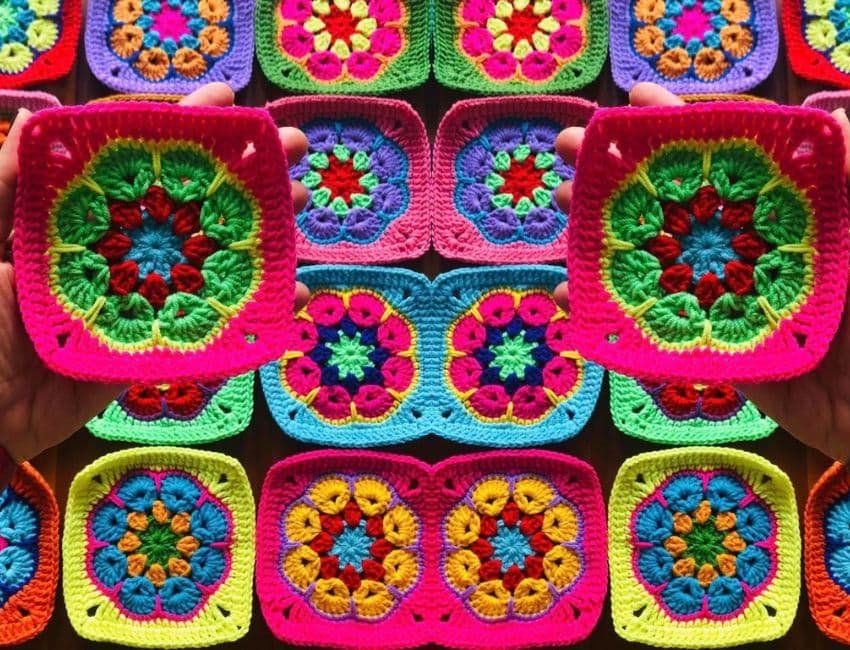
- Crochet Granny Square Pattern
How to Make a Project with Granny Squares
Patterns are usually constructed by the basic, crocheted granny square, meaning that their size should always be uniform. When constructing a 4″ x 4″ square, you must always keep all squares in the same proportion.
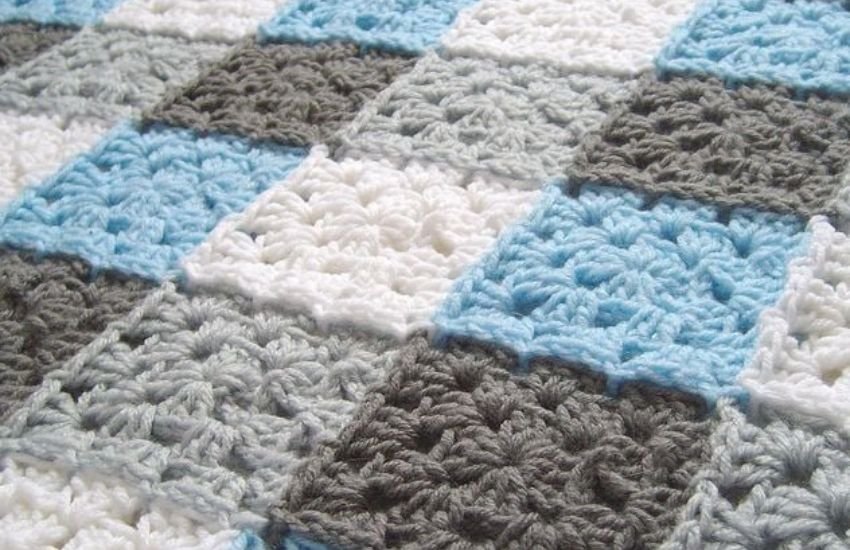
This pattern was built using color variations, so you can choose your available threads and create a design totally unique to you. They are a great way to use up small pieces of leftover yarn.
There are three different ways to start a granny square. You can start in a single chain stitch, in a center ring of chain stitches, or with the magic ring technique. I like this particular pattern because it makes granny squares that look nice and flat.
Abbreviations:
ch – chain stitch
dc – double crochet (2DC = 2 double crochets in same hole)
sl st – slip stitch (Insert hook, yarn over, pull through stitch, and loop on hook)
COLOR 1:
Ch 4, join with sl st to create a ring, ch2.
Work remaining stitches into center of that ring as follows:
2DC, ch 2, 3DC, ch2, 3DC, ch2, 3DC, ch 2, join to first ch 2 with sl st
Cut yarn, weave in end.
COLOR 2:
Join new color in one of the corners as shown in the video, just not the same one you ended color 1 in.
In 1st corner: Ch2, 2DC, ch2, 3DC
In 2nd corner: 3DC, ch2, 3DC
In 3rd corner: 3DC, ch2, 3DC
In 4th corner: 3DC, ch2, 3DC, join to first ch2 with sl st
COLOR 3:
Join new color in one of the corners as shown in the video, just not the same one you ended color 1 in.
In 1st corner: Ch2 (counts as first DC), 2DC, ch2, 3DC
In side spaces: 3DC
In remaining corners: 3DC, Ch2, 3DC
Join to first ch2 with sl st. Cut yarn, and weave in ends.
Additional Colors:
Repeat as with color 3 adding however many rows you would like, making sure to do (3DC, ch 2, 3DC) in each corner space, and (3DC) in the side spaces.
This project, besides being an amazing hobby to pass the time, is an excellent opportunity to start your own business. You can start by selling your pieces to friends and family and even in online stores like Etsy and craft fairs.
There are many benefits to crocheting skills. Crocheting is a great way to relax and de-stress. It is also a great way to express your creativity, it can be a very therapeutic activity.
Now I will make available a video tutorial of the Grandma’s Square pattern, where you can follow the whole step by step process. I would like to dedicate the image and video credits to the official website of the content.
