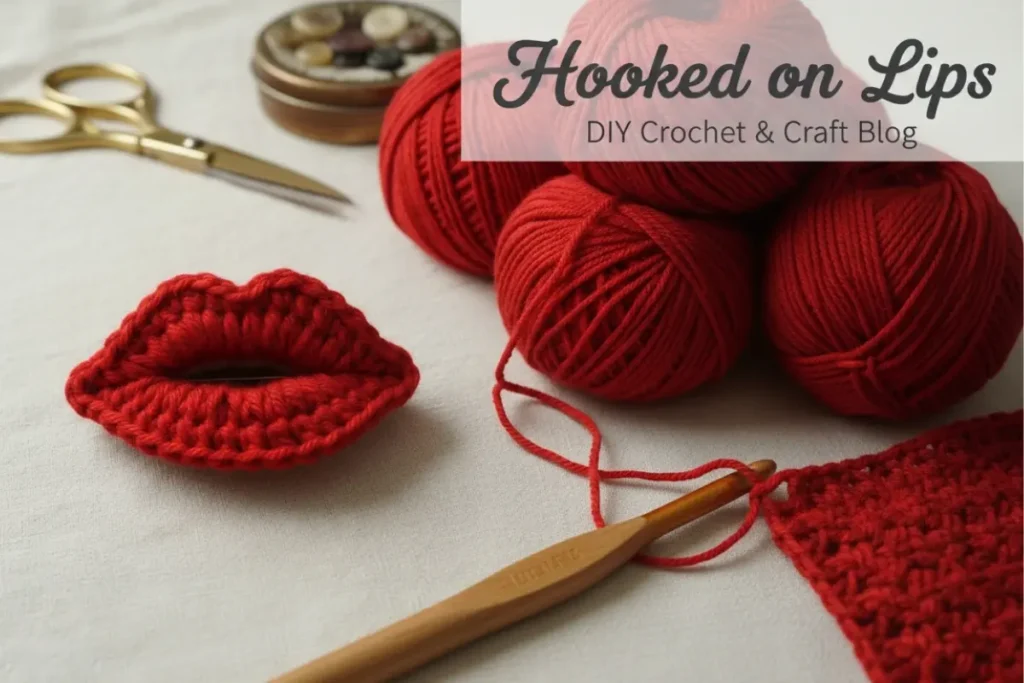
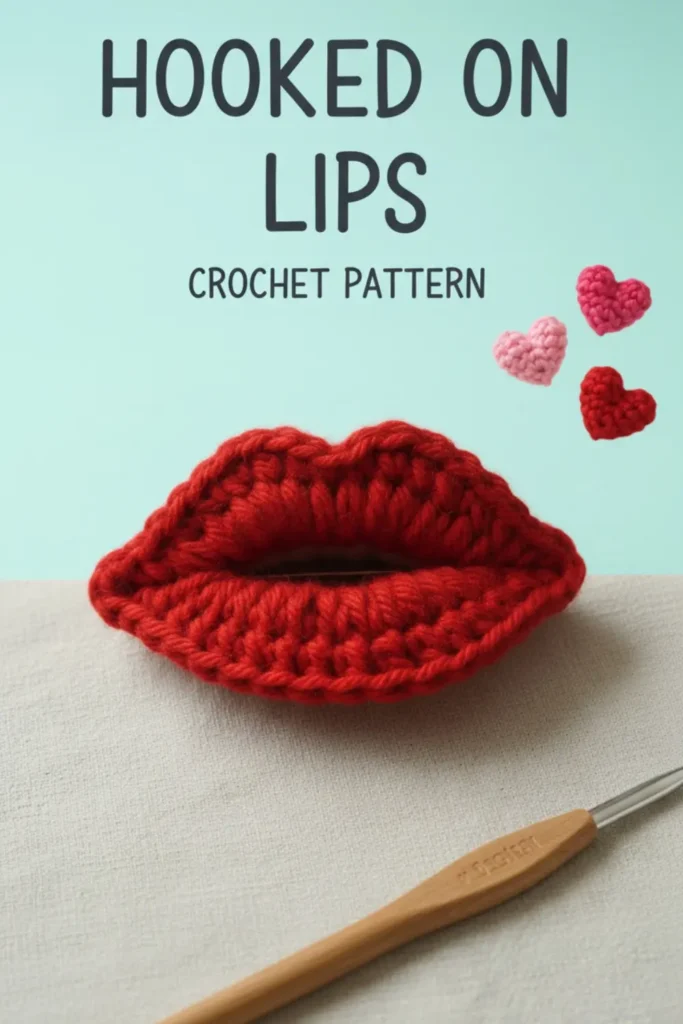
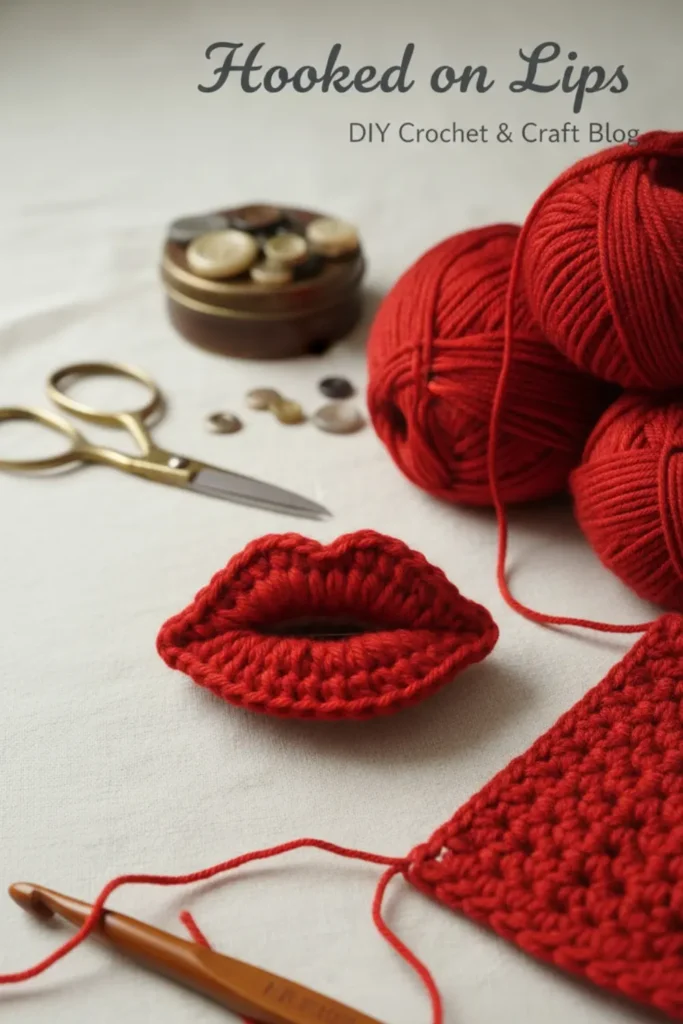
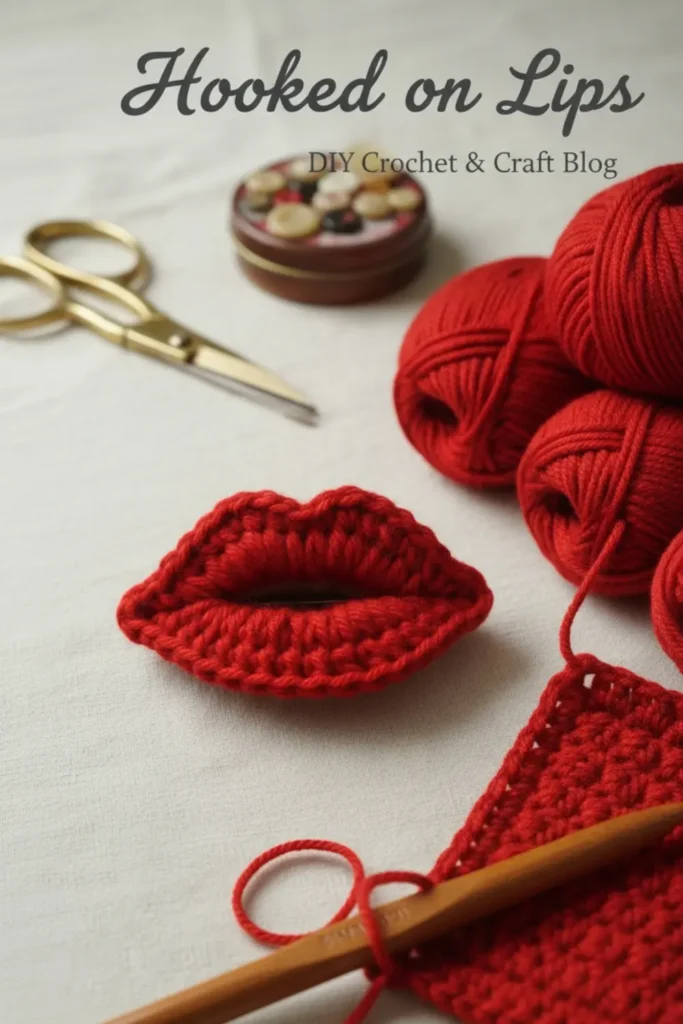
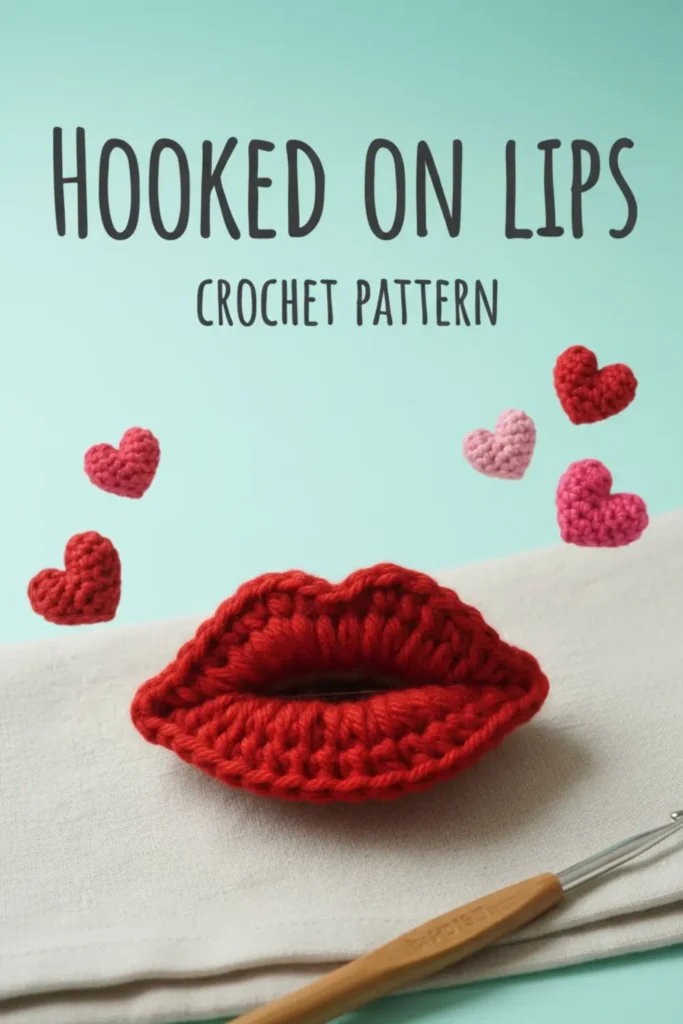
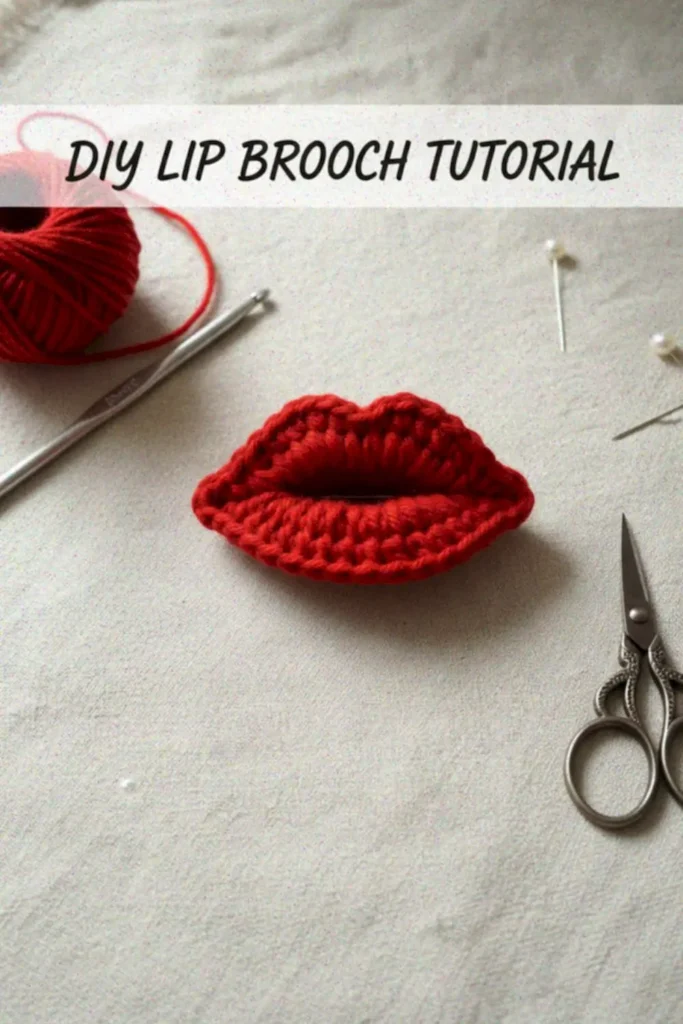
I’ve made this Kiss Lips Crochet Pattern more times than I expected — for amigurumi dolls, Valentine’s keychains, playful wall décor, and even as a fun patch for a denim jacket. It’s one of those small projects that works up quickly but instantly adds personality to anything you attach it to.
What I love most about this design is the shaping. The oval base builds naturally, and once those increases start forming the curves, you can actually see the lips come to life in your hands. The first time I tested it, I tried both cotton and acrylic yarn — and cotton definitely gave me a crisper, more defined “kiss” shape.
If you’re looking for a versatile appliqué that works beautifully for faces, gifts, or accessories, this Kiss Lips Crochet Pattern is simple, reliable, and surprisingly satisfying to make.
📏 Finished Size
Approx. 9–11 cm (3.5–4.5 in) wide, depending on yarn and hook size.
🧶 What You’ll Need
Medium weight yarn (Category 4) – red, pink, or nude tones
4.0–4.5 mm crochet hook
Yarn needle
Scissors
Stitch marker (recommended)
✂️ Abbreviations (US Terms)
ch – chain
sc – single crochet
dc – double crochet
sl st – slip stitch
st(s) – stitch(es)
inc – 2 stitches in the same stitch
🧠 Pattern Notes
Worked in joined rounds.
Turning chains do not count as stitches.
The oval construction forms the lips’ outline.
Increases at the ends create the natural lip curves.
Use a stitch marker to mark the first stitch of each round.
🧵 Kiss Lips Crochet Pattern Instructions
Foundation
Ch 14
Round 1 – Base Oval
Starting in the 2nd ch from hook, work 1 sc in each of the next 12 ch
In the last ch, work 3 sc
Rotate and continue on the opposite side of the chain
1 sc in each of the next 12 ch
In the last ch, work 3 sc
Join with sl st to the first sc
📌 This forms the base oval of the lips.
Round 2 – Lip Volume
Ch 2
1 dc in each st along the straight sides
In each curved end (3 sc from previous round):
2 dc in each st (6 dc per curve)
Join with sl st
Round 3 – Defining the Lip Shape
Ch 1
1 sc in each dc along the sides
At each curve:
(1 sc, inc) repeat evenly
Join with sl st
Round 4 – Full Lips
Ch 2
1 dc in each st around
At each curved end:
(2 dc, inc) repeat evenly
Join with sl st
Round 5 – Mouth Detail Line (Center)
Attach yarn at one corner of the lips
Sl st across the center, working through the front loops only, following the long oval line
Fasten off
📌 This creates the natural separation of the lips (kiss line).
Optional Round 6 – Outline (Appliqué Finish)
Attach yarn at any stitch
1 sc in each st around the outer edge
Join with sl st
Fasten off and weave in all ends
🪡 Stitch Symbol Reference (Chart Translation)
O = chain
X = single crochet (sc)
T = double crochet (dc)
● = slip stitch
My Experience & Practical Tips
After making this Kiss Lips Crochet Pattern for different projects, here are a few things I’ve learned that truly make a difference:
1️⃣ Keep Your Tension Slightly Firm
If your stitches are too loose, the lips can lose their definition and look more oval than shaped. A slightly tighter tension keeps the curves crisp and structured.
2️⃣ Don’t Rush the Curve Increases
The shaping happens at the ends. Make sure your increases are evenly spaced — uneven tension here can cause one side to look fuller than the other.
3️⃣ Cotton Yarn = Sharper Edges
Acrylic works fine, but cotton yarn gives that clean stitch definition that really enhances the kiss silhouette.
4️⃣ Light Stuffing for 3D Effect
If you want dimensional lips (for pillows or plush décor), add a very small amount of stuffing before finishing Round 4. Too much will distort the oval.
5️⃣ Watch the Center Slip Stitch Line
When working Round 5, stay consistent with front loops only. Going too deep into the stitch can make the “mouth line” look uneven.
Common beginner mistake? Skipping the stitch marker. In joined rounds, it’s surprisingly easy to shift without noticing — and that slightly twists the shape.
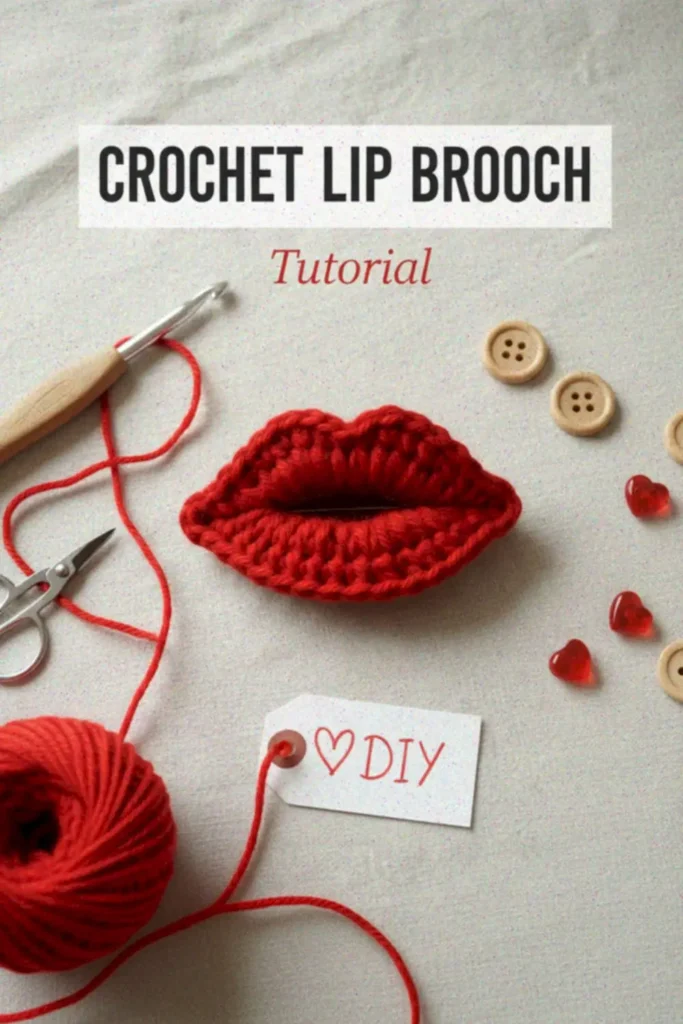
💋 Tips & Variations
Use velvet yarn for soft decorative pillows.
Add white embroidery highlights for a glossy effect.
Sew onto amigurumi faces for expressive characters.
Make mini versions with lighter yarn for earrings or charms.
This Kiss Lips Crochet Pattern is incredibly adaptable — just change yarn weight and hook size for different results.

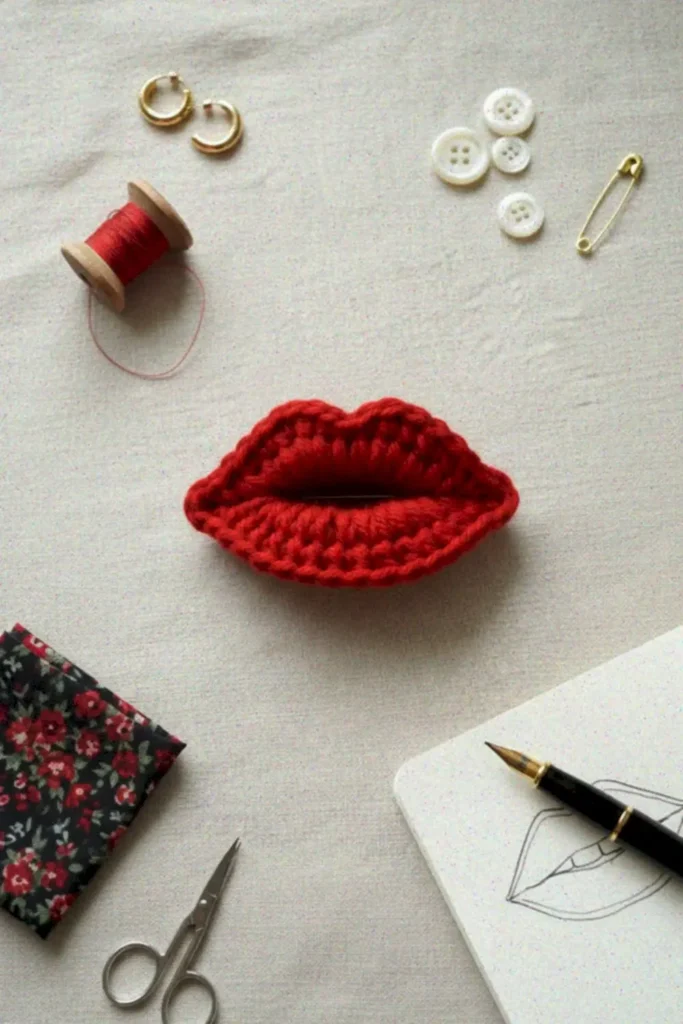
✨ Finishing Touches
After weaving in the ends, gently shape the lips with your fingers. If needed, lightly steam block (especially with cotton yarn) to smooth the curves and enhance symmetry.
If you’re attaching it to fabric or a bag, use a whip stitch for a clean, nearly invisible finish.
❓ FAQ – Kiss Lips Crochet Pattern
Is this Kiss Lips Crochet Pattern beginner-friendly?
Yes. If you’re comfortable with basic stitches (sc, dc, sl st), you’ll manage this pattern easily.
Can I turn this into a keychain?
Absolutely. Simply attach a keyring at one corner and consider tightening your tension for durability.
Can I make it larger?
Yes. Use thicker yarn and a larger hook. The stitch structure stays the same.
Does it work for amigurumi faces?
Perfectly. The center slip stitch line naturally creates the mouth separation.
💡 If You Love Adding Details to Amigurumi…
If you’re anything like me, the smallest details are what make an amigurumi truly come alive. Little appliqués and textured accents can completely change the personality of a piece. That’s exactly why patterns like the Crochet Pear Amigurumi Flat Pattern are so satisfying — they add a pop of charm without overwhelming the main project. Flat elements are also perfect when you want detail without extra bulk.
For playful and food-themed creations, the Crochet Apple Applique Pattern is another favorite. It works beautifully on bags, kitchen décor, or even stitched onto amigurumi bodies as a cute accent. And when you’re in the mood for something bold and joyful, the Oversized Crochet Gingerbread Man Pattern is pure fun — great for seasonal décor and perfect for experimenting with facial features, accessories, and expressive details like this Kiss Lips Crochet Pattern.
💌 Final Thoughts
I’ve tested this Kiss Lips Crochet Pattern in different yarns, hook sizes, and applications — and it consistently holds its shape beautifully. It’s quick enough to make in an afternoon, but detailed enough to feel special.
Whether you’re adding personality to an amigurumi doll, creating a playful Valentine’s gift, or making handmade accessories to sell at markets, this pattern is reliable and fun to work up.
If you make your own version, I hope it brings a little extra charm and confidence to your crochet creations. And if you loved this pattern, share it with your crochet friends — handmade joy is always better when it’s shared. 💋🧶

Olá! Você tem um vídeo ou poderia me ajudar com uma explicação mais detalhada do passo 5? Não consigo entender o que fazer. Muito obrigada!